A few dollar store finds can turn a plain room into a joyful Christmas home, and christmas decor diy dollar tree ideas prove that a small budget can still bring big festive charm. Think painted jars glowing on a windowsill, pine garlands over a mantel, felt snowflakes on glass, and handmade wreaths that look far more costly than they were. You do not need fancy tools or a long shopping list to start. One afternoon, a glue gun, and a handful of simple supplies can change a hallway, a table, or a whole living room. In my experience, starting with one easy project builds confidence, because each small win makes the next craft feel simpler and more fun. This guide shares 23 blissful ideas for mantels, tables, windows, doors, and shelves, with clear steps, cheap swaps, and cheerful finishes, so you can pick a favourite and start today.
Dollar Store Pine Garland

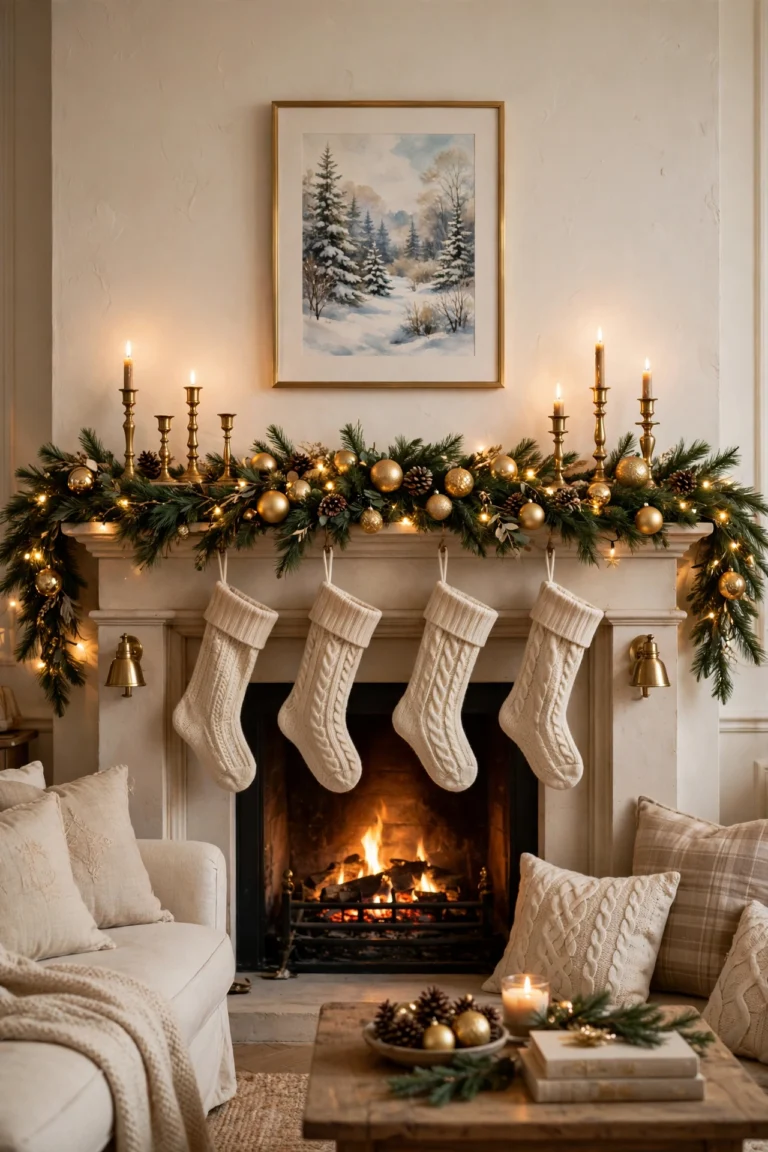
A plain pine garland from the dollar store becomes a full mantel showpiece with a little fluffing and layering. Start by stretching the garland across the mantel and pulling each branch tip outward so no bare wire shows. Weave in a second garland if the first looks thin, then tuck small red berries and gold baubles deep into the branches for colour that lasts all season.
Finish with warm white fairy lights wound loosely through the greenery and two plaid bows at each end. In my experience, loose lights give a softer glow than tight wrapping.
Glitter Ornament Bowl Display

- Pick a wide clear glass bowl so glitter and colour show from all sides.
- Mix large and small ornaments in red, gold, and silver for depth.
- Fill gaps with pine sprigs, faux snow, or crumpled gold tissue paper.
- Place one battery candle behind the bowl for a safe evening glow.
- Keep a few spare ornaments handy to top up the display after parties.
Set the bowl where guests will see it first, such as a hall table or coffee table, and refresh the top layer if ornaments shift. A small candle beside it adds warmth in the evening, while the glitter catches light from every angle and makes a simple dollar store haul look truly festive.
Painted Mason Jar Lights

Quick Tip: Paint the jars a day ahead so the paint cures fully before you add lights.
Choose frosted white, red, and green paint for a trio, then brush on two thin coats for colour. Drop a string of warm fairy lights into each jar, bunch the jars on a tray with pine branches, and switch them on at dusk for a soft glow that suits a windowsill or table centre.
Felt Snowflake Window Clings
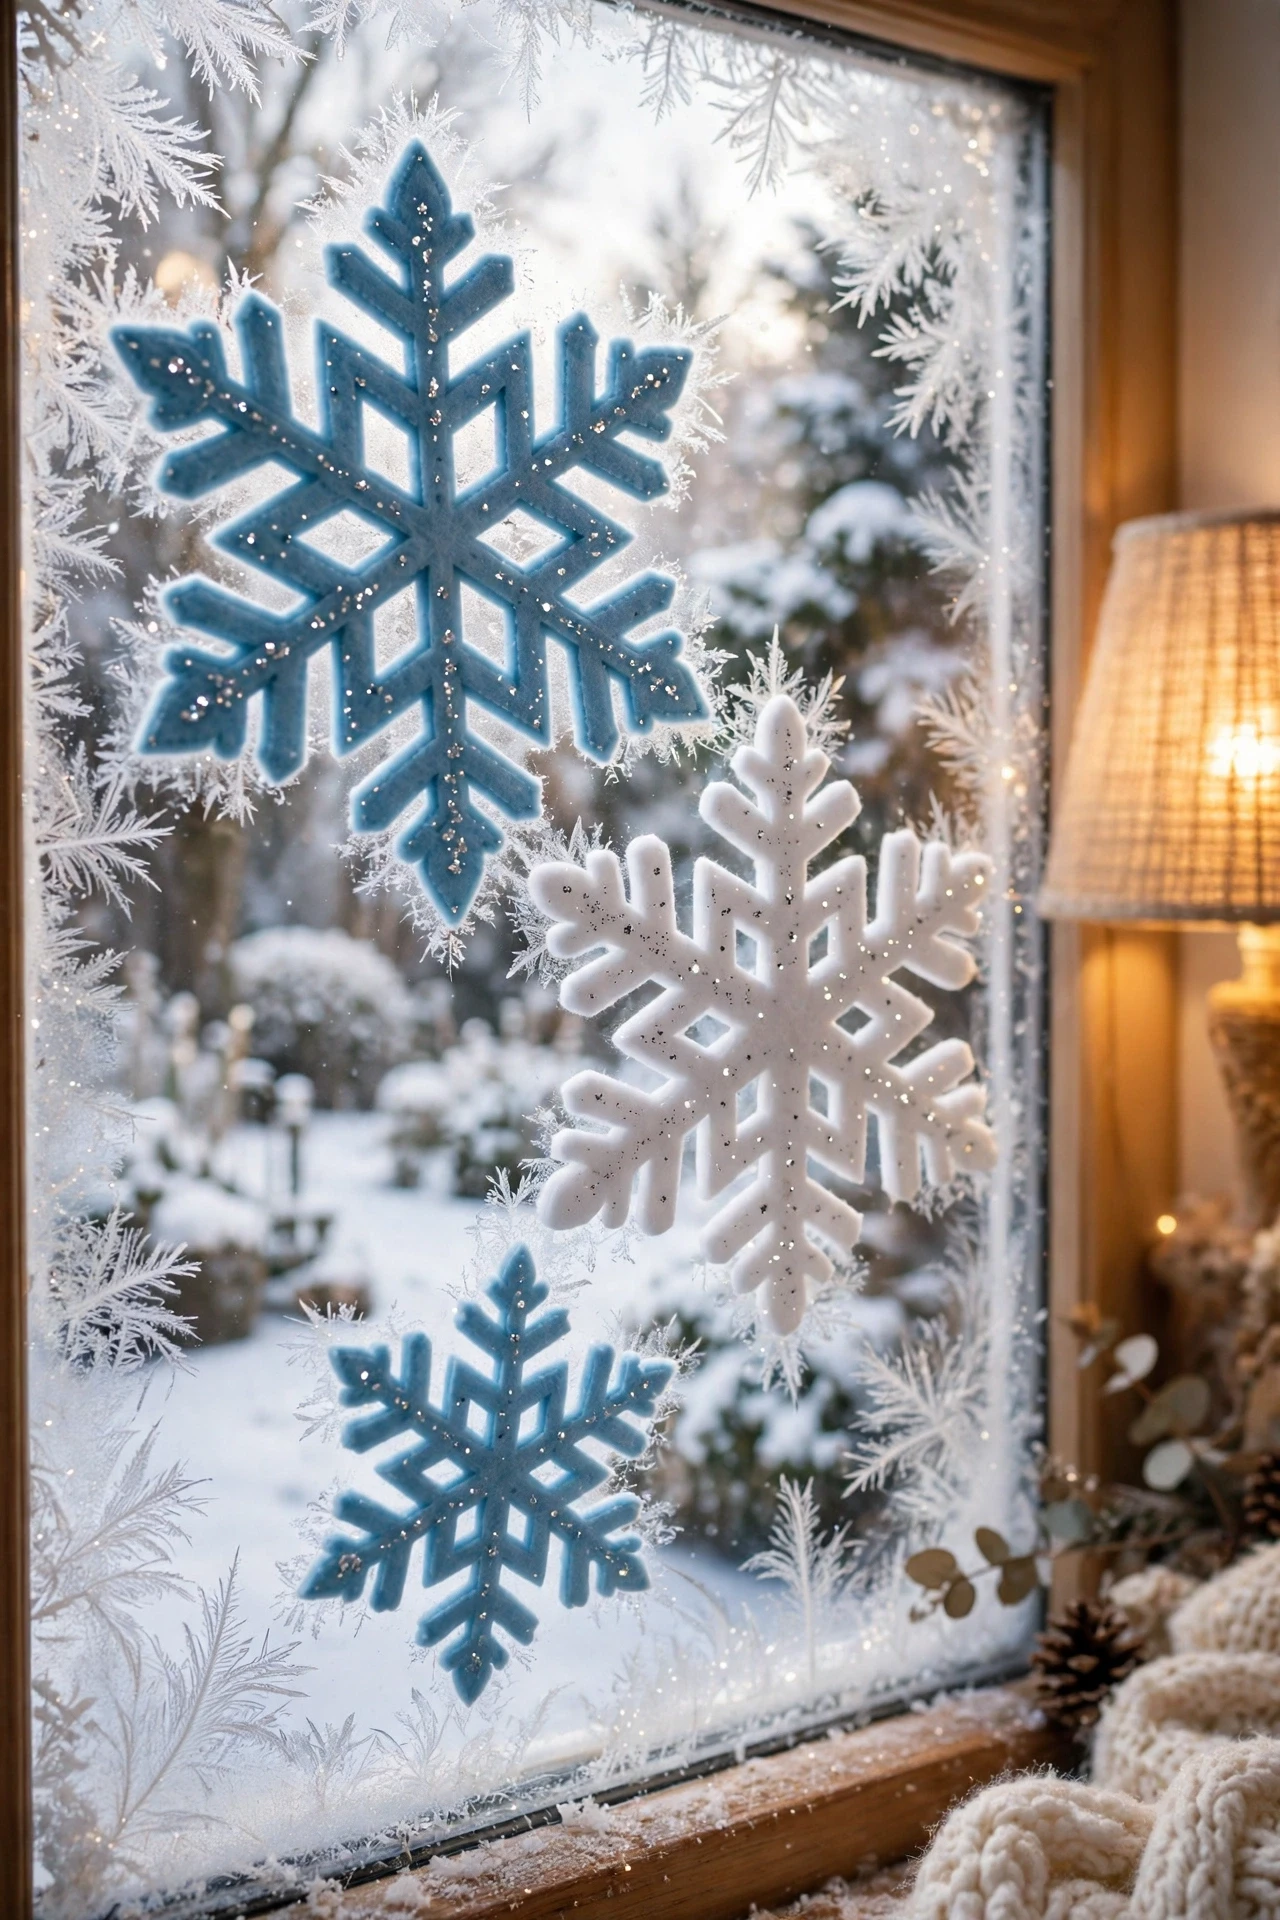
Before: a bare window that looks plain after dark.
After: a sparkling winter scene that glows softly from inside and outside.
Cut snowflakes from white and icy blue felt, add tiny silver glitter dots, and press them onto clean glass with small dots of washable glue. Space large and small shapes across the pane, peel them off after the holidays, and store them flat in an envelope for next year.
Ribbon Wrapped Candle Glow

- Choose tall pillar candles and matching red and gold plaid ribbon.
- Wrap the ribbon twice around each candle and secure it at the back with double sided tape.
- Set the candles on a wooden tray with pine sprigs, pinecones, and red berries.
- Light them only while you are in the room and keep them away from curtains.
Group candles in odd numbers for a natural look, and mix heights so the tray feels layered rather than flat. Battery candles work well if you have small children or pets, and they still give a warm flicker through the ribbon at dinner time together.
Paper Star Tree Topper
| Option | Cost | Best For |
| Folded craft paper | About $1.25 a pack | Crisp, sharp points |
| Brown paper bags | Nearly free at home | Rustic, warm texture |
| Glitter scrapbook paper | About $1.25 a sheet | Extra sparkle on dark trees |
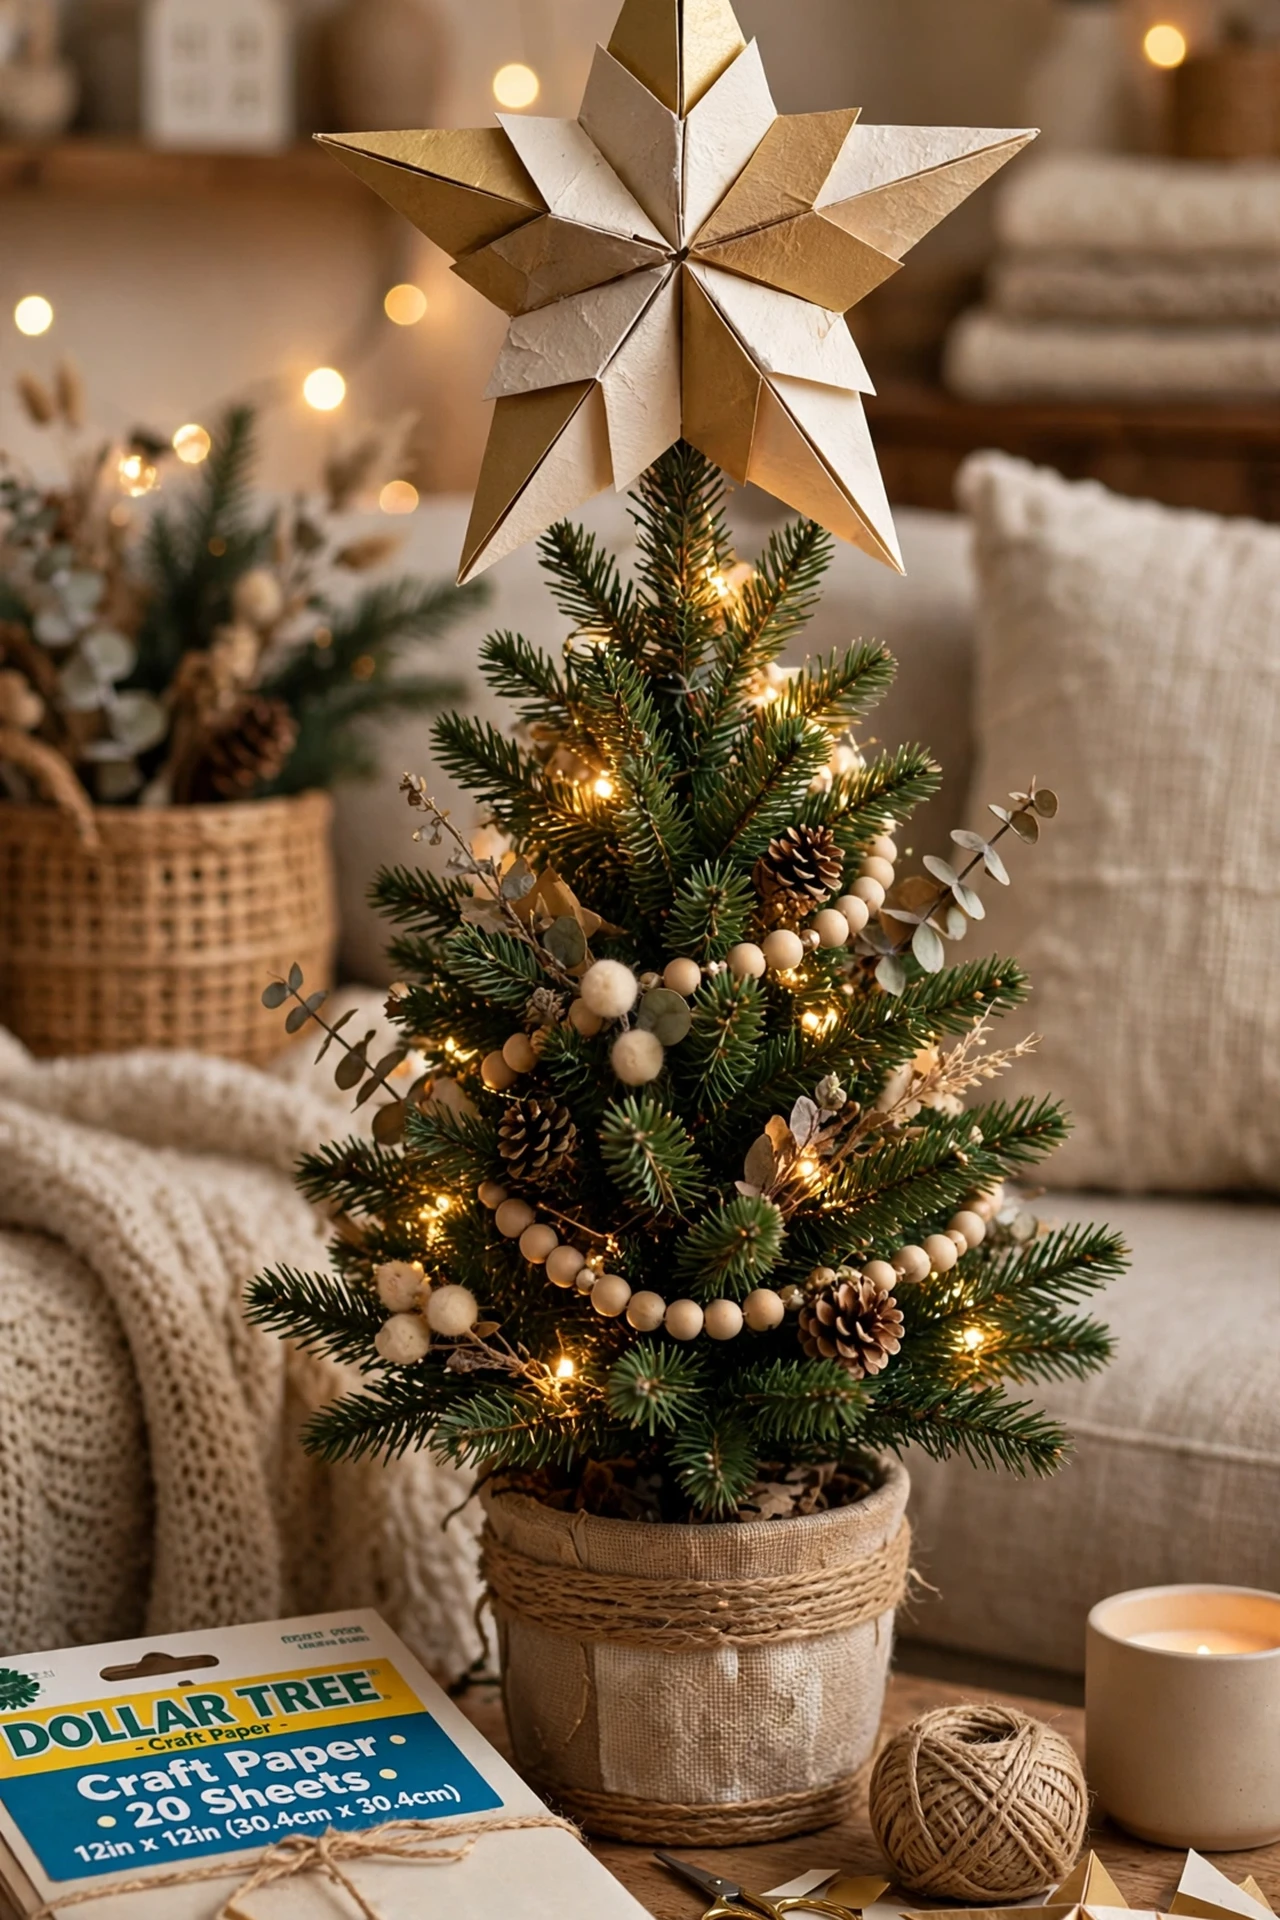
Fold each sheet into a five pointed star, glue the layers, and add a small paper loop at the back so the topper slides over the top branch without slipping. Keep the star light, test it early, and tuck a battery fairy light behind it for a glow that makes the tree look finished.
Rustic Twig Wreath Charm
Do: Pick straight, dry twigs for a neat, sturdy shape.
- Trim every twig to a similar length before you start bending.
- Bind the ring with floral wire, then cover the joins with twine.
- Add red berries and a small plaid bow for a festive finish.
Don’t: Use green twigs that bend, snap, or drop sap later.
- Do not overload one side, or the wreath will hang unevenly.
- Do not use weak glue alone on a door that opens often.
- Do not skip a hanging loop, or the wreath may slip down.
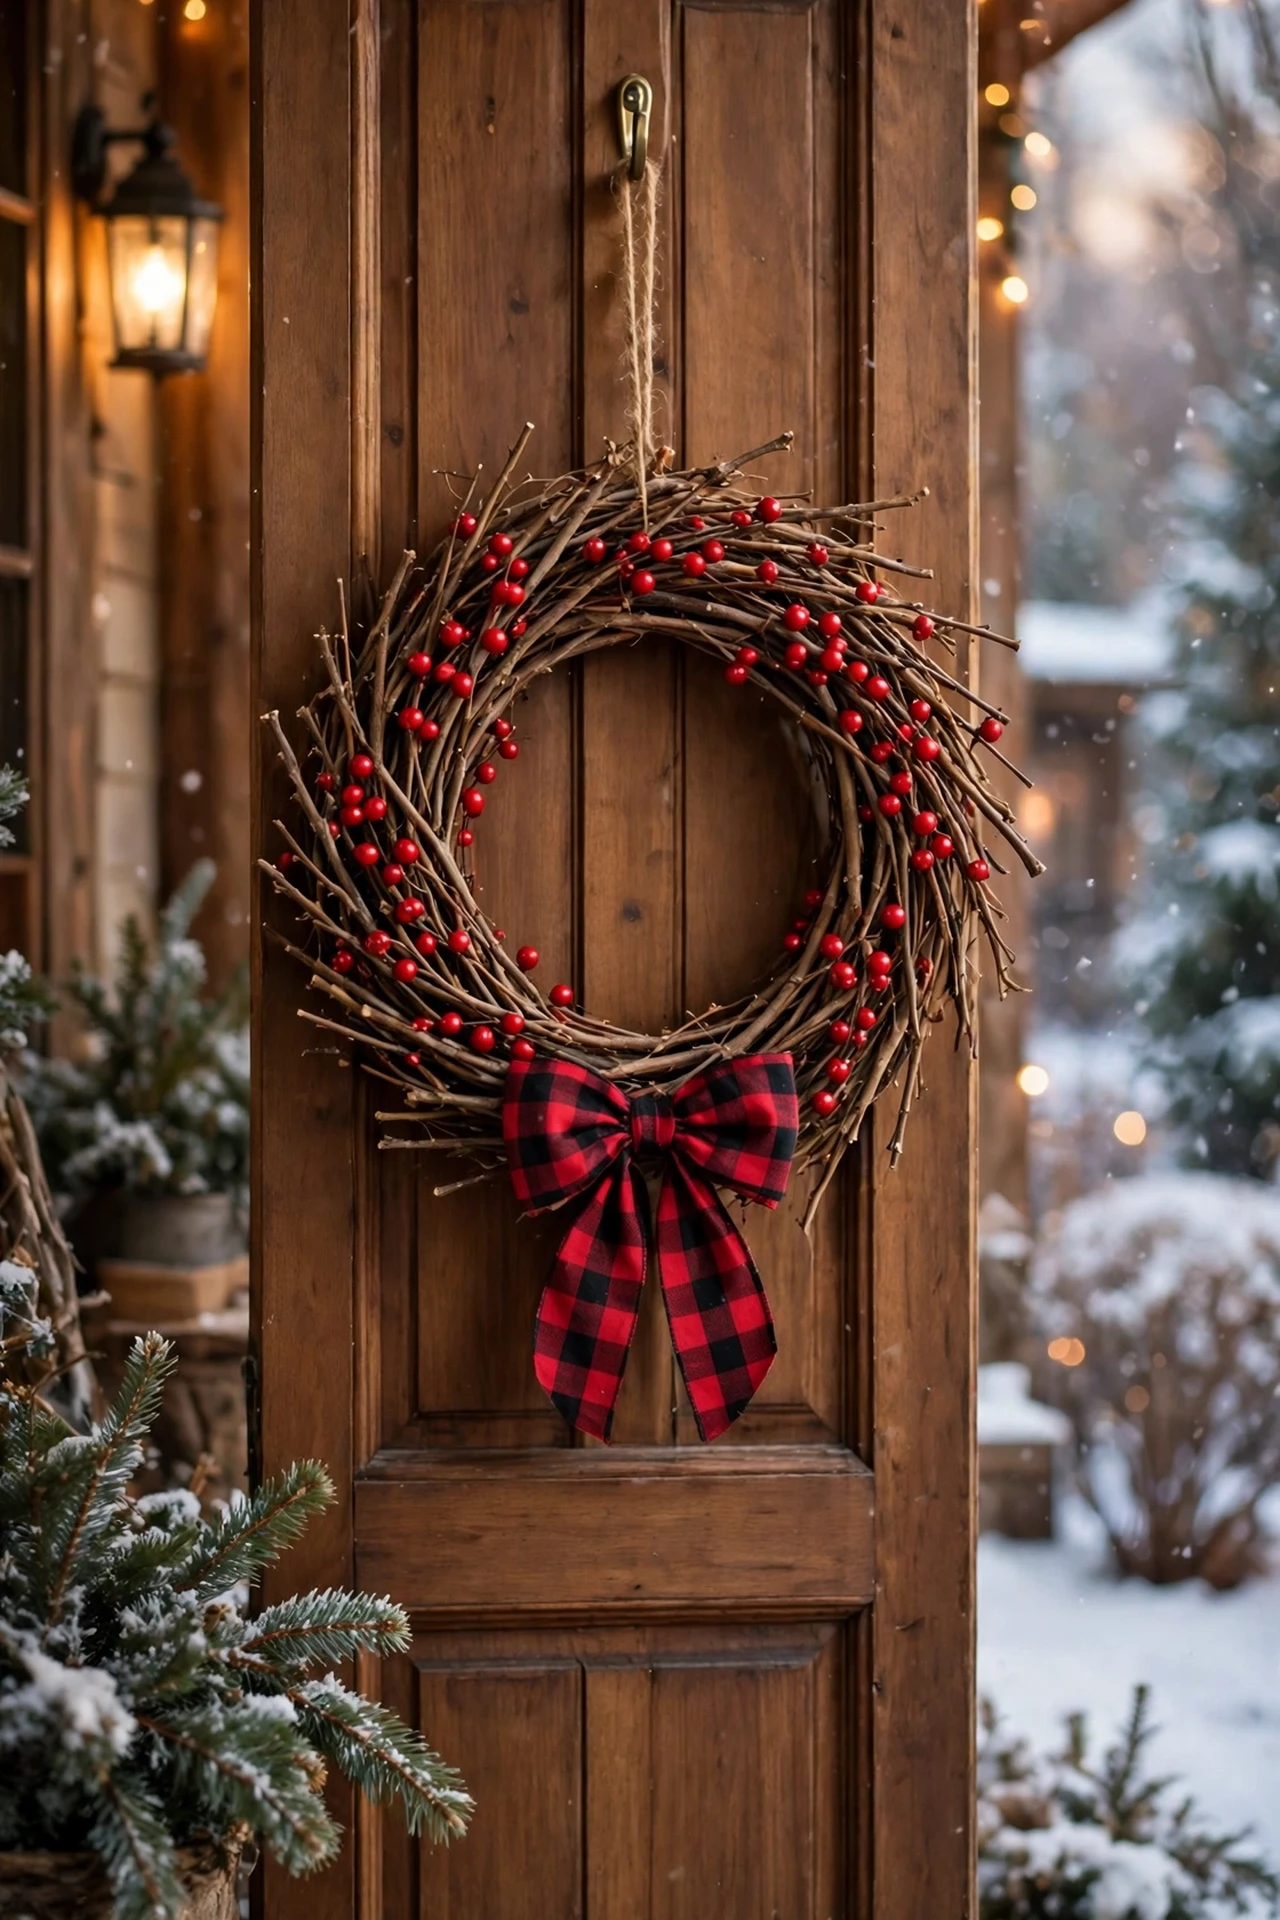
Hang the wreath at eye level, step back to check the shape, and fluff the berries so the charm reads clearly from the porch. A light spray of clear sealant helps the twigs hold their colour through the season and keeps loose bits from shedding indoors.
Frosted Glass Bottle Lights
Cost: About $1.25 per bottle, plus fairy lights you may already own.
Time: Around 30 minutes, plus drying time for the frost spray.
Skill level: Easy, and fun for older kids with adult help.
Lasts: All season, if you store the bottles upright and dry.
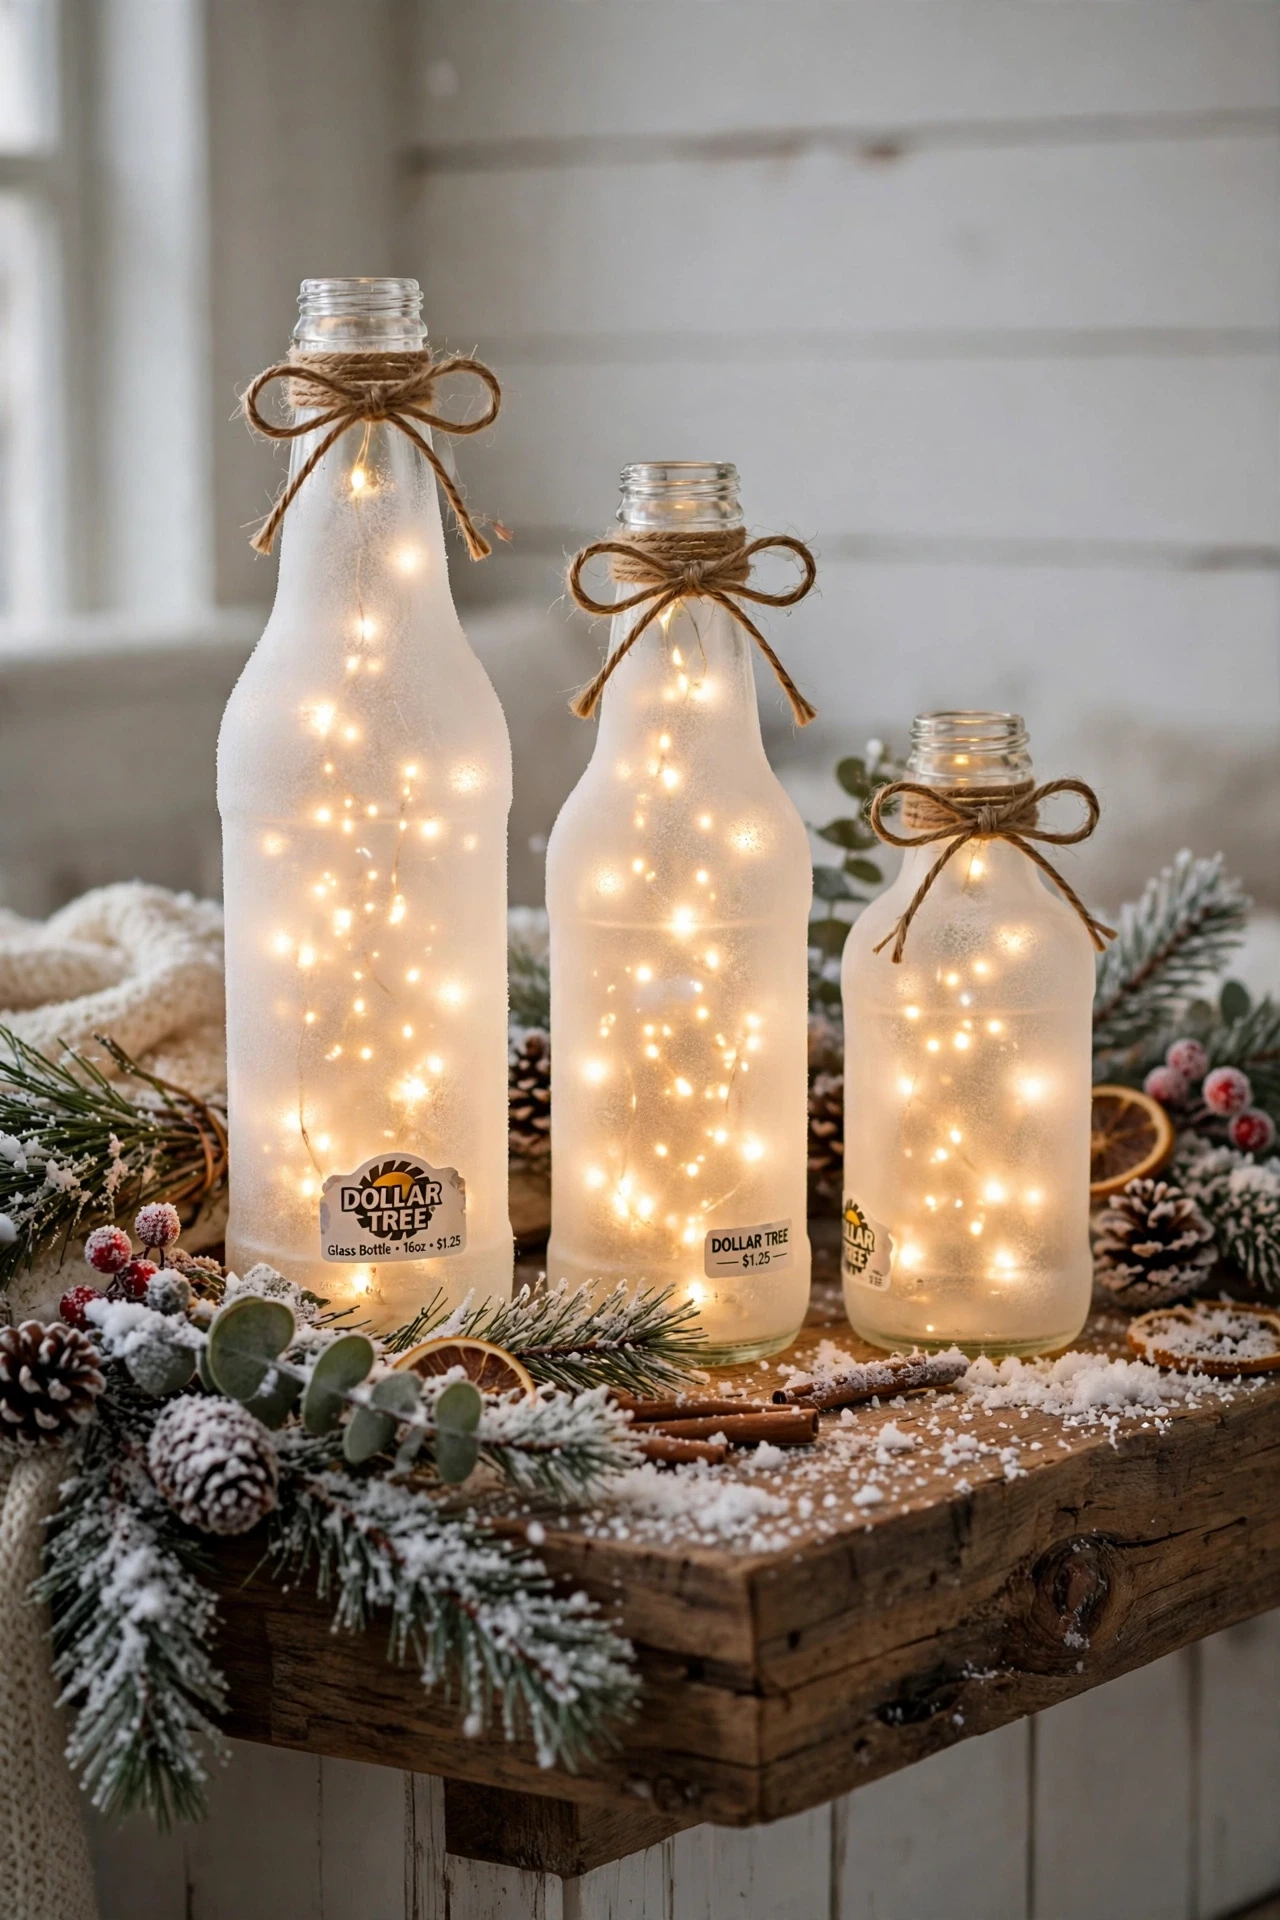
Clean each bottle, spray a light frost coat, and let it dry fully before you add the lights. Place one bottle on each side of the mantel, tuck pine sprigs around the bases, and switch the lights on at dusk for a gentle winter glow that suits quiet evenings.
Burlap Stocking Mantel Row
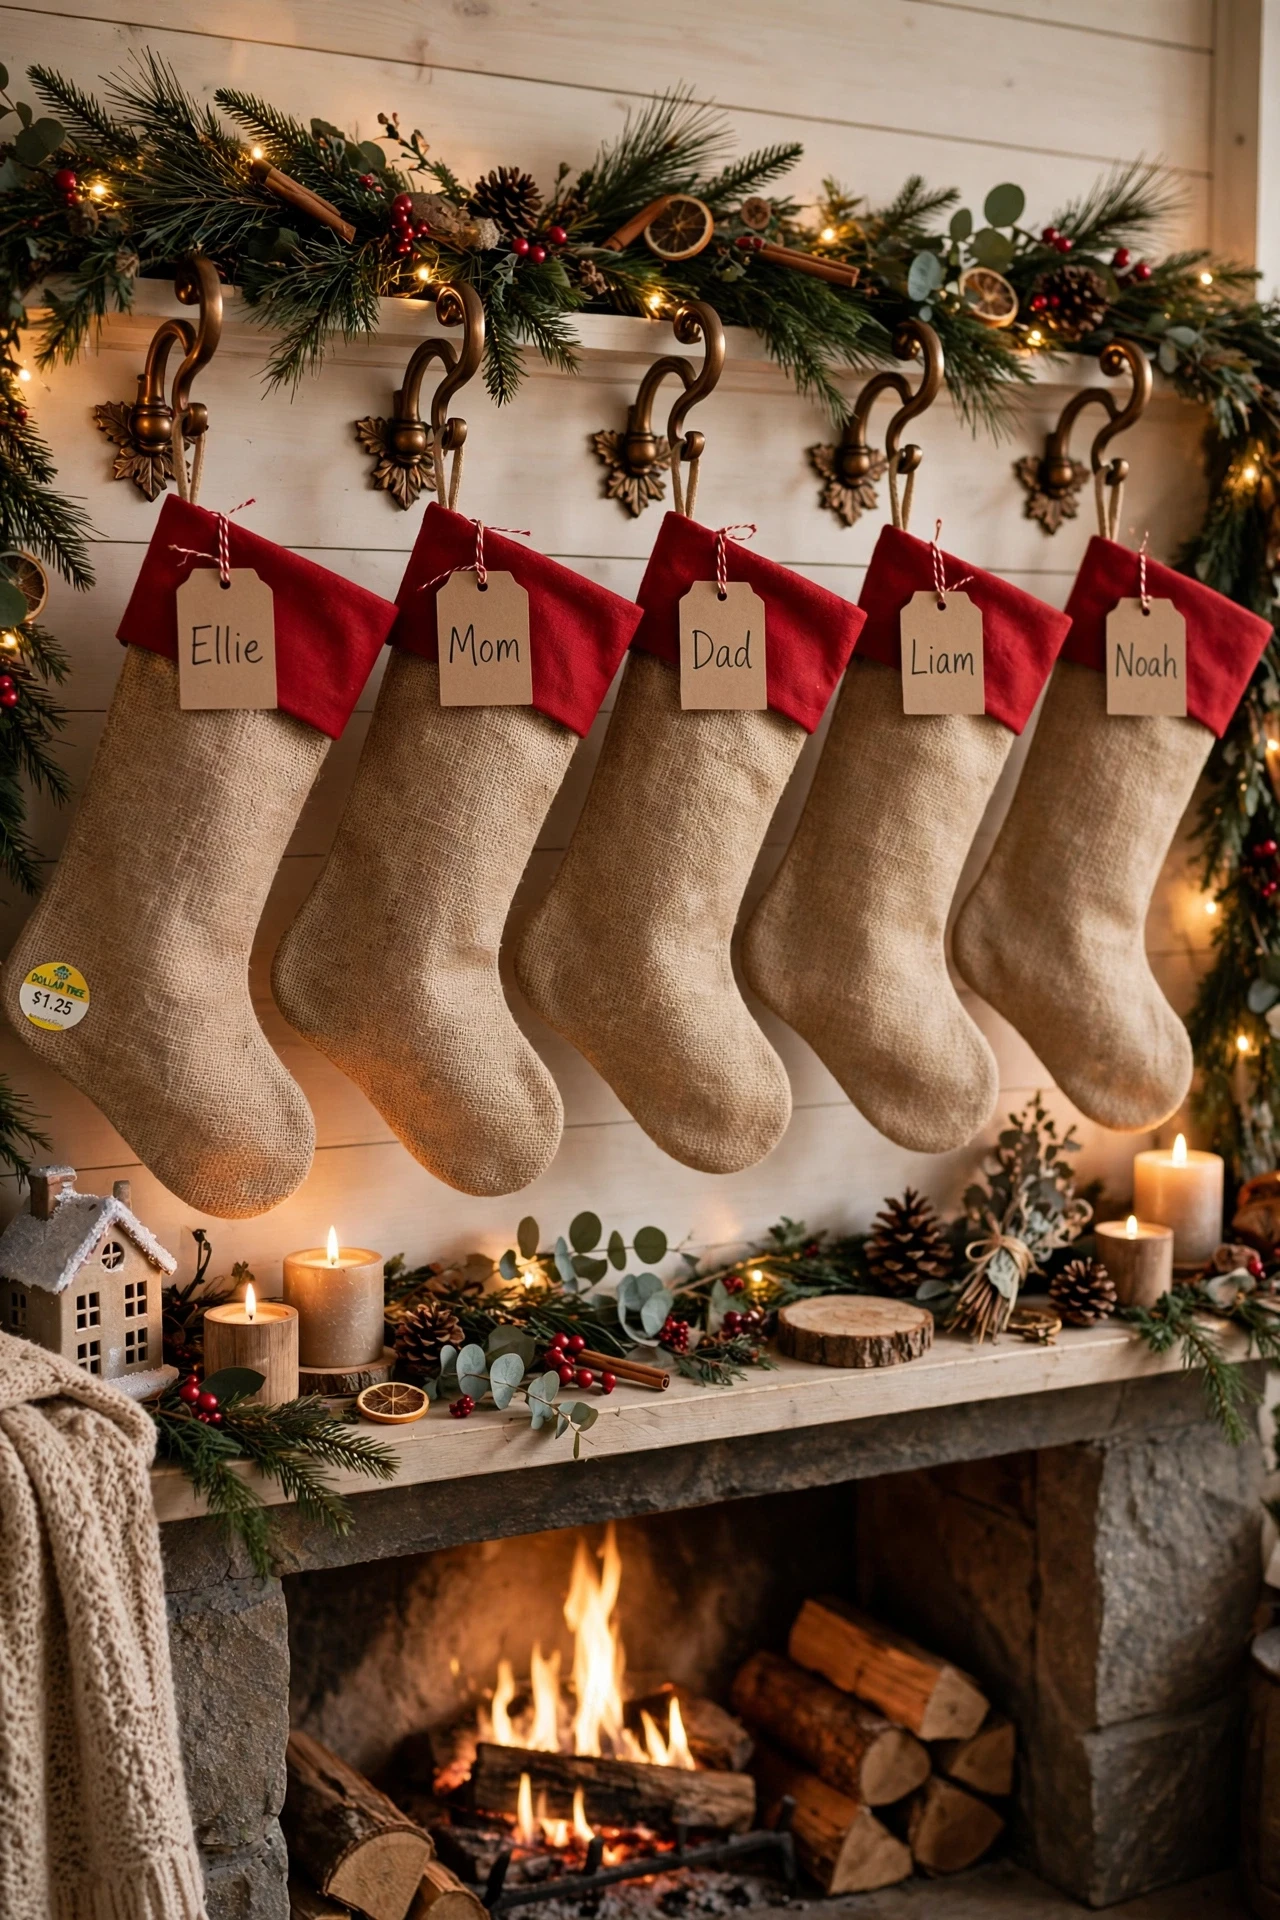
Start with burlap stockings from the dollar store, then give each one a red cuff, a felt initial, and a small jingle bell so every family member has a spot. Space them evenly along the mantel, use holders that match the weight, and keep stockings away from flames or hot bulbs.
In my experience, a row looks best when the cuffs match but the trims differ, so each stocking feels personal without looking messy. Add a garland behind the row, fluff the cuffs, and check that nothing hangs over the firebox before you light the room for the evening.
Candy Cane Vase Display

- Glue candy canes upright around a straight glass vase, alternating red and white stripes.
- Tie a wide red ribbon around the middle to hide the glue line.
- Fill the vase with water, fresh pine sprigs, and red carnations.
- Add a few small gold ornaments at the base for extra sparkle.
- Place the display on a tray so drips never reach the tablecloth.
Set the vase where guests can see it from the door, trim any stems that lean too far, and refresh the water every few days. This cheerful centrepiece costs very little, takes under an hour, and brings a sweet shop feeling to a side table or holiday buffet.
Chalkboard Gift Tag Tree
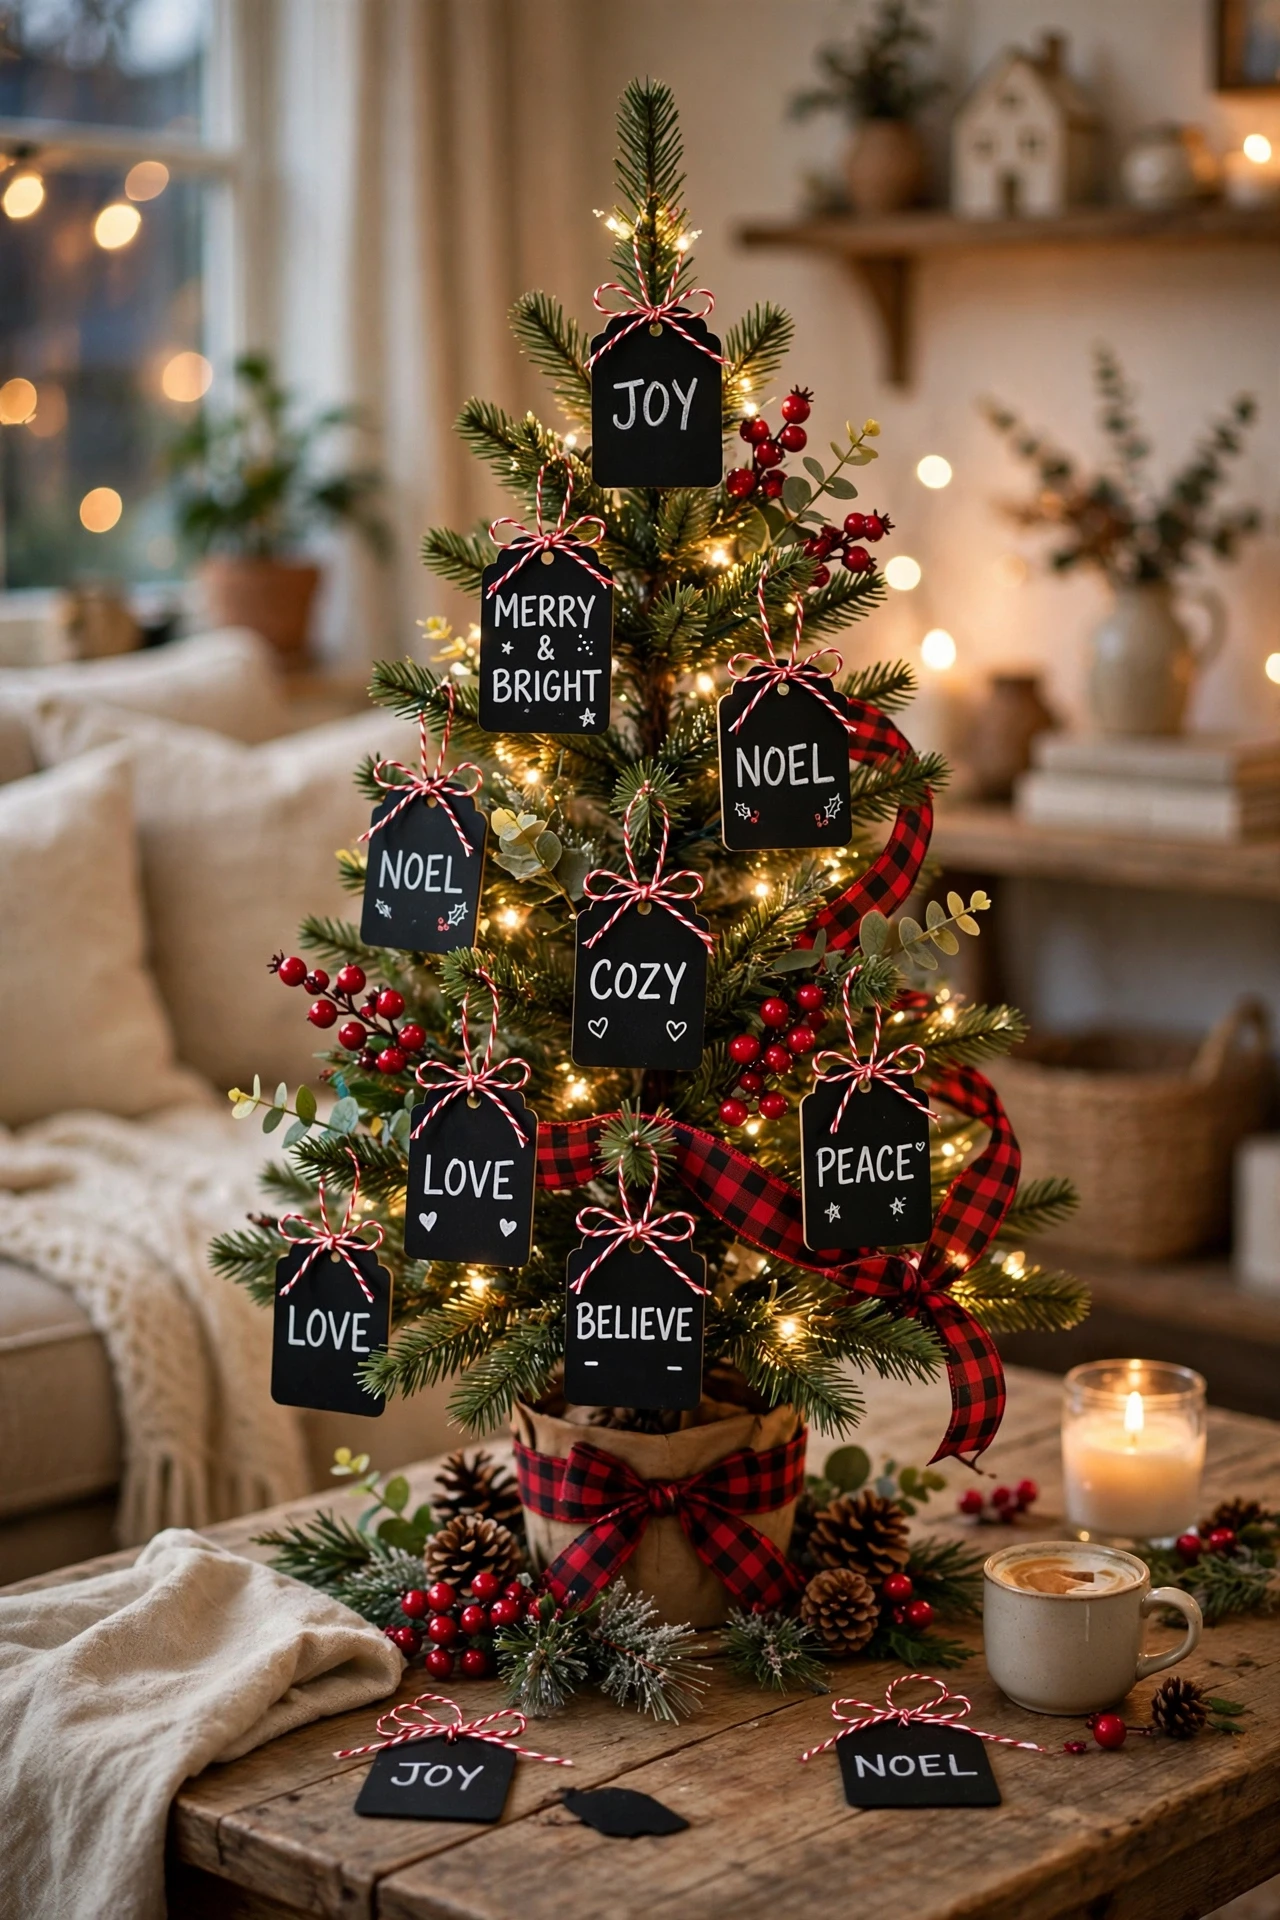
Quick Tip: Write each guest name in white chalk marker so tags double as place cards at dinner.
Start with a faux tree, cut cardstock into tag shapes, and punch a hole in each one. Tie tags on with red and white twine, add mini ornaments, and tuck battery fairy lights inside the branches for a warm glow. Finish with a plaid bow on top and a basket base for a charming display.
Pinecone Fireplace Garland Glow

Before: A bare mantel with a plain garland looks flat and forgettable.
After: Pinecones, greenery, and warm lights turn it into a glowing holiday focal point.
Drape a greenery garland across the mantel, then nestle pinecones, baubles, and berry picks into the branches. Weave battery fairy lights through the garland, keeping the cord hidden behind the greenery, and place candles at each end for balance. Step back, fluff the branches, and adjust dark gaps until the glow looks even.
Jingle Bell Door Hanger
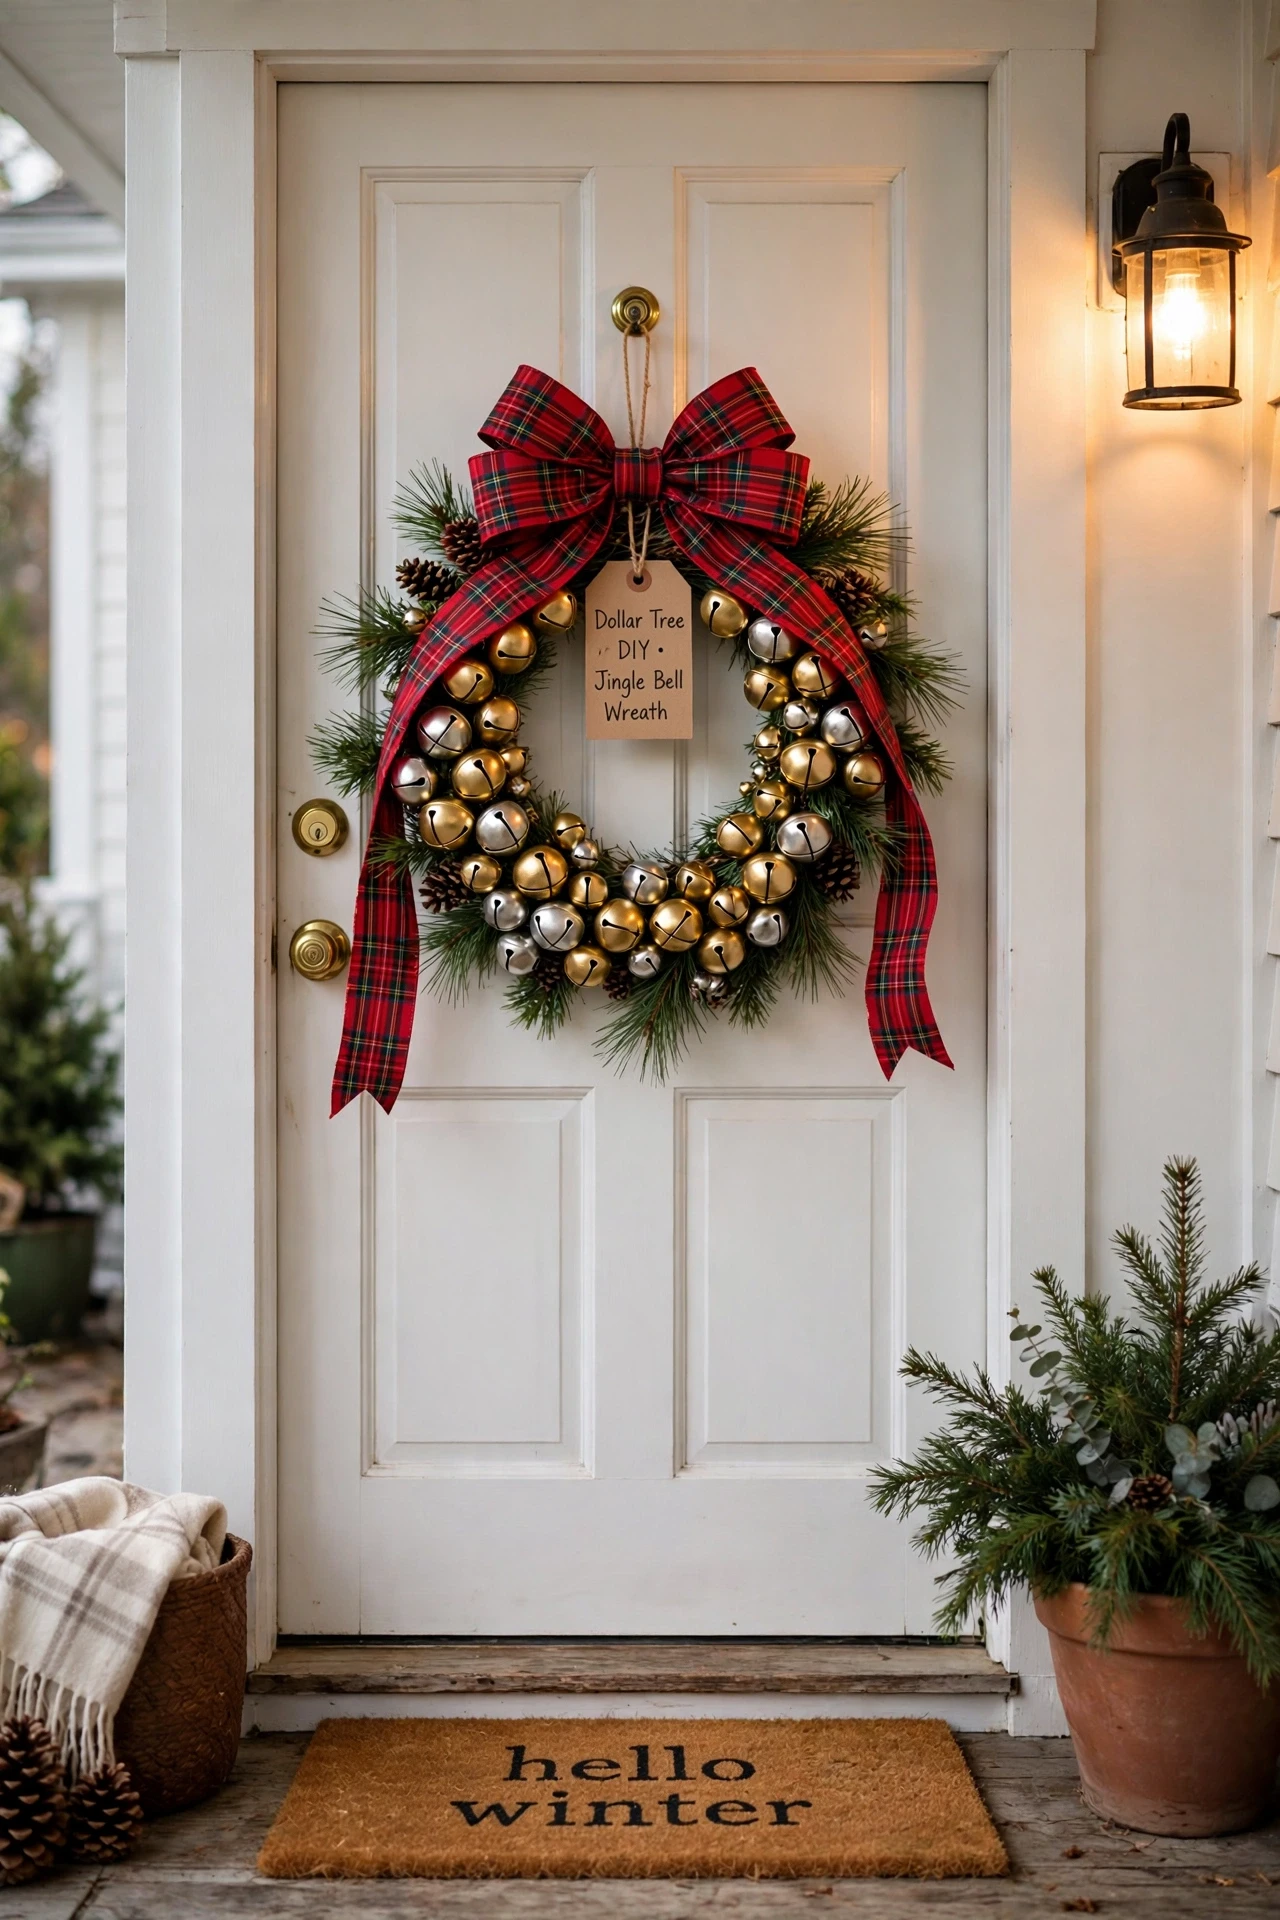
- Thread gold and silver bells onto sturdy ribbon, spacing them evenly along the length.
- Tie a large plaid bow at the top and add a pine sprig behind it.
- Hang the hanger from a wreath hook, then test the door so bells ring freely.
- Add a small wooden welcome sign if you want extra charm.
Choose bells of varied sizes so the sound stays cheerful rather than harsh, and keep the ribbon short enough that it clears the door frame. Hang it on the front door for guests, or try a bedroom door for a surprise. Shake it, tighten any knots, and enjoy a jingle every time someone walks through.
Snowman Mason Jar Trio
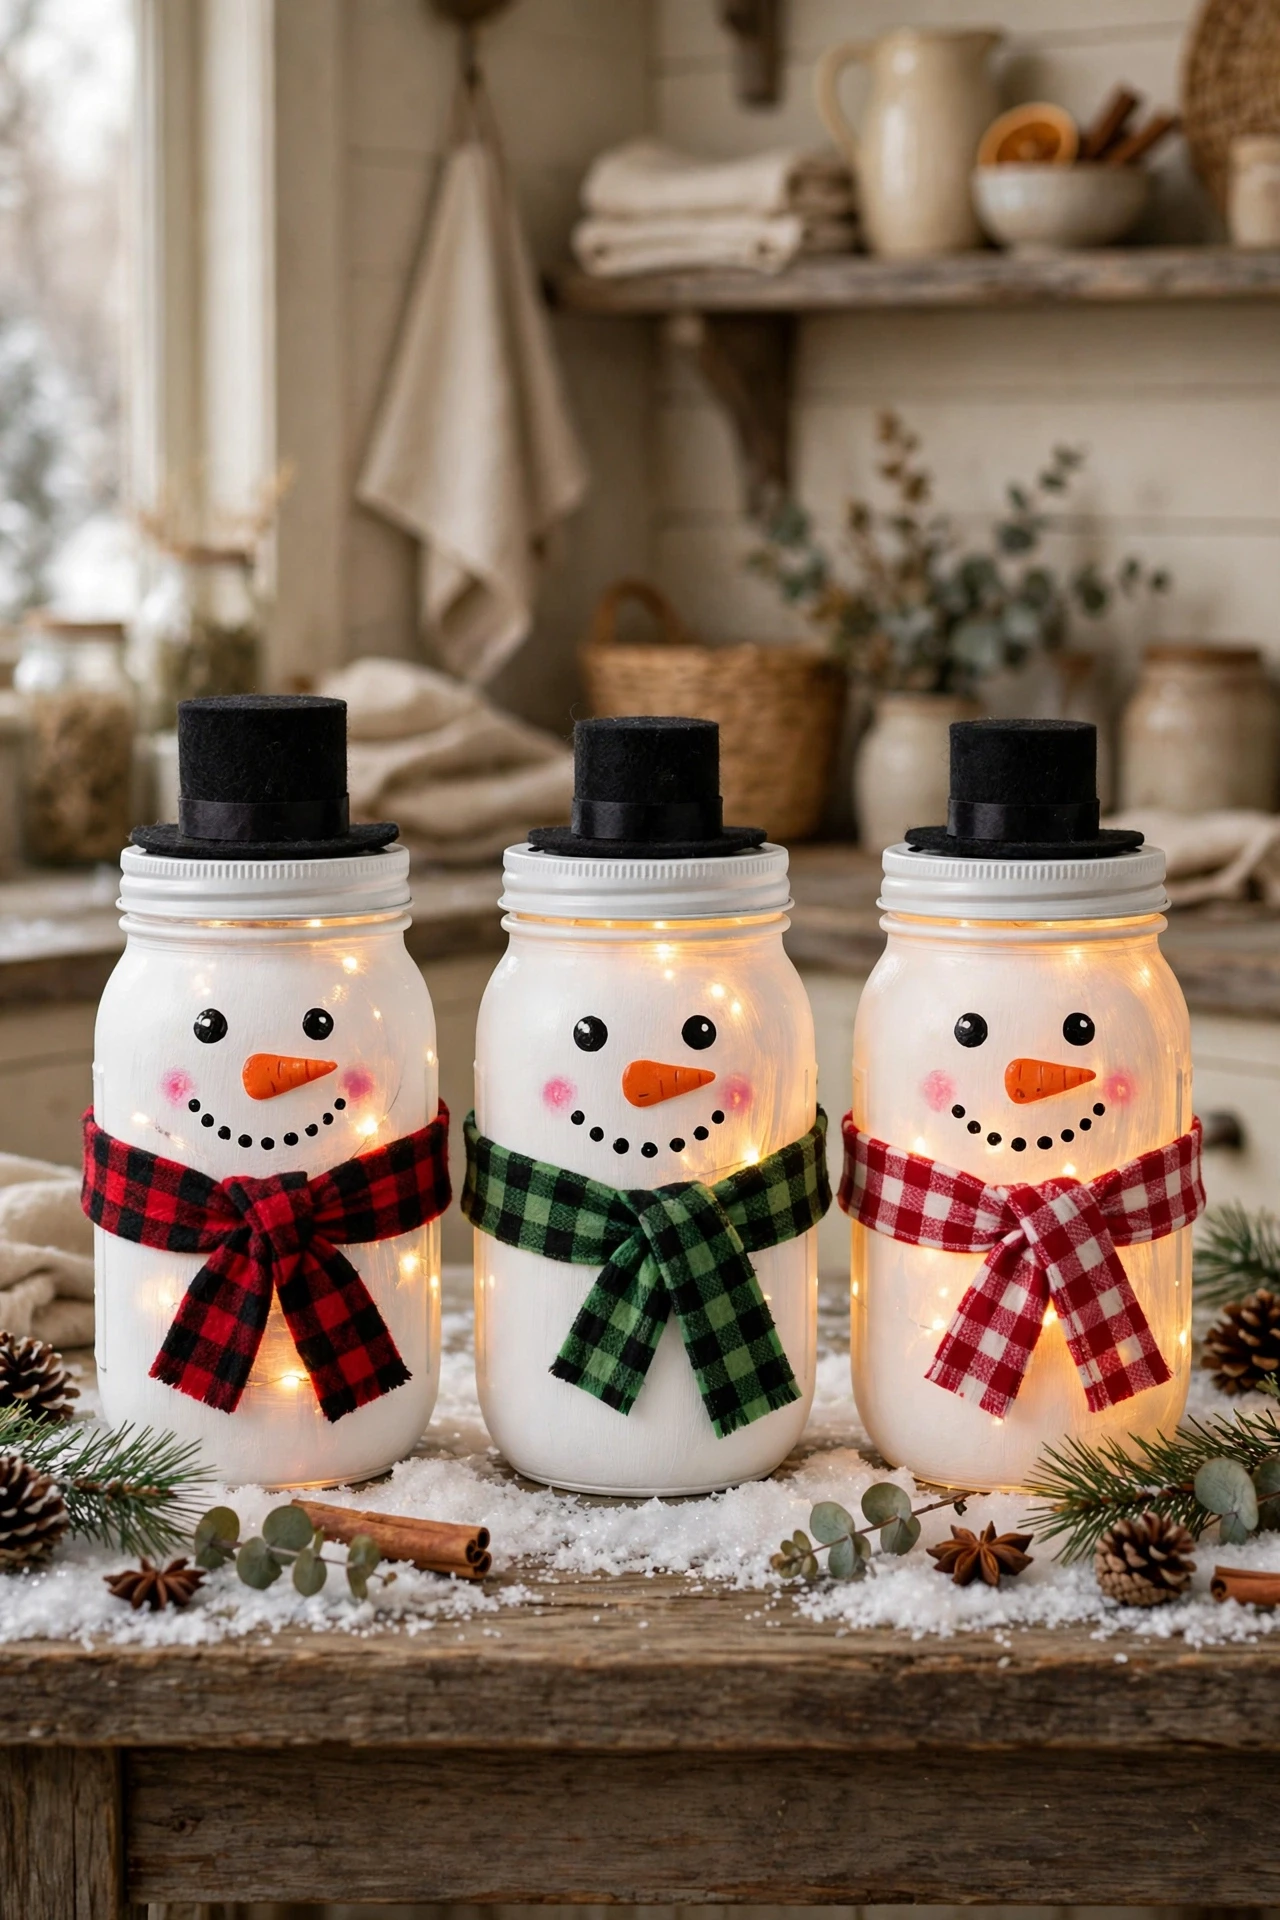
| Jar | Paint detail | Finishing touch |
| Tall jar | White paint and black button dots | Black felt hat |
| Medium jar | Rosy cheeks and a carrot nose | Red plaid scarf |
| Small jar | Simple smile and tiny earmuffs | Gold star pick |
Paint jars white, let coats dry fully, then add black dot eyes and an orange triangle nose. Wrap ribbon scarves around the necks, pop battery tea lights inside, and group the trio on a tray with faux snow and pine sprigs. In my experience, two thin coats cover glass more smoothly than one thick coat.
Plaid Ribbon Staircase Swag
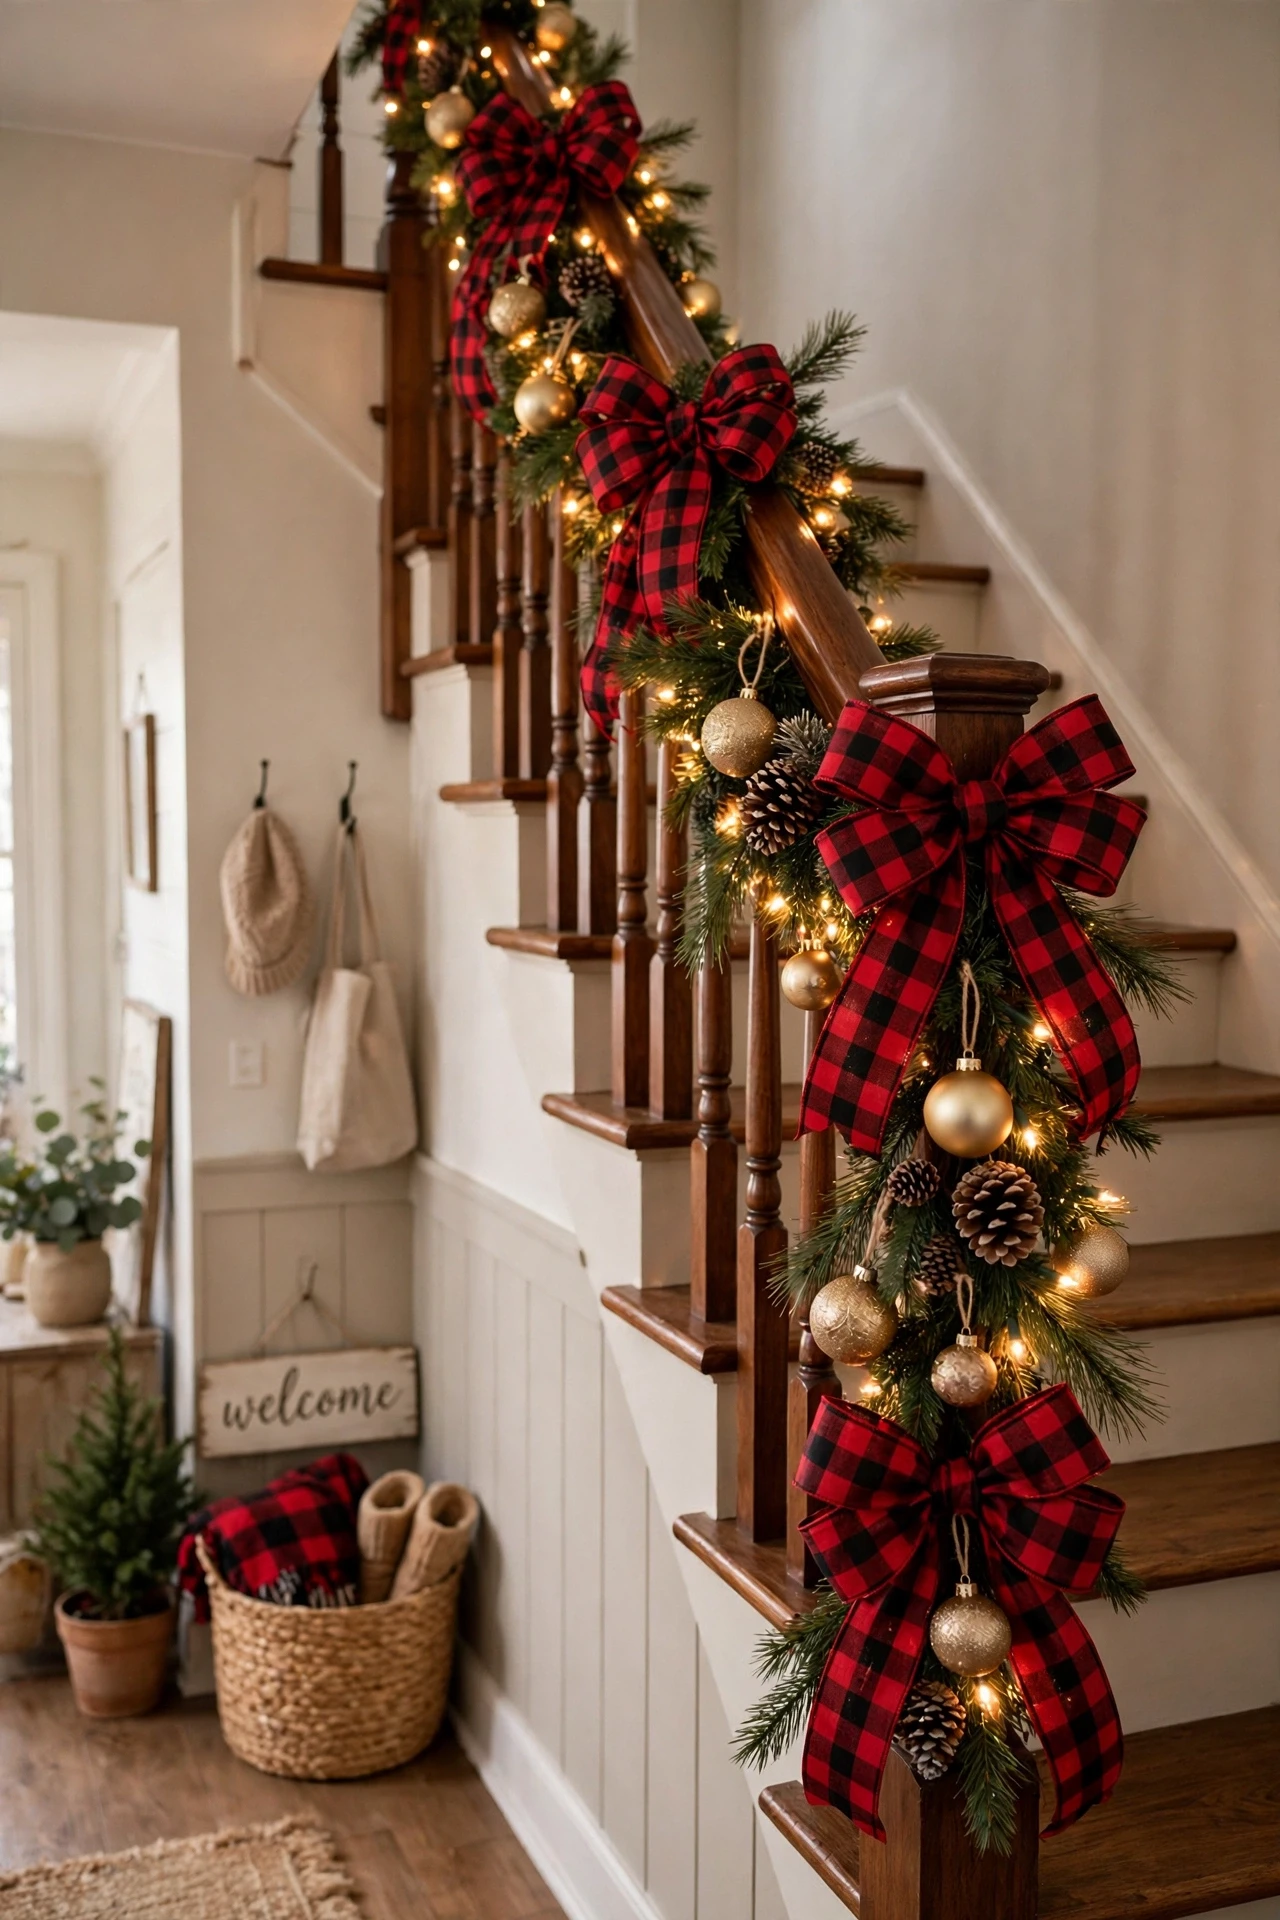
Do: Choose wide plaid ribbon in red and black so bows read clearly from the hallway.
Do: Secure each swag with floral wire, not tape, for a tidy hold all season.
Do: Mix pine sprigs, pinecones, and one gold ornament in every swag.
Don’t: Overload the banister, as heavy swags can slip or block the handrail.
Don’t: Use real candles near ribbon and greenery.
Space swags evenly on the banister, starting at the newel post and working upward, with each bow facing the same way. Add battery fairy lights along the rail for sparkle, then check spacing from the foot of the stairs. Tuck greenery into gaps, and your staircase will feel festive and welcoming.
Gold Leaf Ornament Wreath

Supplies: gold ornaments, a foam wreath form, gold ribbon, and battery fairy lights from the dollar store.
Time: about one hour from start to finish, including drying time for glue.
Budget: under ten dollars if you shop sales and reuse ribbon you already own.
Tip: mix shiny and matte gold finishes so the wreath looks full and rich.
Hang it on your front door or above a mantel, then step back and enjoy the glow. Gold ribbon ties the whole look together, while warm lights make the metallic ornaments sparkle after dark. Friends will ask where you bought it, and you can smile knowing it cost only a few dollars to make.
Cozy Cocoa Mug Display
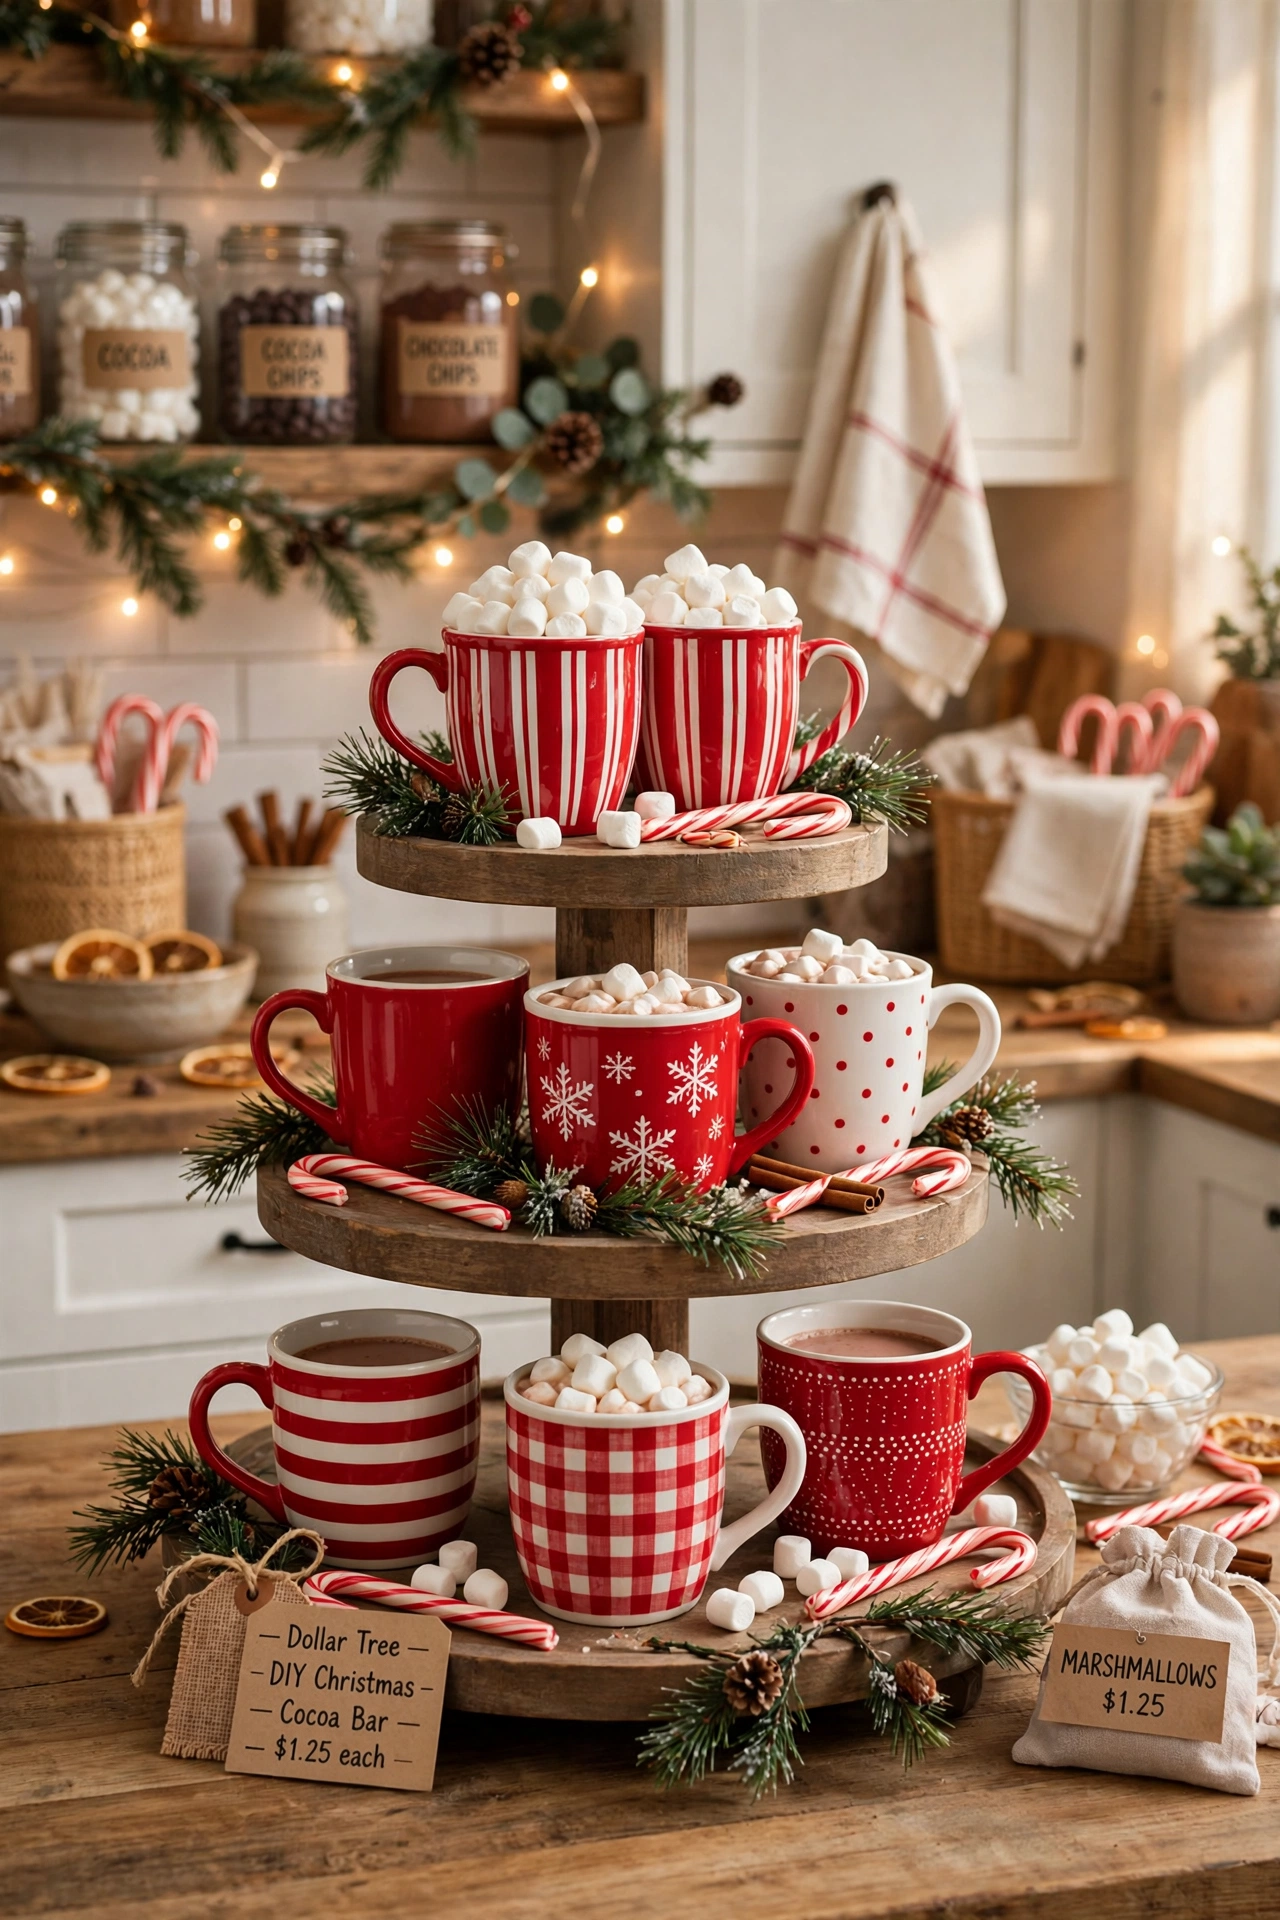
Set a wooden tiered tray on your kitchen counter, then fill it with red and white mugs from the dollar store. Add candy canes, a small jar of marshmallows, and pine garland around the base. A tiny sign with the word cocoa turns the tray into a sweet invitation for guests.
Keep cocoa packets, cinnamon sticks, and chocolate spoons in the mugs so everything stays tidy and ready. In my experience, a display like this gets used far more than mugs hidden in a cupboard. Swap candy canes for peppermint spoons later, and the tray works all winter.
Village Scene Window Box

- Place a long window box on a deep sill or a sturdy table near a window.
- Line the bottom with white batting or cotton to look like fresh snow.
- Set tiny houses, bottle brush trees, and a small church in a loose row.
- String battery fairy lights behind the houses so windows glow warmly.
- Dust fake snow over rooftops and add a tiny lamppost for charm.
Stand back at dusk and watch the little village light up like a storybook street. The warm glow draws the eye straight to the window, and children love spotting each tiny house and tree. Keep cords hidden behind the box, switch lights on each evening, and enjoy a magical view all season long.
Twinkling Jar Lantern Path

Quick Tip: Use battery fairy lights with a timer so your jars glow each evening without any daily fuss.
Line mason jars along a walkway, a porch edge, or garden steps, then tuck pine sprigs and red ribbon around each lid. The soft light guides guests safely to your door while making the whole entrance feel warm and welcoming. On snowy nights the glow reflects beautifully, turning a simple path into a festive welcome.
Red Truck Table Centerpiece

Before: a plain table runner with no focal point and little holiday cheer.
After: a cheerful red truck carrying a tiny tree, ringed with pine, pinecones, and twinkling lights.
Place the truck in the centre of your table, then scatter pine sprigs, pinecones, and a few gold ornaments around its wheels. Add battery fairy lights for a warm glow at dinner, and keep taller items low so guests can chat across the table. This budget centrepiece looks charming from every seat.
Handmade Felt Garland Charm
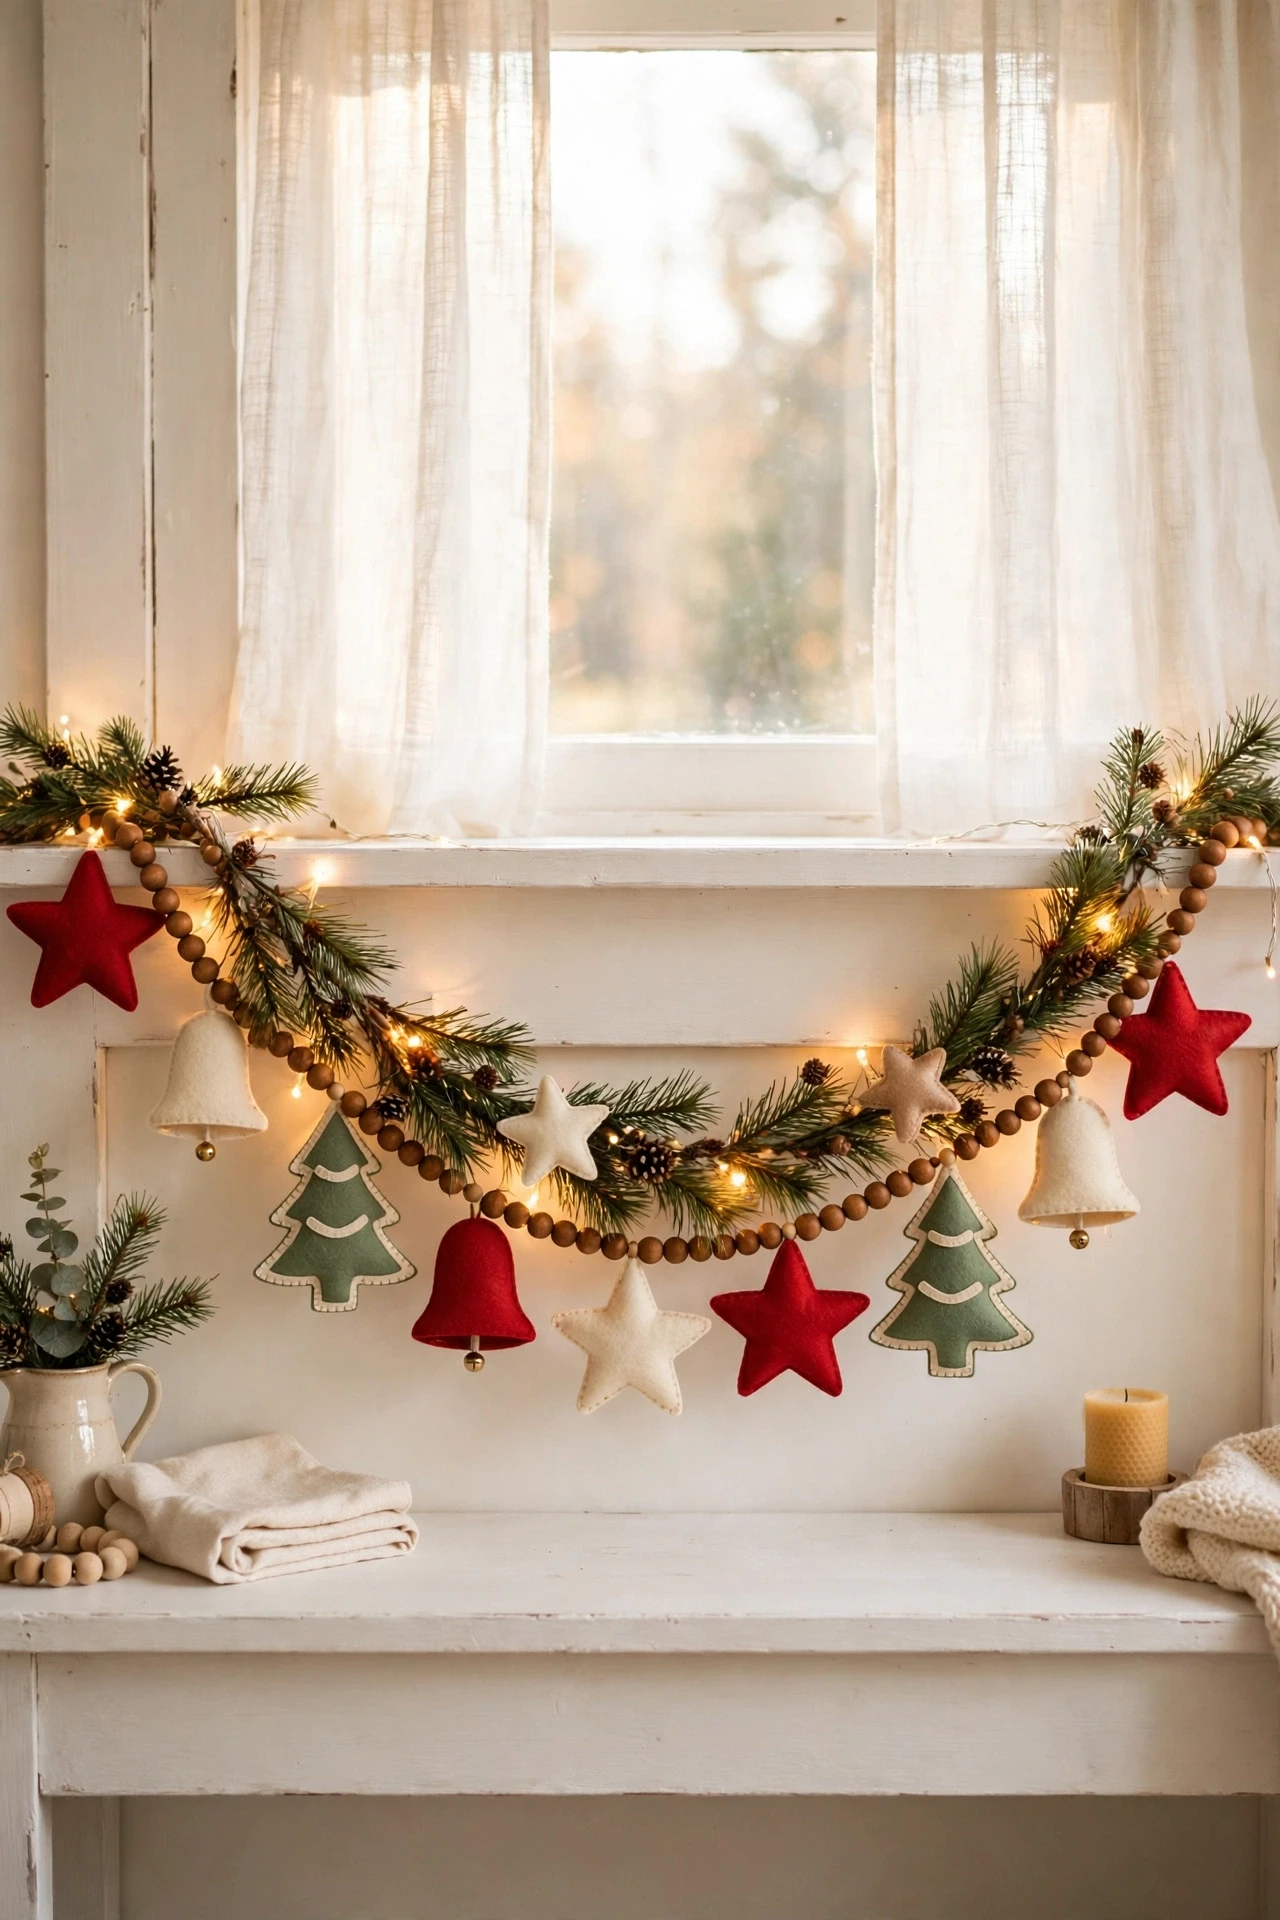
- Cut stars, trees and bells from red, green and cream felt, using simple paper templates so every shape stays neat and even.
- In my experience, stiff felt holds its shape best, so glue a small felt backing behind each piece before you add buttons, beads or tiny bows.
- Thread the shapes onto twine with wooden beads between them, leaving a small gap so the garland drapes softly.
- Hang the finished garland along the mantel with small clear hooks, then tuck pine sprigs and fairy lights behind it for a soft glow.
Once your garland is hung, step back and adjust the spacing so every shape shows clearly against the mantel. Add a few pine sprigs behind the felt for depth, then switch on the fairy lights at dusk. This simple handmade touch brings warmth, colour and a cheerful handmade feeling to the whole room.
Santa Hat Chair Covers

Santa hat chair covers turn an ordinary dining table into a party in minutes, and Dollar Tree finds keep the whole look budget friendly.
| Option | Cost | Best for |
| Ready made Santa hat covers | A few dollars each | Quick party setup |
| DIY felt hat covers | Very low, from scrap felt | Matching an exact colour theme |
| Knitted or crochet covers | Higher, if handmade | A cozy farmhouse table |
For the best result, slip each cover on smoothly and fluff the white trim so it sits like a real hat brim. Pair the chairs with simple gold plates and green sprigs, then dim the main lights for a warm glow. Guests will smile at the playful detail before they even sit down.
Sparkling Snow Village Shelf

A tiny snow village makes a plain shelf feel magical, and dollar store finds keep it easy to build and easy to change each year.
Do: Choose varied heights, warm lights and a plain backdrop.
- Choose cottages in varied heights and warm window colours for a lively street look.
- Add bottle brush trees, faux snow and one string of tiny lights for sparkle.
- Keep the shelf background plain so the village stays the star.
Don’t: Crowd the shelf, use harsh lights or glue pieces down too soon.
- Overload the shelf with large ornaments that hide the tiny houses.
- Use harsh bright lights that wash out the warm window glow.
- Glue pieces down until you are happy with the full arrangement.
When the village is finished, place it where soft evening light can catch the tiny windows and snowy roofs. Leave a little space between houses so each one shines on its own. This sweet shelf scene turns an ordinary wall into a joyful winter story guests will love to admire.
Conclusion
With so many bright and budget friendly ideas to choose from, the best christmas decor diy dollar tree look is the one that makes your home feel joyful, cozy, and truly yours. Start with one easy project, build it with supplies you already own, and add warm light for a handmade finish. Save this guide on Pinterest, try one idea this week, and share your favourite with a friend who loves a cheerful festive home too. A little paint, a ribbon, and a few thoughtful touches can turn an ordinary home into a celebration worth enjoying every single day.