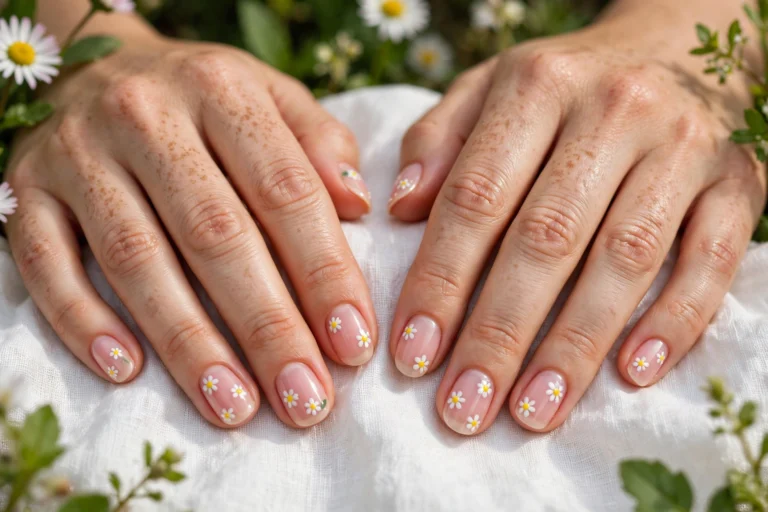
Short nails can still steal the show at every holiday party, and short christmas nails prove that festive style does not need length to look classy. If long nails feel impractical for cooking, wrapping gifts, or typing through a busy December, this collection is made for you. It gathers 24 elegant ideas that keep nails neat, comfortable, and party ready, from classic red French tips to tiny snowflakes, plaid accents, and regal gold crown tips. Each idea works on a short natural shape, uses simple tools, and suits beginners as well as confident home painters. Pick a favourite, save the rest for later, and enjoy a manicure that looks polished from the first party to the last family photo.
Classic Red French Tips
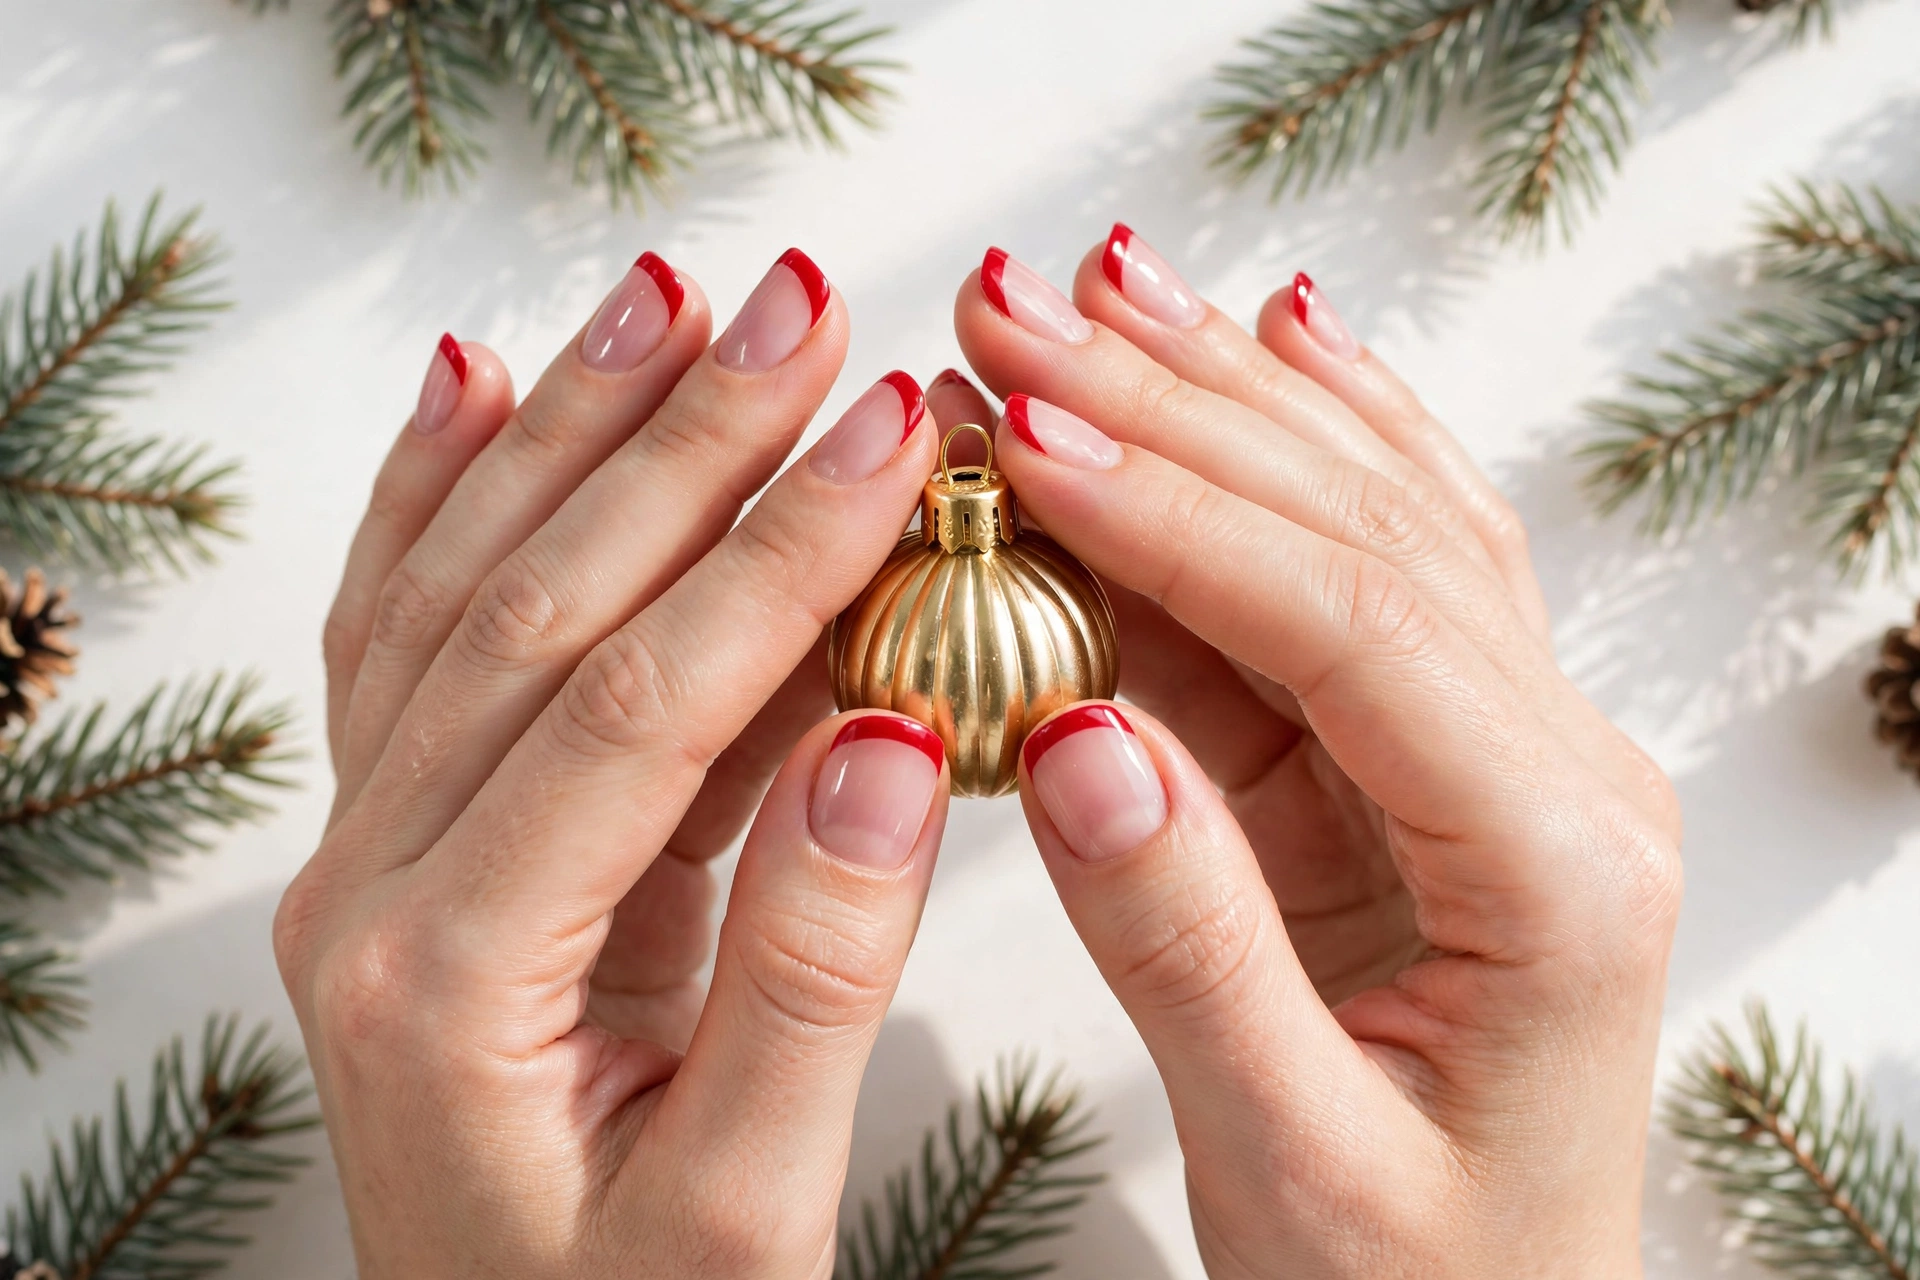
A red French tip keeps a short festive manicure crisp and party ready without extra length. Start with a sheer pink base and let it dry fully. Use a thin brush to draw a slim red smile line across each nail, keeping the curve even. Clean any wobble with a flat brush dipped in remover for a neat edge.
Add two thin coats of classic red for rich colour and a smooth finish. Seal with a glossy top coat and wrap the free edge so the look lasts through celebrations.
Cozy Plaid Accent Nails
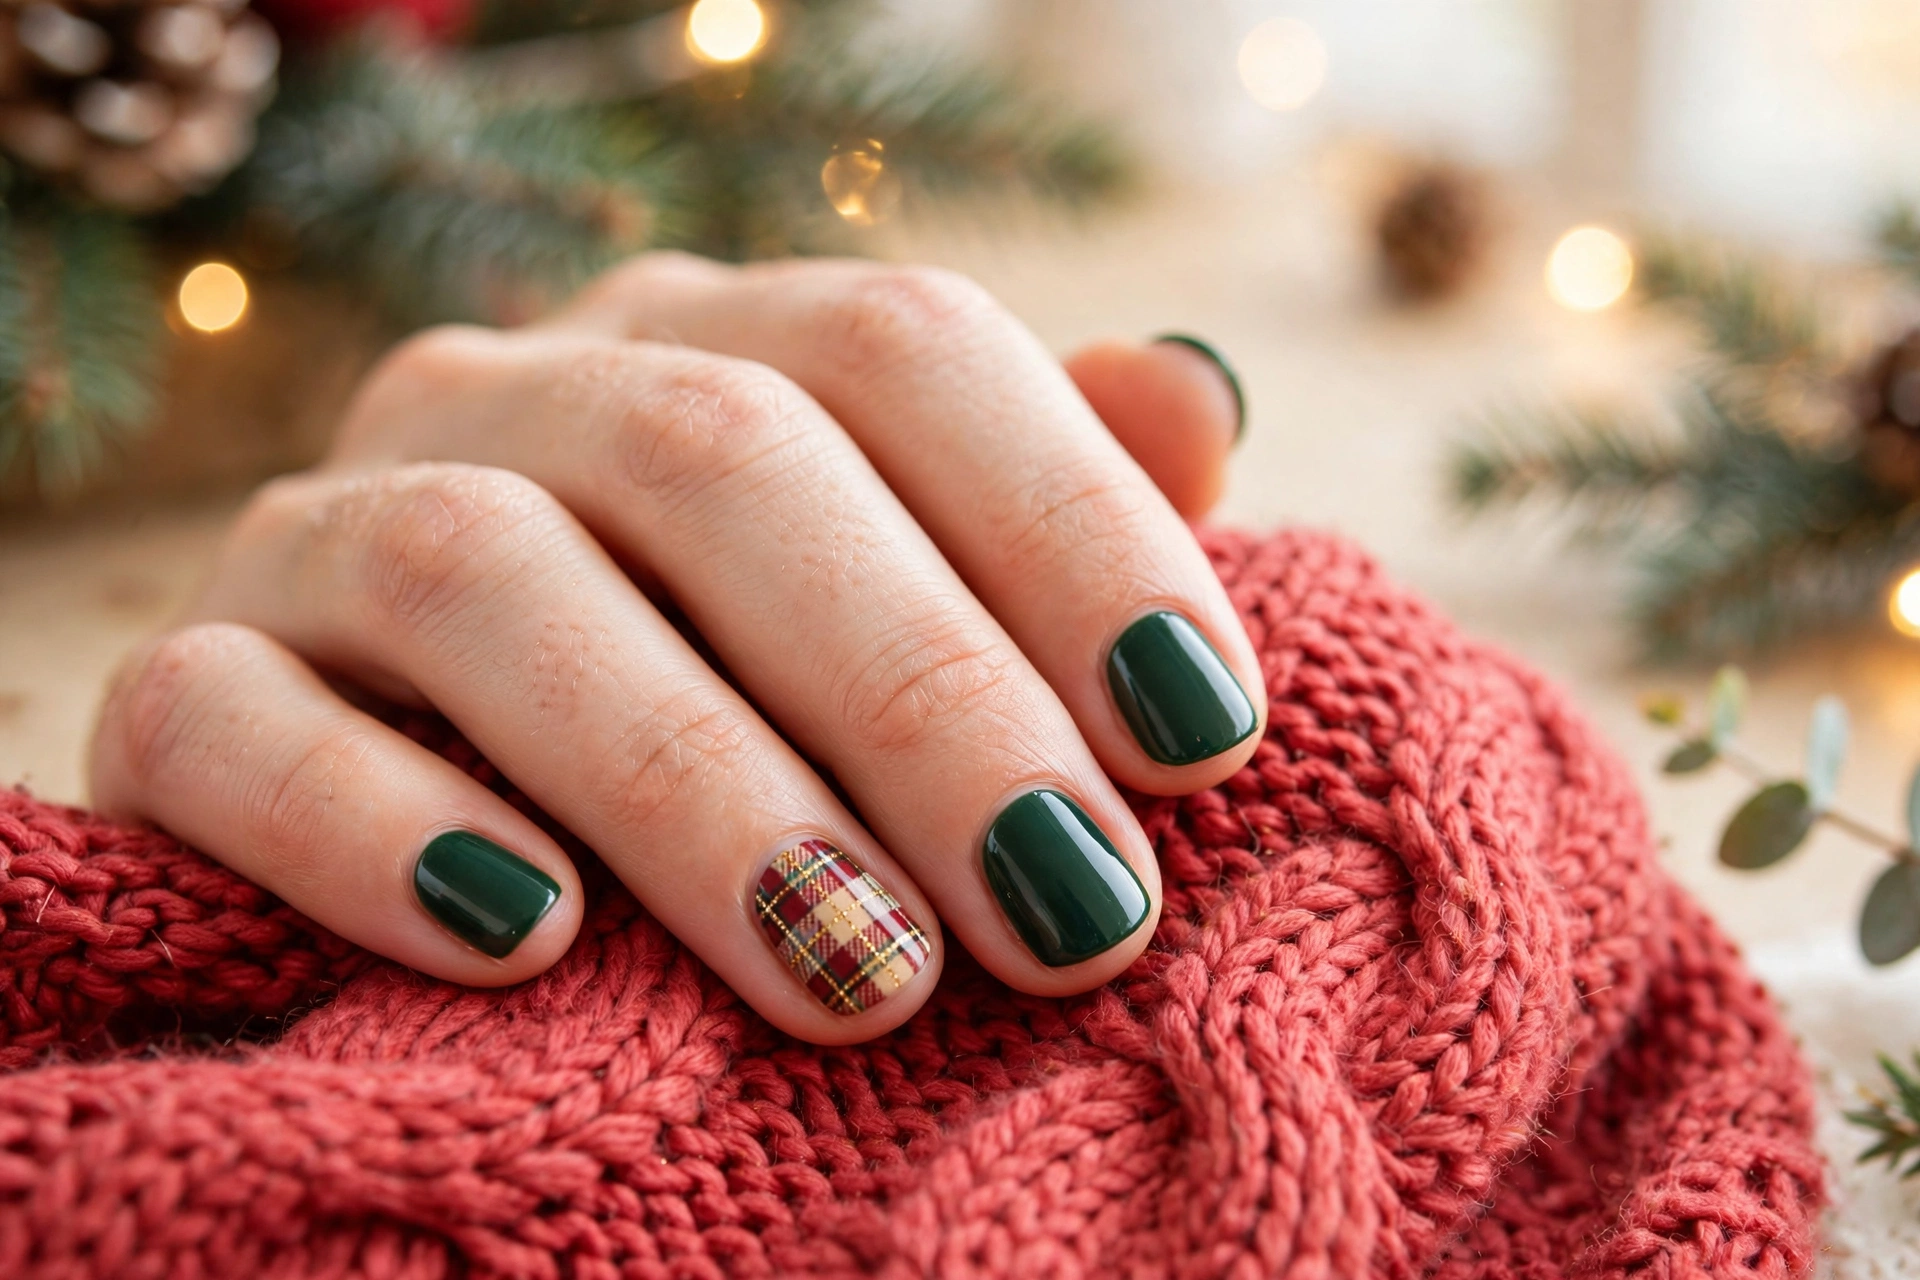
- Paint all nails deep forest green and let the base dry fully.
- Add a red, cream and gold plaid pattern on one accent nail per hand using thin striping tape or a detail brush.
- Keep the plaid lines slim so the pattern stays neat on short nails.
- Add tiny gold dots where the lines cross for a cosy festive finish.
- Seal with a glossy top coat to protect the pattern.
Plaid works best when the rest of the manicure stays calm, so the accent nail can stand out without looking busy. Match the plaid colours to your outfit or your holiday decor for a pulled together look. If freehand lines feel tricky, use tape guides and peel them off while the polish is slightly tacky.
Gold Glitter Short Tips
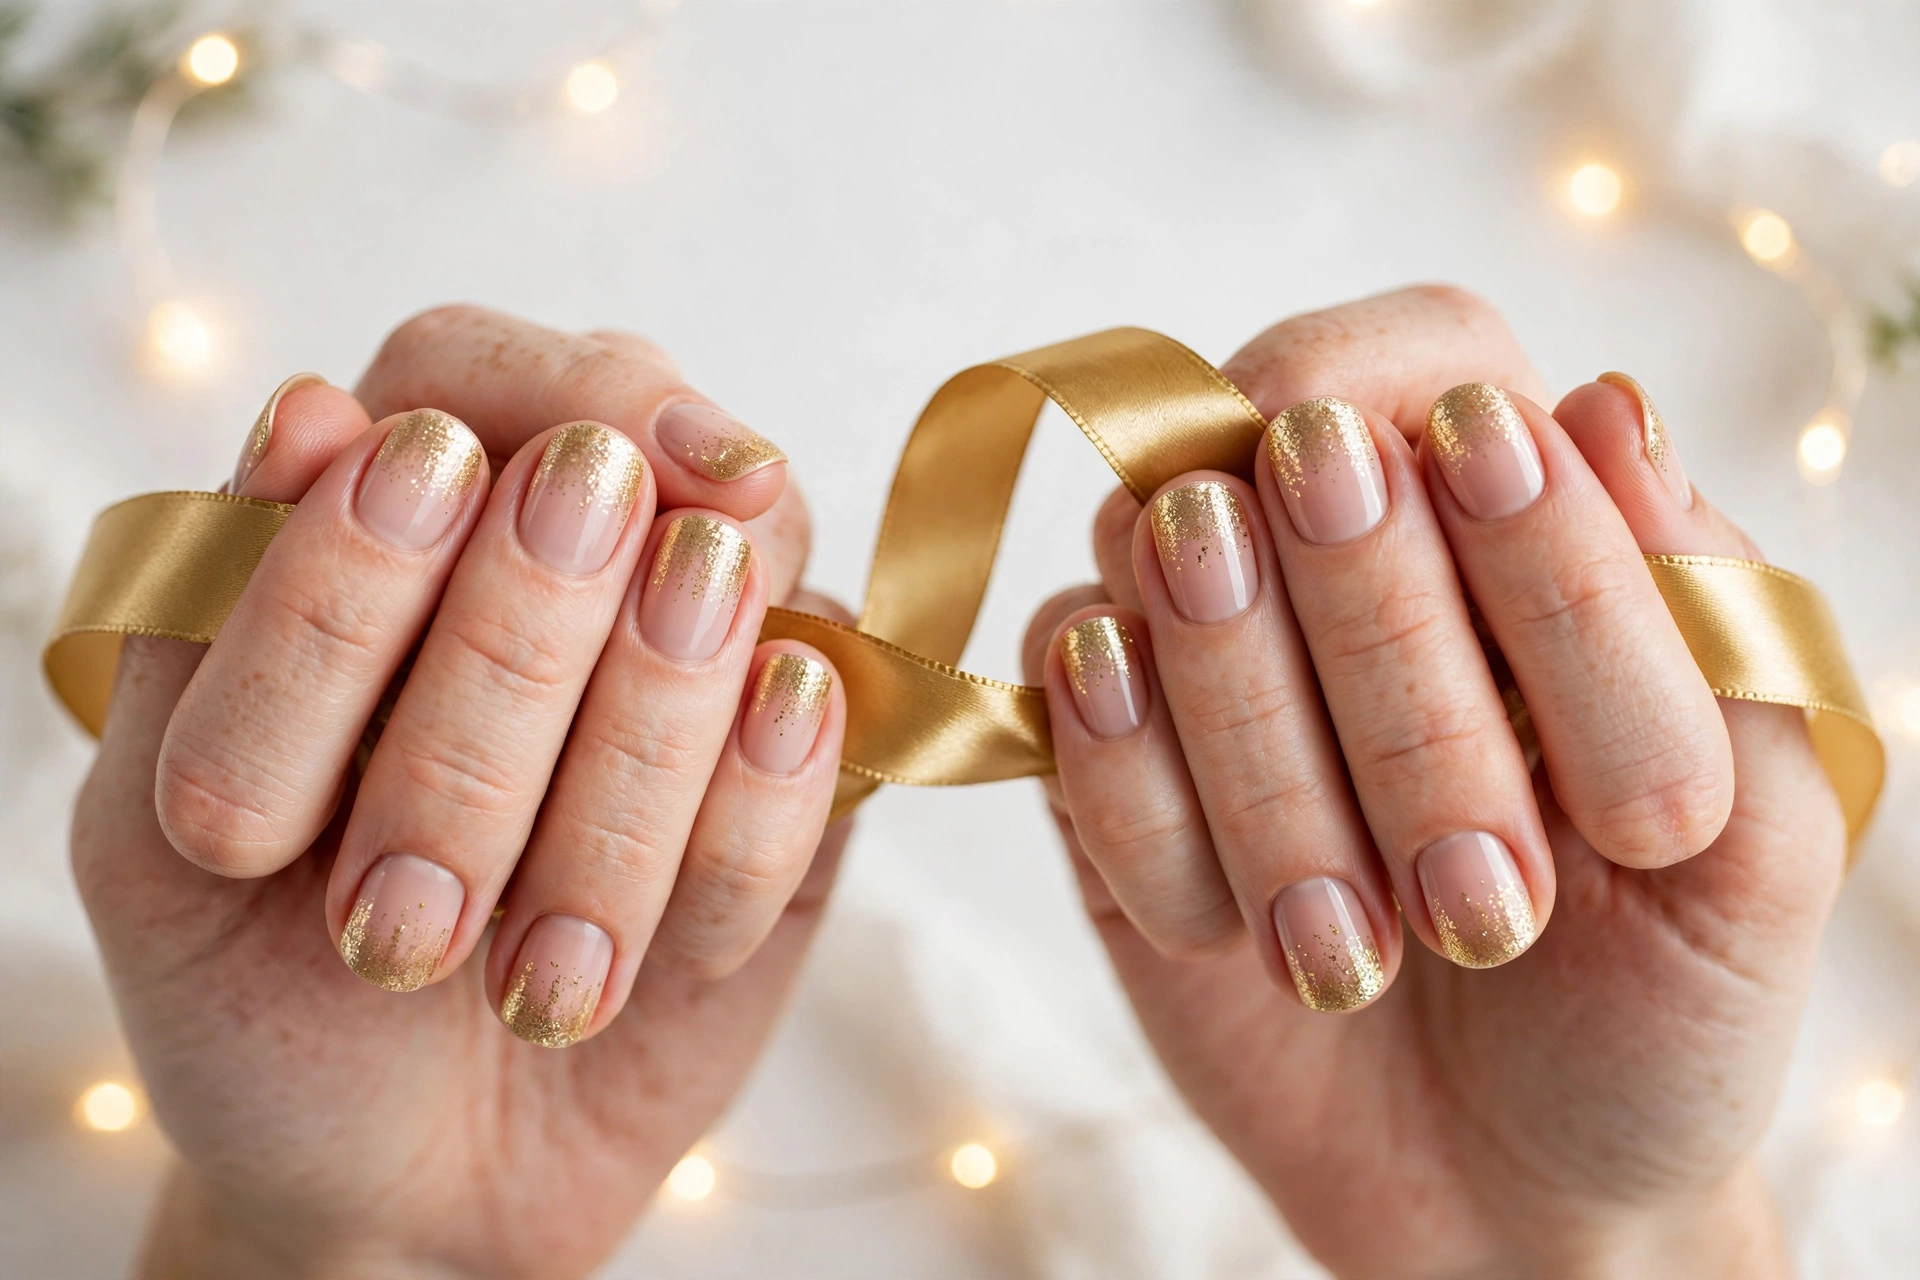
Quick Tip: Apply gold glitter only to the outer third of each tip and fade it toward the middle for a soft gradient that makes short nails look longer.
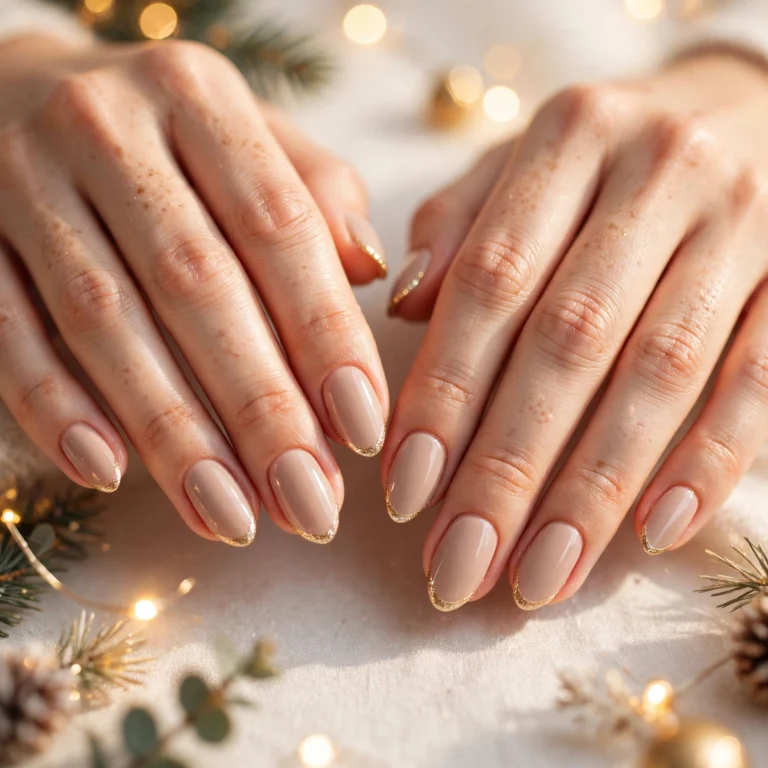
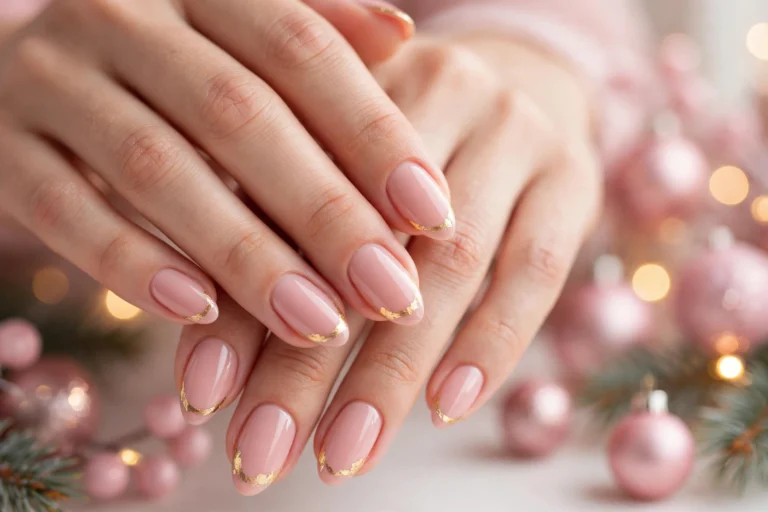
Gold glitter short tips suit both casual gatherings and formal parties because the sparkle reads festive without covering the whole nail. Pair them with a nude or blush base so the glitter stays the focus. Keep glitter coats thin and seal well to stop rough edges and keep the finish smooth.
Berry Velvet Matte Finish
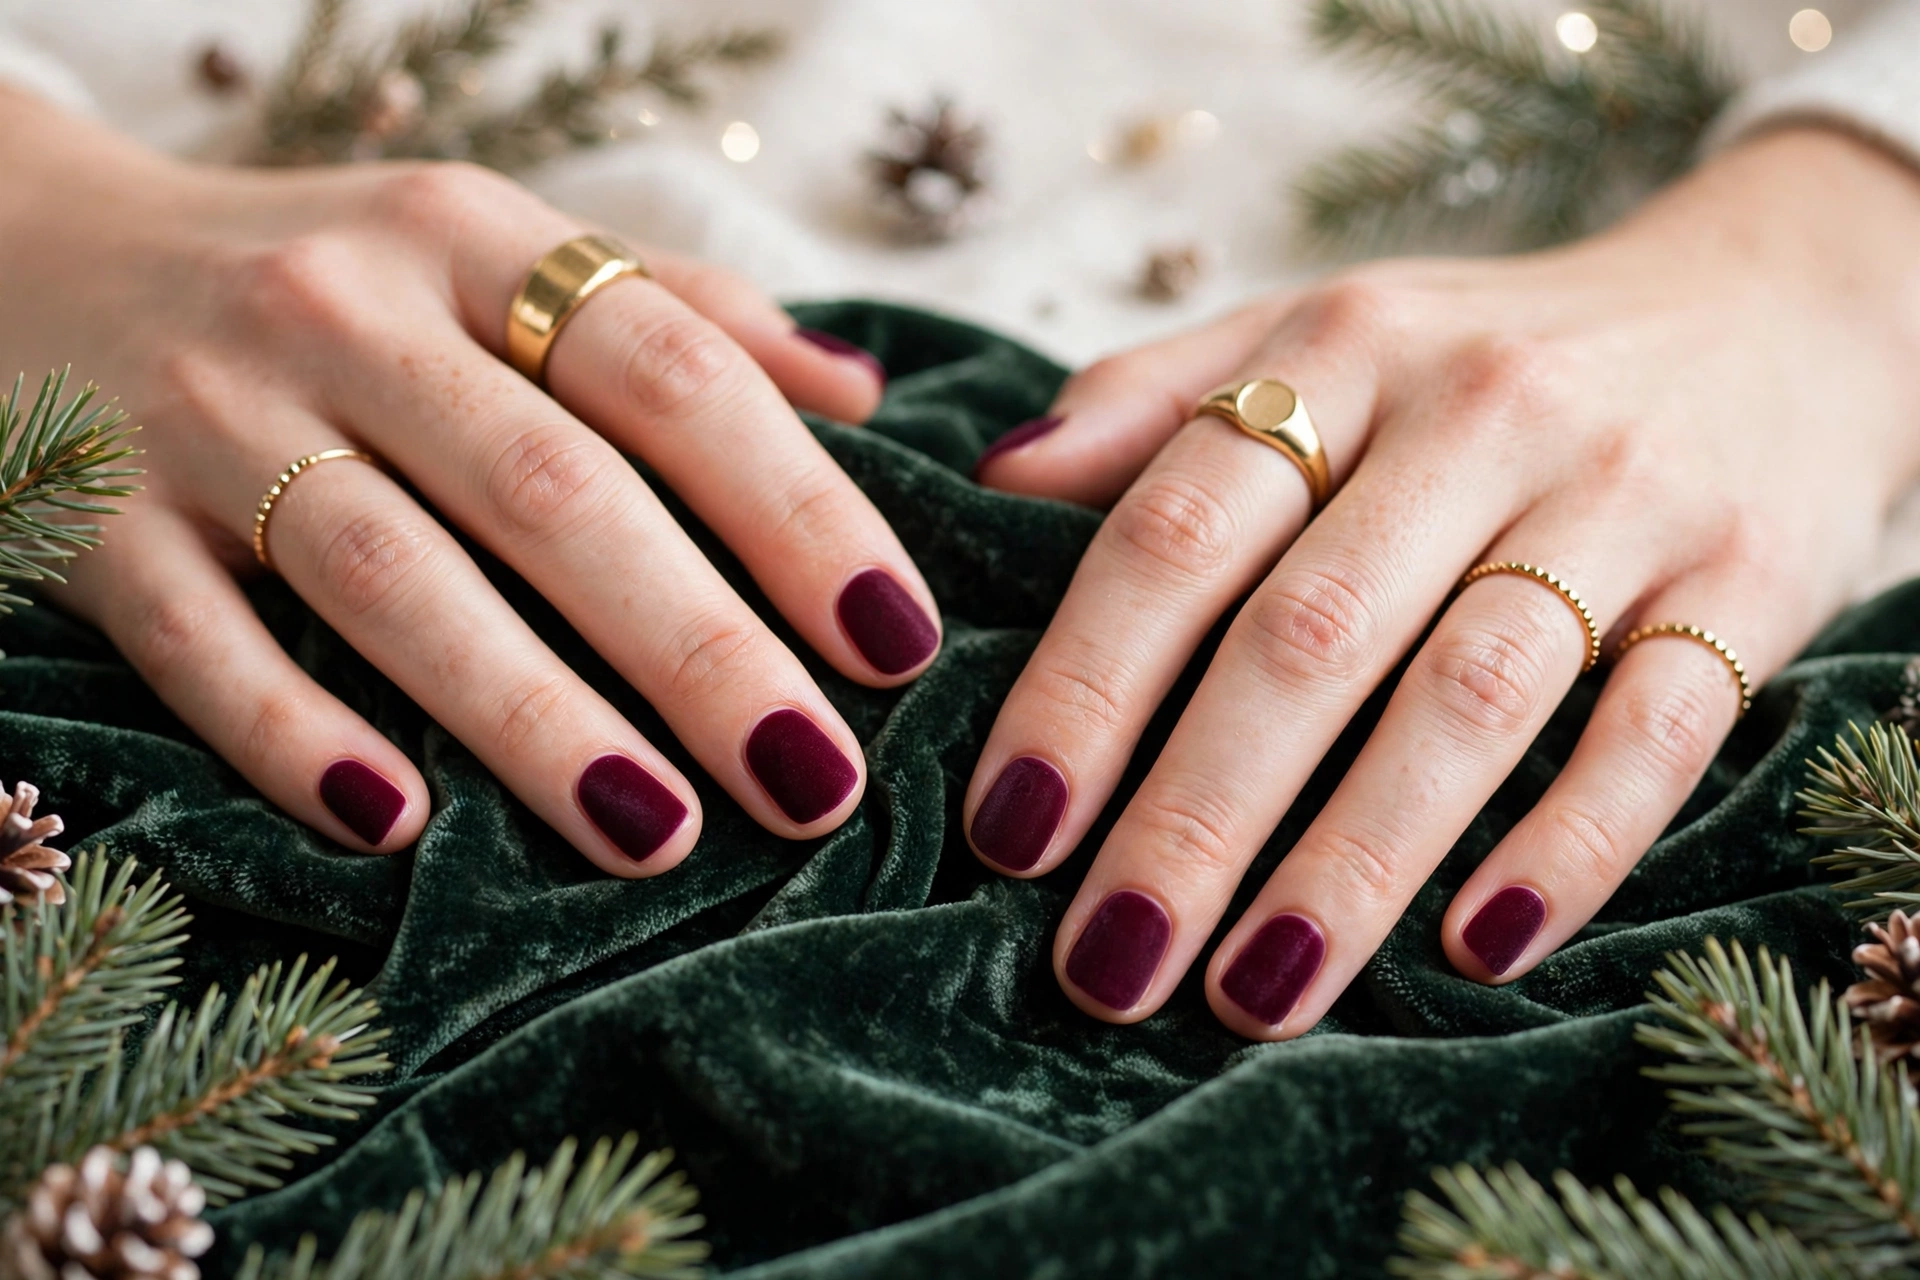
Before: A plain berry polish can look flat and dull on short nails, especially under indoor light. The colour may show streaks, chips at the edges, and a finish that fades fast during busy holiday days.
After: A velvet matte finish gives the same berry shade a soft, plush depth that looks rich and modern. The matte top coat blurs small flaws, evens the surface, and turns a simple colour into a statement manicure.
I have noticed matte berry shades pair beautifully with gold rings and cosy knitwear, so keep jewellery simple and let the nails lead. Use a matte top coat made for matte finishes, since a glossy top coat will undo the velvet effect. Reapply the matte coat after a few days to refresh the look.
Tiny Snowflake Accent Nails
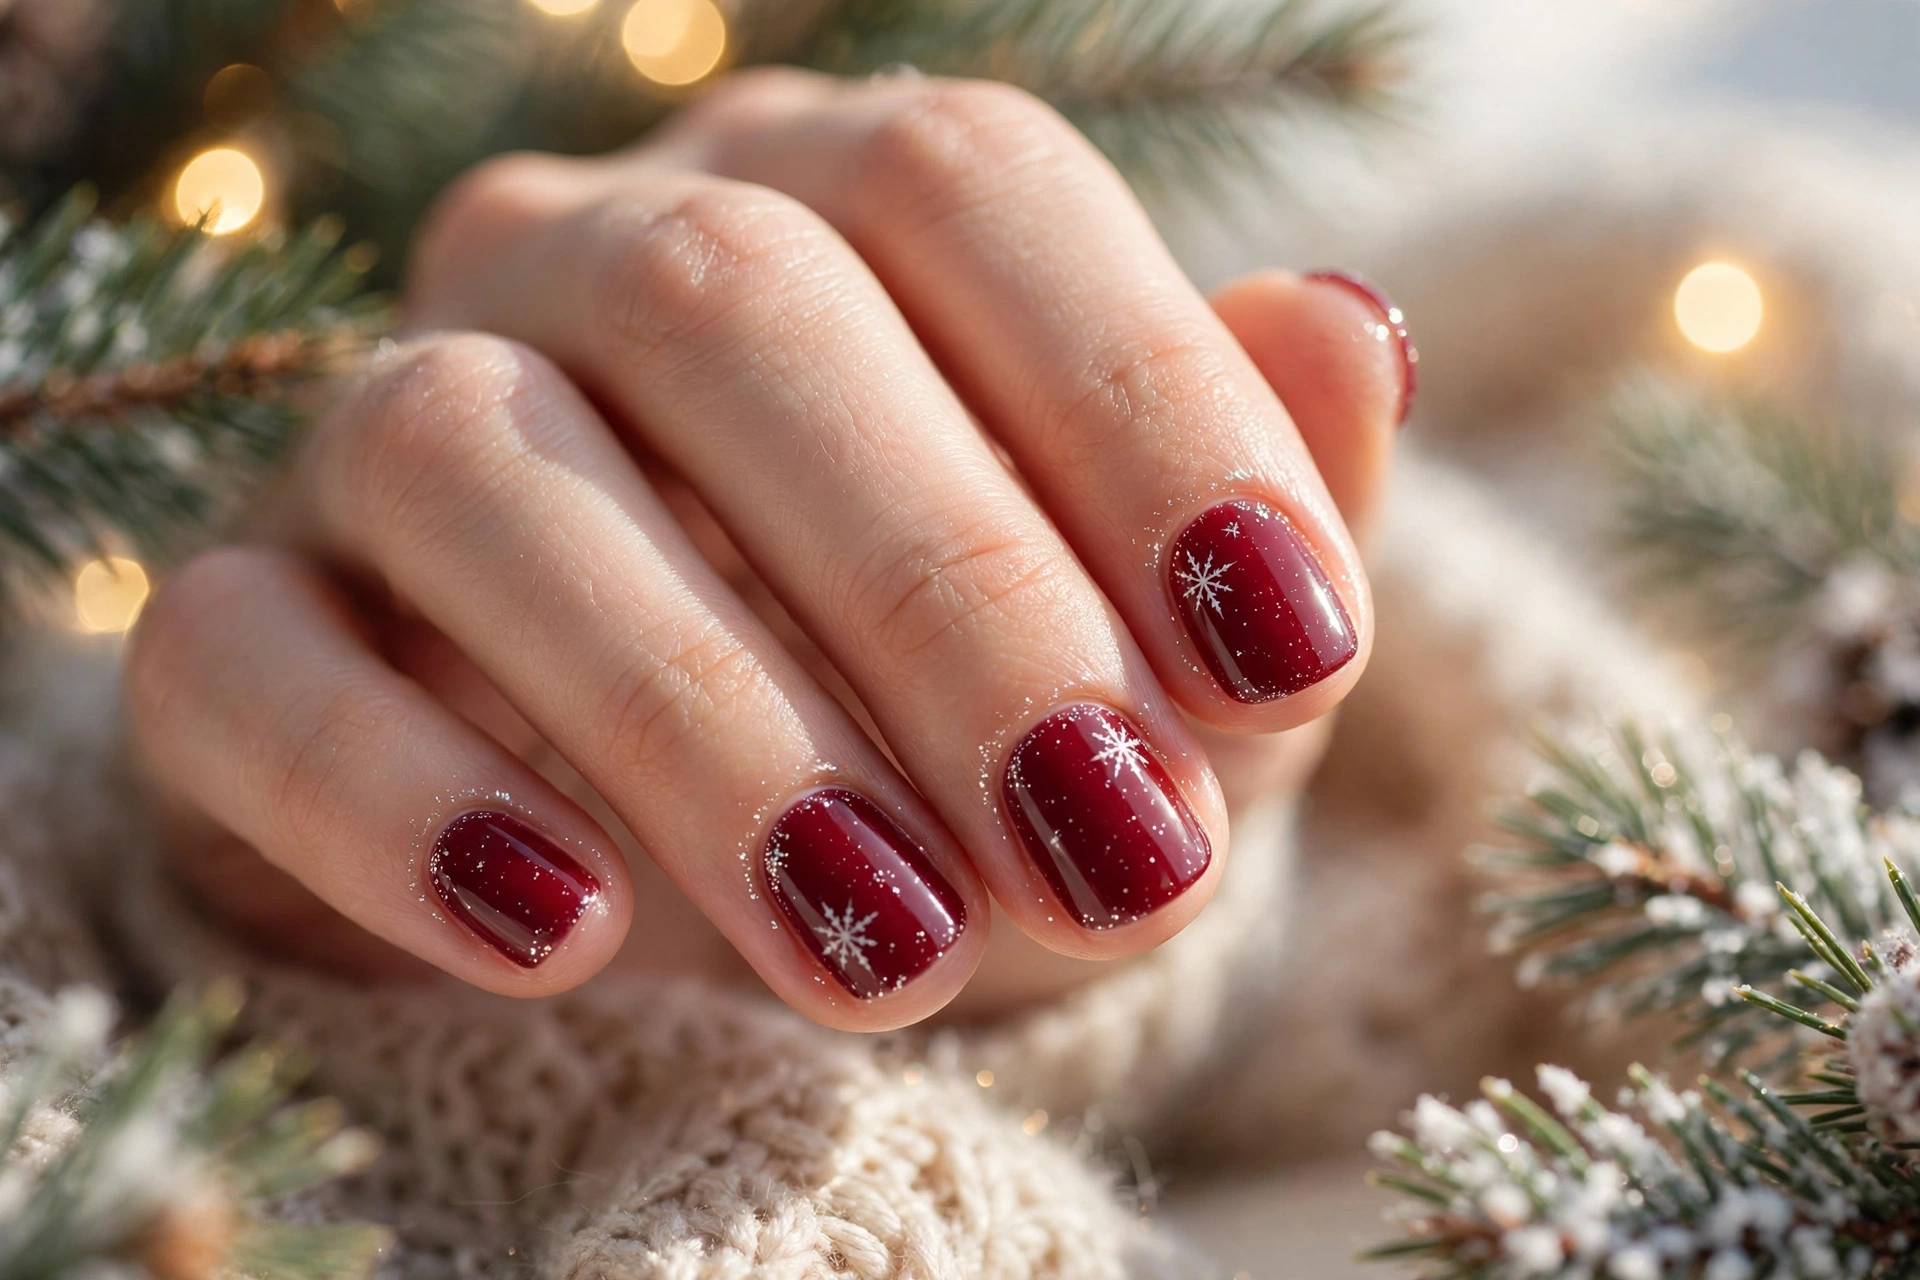
- Paint all nails with deep red polish and let each coat dry fully before adding art.
- Use a fine dotting tool to place one small white snowflake on each ring finger, keeping the design neat and balanced.
- Add a tiny silver dot at the centre of each snowflake for a frosty sparkle.
- Seal everything with a clear top coat to protect the art and add shine.
This soft accent keeps short festive nails pretty without feeling busy, and it suits parties, family dinners, and relaxed evenings at home. Try the design on one or two nails first, then add more snowflakes only if you love the look. A clear top coat seals the art, adds shine, and helps the manicure last.
Elegant Green Gold Duo
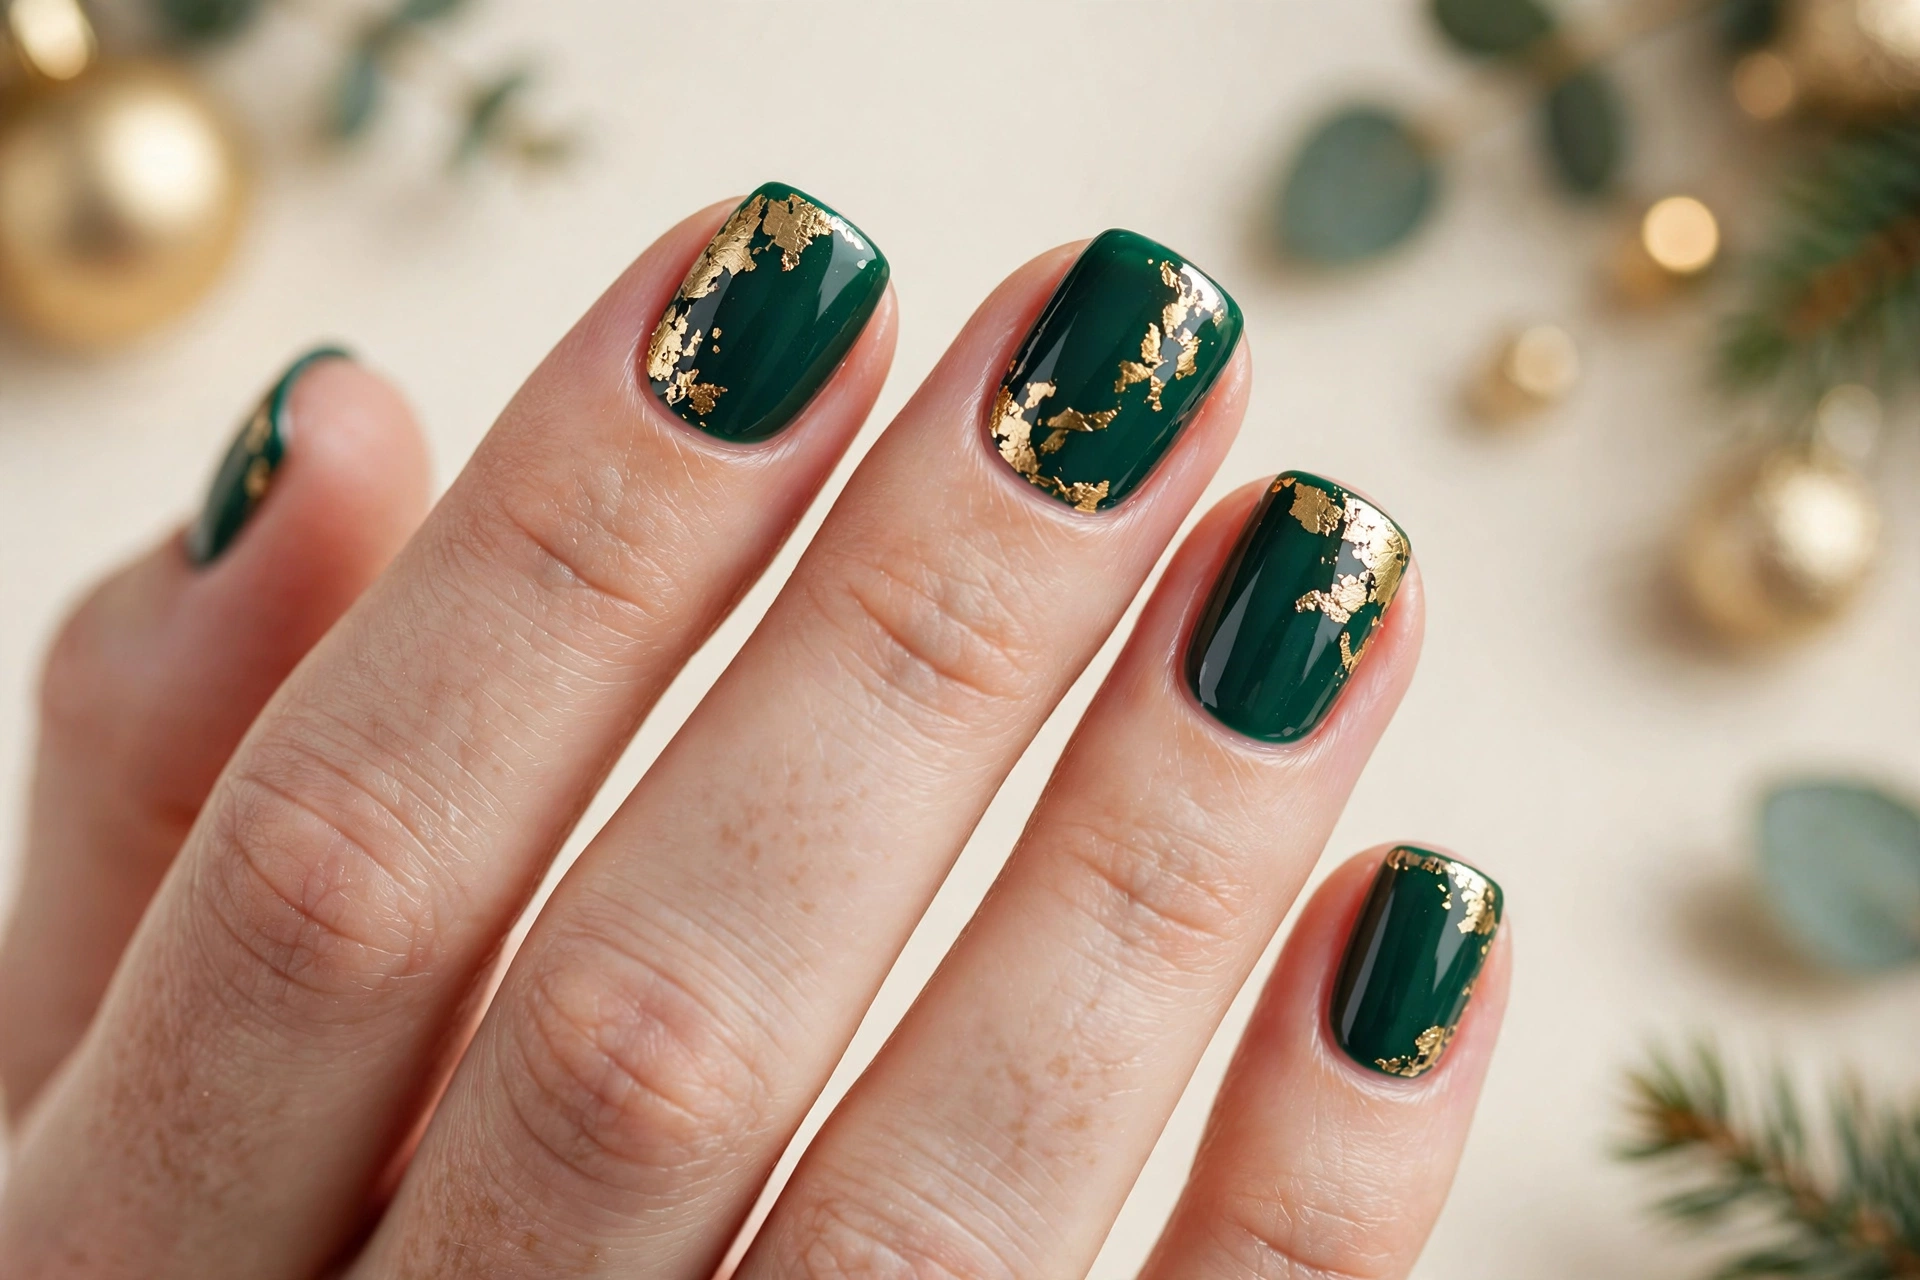
| Look | Best for | Finish |
|---|---|---|
| Deep green alone | Everyday wear and workdays | Smooth and glossy |
| Green with gold foil | Parties and elegant evenings | Rich and refined |
| Green with gold glitter | Festive gatherings and photos | Bold and sparkling |
| Green with thin gold lines | A neat modern accent | Clean and polished |
Green and gold feels rich on short festive nails, yet it stays wearable for work, parties, and family gatherings. Choose foil for a refined finish, glitter for extra sparkle, or a simple gold accent for everyday elegance. Whichever style you pick, keep the rest of the look simple so the duo shines.
Sparkling Silver Star Tips
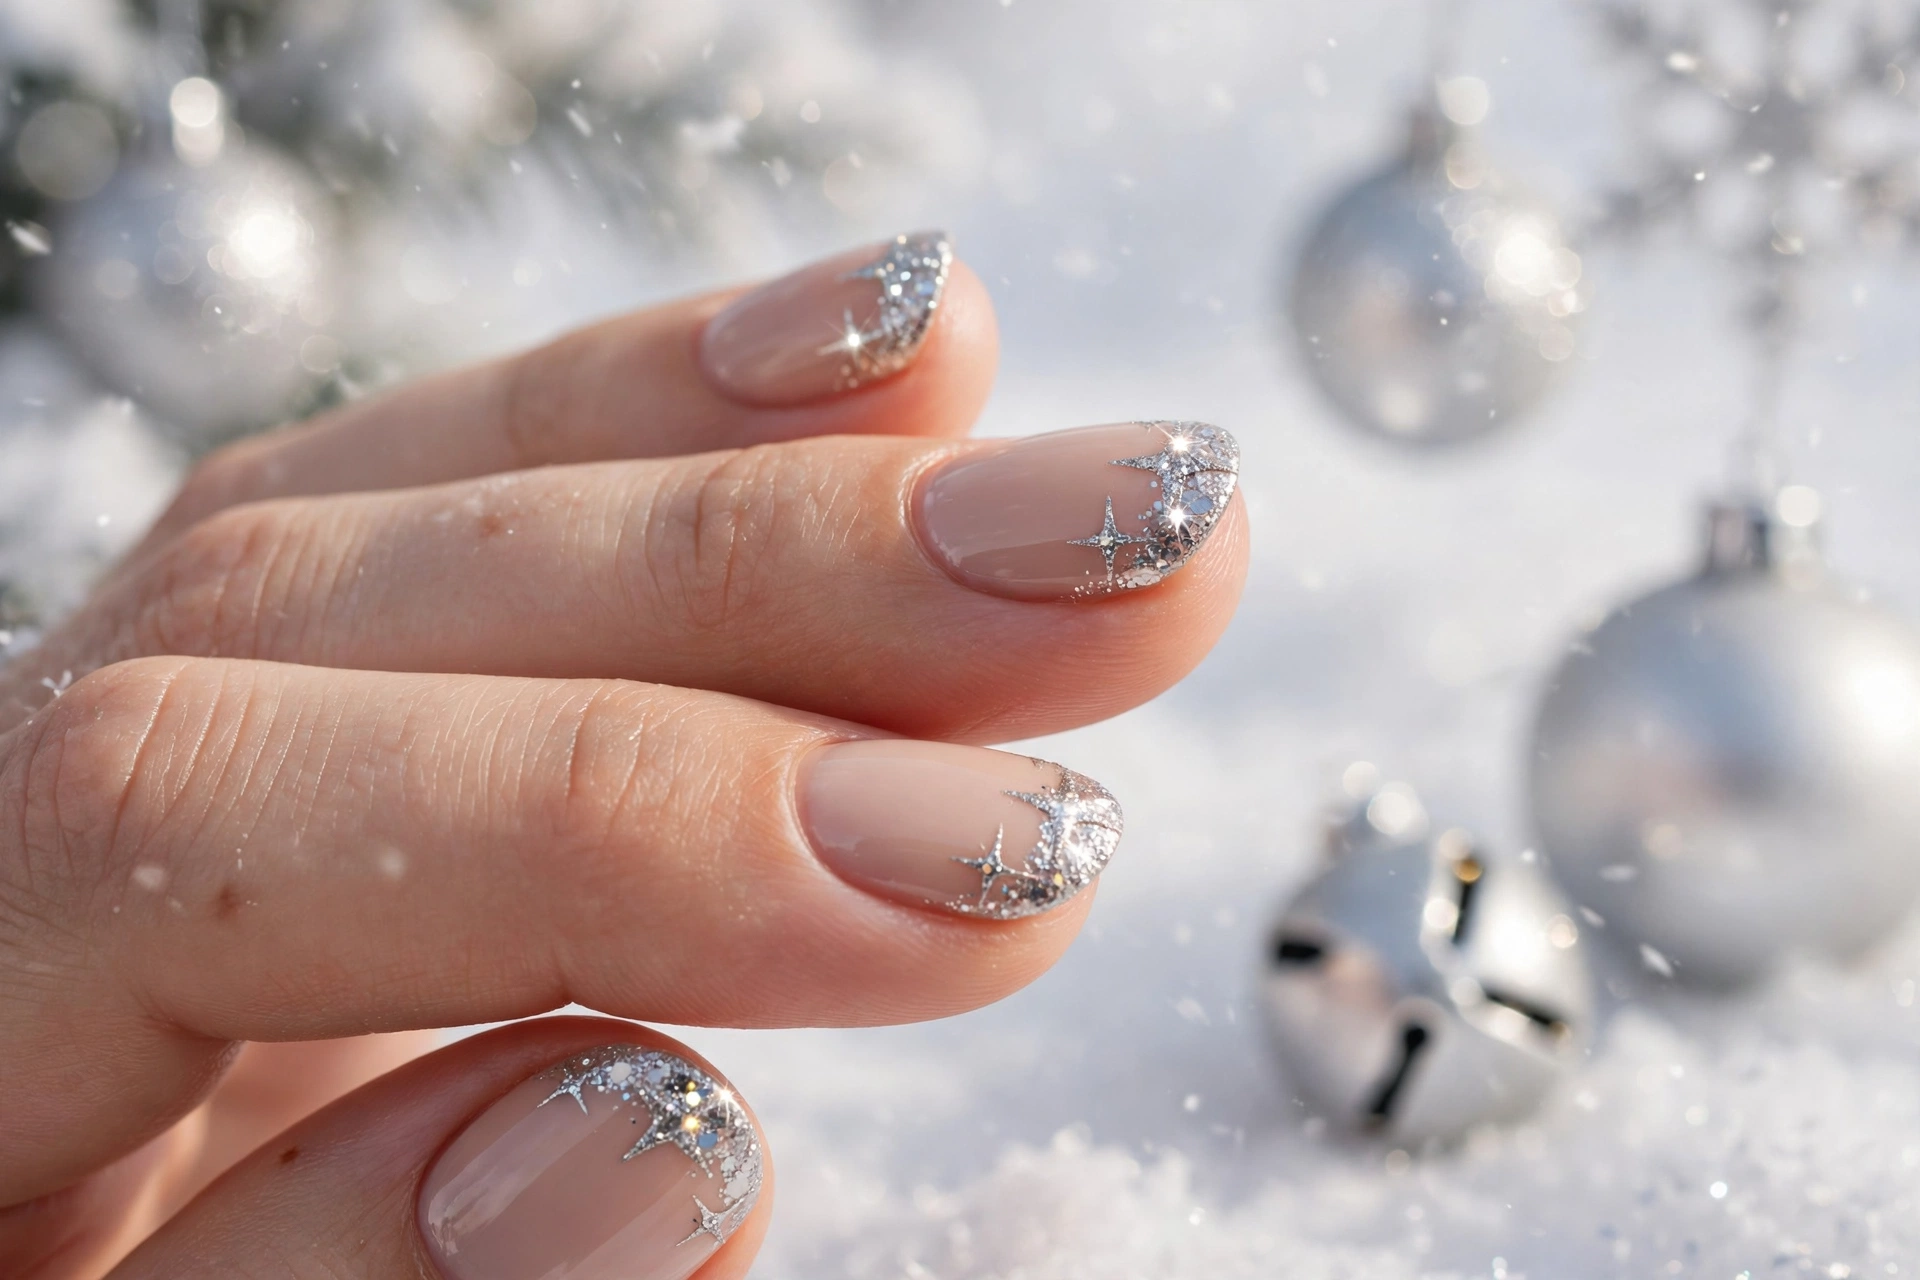
DO:
- Start with a smooth nude base so the silver stars stand out clearly.
- Place small stars near the tips for a neat and balanced finish.
- Let each layer dry before adding glitter or a top coat.
- In my experience, thin stars look neater on short nails than large chunky ones.
DON’T:
- Do not crowd every nail with stars, or the design can look messy.
- Do not use thick glitter polish for fine star shapes.
- Do not skip a top coat, or the stars may chip quickly.
- Do not rush the drying time between layers.
Silver star tips look magical on short festive nails when the stars stay neat and the base stays smooth. Keep the design balanced, let layers dry, and finish with a glossy top coat for shine. With a little patience, this sparkling look feels festive, polished, and ready for any holiday celebration.
Candy Cane Stripe Accents
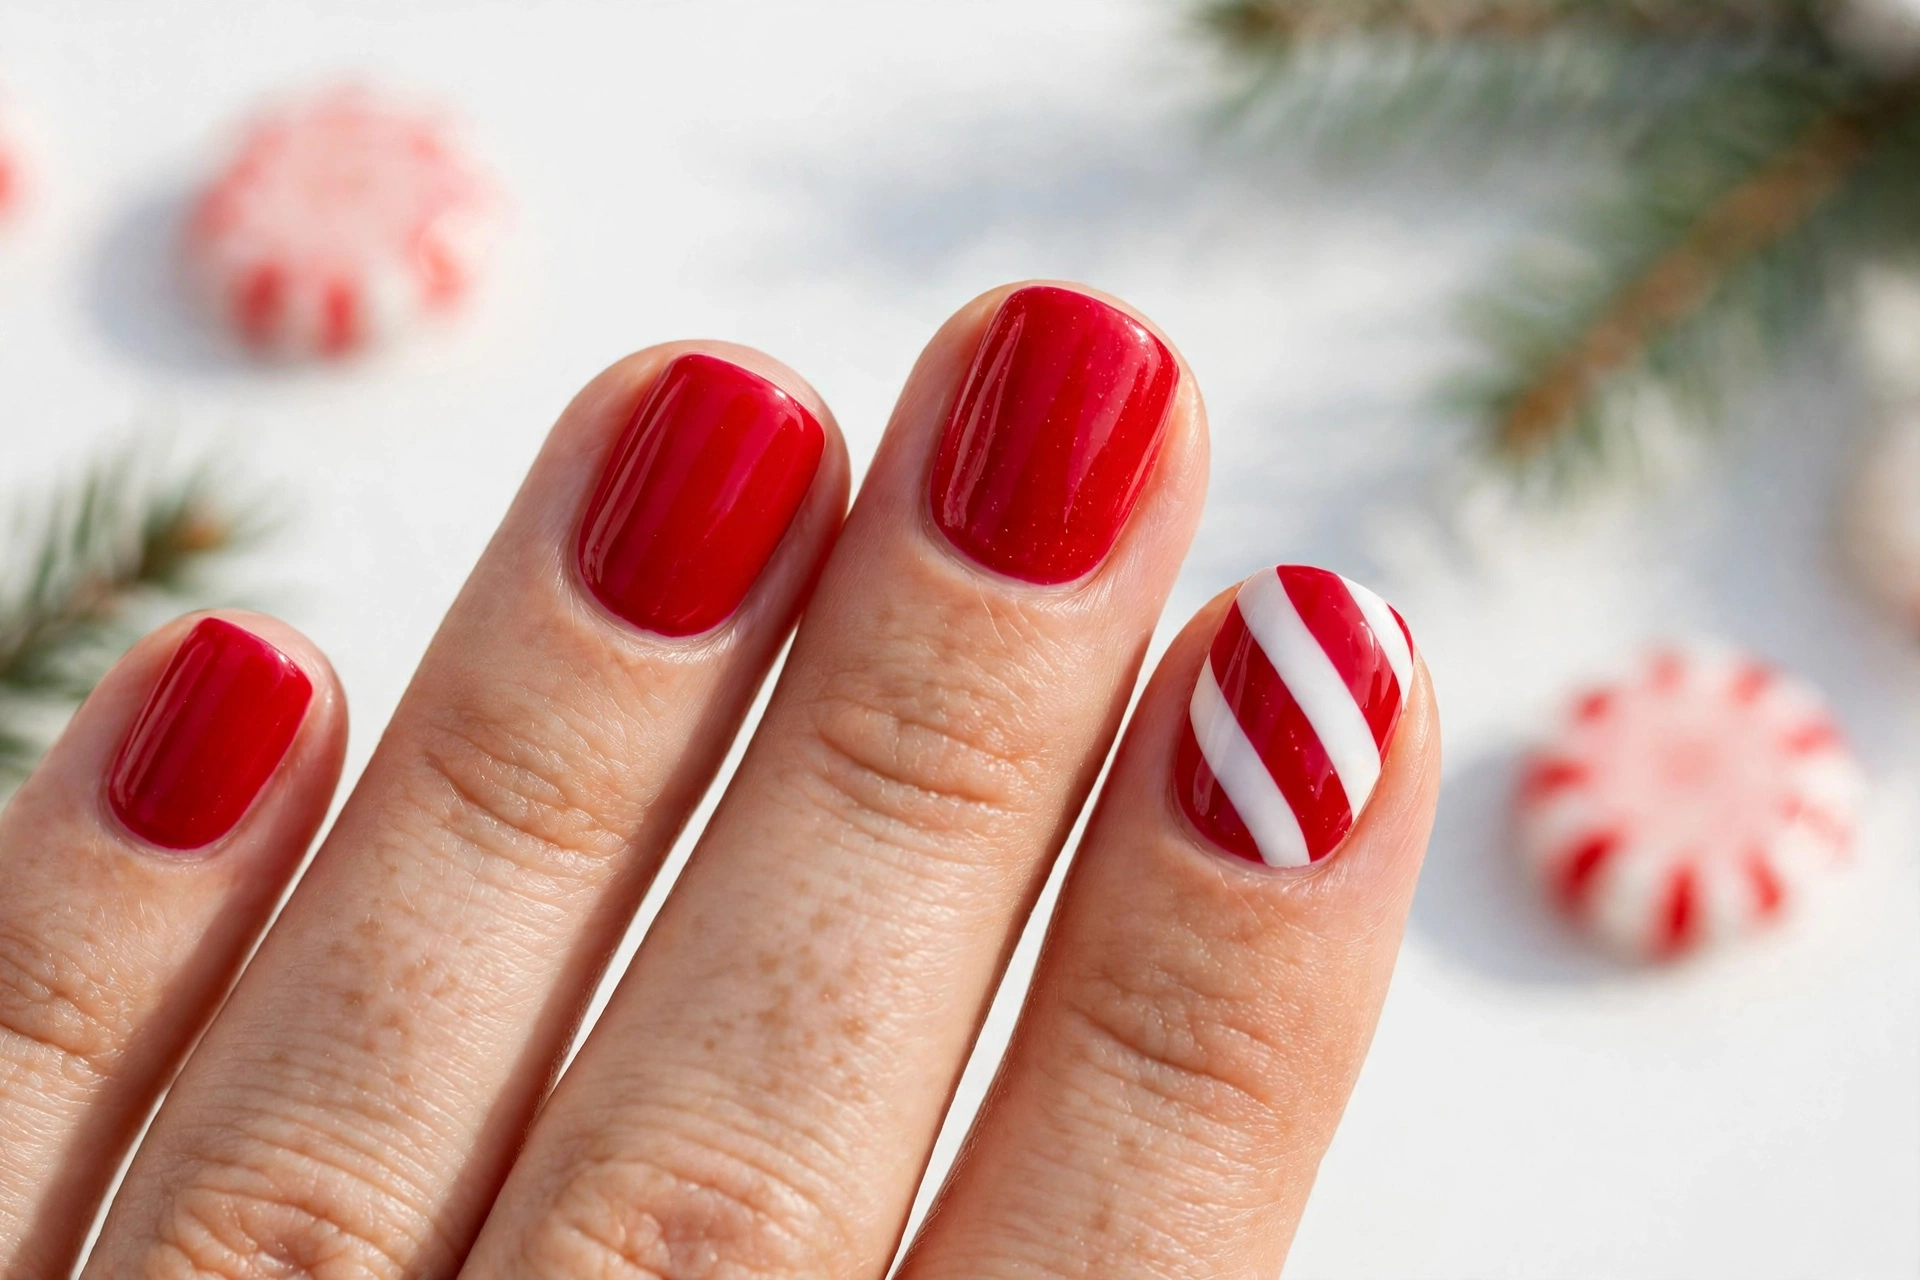
Quick Fact 1: Red and white stripes look best on one or two accent nails, so the design stays playful rather than busy.
Quick Fact 2: A thin striping brush gives crisper lines than a thick brush, especially on short nails.
Quick Fact 3: White polish makes the best base, because red stripes stay bright and clear over it.
Quick Fact 4: A glossy top coat smooths the stripes and helps the manicure last longer through parties.
Candy cane stripes bring instant holiday cheer to short festive nails, especially when the stripes stay crisp and balanced. Use them on accent nails for a playful touch, or on every nail for a bolder party look. Finish with a clear top coat to protect the stripes and keep the shine fresh.
Soft Pink Holiday Glow
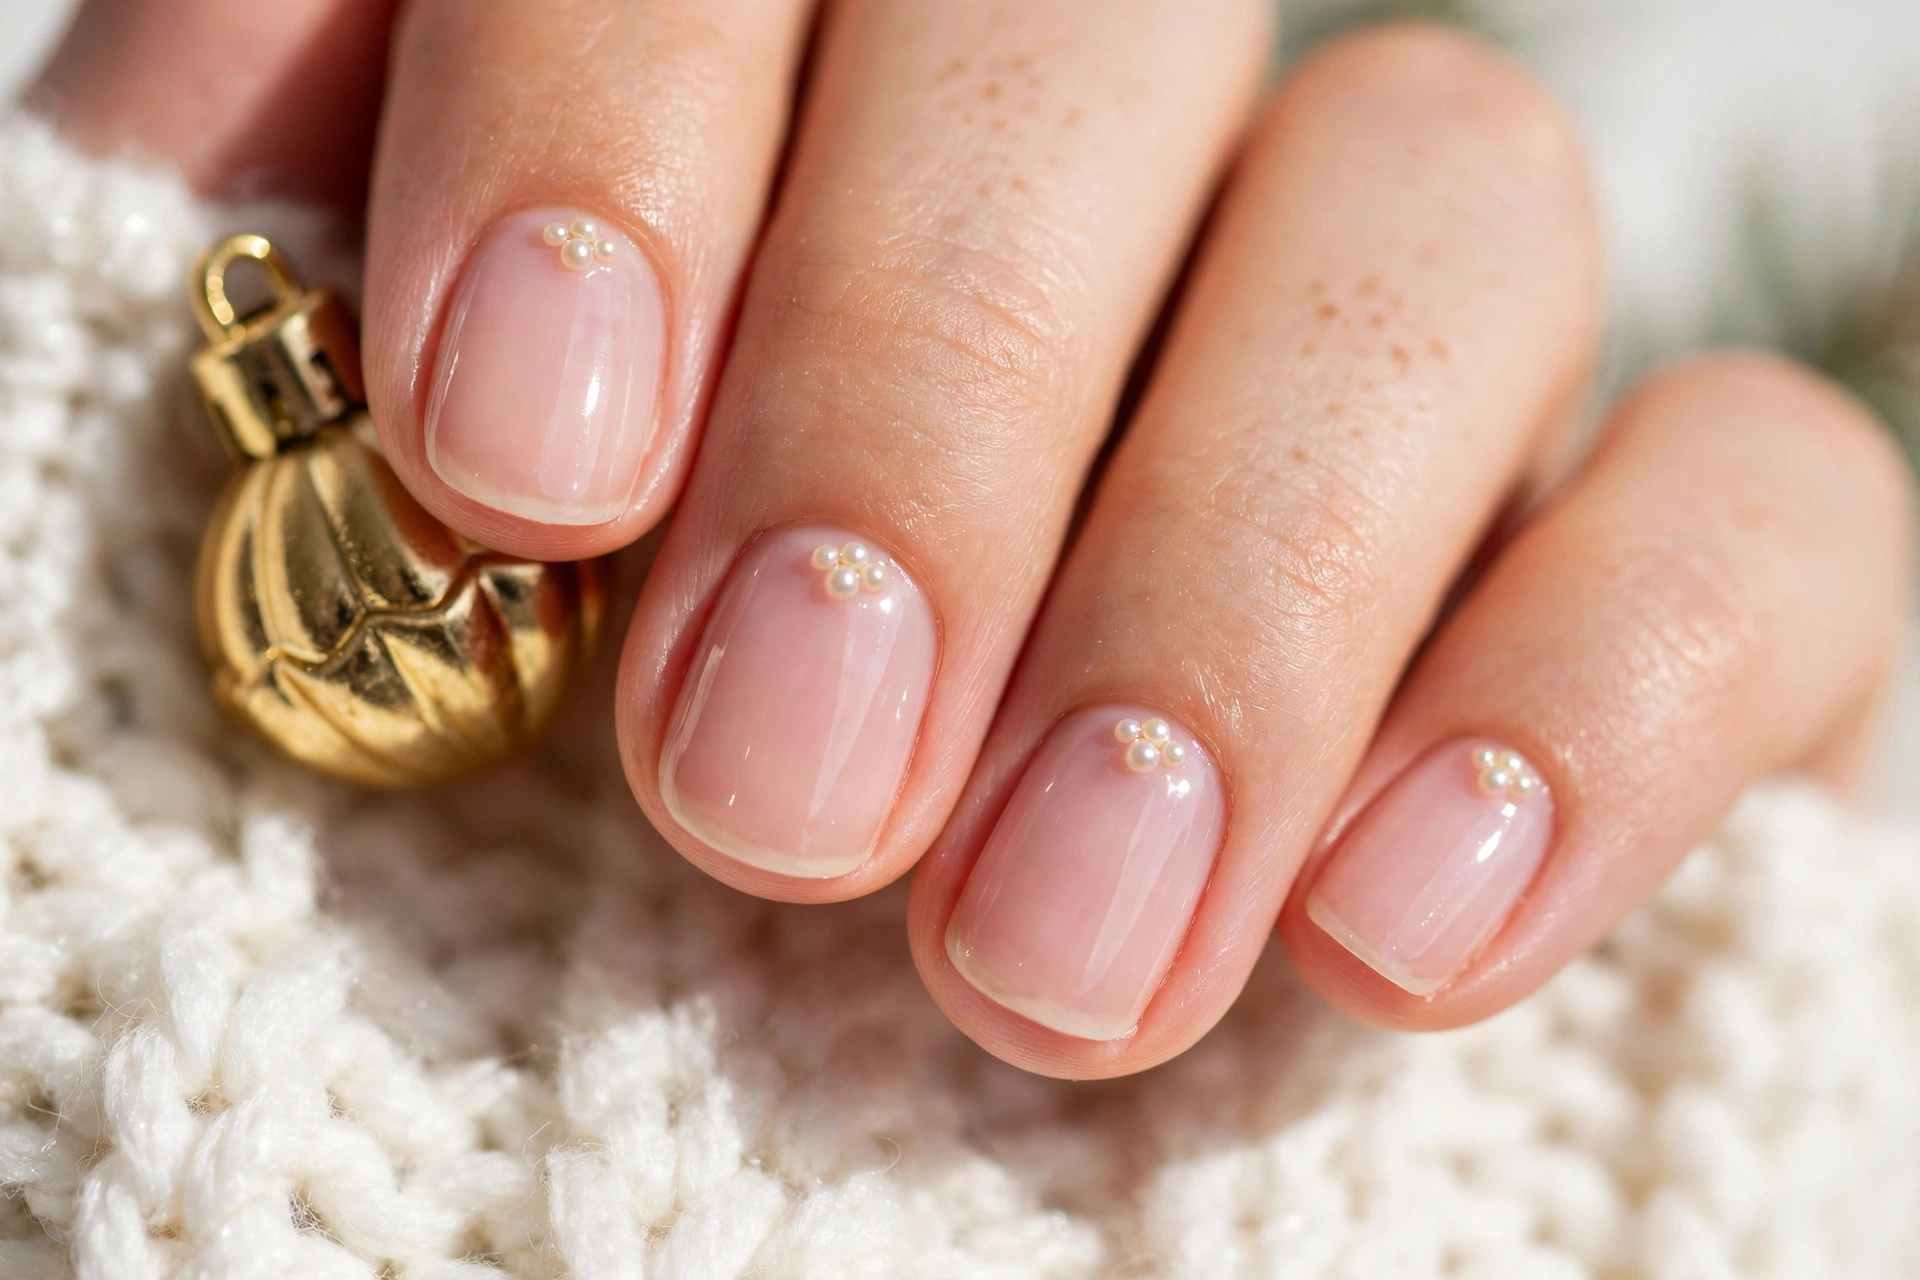
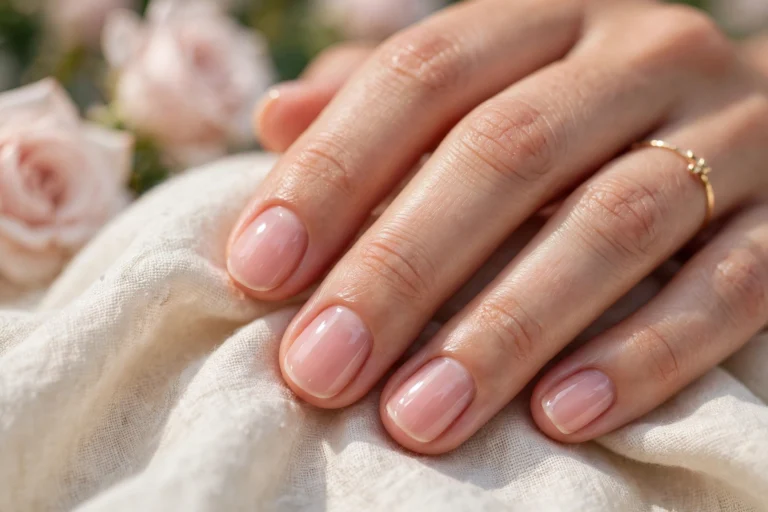
Soft pink polish gives short festive nails a gentle holiday glow that looks polished without feeling loud. Choose a sheer rose shade, apply two thin coats, and finish with a high shine top coat for a clean salon look at home. It pairs well with gold jewellery and cosy winter knits.
Add tiny pearl dots near the cuticle or a faint shimmer on one accent nail for a festive touch. Keep the shape rounded, the length neat, and the finish glossy so the manicure stays pretty through parties, photos, and family dinners.
Festive Emerald French Tips
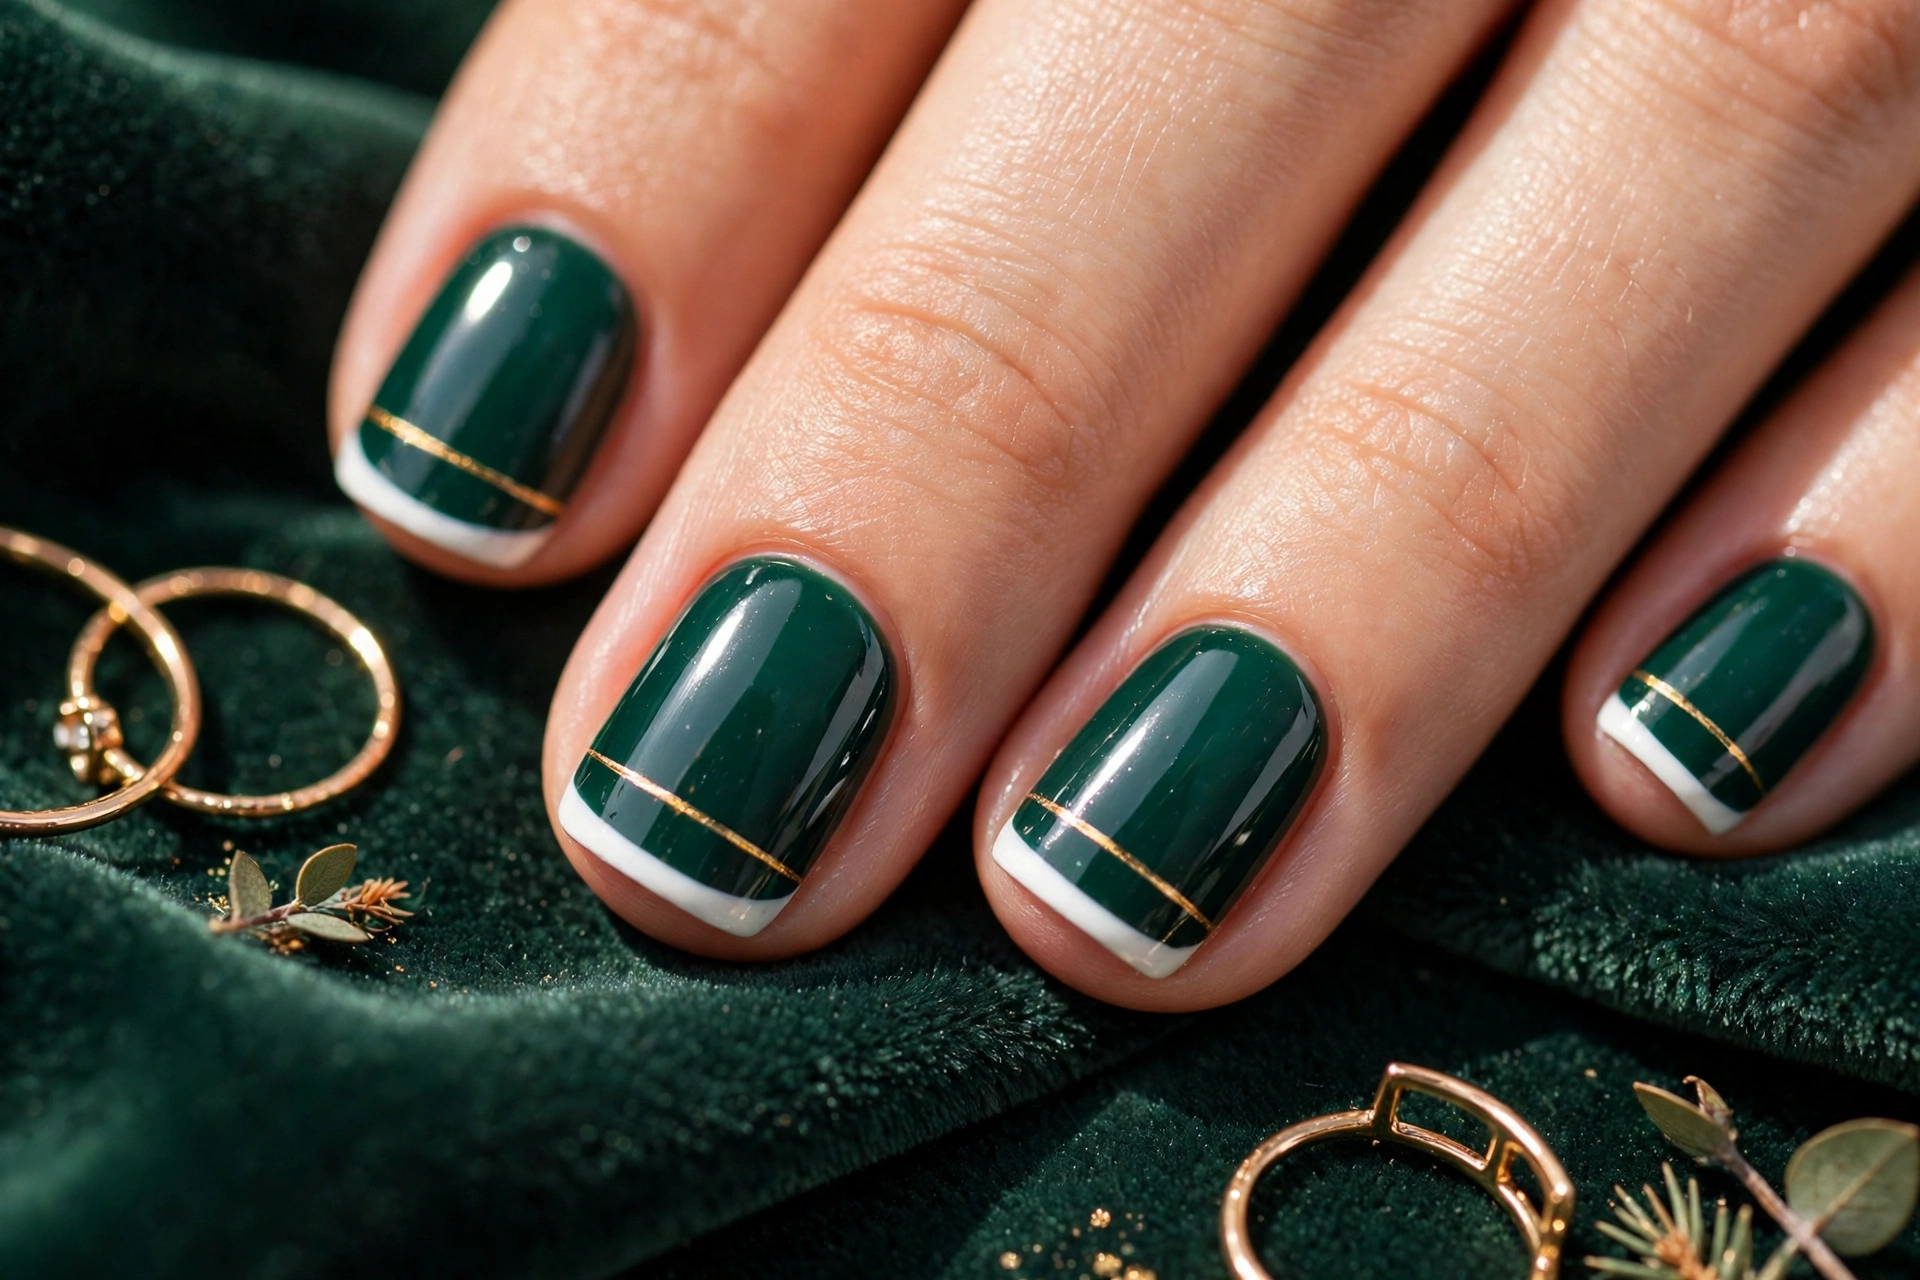
- Paint short holiday nails in deep emerald green with a glossy finish for rich festive colour.
- Leave the tips bare, then sweep a crisp white line across each tip for a classic French effect.
- Add a thin gold stripe below the white tip to catch light and add holiday sparkle.
- Seal with a quick dry top coat and clean the edges with a flat brush dipped in remover.
- Keep one accent nail fully emerald with a tiny gold star for a playful finish.
This French twist keeps the look elegant, festive, and easy to wear for work, dinners, and parties alike. The emerald and gold pairing feels rich without looking heavy, while the neat white tips keep short nails looking longer and tidier. Try it with a simple gold ring for a polished holiday finish.
Delicate Gold Bow Details
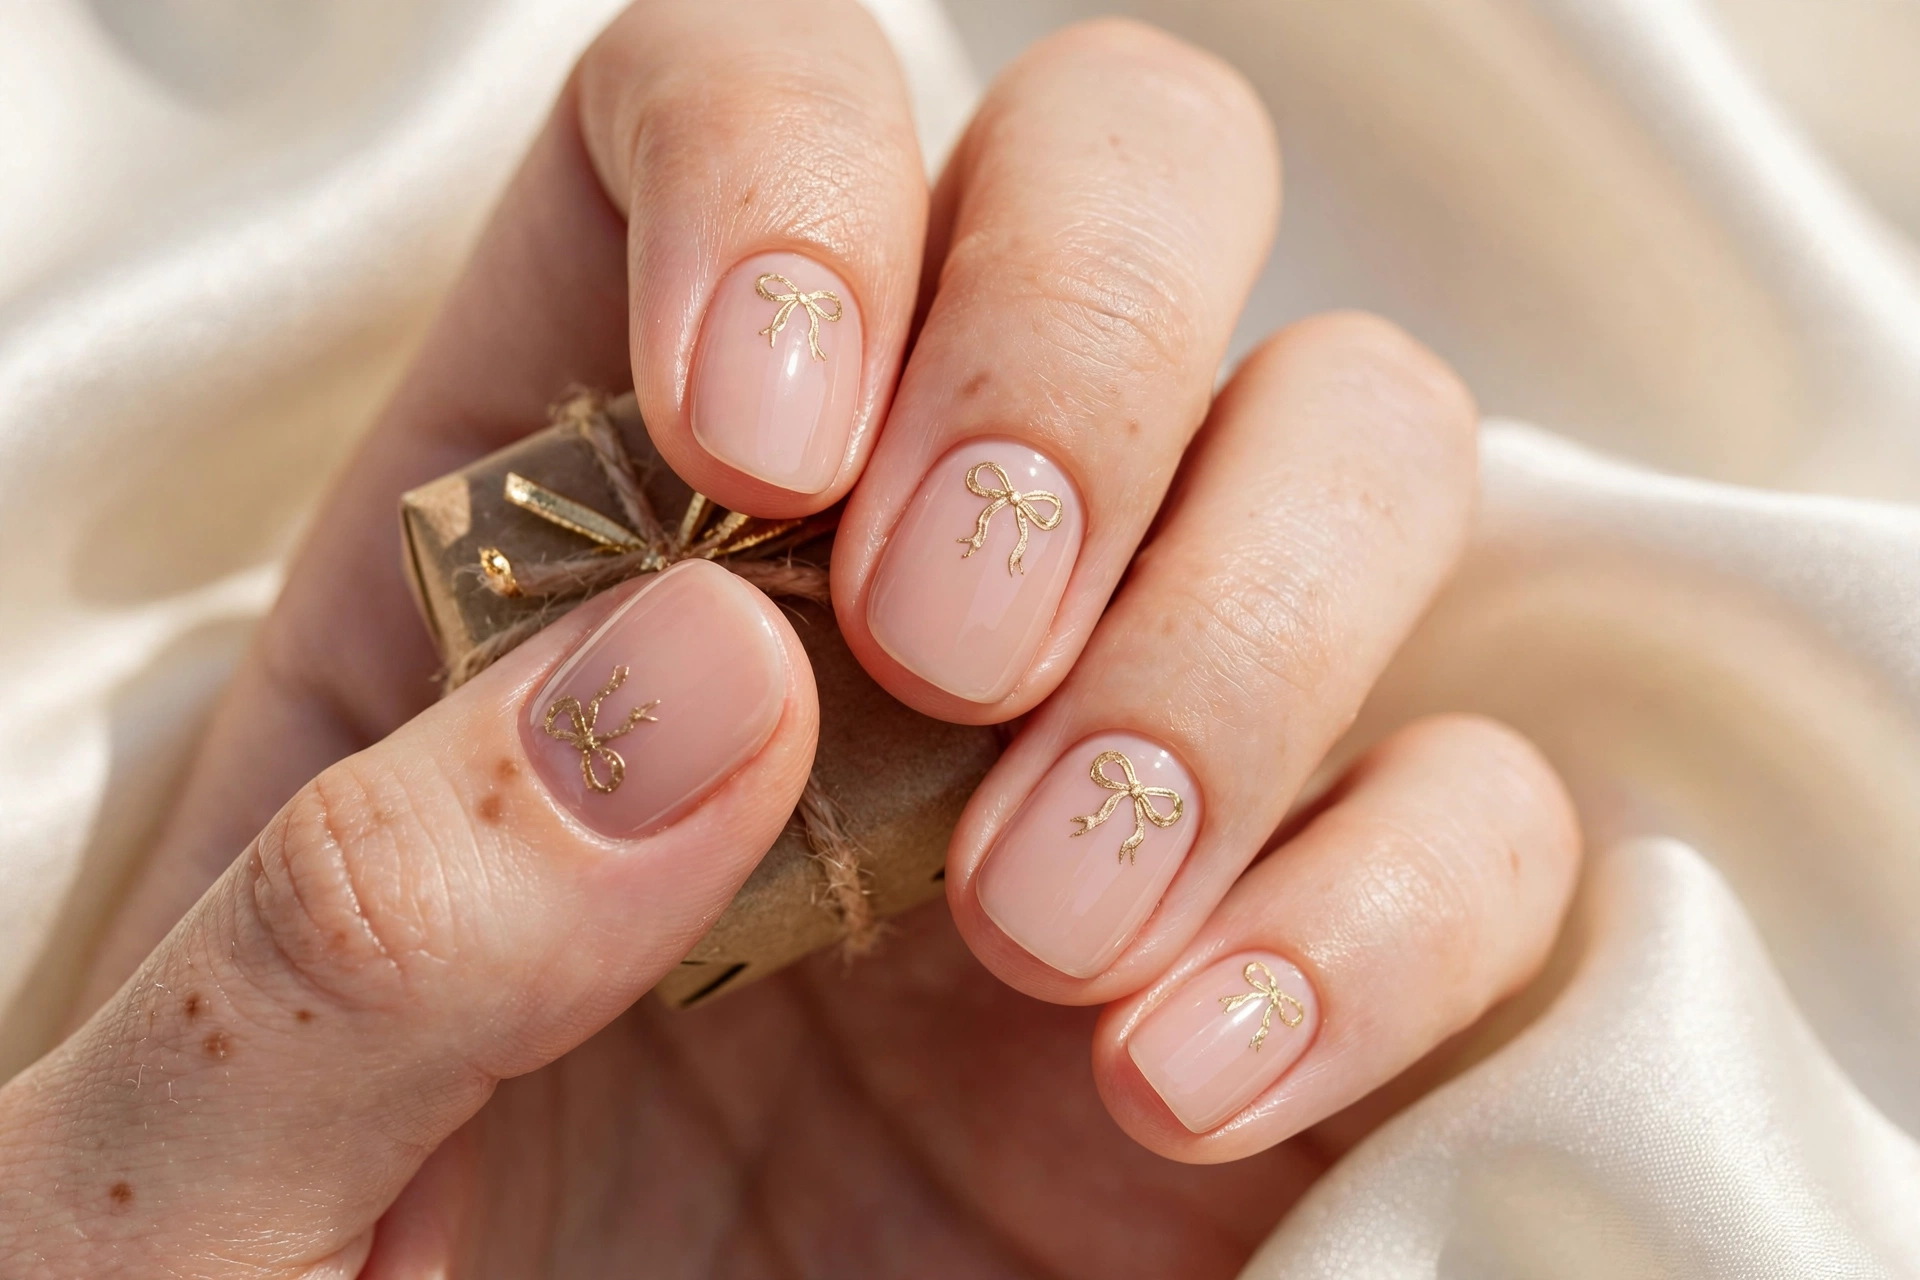
Quick Tip: Paint bows with a fine detail brush and two small loops plus a centre dot. Practise on paper first, keep the gold polish thin, and let each layer dry before adding the next detail.
Gold bows add charm without covering the whole nail, so the base colour still shines through beautifully. Place one bow near the cuticle on two accent nails and keep the rest simple for balance. This sweet detail suits parties, gifts, and photos, and it pairs well with gold jewellery and soft festive outfits.
Frosted Winter White Tips
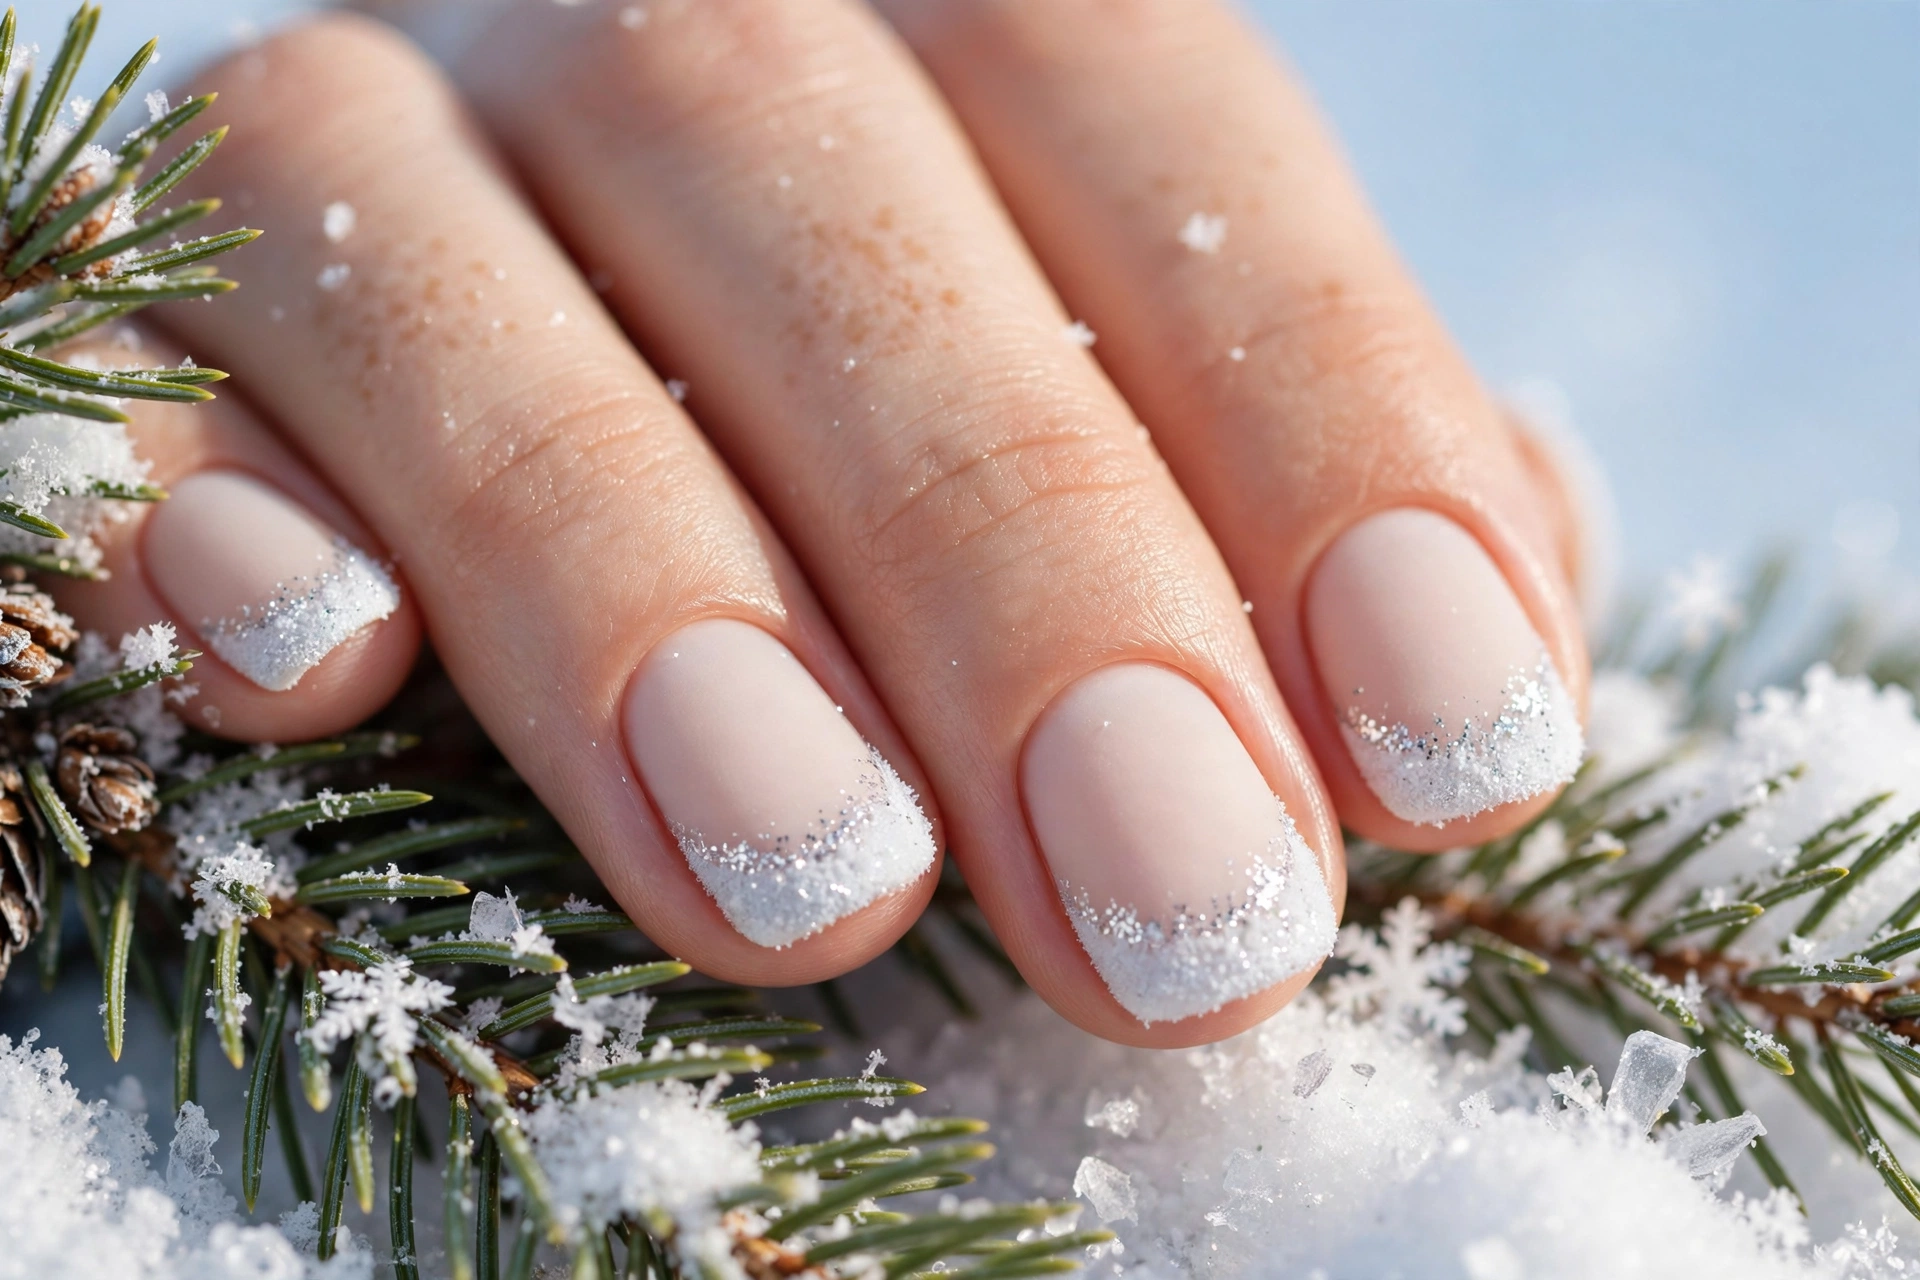
Before: Before this look, plain white polish can look flat and show every chip, especially on busy holiday weeks. Bare tips may also look unfinished in photos, and a dull finish can make even a neat manicure feel less special for parties.
After: After adding a frosted finish, the same white tips look soft, snowy, and bright. A matte top coat or fine white shimmer creates a winter glow, hides small flaws, and gives short nails a fresh festive finish that photographs beautifully.
Frosted white tips suit every festive outfit, from red dresses to cosy knits and silver jewellery. Keep the shape short and rounded, apply thin coats, and refresh the top coat after a few days. The result is clean, wintry, and truly ready for every special holiday moment.
Chic Burgundy Party Nails
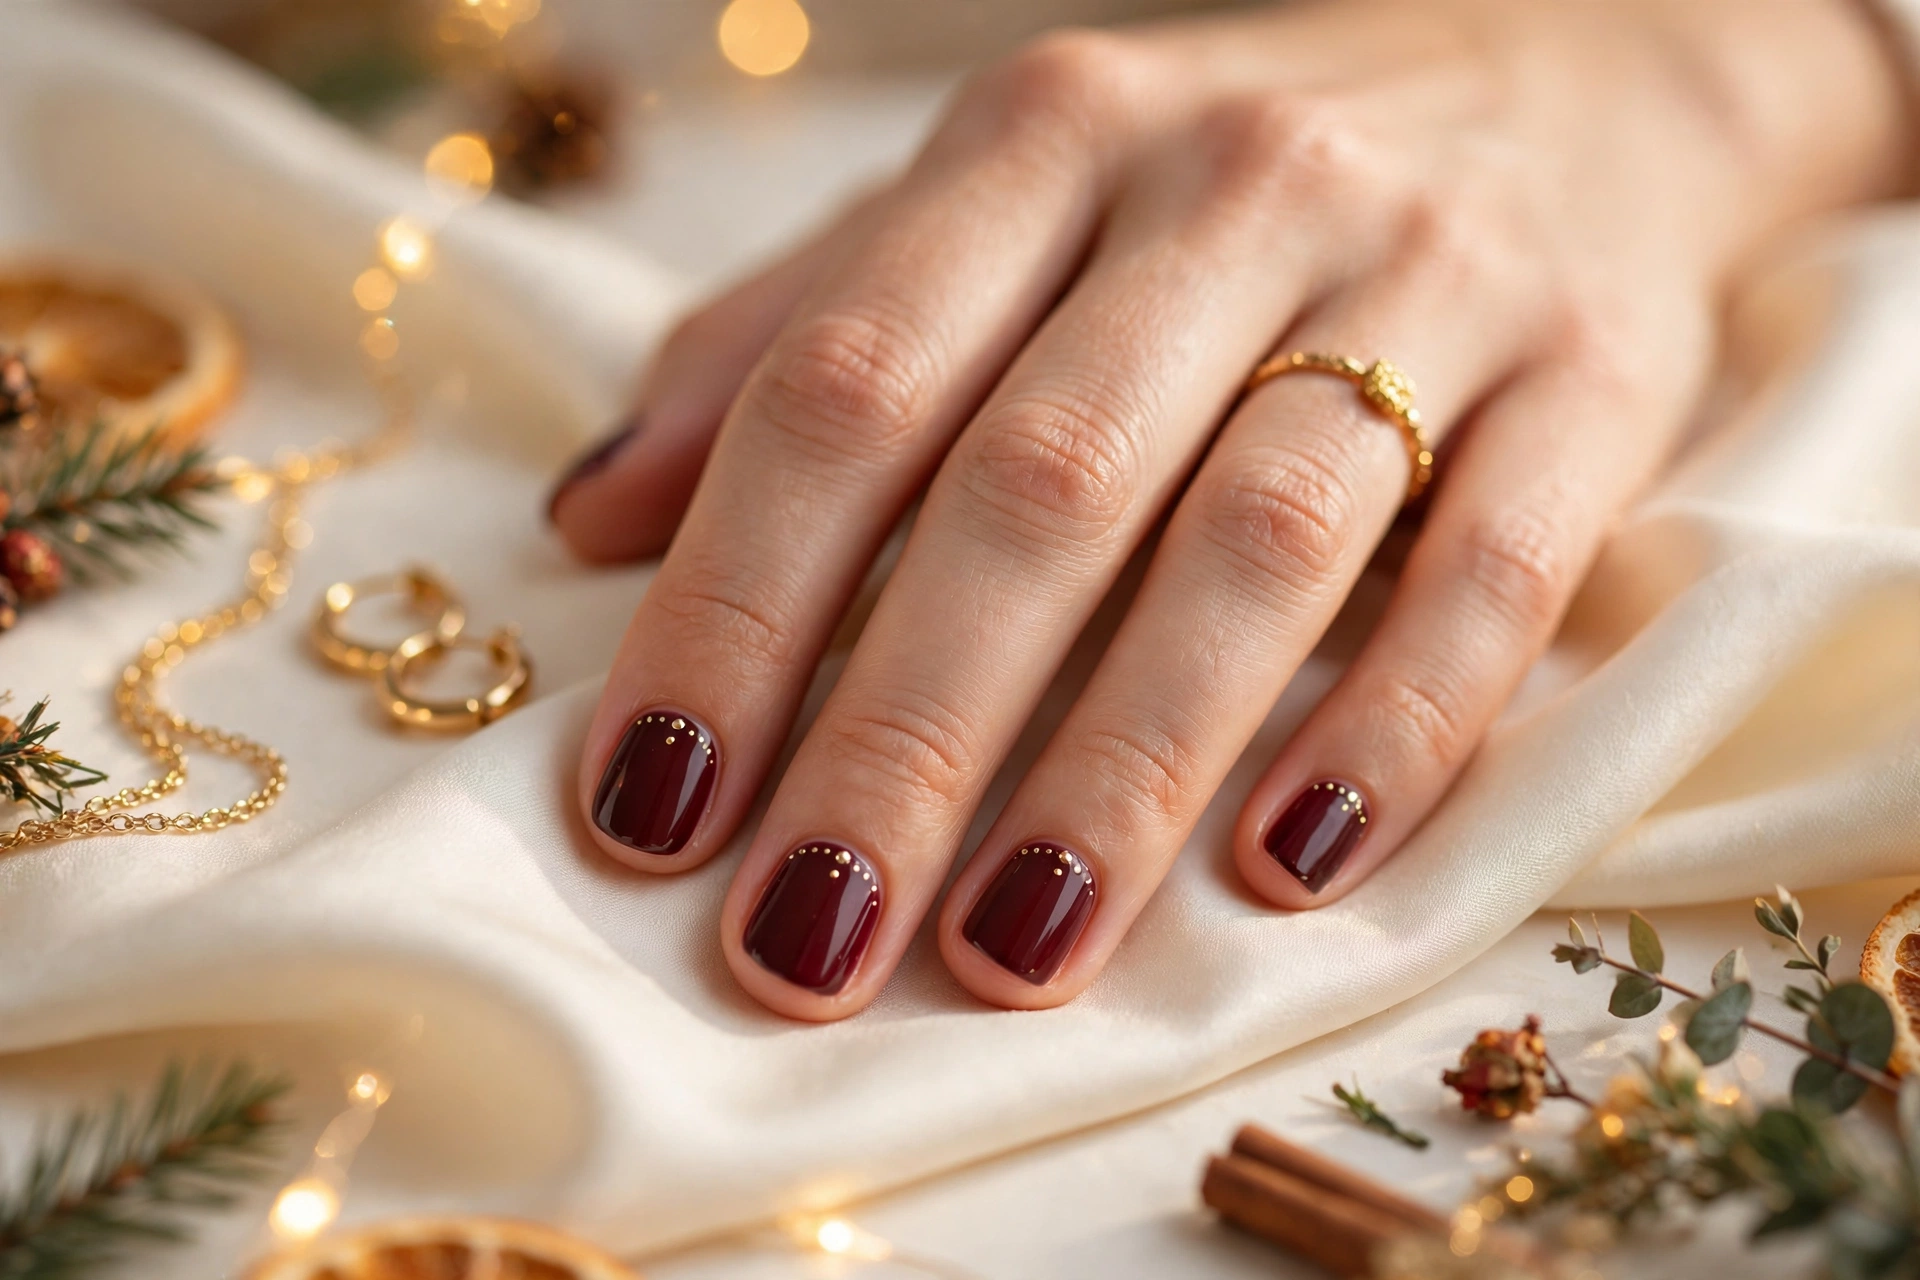
Burgundy is a party classic for a reason. It looks deep, rich, and polished on short festive nails, and it works with almost any evening outfit. A glossy finish keeps the colour looking expensive, while a small gold detail stops it from feeling plain.
- Shape your nails into a soft oval or rounded square, then push back cuticles gently and buff lightly for a smooth base.
- Apply one thin base coat, then two thin coats of deep burgundy polish, letting each coat dry fully before the next.
- Add tiny gold dots near the cuticle on one or two accent nails using a dotting tool or the tip of a bobby pin.
- Seal everything with a glossy top coat, clean up the edges with a flat brush dipped in remover, and let nails dry completely.
Burgundy works so well for party nights because it looks rich without trying too hard, and it pairs beautifully with gold jewellery, black dresses, and soft candlelight. Keep the finish glossy, tidy your cuticles, and carry a mini top coat for quick touch ups before photos.
Pearl Christmas Tree Accents
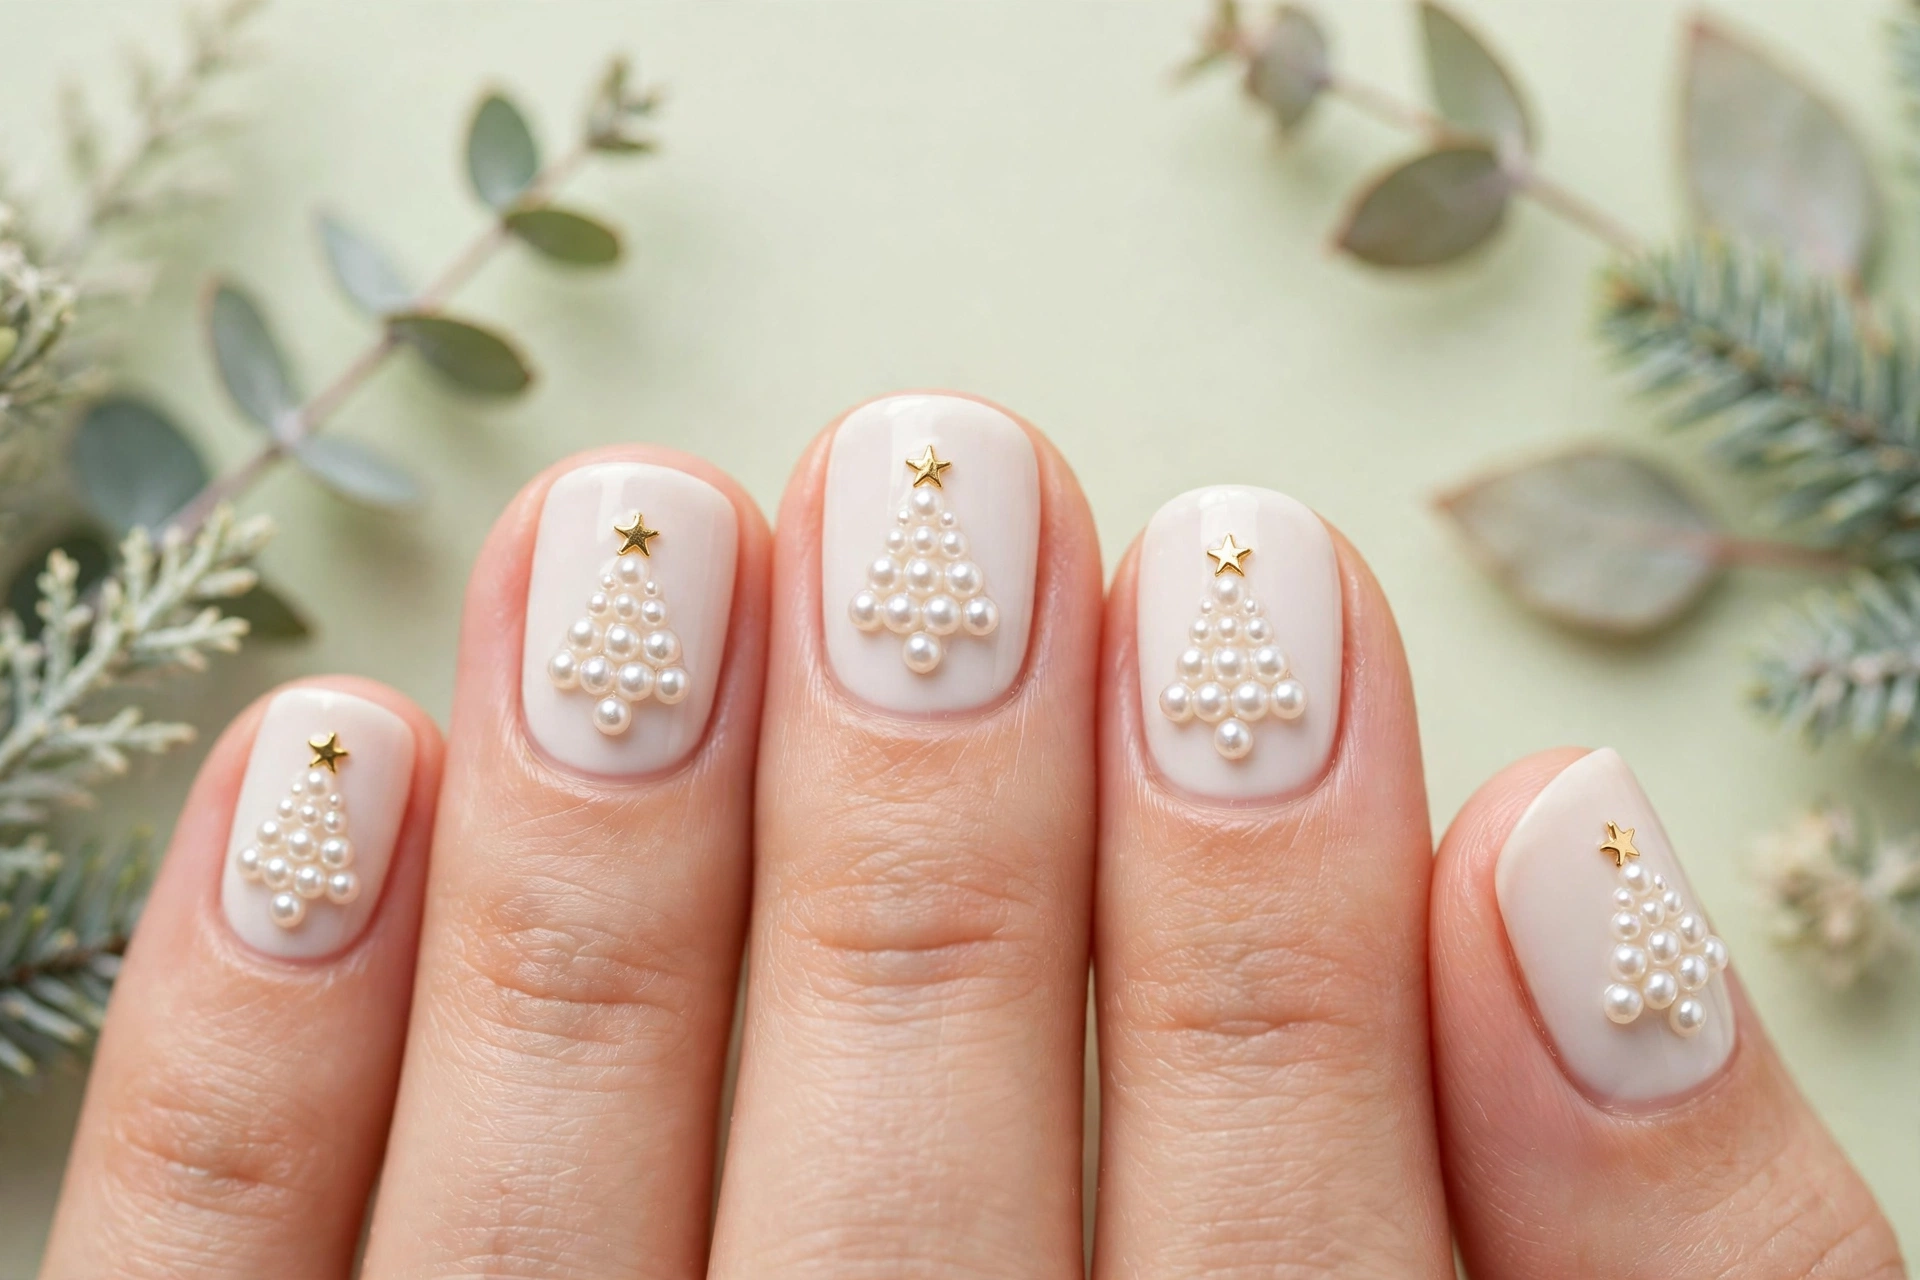
Pearl trees bring a soft, elegant twist to festive nails. Instead of bold glitter, small pearls form a neat tree shape that catches the light gently. This look suits short holiday nails well, since the design stays tidy even on a smaller nail bed.
| Feature | Small pearls | Larger pearls |
|---|---|---|
| Best use | Tiny tree shapes on accent nails | Single statement trees on ring fingers |
| Finish | Soft, subtle glow | Bold, eye catching shine |
| Application | Place with wax pencil or tweezers | Place one by one with nail glue |
| Wear time | Lasts well with two top coats | Needs extra sealing around edges |
Pearl accents give a tree design a soft glow that glitter alone cannot match, and they suit both quiet family dinners and dressier evening events. Choose pearls that sit flat, seal them well, and let one or two nails carry the detail for a balanced finish.
Warm Cocoa Glitter Fade
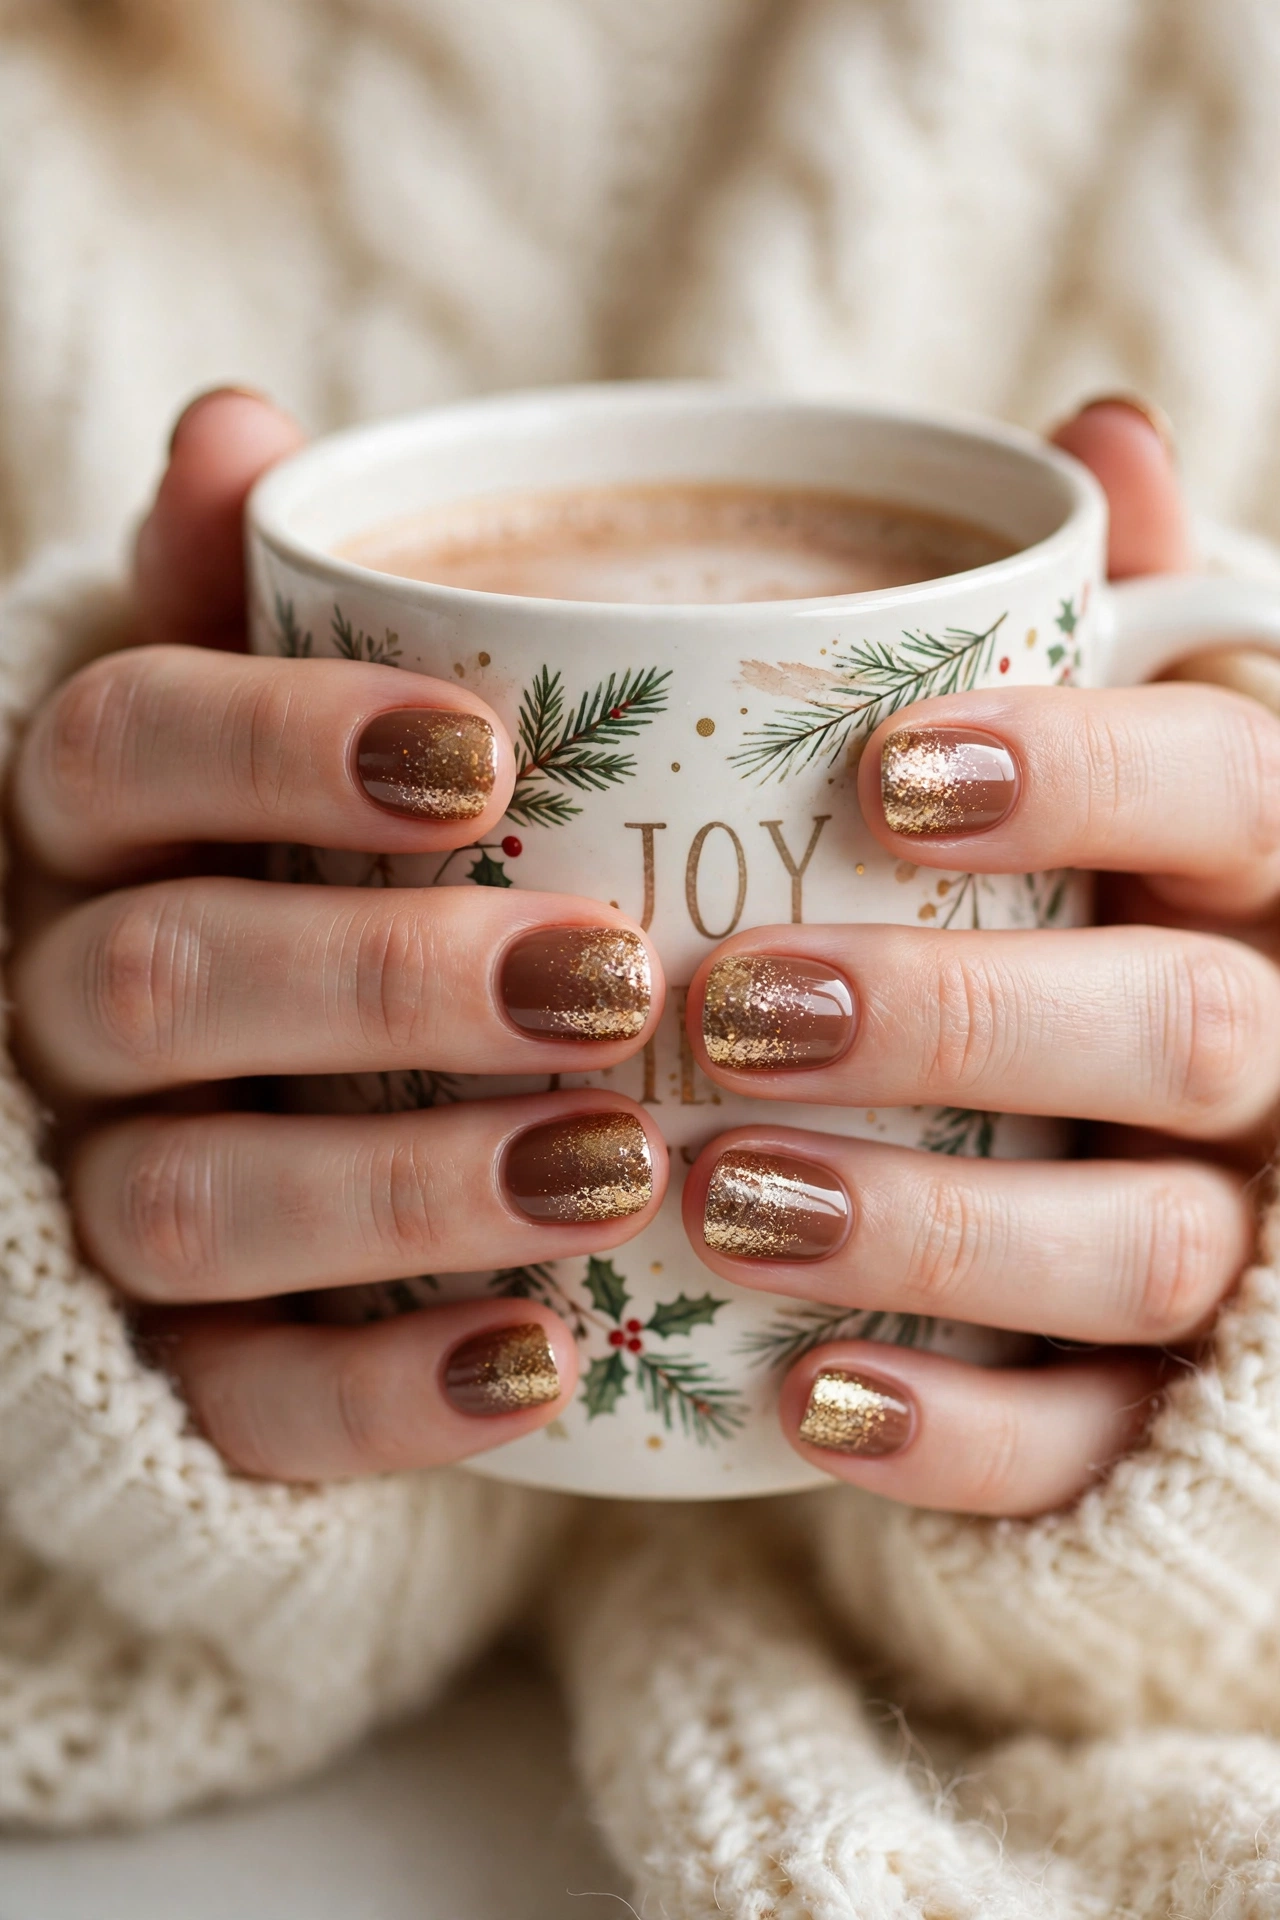
A cocoa glitter fade feels like a warm drink on a cold evening. Deep brown melts into sparkling gold, giving short festive nails a cosy glow without a heavy, full glitter coat. The fade also grows out gracefully, which makes it a practical choice for busy weeks.
DO:
- Start with a smooth cocoa base and let it dry fully before adding glitter.
- Sponge gold glitter lightly from the tips upward, building slowly for a soft blend.
- Seal with two thin top coats to smooth the glitter and add shine.
DON’T:
- Do not load the sponge with glitter, or the fade will look patchy and thick.
- Do not rush the drying time between layers, or the glitter may drag and smudge.
- Do not skip cuticle cleanup, since glitter near the skin can look untidy fast.
A cocoa glitter fade feels warm, cosy, and easy to wear through the whole festive season, from office parties to relaxed evenings at home. Keep the blend soft at the centre, seal with a glossy top coat, and enjoy a manicure that looks polished without feeling fussy.
Simple Holly Leaf Details
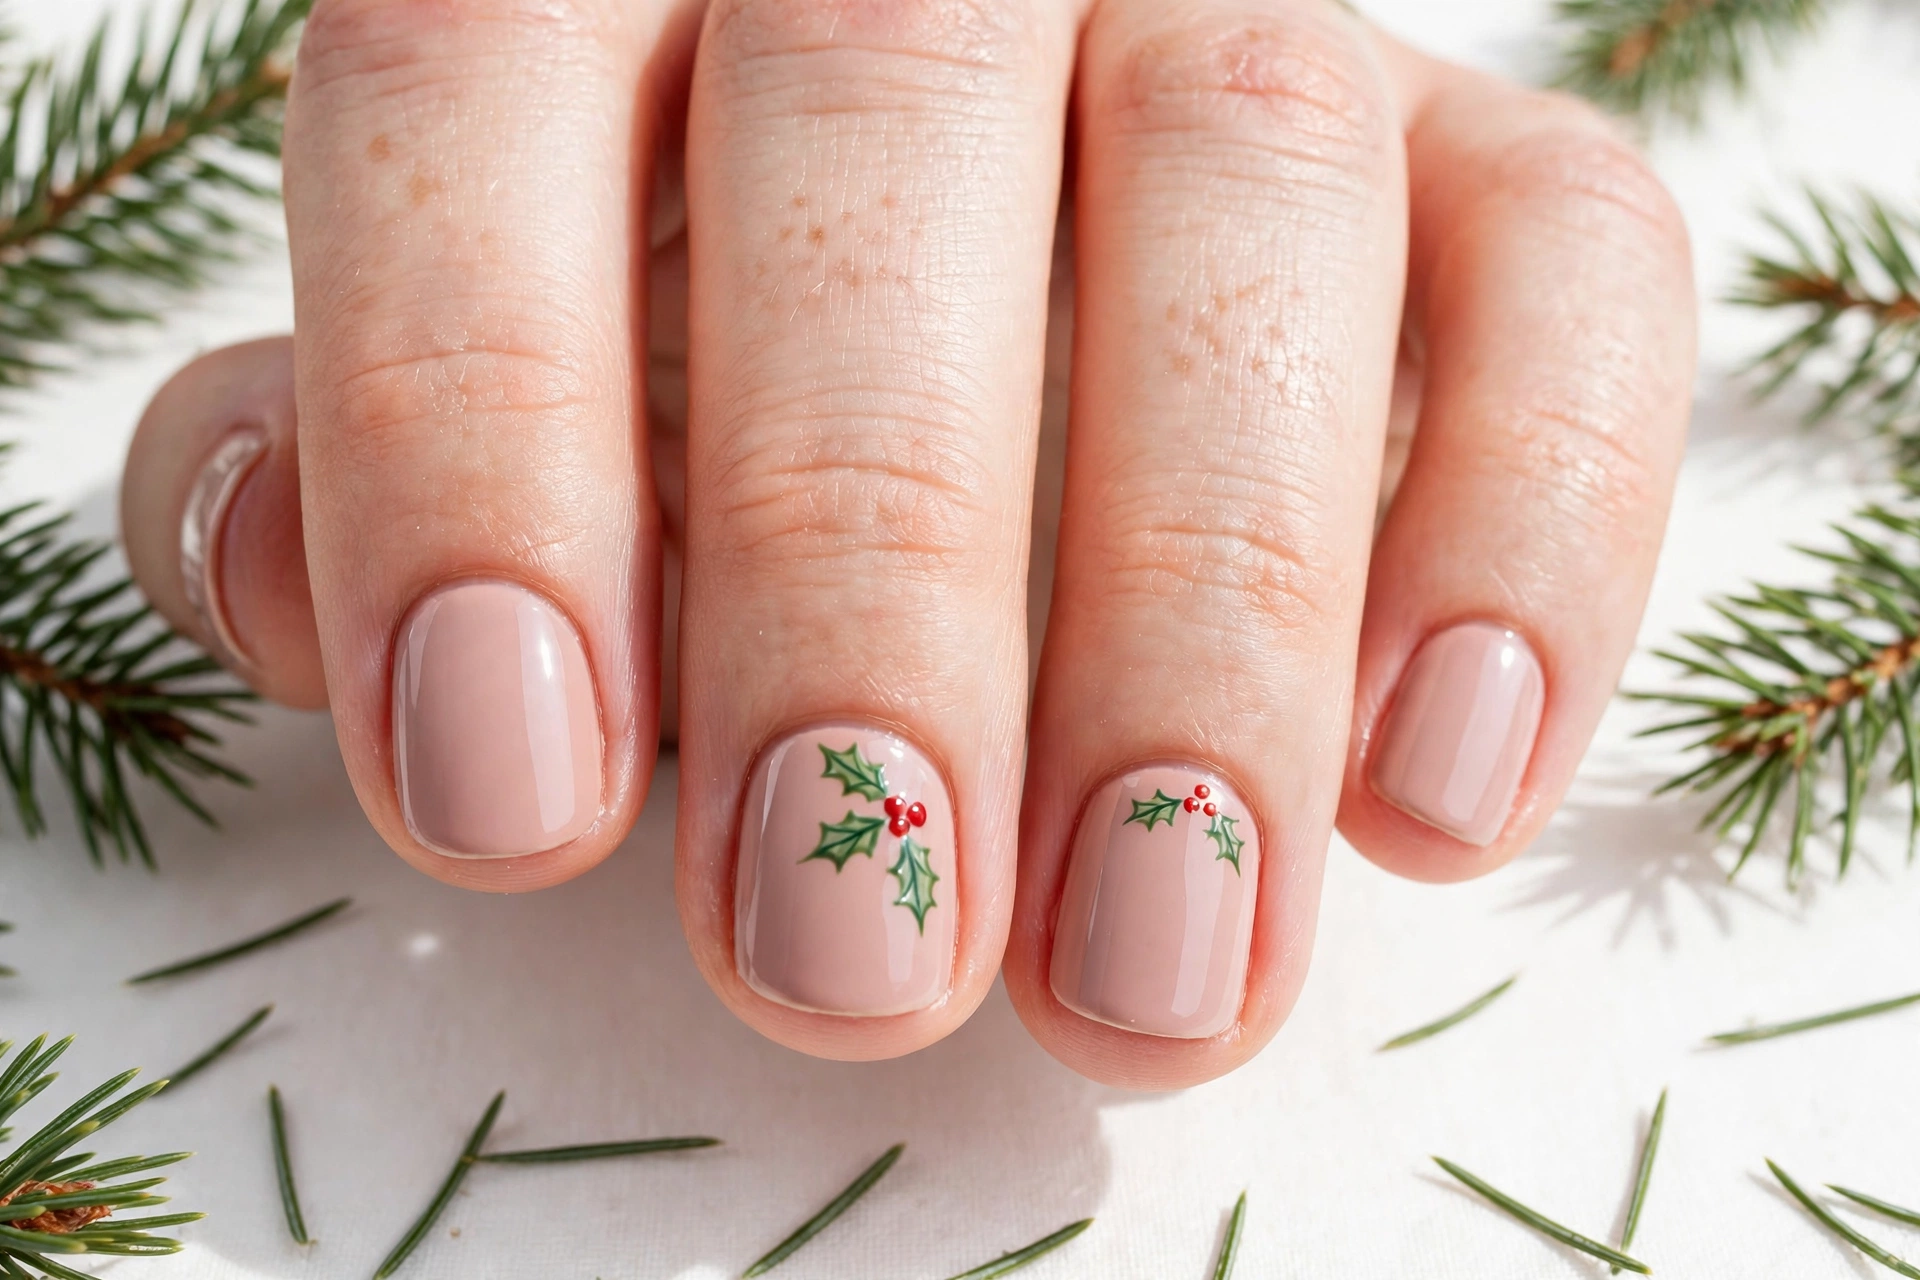
Holly leaves are one of the easiest festive details to paint, and they look charming on a short Christmas manicure. Two small leaves and a few red dots are enough. Keep the shapes simple, the spacing neat, and let the design breathe.
Quick Fact: Best base colour: soft nude pink, creamy white, or pale sage green.
Quick Fact: Leaf size: keep leaves small so they fit neatly on shorter nails.
Quick Fact: Tools needed: a thin detail brush, a dotting tool, and a glossy top coat.
Quick Fact: Placement tip: put holly on one or two accent nails for a clean finish.
Holly leaves add instant festive charm without needing bold colour or heavy detail, which makes them perfect for short nails and busy December weeks. Keep the leaves small, space them neatly, and finish with a clear glossy coat for a fresh, cheerful look that lasts through parties and family gatherings.
Rose Gold Party Shine
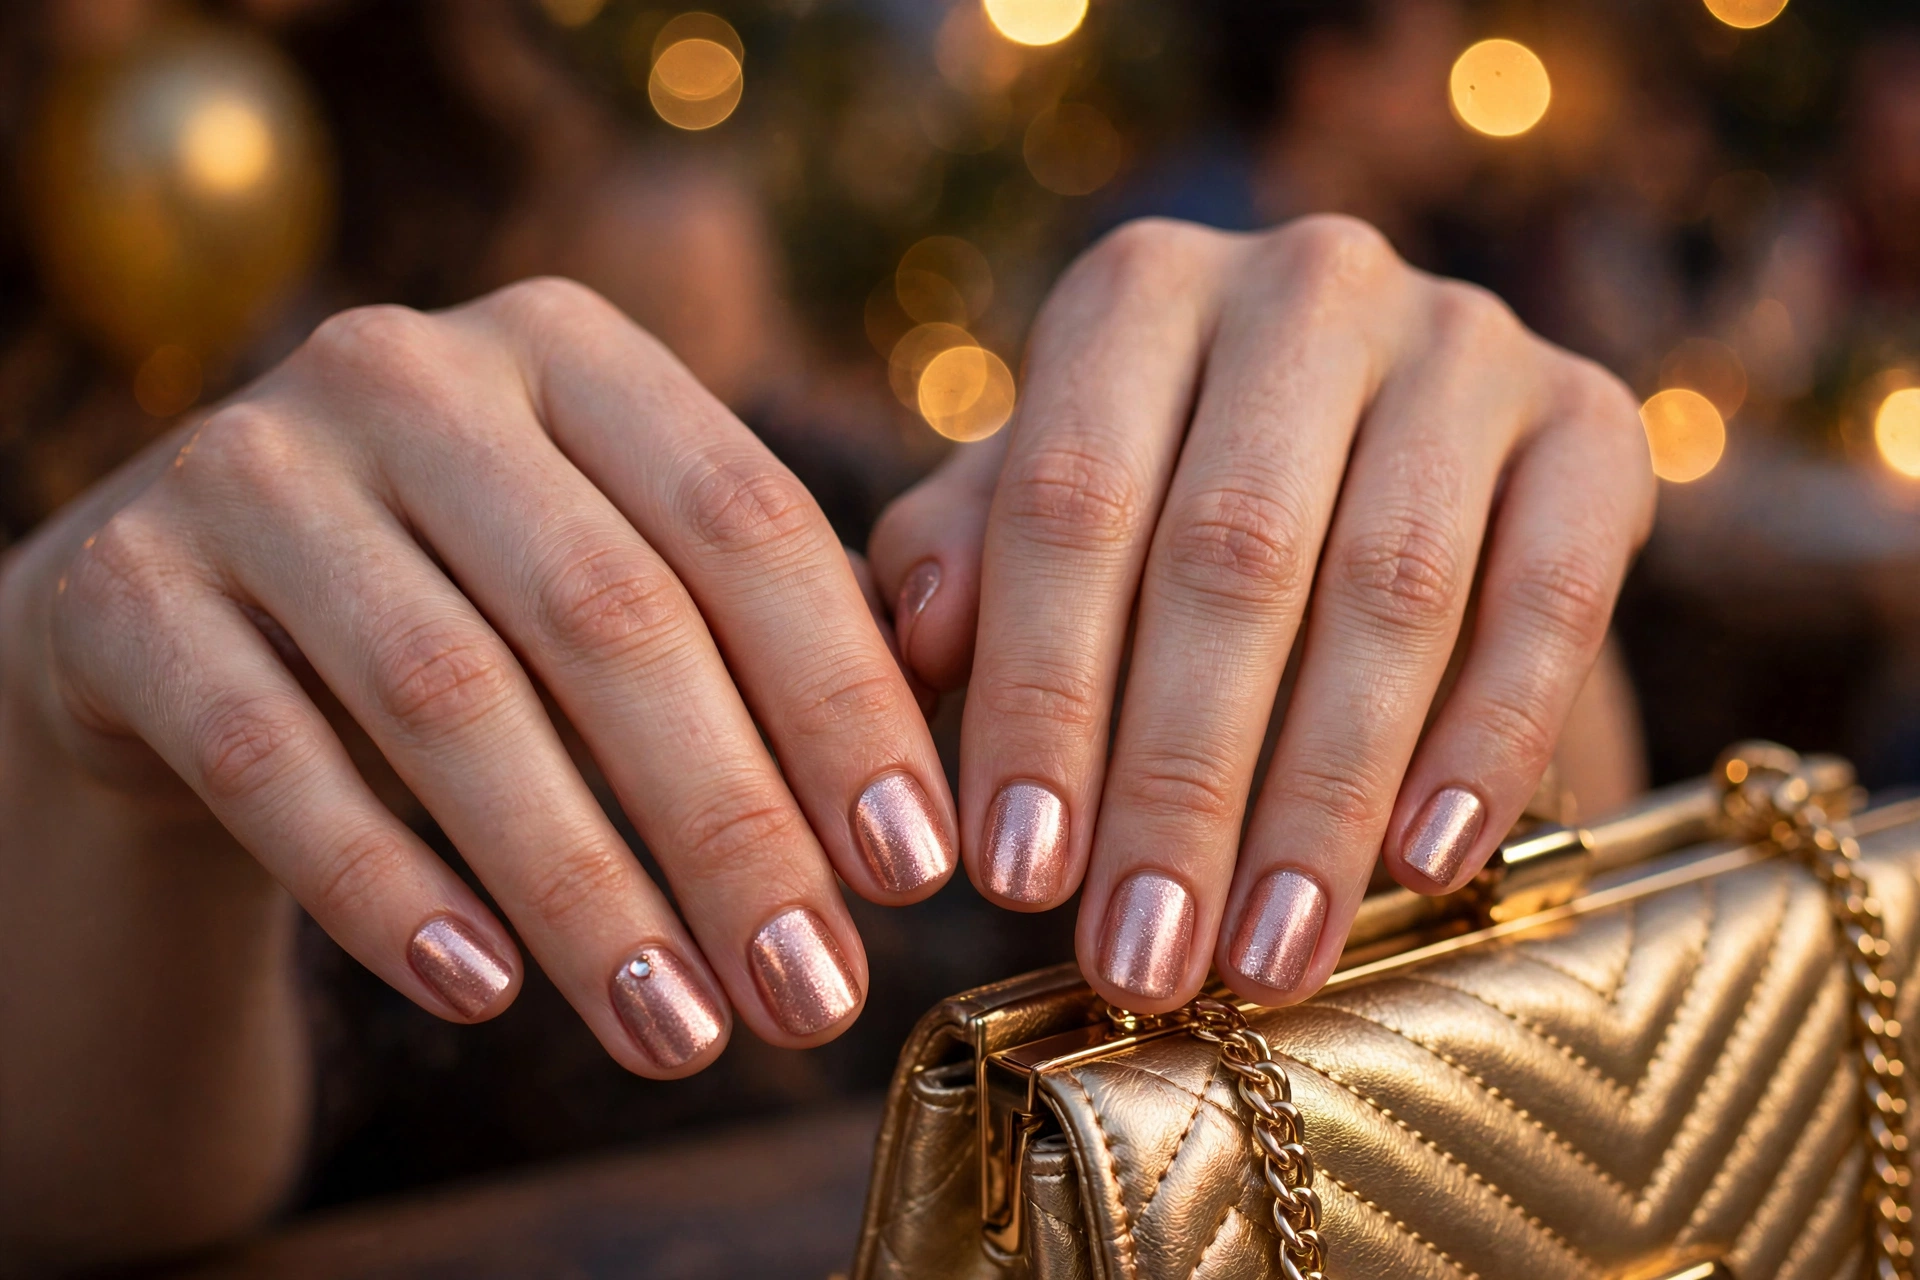
Rose gold polish gives short festive nails a soft metallic glow that suits evening parties without feeling loud. Choose a fine shimmer formula rather than chunky glitter so light catches evenly across each nail. Keep the shape rounded to help the warm tone look neat from every angle.
Add one tiny rhinestone at the base of the ring finger for a subtle party detail. Finish with two thin top coat layers to protect the shine during long celebrations. This look pairs well with gold jewellery and satin dresses, making it an easy choice for festive dinners.
Midnight Navy Snow Sparkle
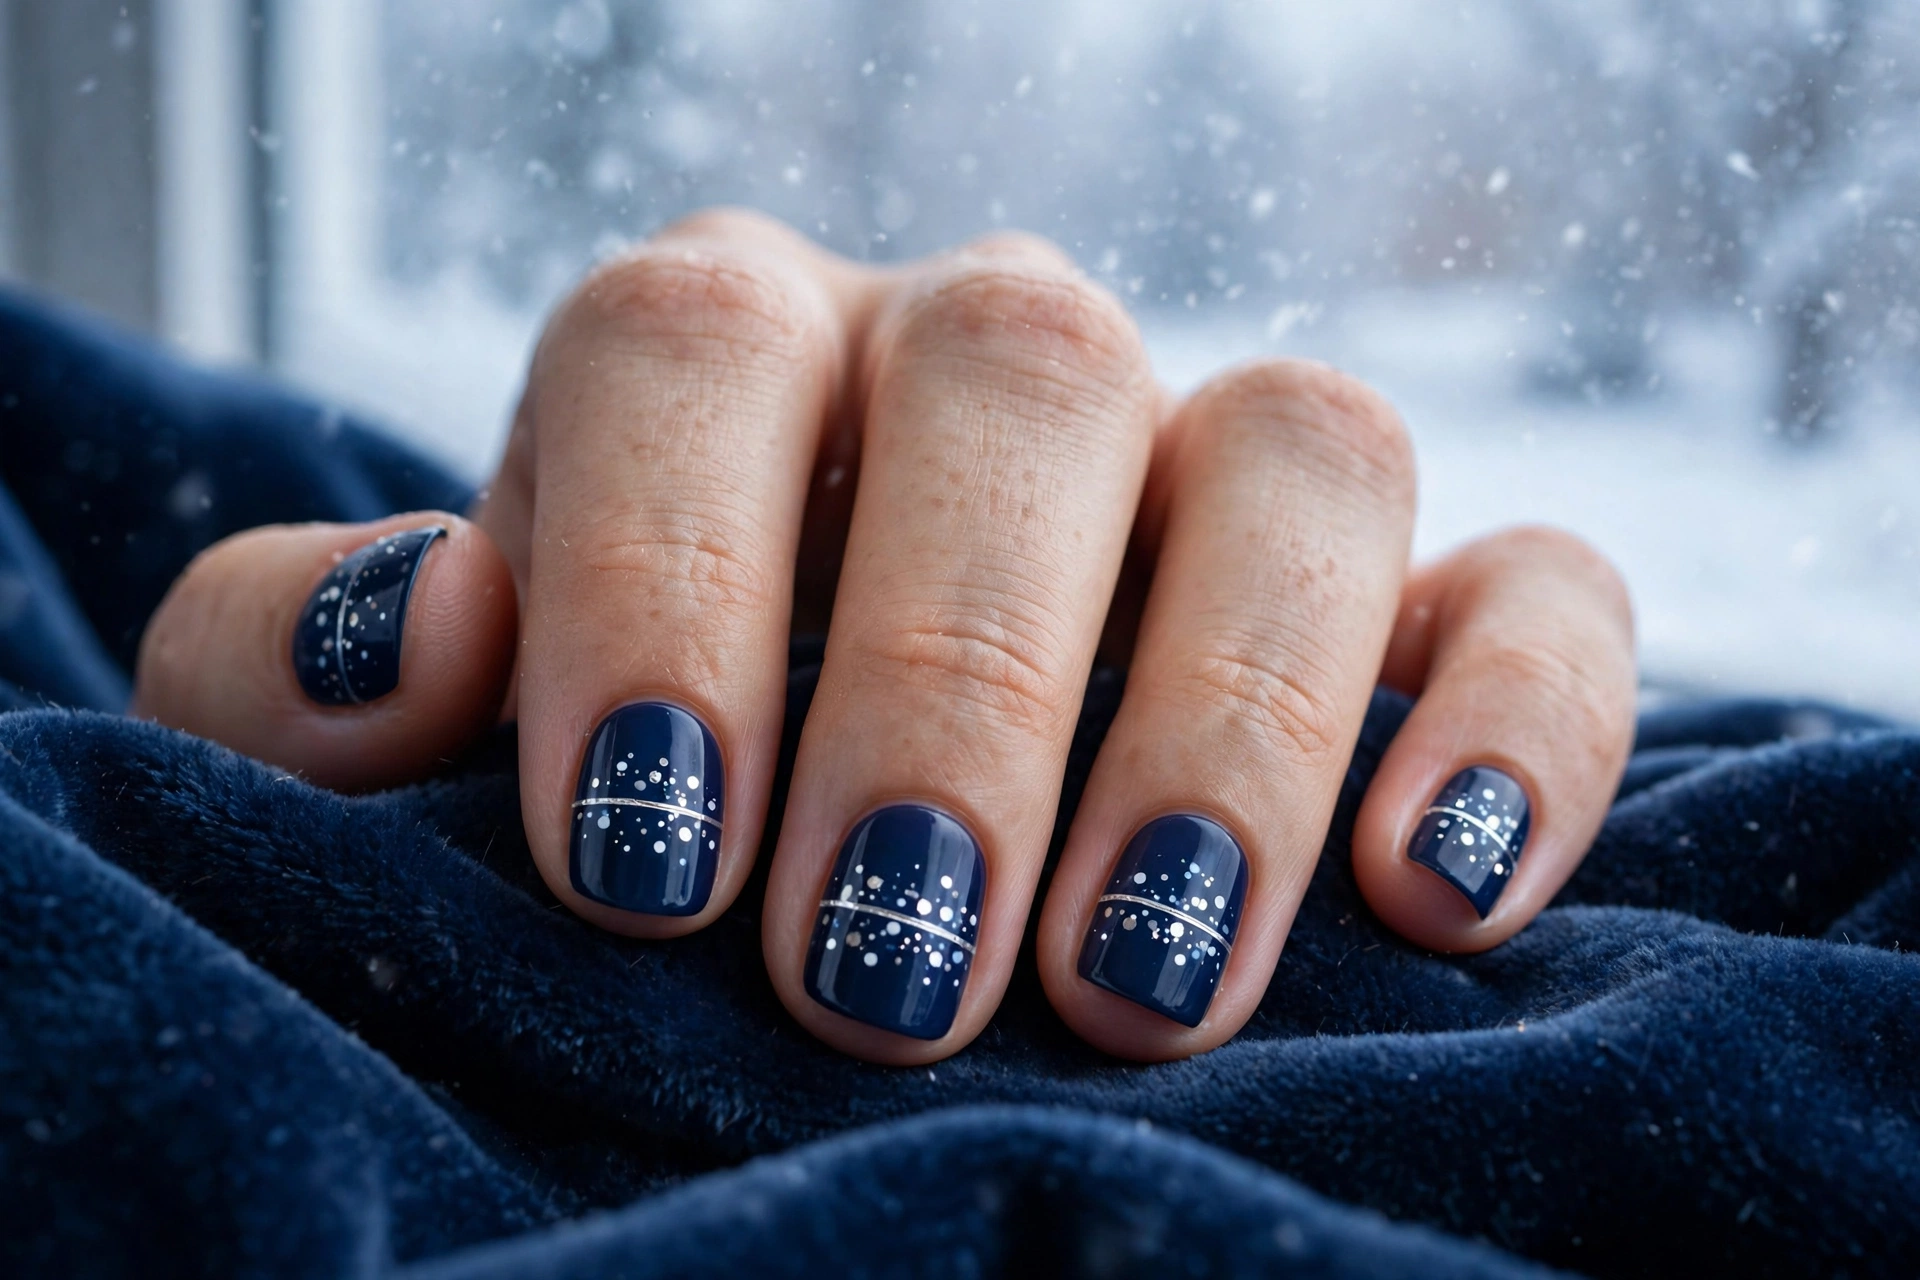
- Paint all nails deep navy with two even coats for rich colour.
- Press tiny white and silver dots near the tips to suggest falling snow.
- Add one fine silver stripe on the ring finger for a frosty accent.
- Seal with a glossy top coat so the dark shade stays bright and smooth.
- Keep nails short and rounded so the sparkle stays neat and wearable daily.
This design feels calm and festive at the same time, which makes it ideal for winter evenings and family gatherings. The dark base lets each snow detail stand out clearly, while the short length keeps the look practical for cooking, typing, and wrapping gifts all season.
Sweet Gingerbread Accent Nails
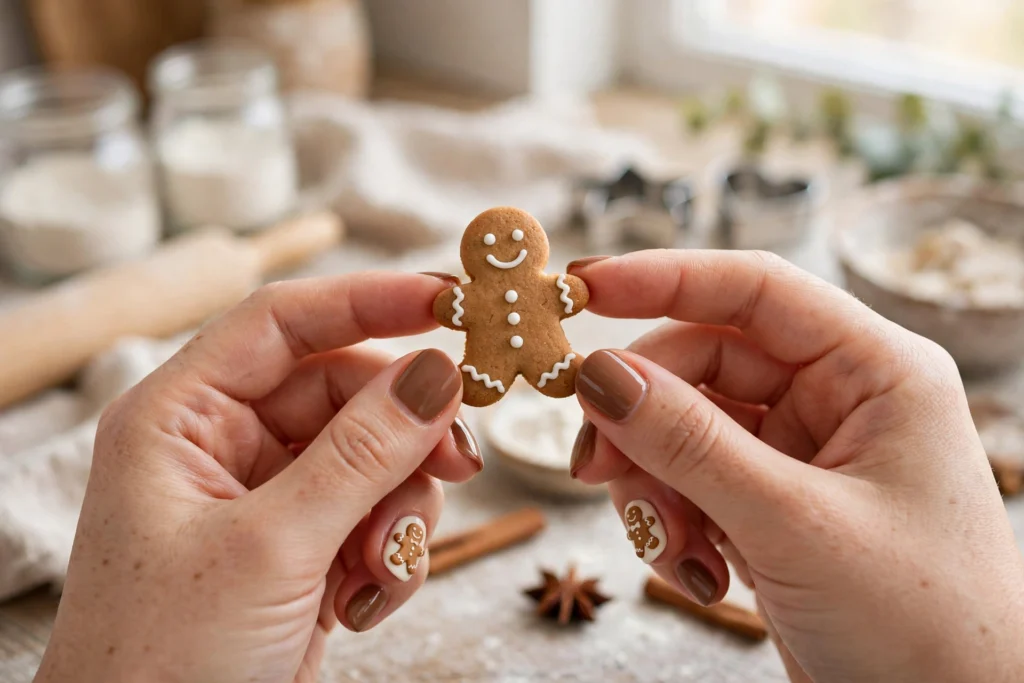
Quick Tip: Paint gingerbread figures on the ring finger and thumb only, then keep the other nails in warm brown or cream. This balance keeps the design cute without looking busy, and it leaves room for tiny icing dots and bows.
Use a thin brush for the icing lines and let each layer dry fully before adding the next detail. A matte top coat over the figures and a glossy coat on plain nails adds gentle contrast. The result looks sweet, playful, and perfect for holiday baking days and cosy family photos.
Glossy Cranberry Short Nails
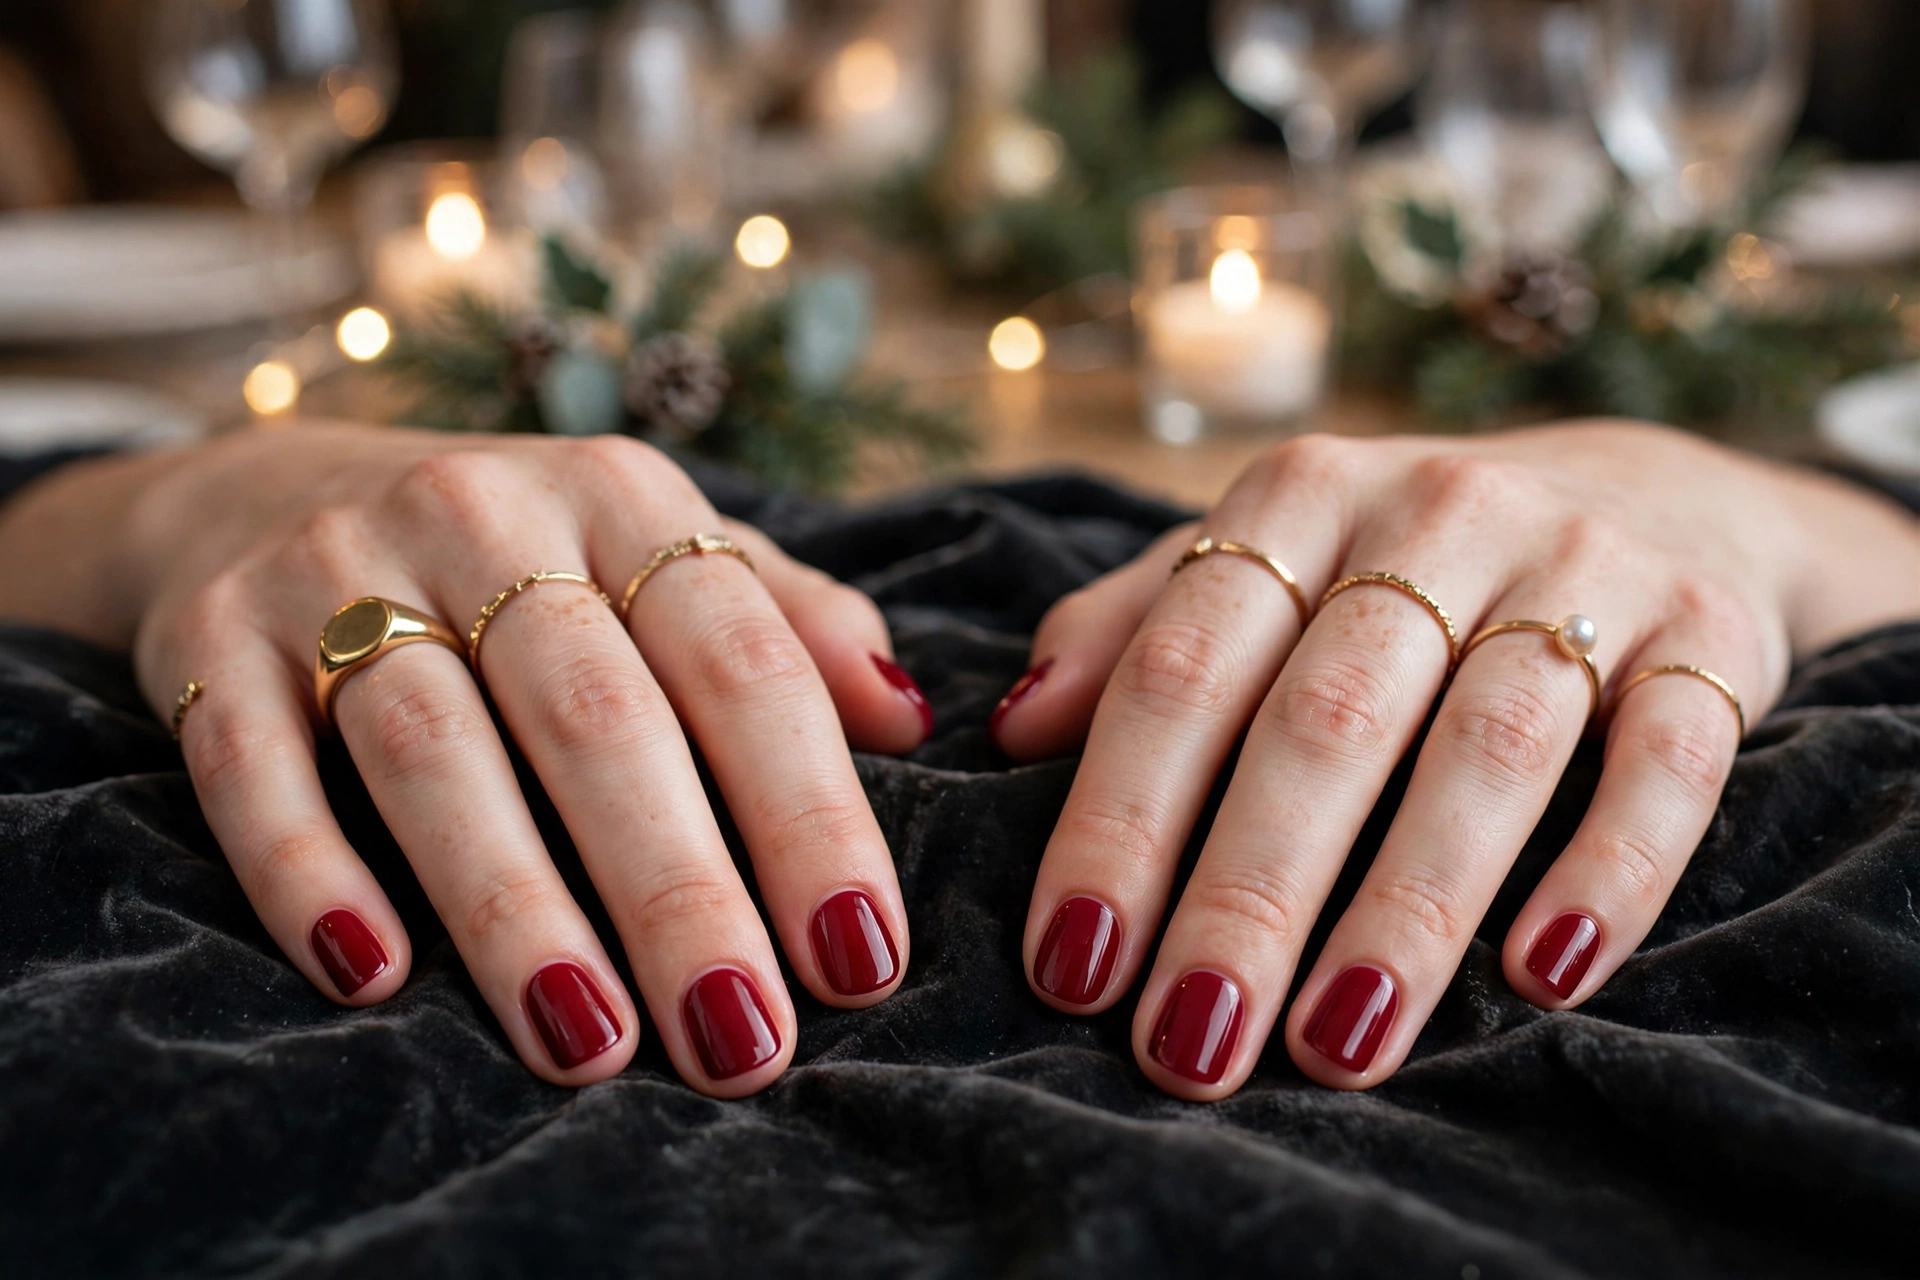
Before: Plain short nails can look dull at holiday parties, even with a nice outfit. Bare tips show chips quickly, colour fades fast, and the hands can look unfinished in photos. Without a festive shade, the whole look may feel plain beside sparkling dresses and rich seasonal makeup.
After: A glossy cranberry shade instantly makes short nails look rich, neat, and party ready. The deep red tone flatters most skin tones, hides small flaws, and pairs beautifully with gold rings and dark outfits. Two coats plus a shiny top coat give a smooth salon style finish at home.
Apply a strengthening base coat first, then paint thin even layers and clean the edges with a small brush. Let each coat dry fully before adding top coat for lasting shine. This simple routine keeps cranberry nails glossy through dinners, dancing, and joyful festive gatherings.
Silver Chrome Winter Shine
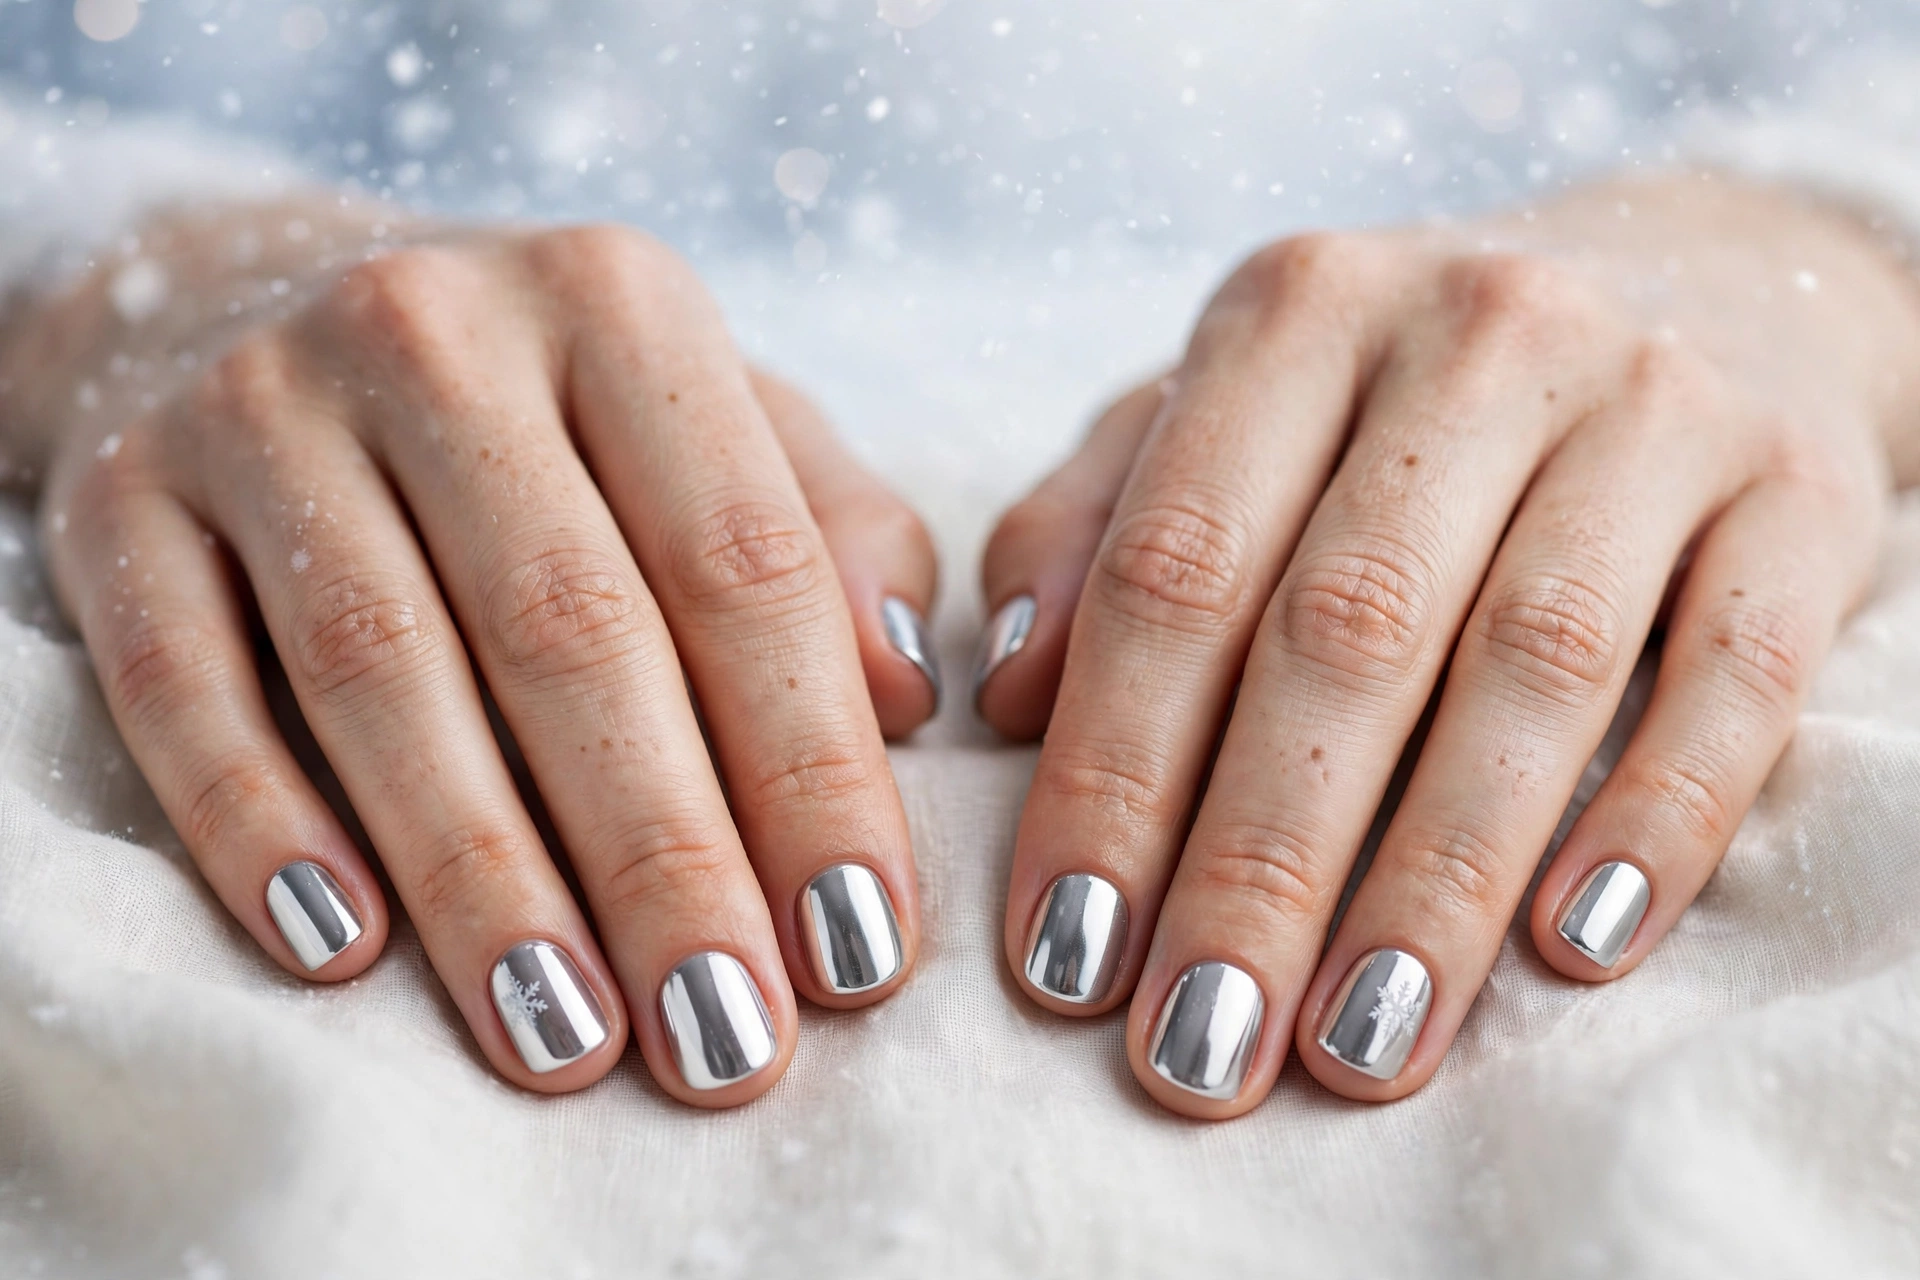
- Start with clean, shaped short nails and push back cuticles gently for a smooth base.
- Apply one thin base coat and let it dry fully so the chrome layer stays even.
- Paint two thin coats of silver polish, letting each coat dry before the next one.
- Rub chrome powder over the tacky silver layer with a soft applicator until the mirror shine appears.
- Seal the look with a glossy top coat, wrapping the free edge to protect the shine.
This look works best when the rest of your outfit stays simple, so the mirror shine can carry the festive feel. Keep your base smooth, your top coat even, and your cuticles neat for a clean finish. With short nails, the effect still reads bold and polished, ready for parties, photos, and cosy winter evenings.
Cozy Sweater Knit Texture
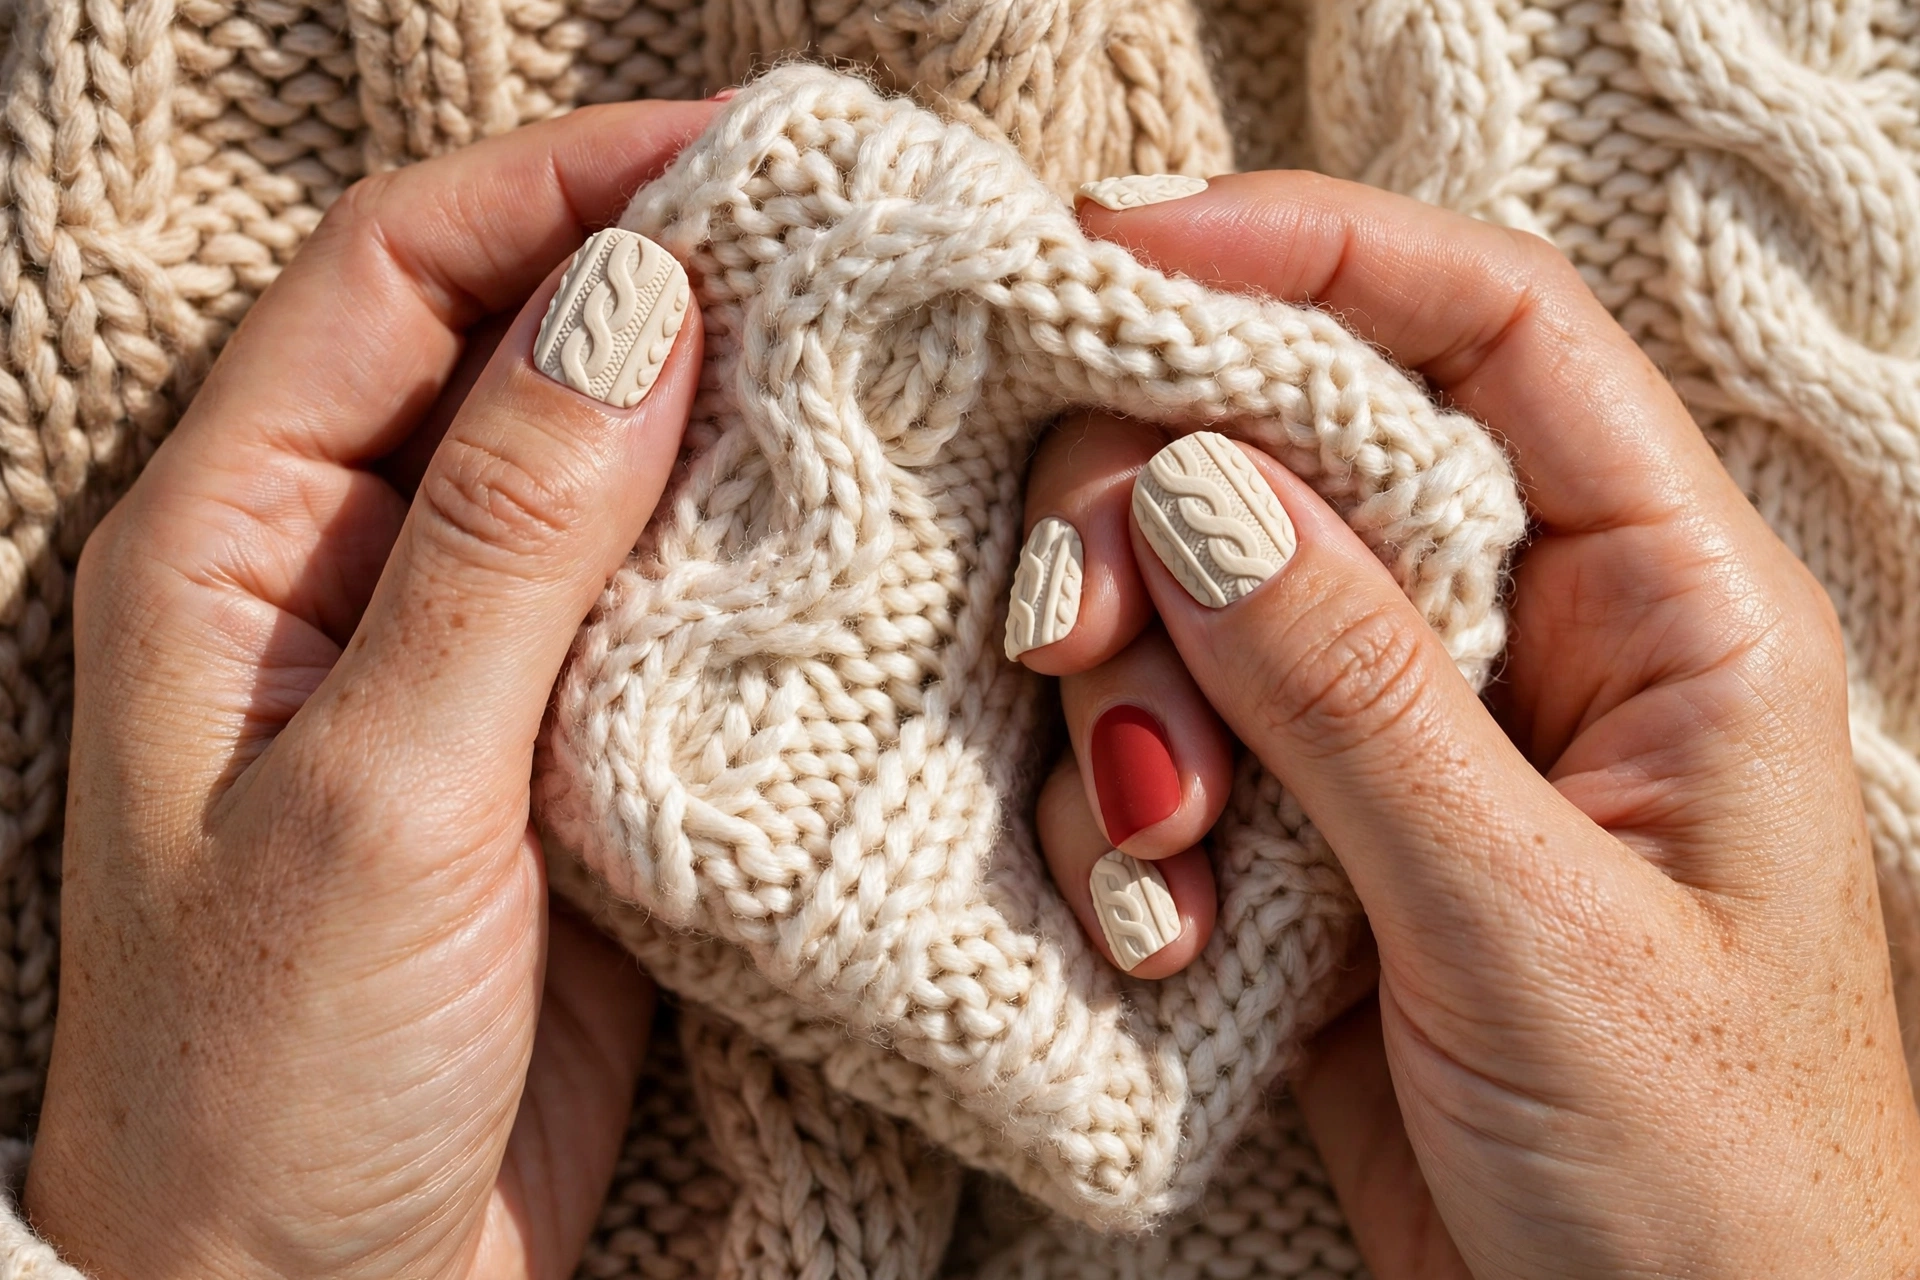
| Option | Look | Best For |
|---|---|---|
| Cream knit | Soft, classic, and warm | Everyday winter wear |
| Muted red knit | Rich and festive | Holiday gatherings |
| Grey knit | Subtle and modern | Work friendly festive style |
| Mixed knit and plain | Textured with breathing room | Short nails that need balance |
Pick a soft cream or muted red for the knit effect, then add one plain accent nail so the texture stays the focus. Matte top coat keeps the sweater look realistic and warm. This cosy design suits short nails well, and it pairs nicely with knitwear, scarves, and relaxed holiday outfits.
Tiny Reindeer Accent Nails
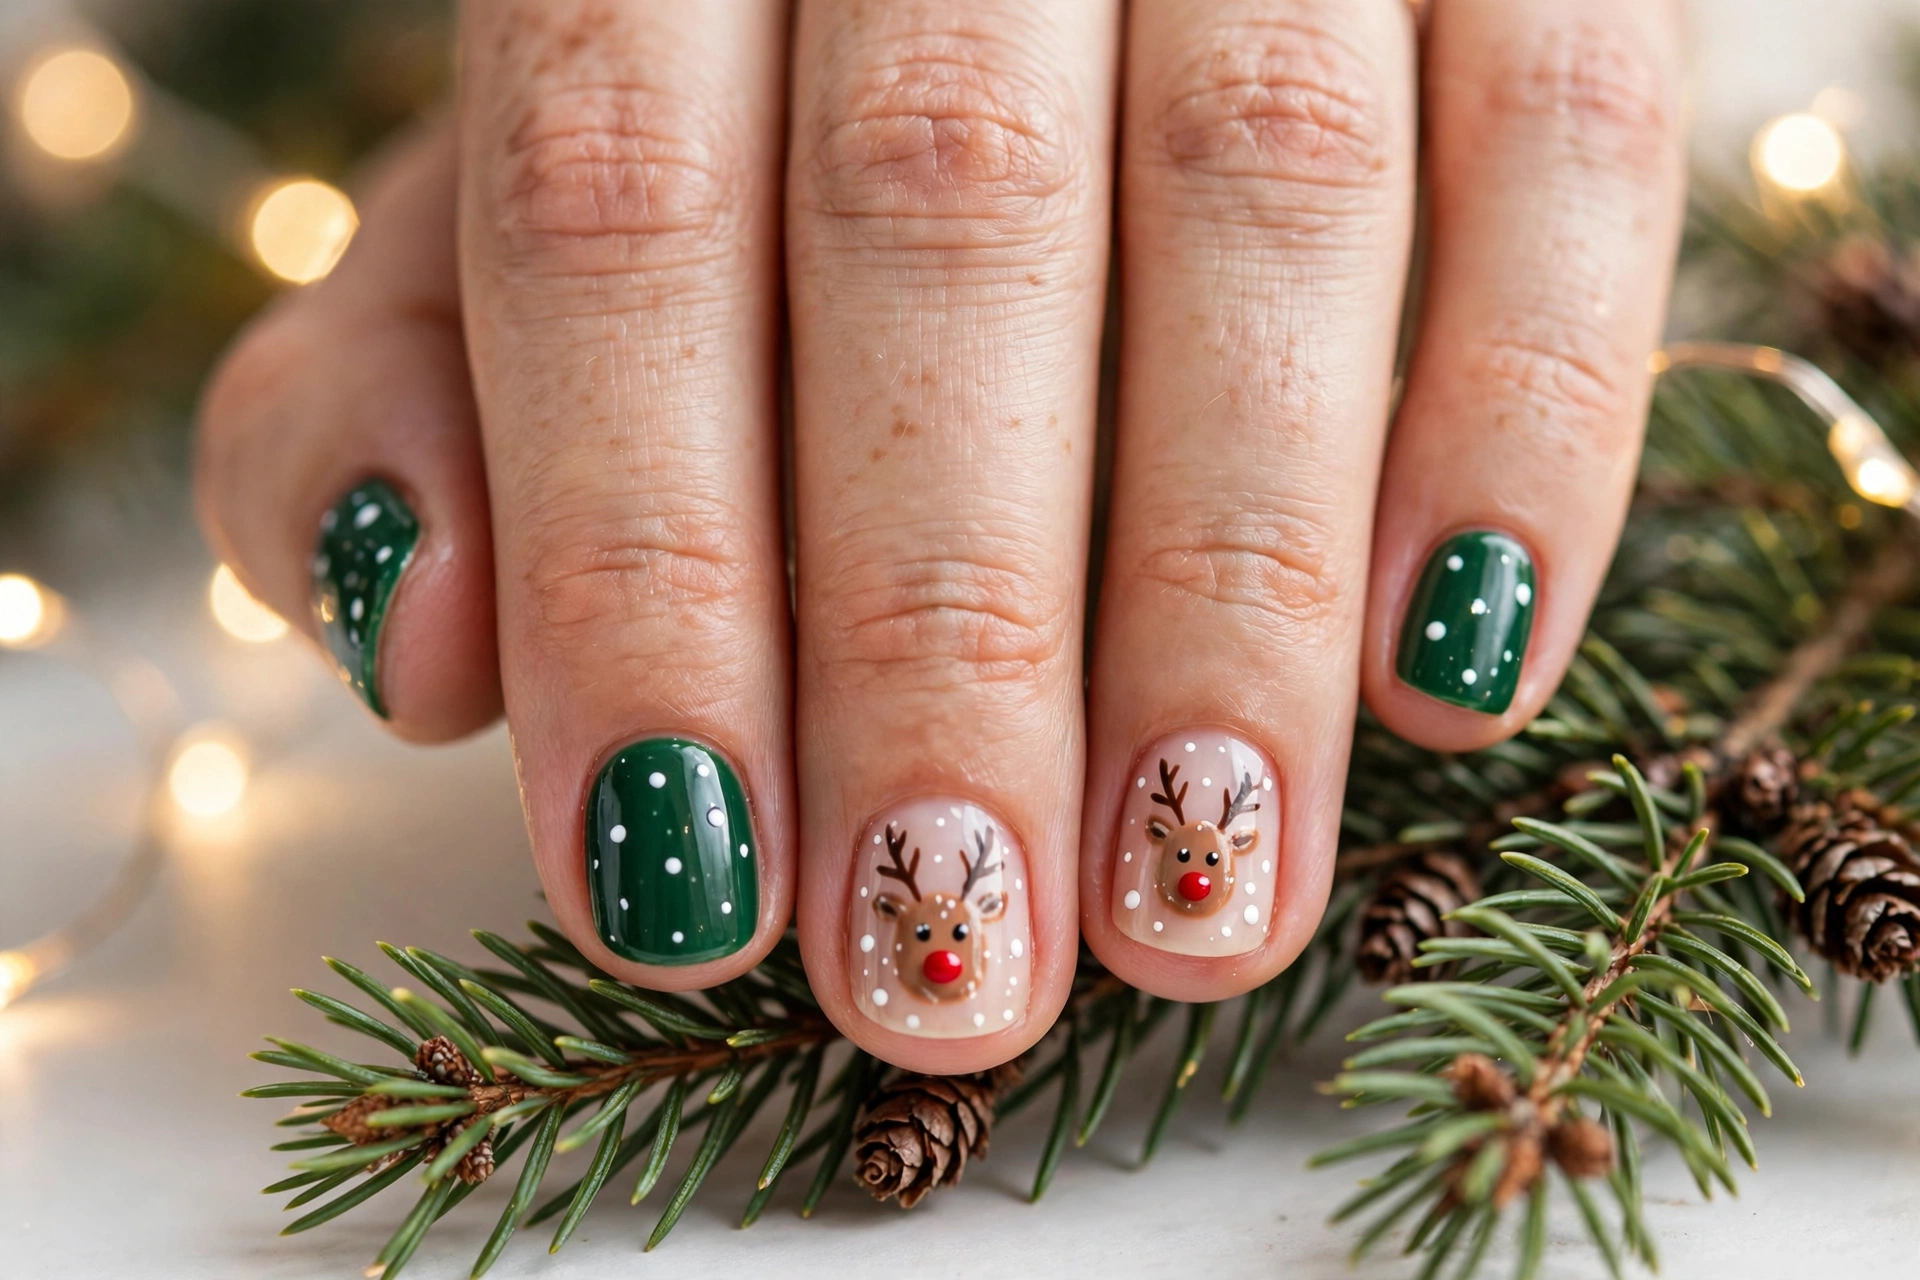
DO:
- Keep the reindeer on one or two accent nails only.
- Use a fine detail brush for antlers, eyes, and the nose.
- Let each tiny detail dry before adding the next one.
- Seal the art with a thin glossy top coat.
DON’T:
- Crowd every nail with a full reindeer face.
- Use thick polish that hides the small details.
- Rush the drying time between layers.
- Add heavy glitter over the reindeer face.
Keep the reindeer small and centred so the face stays clear, even on a short nail. One or two accent nails give charm without crowding the whole manicure. Finish with a glossy top coat to protect the tiny details, and your festive set will look neat, playful, and ready for holiday photos.
Regal Gold Crown Tips
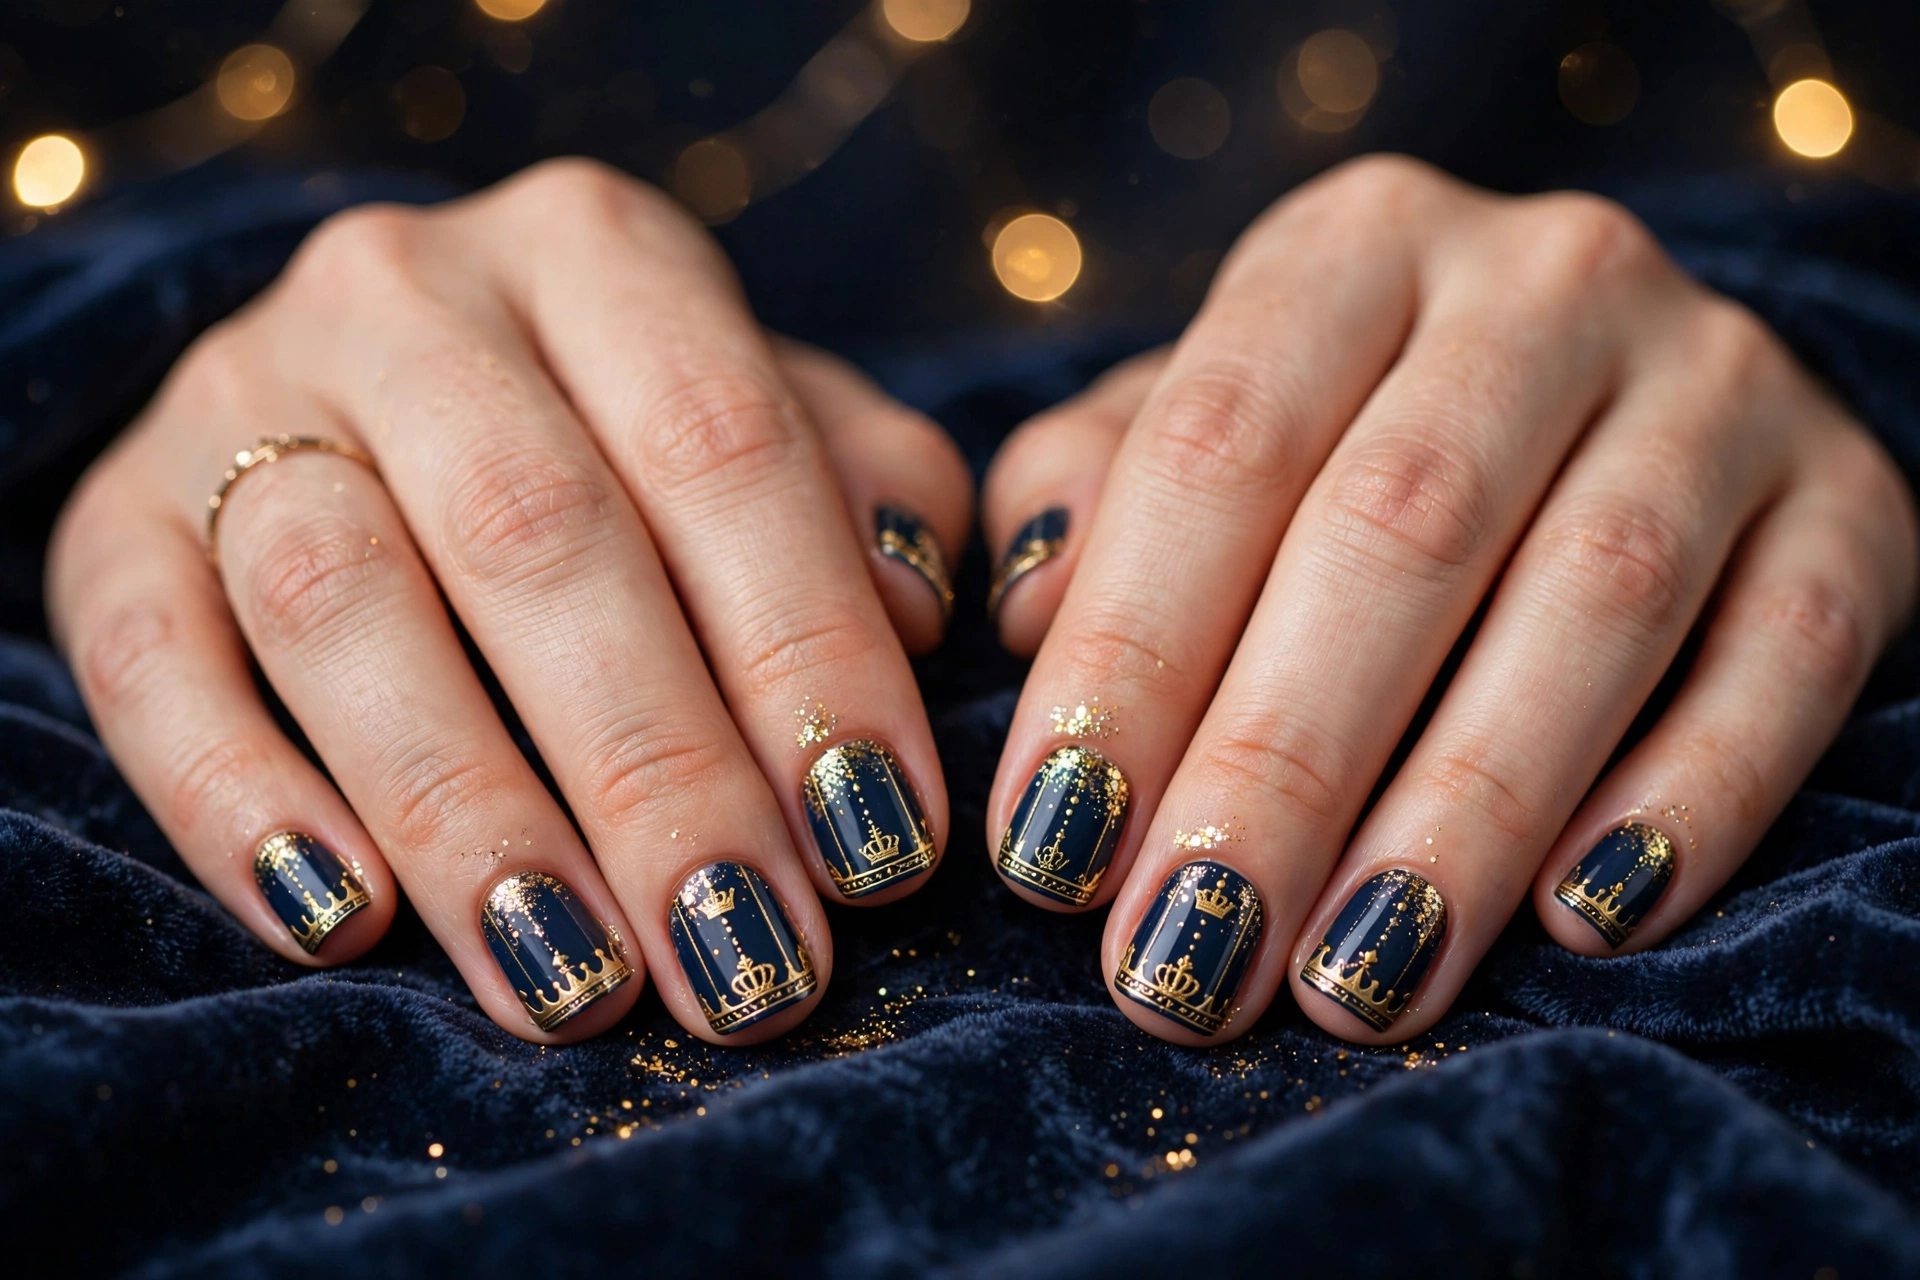
Quick Fact 1: Gold tips work best on a deep, solid base that lets the metallic detail stand out clearly.
Quick Fact 2: A fine liner brush gives sharper crown points than a thick polish brush.
Quick Fact 3: Two thin gold layers look richer and smoother than one thick layer.
Quick Fact 4: Glossy top coat protects the gold detail and adds a jewel like shine.
Gold tips look most regal when the crown detail stays neat and balanced across each nail. Use a fine brush, work slowly, and let each layer dry before adding the next. The result feels festive and elegant, perfect for parties, family dinners, and special winter celebrations with short nails.
Conclusion
From classic red tips to tiny reindeer accents, this collection shows how short nails can carry the whole festive season with grace. Choose the idea that matches your mood, your outfit, and your plans, then give yourself a calm evening to paint it well. Short christmas nails suit busy days, cosy nights, and every celebration in between, and they pair beautifully with rings, knits, and holiday dresses. Save your favourites on Pinterest, try one new idea each week, and share your result with friends who love festive beauty too. Your hands deserve a look that feels classy, comfortable, and yours.