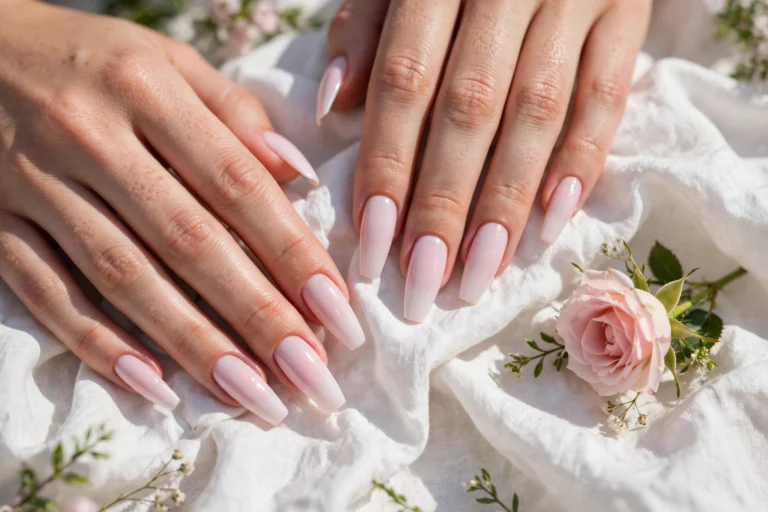
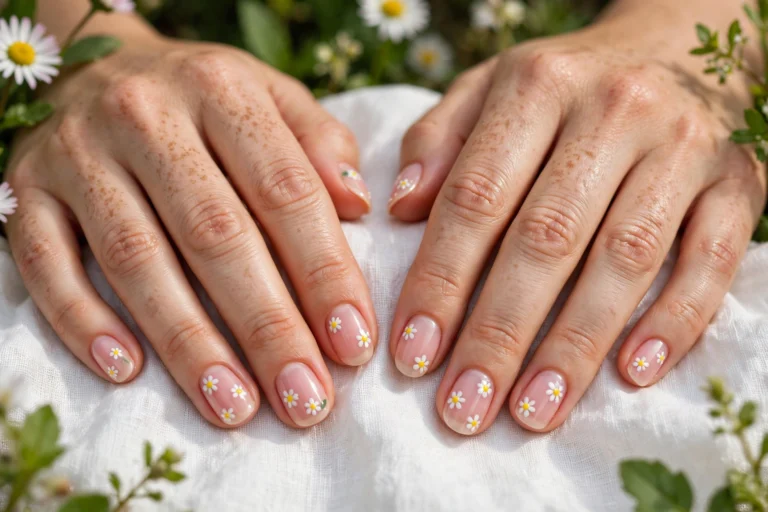
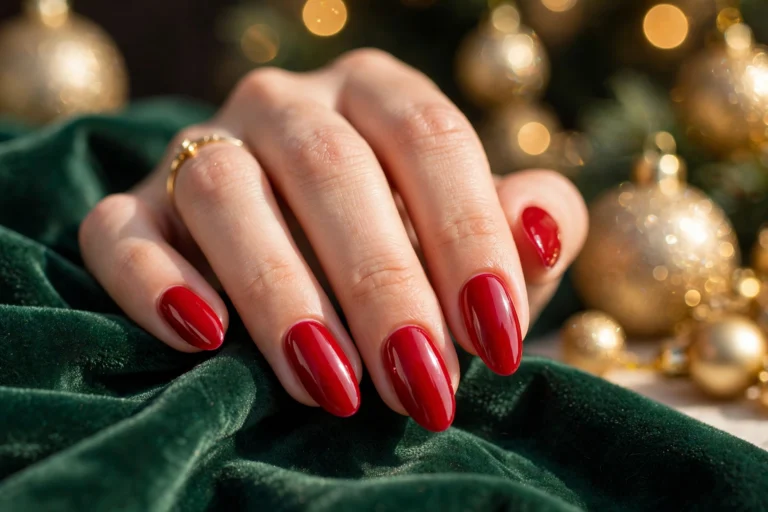
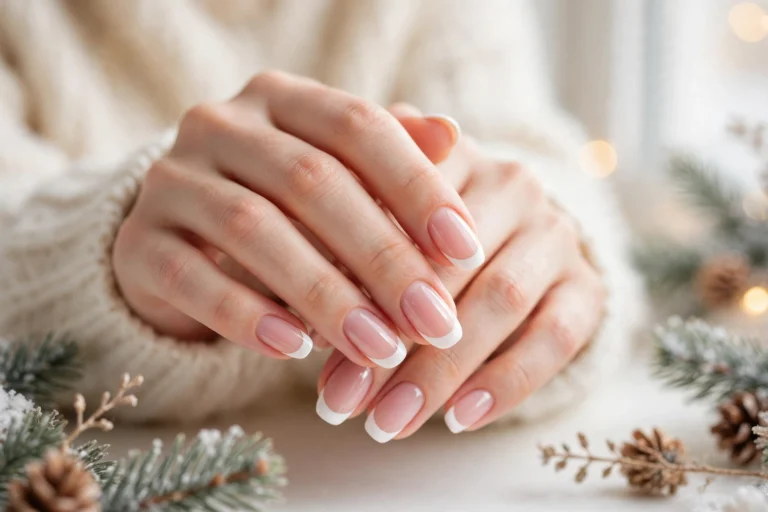
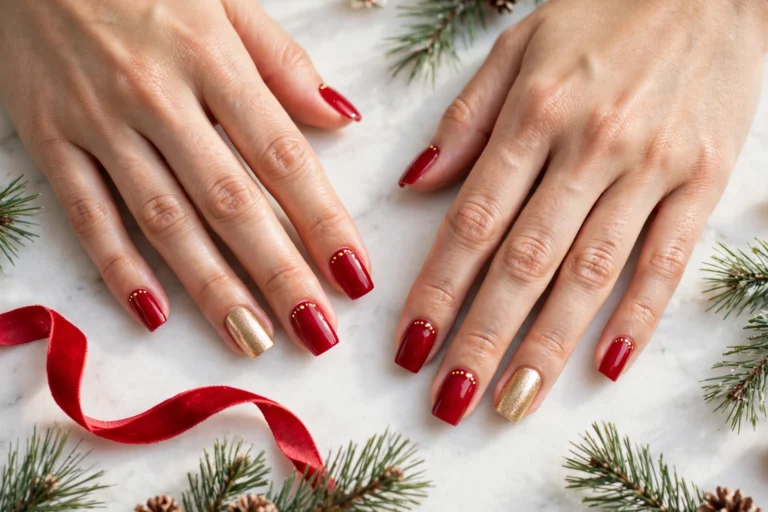
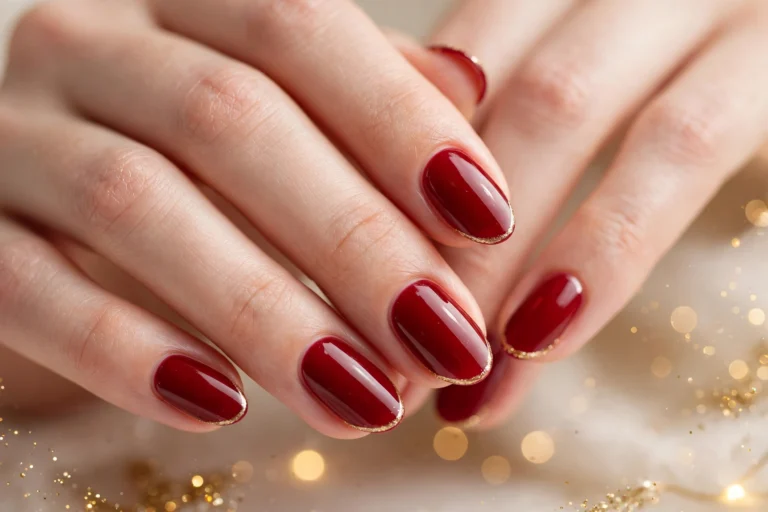
December brings a kind of sparkle that begs for soft color, and pink christmas nails capture that feeling in the sweetest way. Whether you love a quiet blush or a bold party pink, these looks bring warmth, charm, and a touch of holiday magic to your hands. You do not need salon skills to enjoy them, just a little inspiration and a steady hand.
This collection gathers 22 dreamy ideas that range from gentle pastels to glittering chrome, so there is something for short nails, long nails, and every style in between. Each idea is beginner friendly and easy to adapt with polishes you may already own. Pick one favorite to try first, then save the rest for parties, family photos, and cozy winter evenings ahead.
Soft Blush Pink Tips
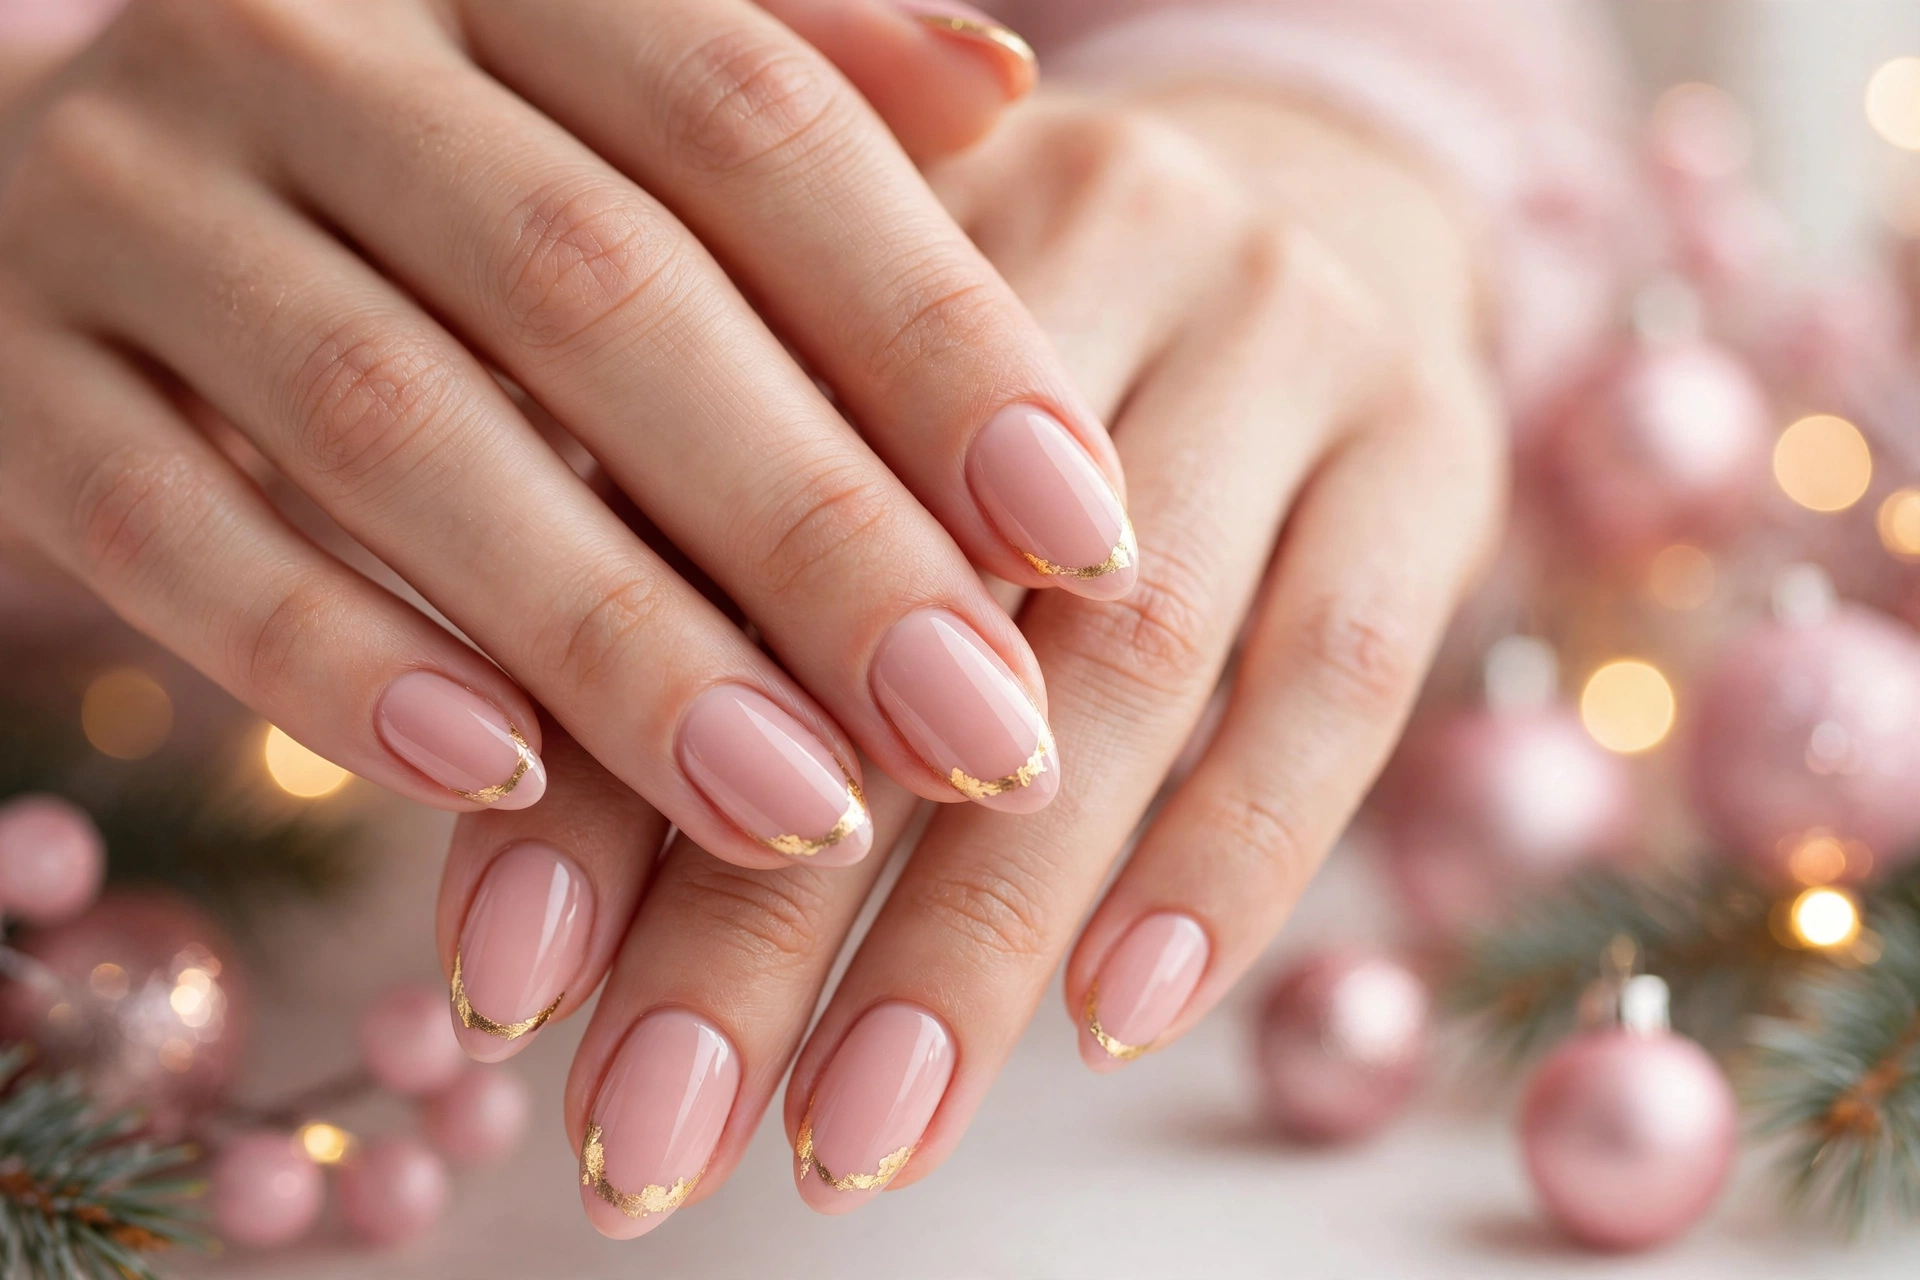
A soft blush tip keeps the look gentle and wearable for parties, family dinners, and cozy evenings at home. Paint the base in a sheer nude pink, then sweep a pale blush shade across just the tips for a clean, polished edge.
For extra polish, seal the design with a glossy top coat and keep the tip line slightly rounded rather than sharp. Short nails suit this style especially well, since the soft color makes hands look neat, fresh, and ready for every festive photo during the holiday season and beyond.
Rose Gold Glitter Fade
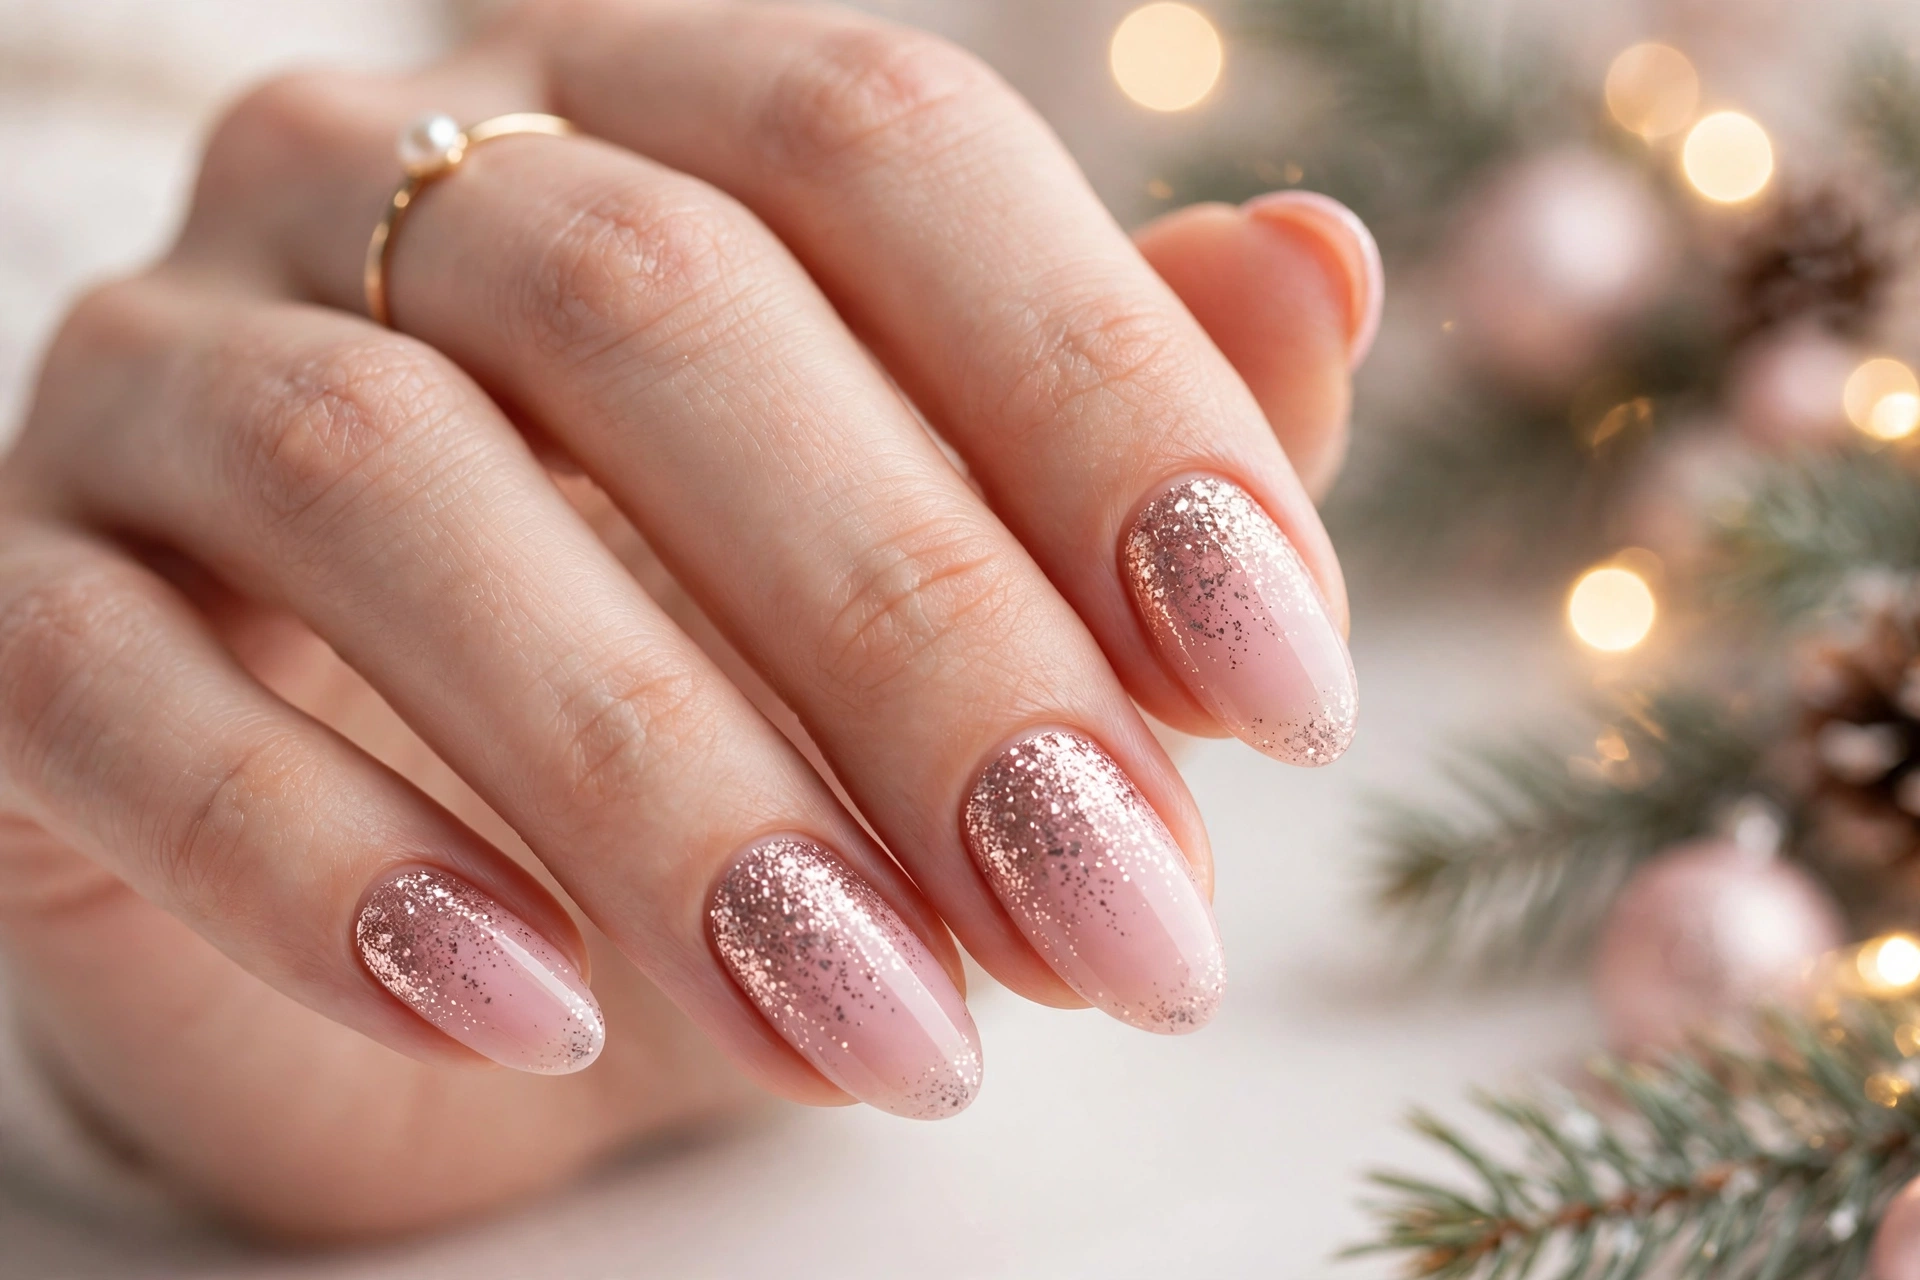
- Choose a dusty rose base and let it dry fully before adding any sparkle.
- Press rose gold glitter onto the lower third of each nail with a small sponge for a smooth fade.
- Blend upward with light taps so the glitter thins out near the cuticle area.
- Finish with two thin top coats to smooth the texture and lock in the shine.
In my experience, this fade flatters both short and long nails because the sparkle draws the eye without overpowering the pink base. Keep jewelry simple and let the gradient do the talking at holiday gatherings, work parties, and New Year celebrations. A matte top coat over the glitter also softens the finish for daytime wear.
Candy Pink Snowflakes
Quick Tip:
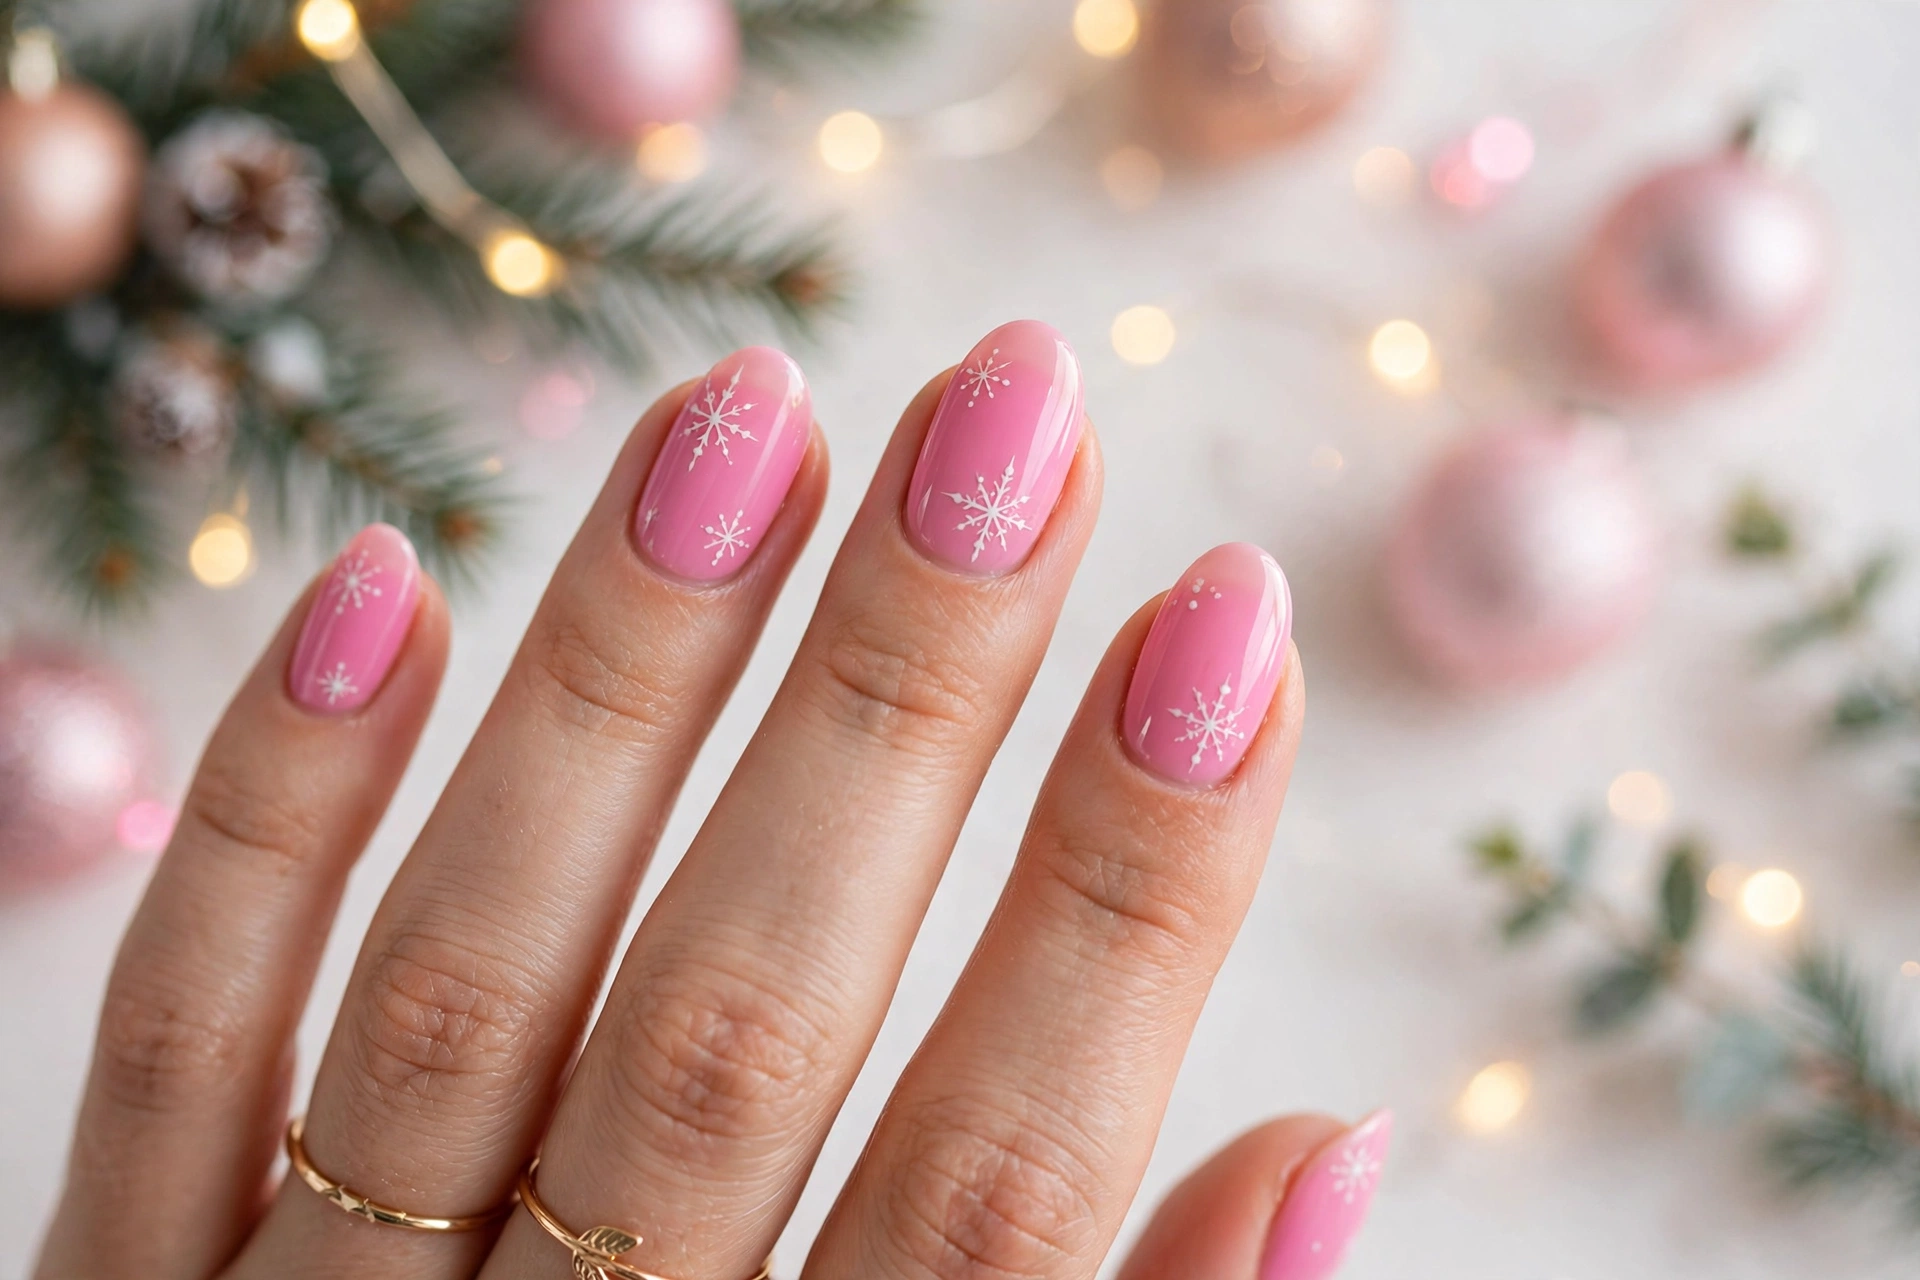
Paint snowflakes with a thin detail brush and white polish, keeping each arm short and slightly curved for a hand drawn feel. Place one large flake near the corner of an accent nail and add tiny dots around it to suggest falling snow.
Candy pink gives snowflakes a playful backdrop that still feels festive and grown up. Pair the design with one or two plain pink nails so the flakes stand out, and choose a glossy finish to make the white details pop under party lights and winter sunshine.
Pastel Pink French Tips
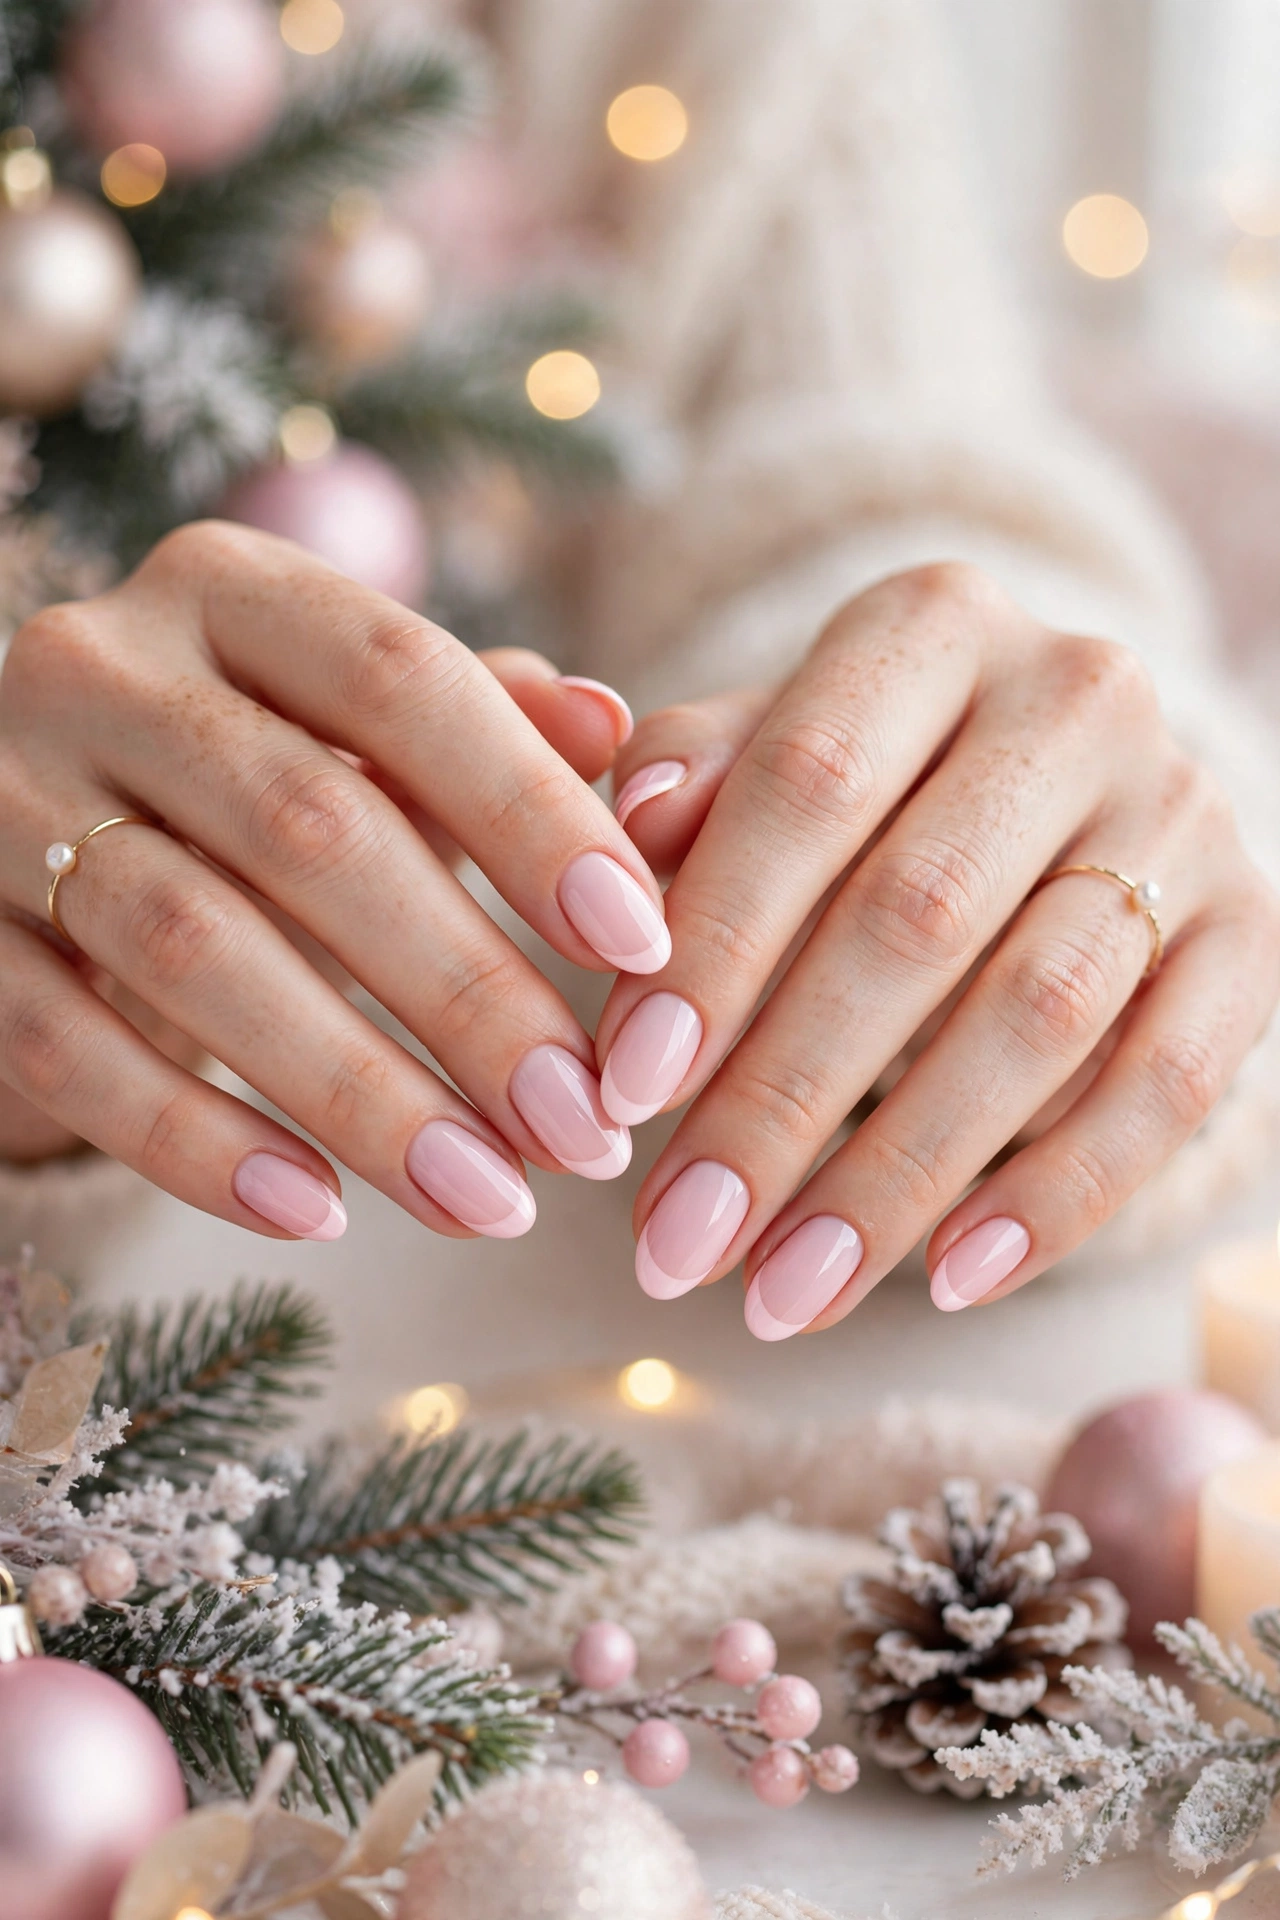
BEFORE: Plain pastel nails sometimes look flat in photos, especially under bright holiday lights. The color can wash out against pale skin, and the overall manicure may feel unfinished without a clear focal point.
AFTER: A crisp white or soft silver tip instantly defines the nail and adds structure to the pastel base. The contrast brightens the hands, makes the pink look fresher, and gives the manicure a classic party ready finish.
Keep the tip line thin for a modern feel, and match the base to your skin tone for the most flattering result. Almond and squoval shapes show off this style well, and a high shine top coat keeps the look salon fresh for days. Touch up the tips after three days to extend wear.
Blush Velvet Matte Finish
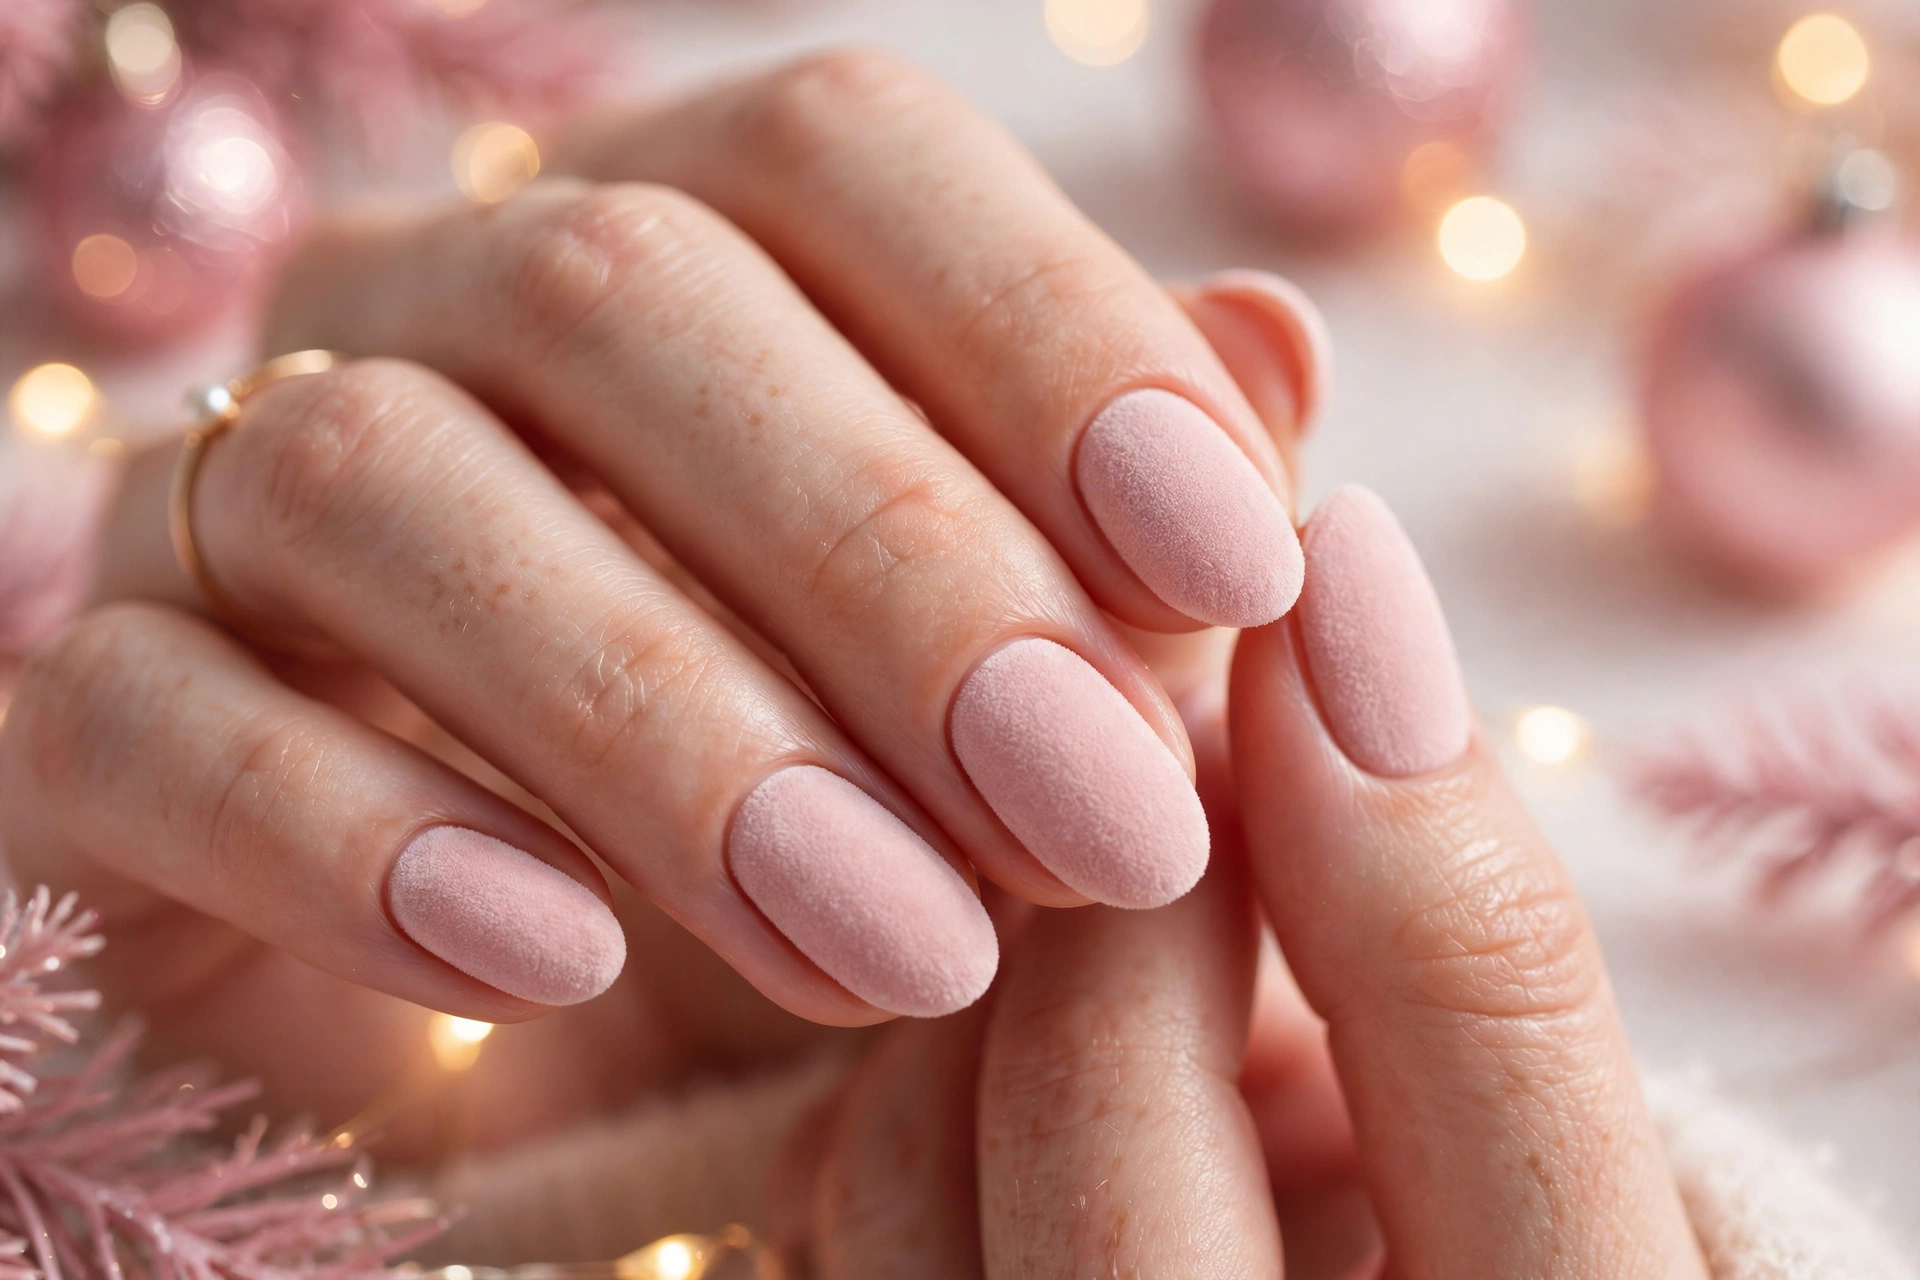
- Prep nails with a gentle file and push back cuticles, then wipe each nail clean for smooth polish adhesion.
- Apply two thin coats of blush pink polish, letting each coat dry fully before the next layer.
- Brush on a matte top coat in even strokes and allow it to set without touching the surface.
- Add a tiny velvet accent, like a matte bow or dot, on one nail for subtle texture.
Matte blush has a soft, fabric like quality that pairs beautifully with knit sweaters, velvet dresses, and cozy winter accessories. Skip hand cream right after painting so the matte finish stays smooth, and carry the polish for quick fixes during long holiday weekends. This finish also photographs well in soft light.
Pink Chrome Party Shine
| Feature | Soft Pink Chrome | Bold Pink Chrome |
|---|---|---|
| Shine | Gentle glow | Mirror bright |
| Best occasion | Family dinners | New Year parties |
| Pairing | Gold jewelry | Silver jewelry |
| Upkeep | Easy to refresh | Needs a careful top coat |
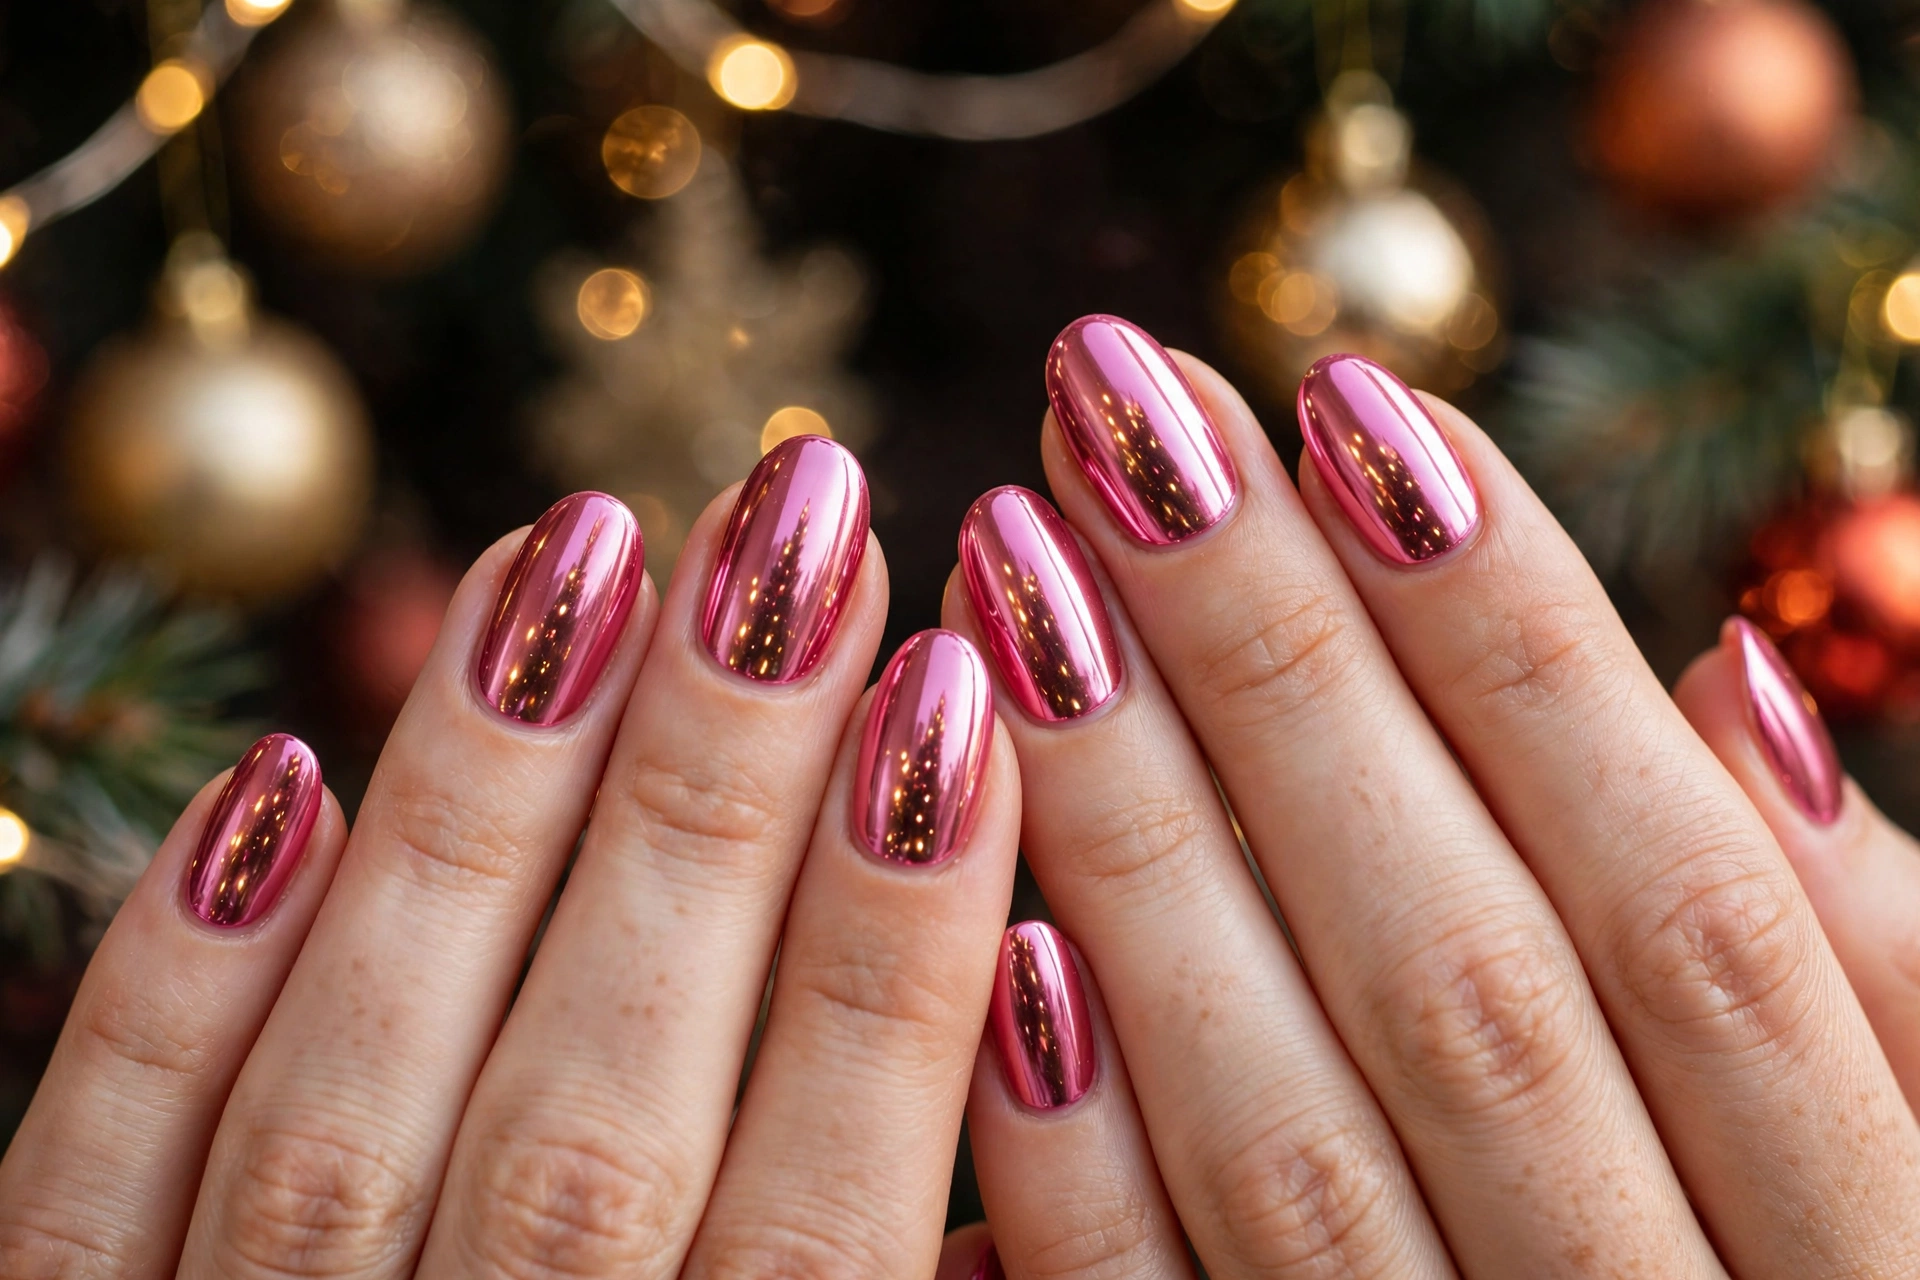
Chrome pink turns a simple manicure into a celebration, especially when paired with a matching lip shade or clutch. I’ve noticed the softer chrome suits everyday festive wear, while the bolder version shines brightest under evening lights and camera flashes. Choose your shade based on your outfit and let the nails complete the look.
Sparkling Pink Star Accents
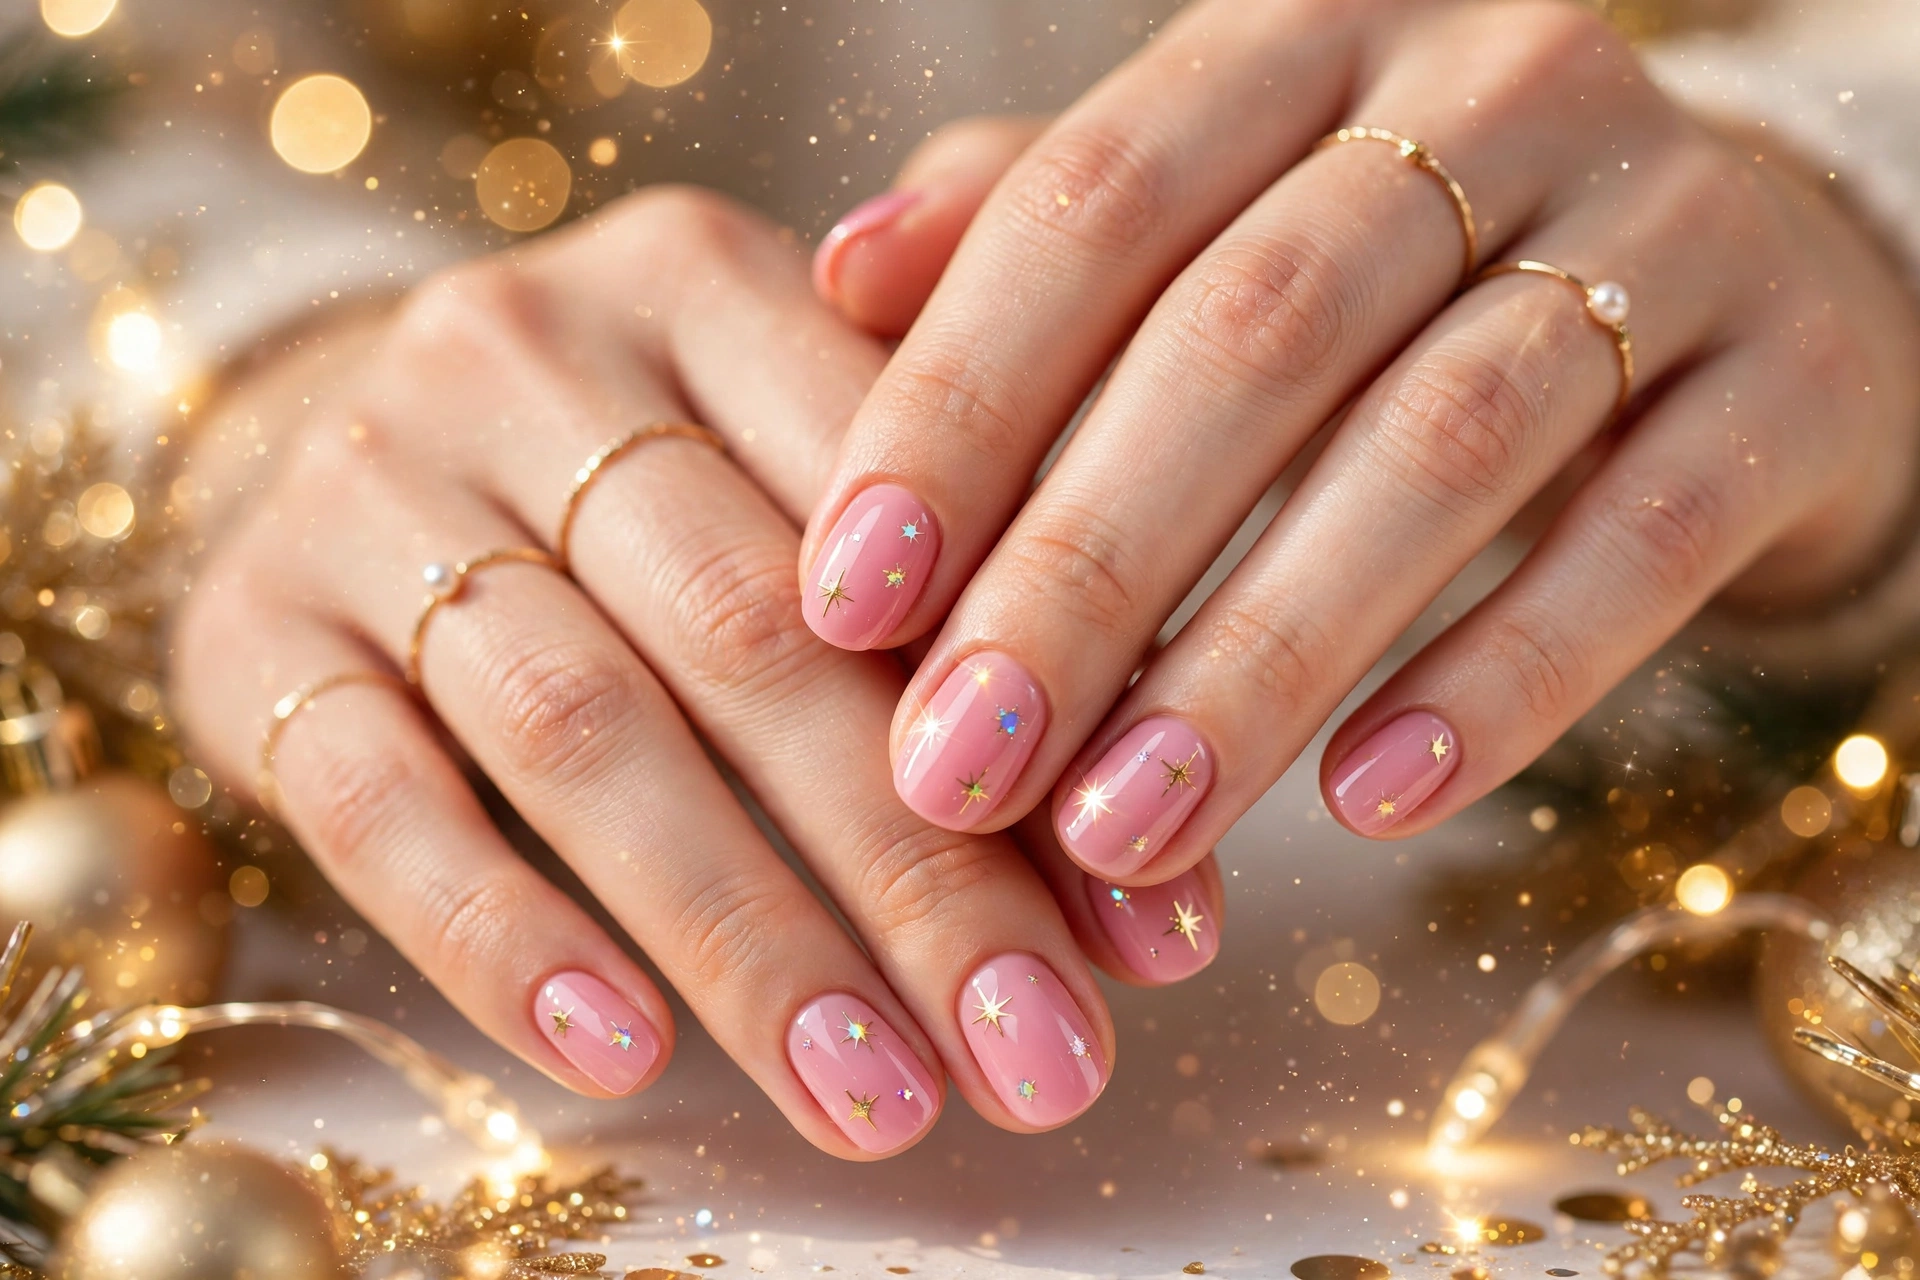
DO:
- Paint stars on one or two accent nails so the design stays balanced and easy to wear.
- Use a thin brush or small dotting tool for crisp star points.
- Seal stars with a glossy top coat to keep edges smooth.
- Place the largest star near the cuticle and smaller stars toward the tip for a natural scatter.
DON’T:
- Cover every nail with large stars, or the manicure can feel busy.
- Layer thick glitter over fresh stars before they dry.
- Press stickers down without smoothing the edges first.
- Skip a base coat, since glitter polish can stain the nail.
Soft blush polish gives these star accents a gentle glow, while silver stars add holiday sparkle for evening parties. Keep the base shade pale so the stars stand out, and pair the accent nail with a simple gold ring. In my experience, a steady hand matters more than fancy tools.
Frosted Pink Candy Canes
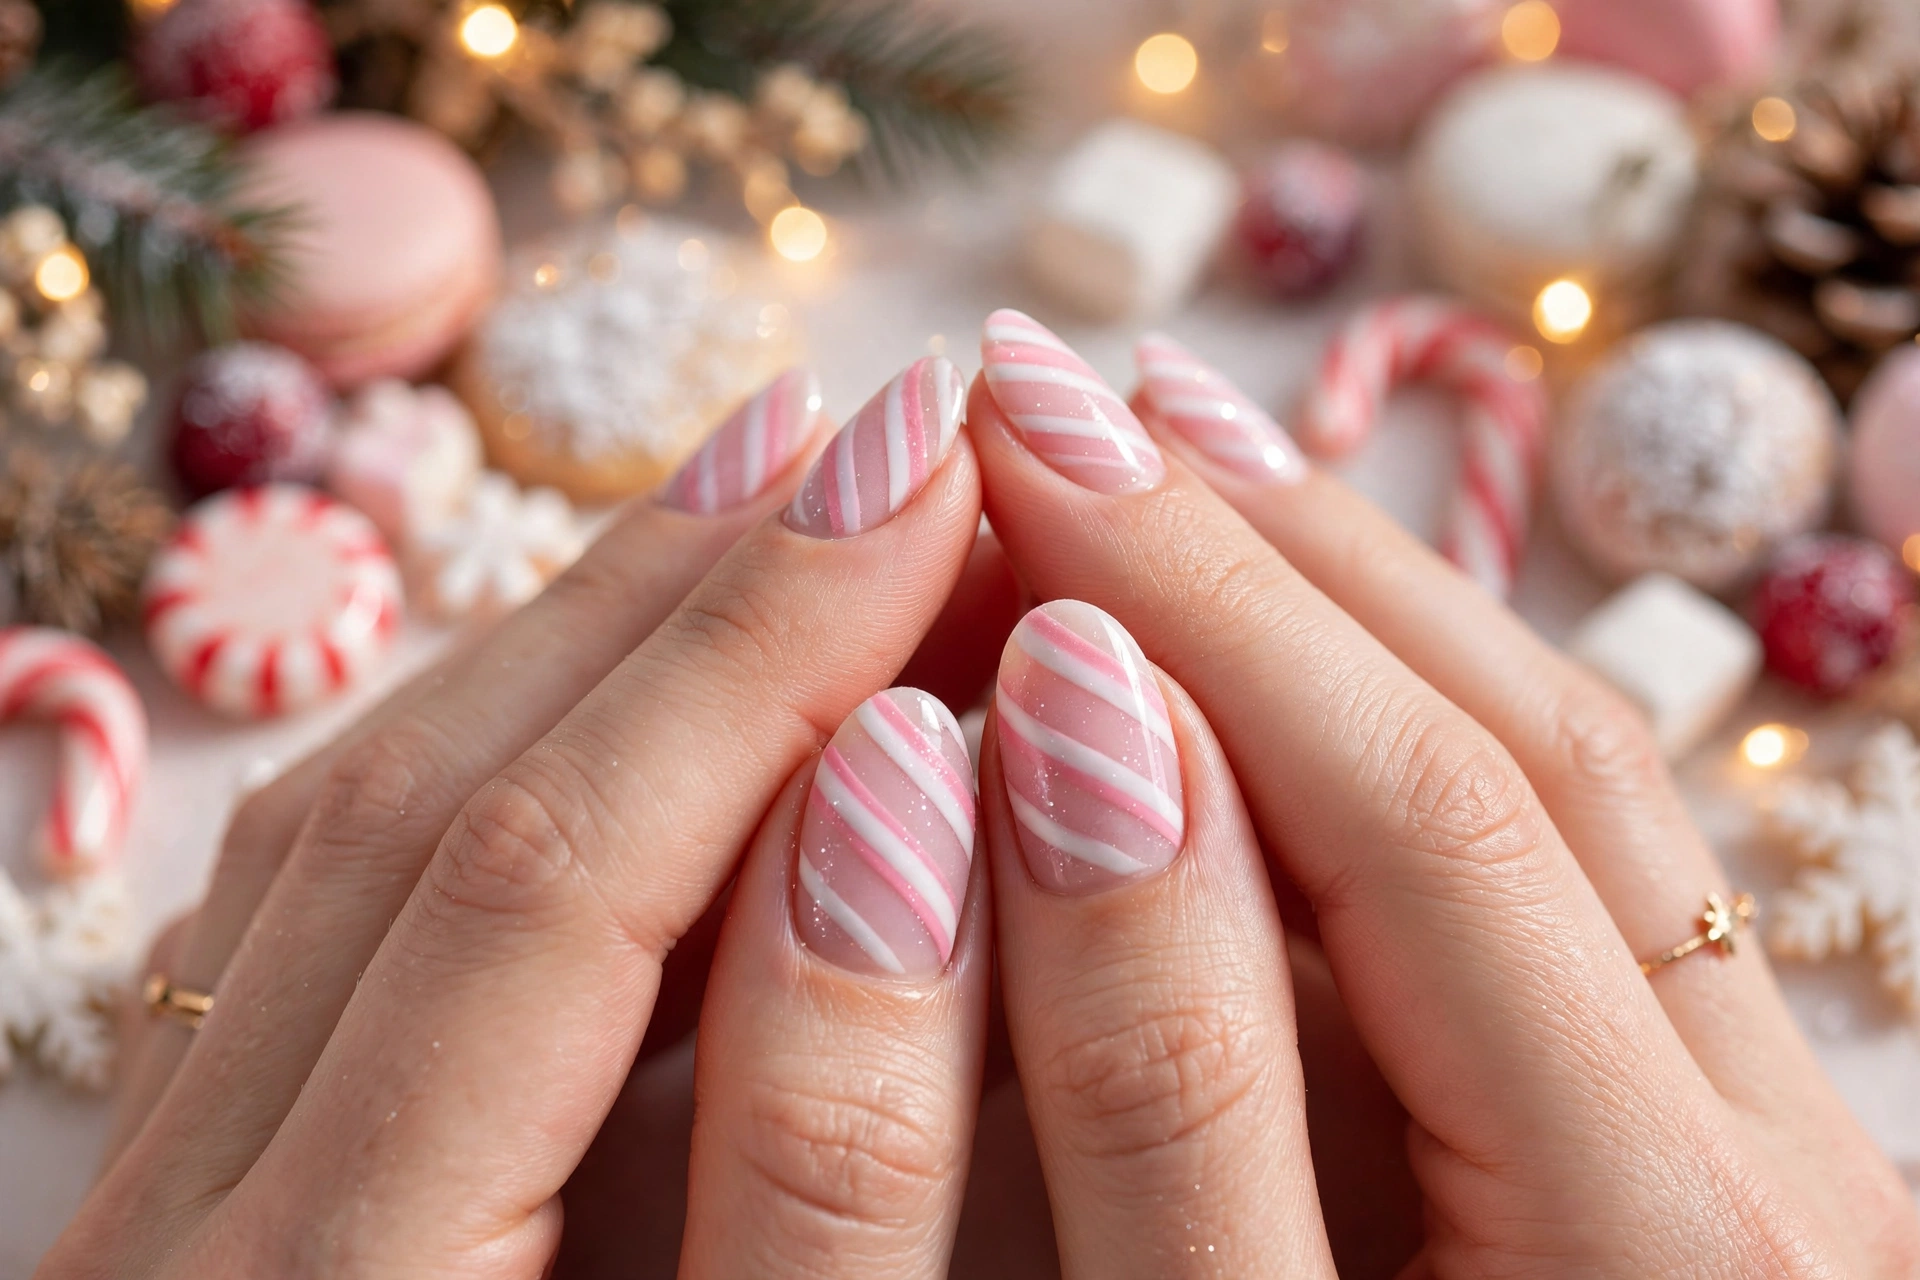
Cost: Low, since a striping brush and two polishes cover the whole design.
Time: About 45 minutes for both hands with drying time included.
Skill Level: Beginner friendly with steady stripes and a clear top coat.
Best For: Holiday dinners, gift exchanges, and cozy family photos.
Candy cane stripes in pale rose and white feel playful without feeling loud, especially when the stripes stay thin and evenly spaced. Alternate the direction on one accent nail for a subtle twist, then finish with a shiny top coat. A short almond shape keeps the stripes neat and comfortable for everyday wear.
Rosy Pink Ombre Glow
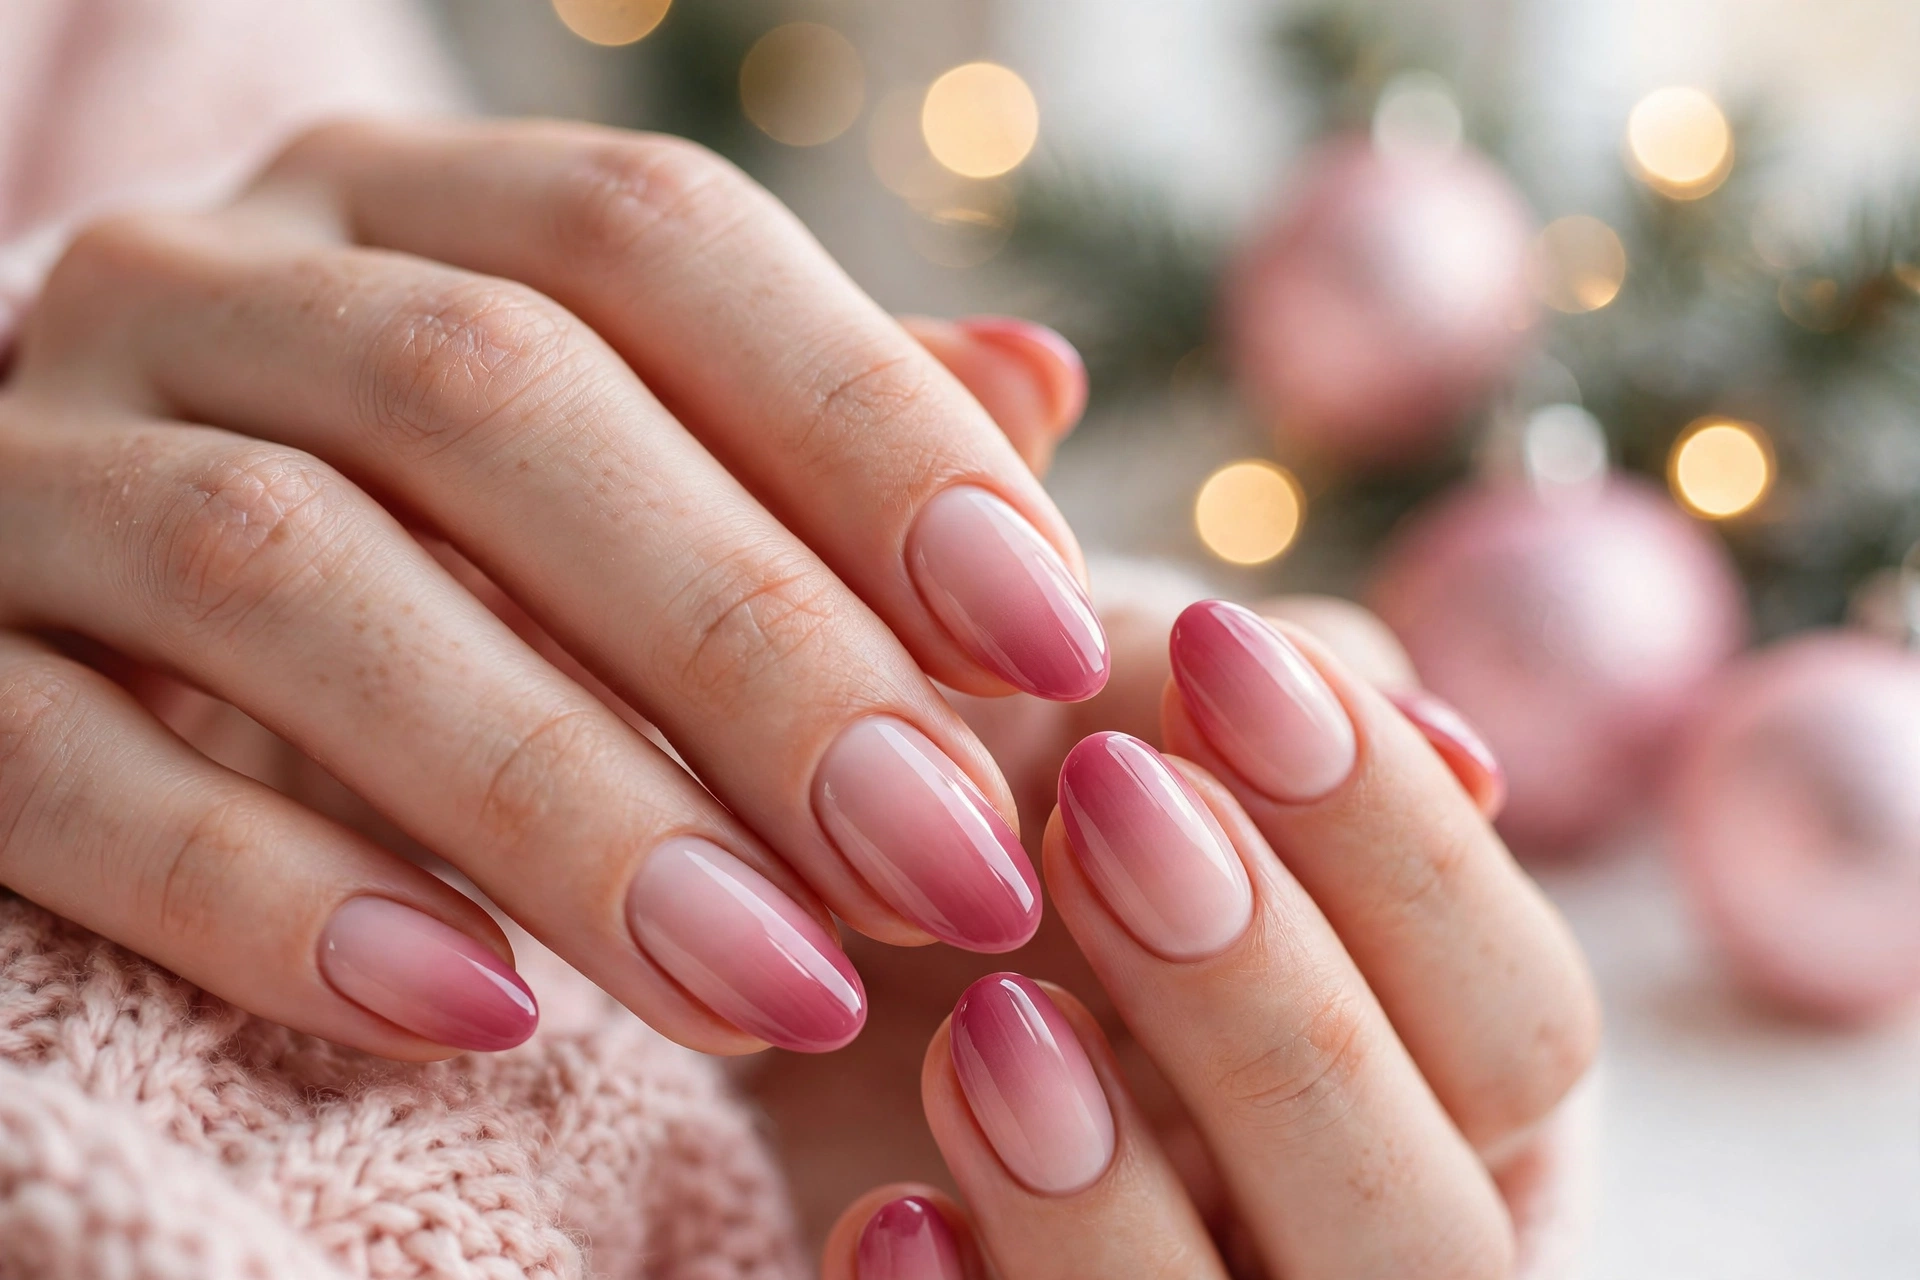
Rosy polish melts from a deep berry tone near the cuticle into a pale blush at the tip, creating a soft glow that suits both short and long nails. Blend with a makeup sponge in light layers, letting each layer dry before adding the next, so the color shift stays smooth instead of streaky.
Add a fine shimmer top coat over the lightest area only, which catches light like fresh snow in the evening. Keep jewelry simple, since the gradient already draws attention, and refresh the top coat after three days for lasting shine.
Pink Pearl Party Sparkle
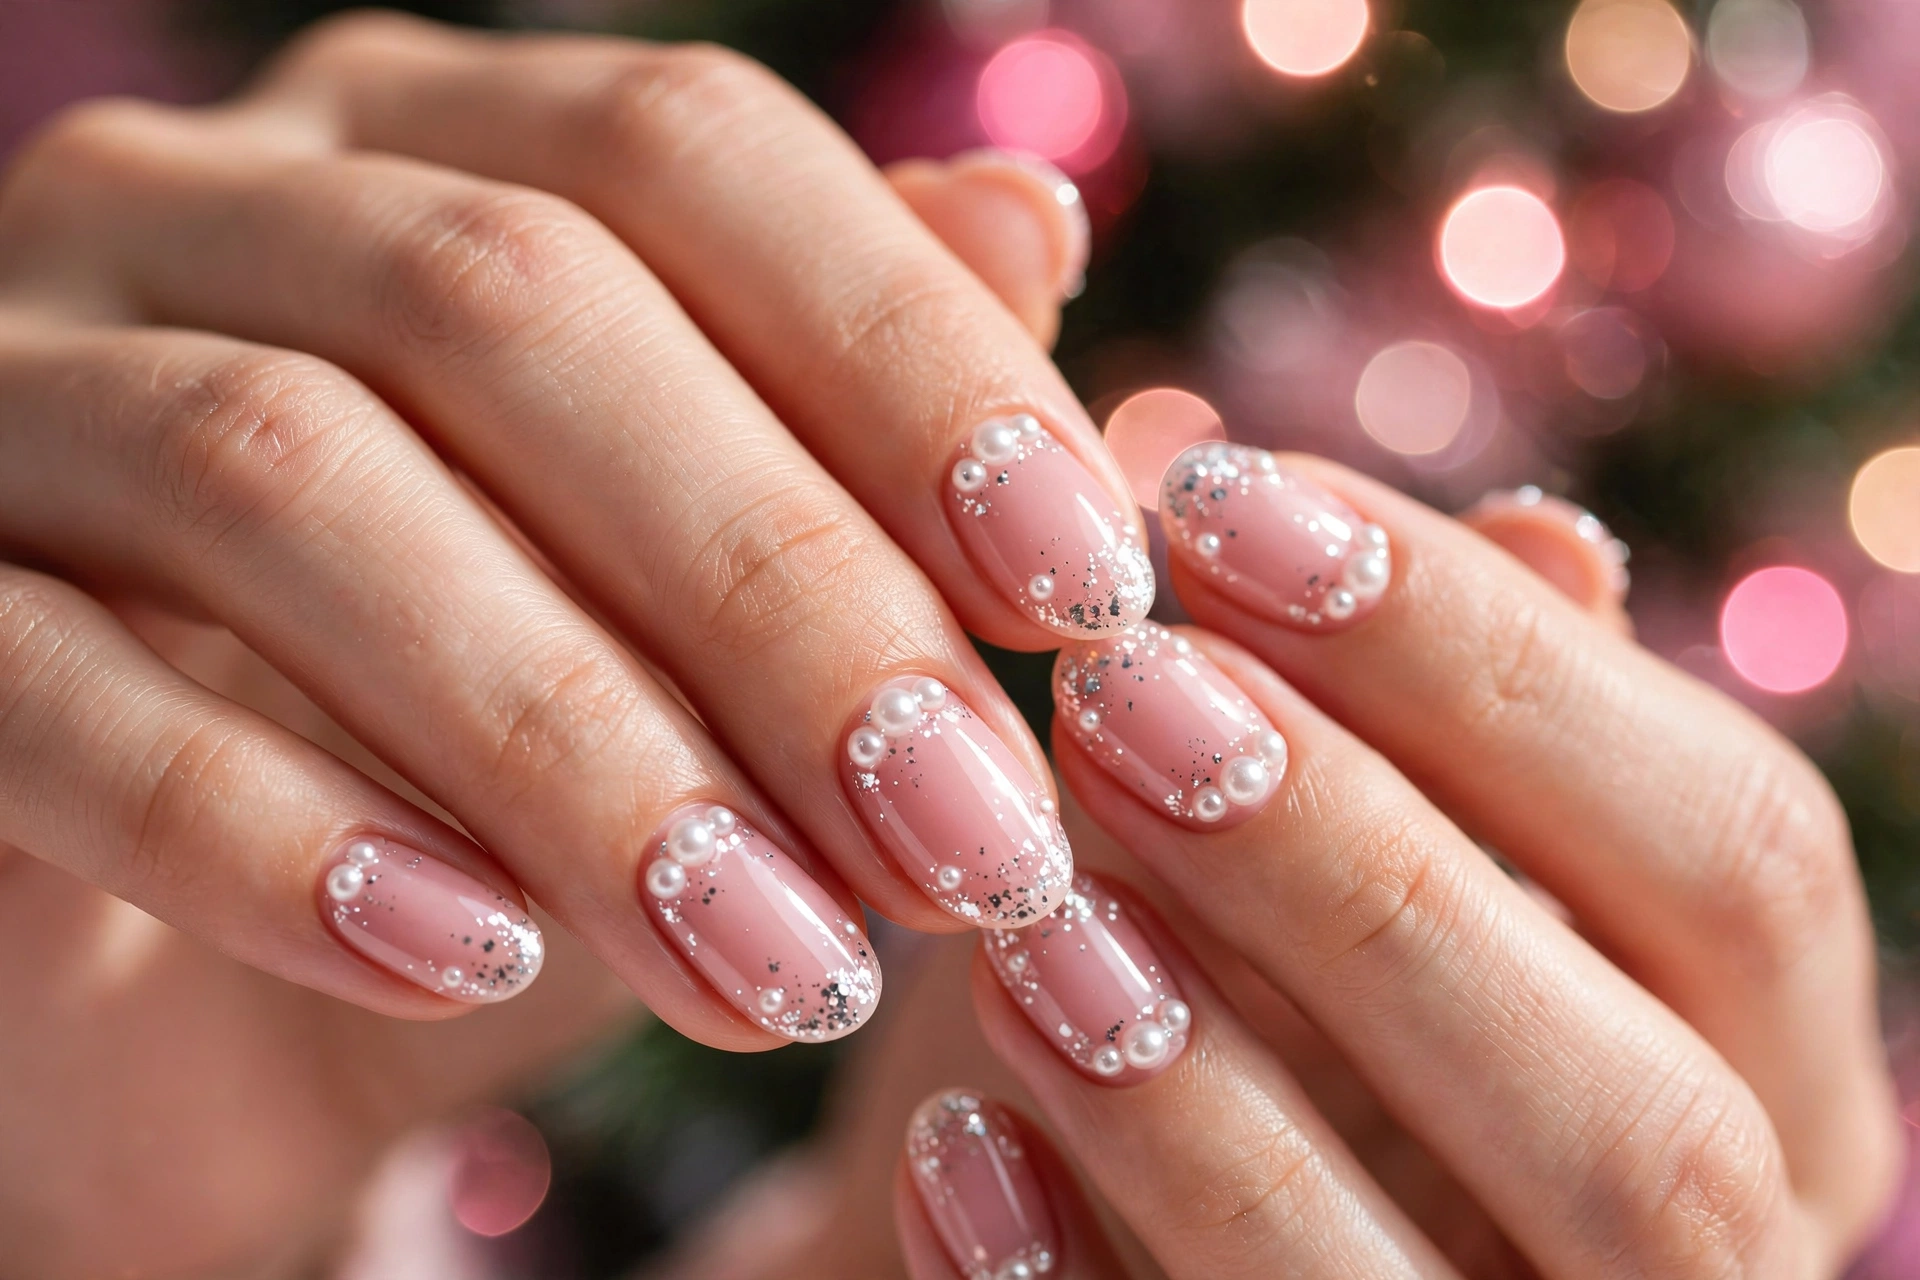
- Place tiny pearls along the cuticle line on one accent nail, then scatter smaller pearls toward the center for a delicate jewelry effect.
- Choose pearls in white and pale gold so they blend with a soft rose base instead of competing with it.
- Secure each pearl with a dot of nail glue and a thick top coat, pressing gently until it feels flat and stable.
- Keep the remaining nails simple with a sheer rose polish, letting the pearl accent stay the clear focal point.
- Remove pearls with warm soapy water and gentle pressure, then moisturize cuticles to keep nails healthy after the party.
Pearls bring a classic party feel to rosy nails without heavy glitter, and they pair well with satin dresses and simple gold earrings. I’ve noticed that fewer pearls often read more elegant than a crowded design, especially on shorter nails. Finish with two thin top coats for extra hold.
Delicate Pink Bow Details
Quick Tip:
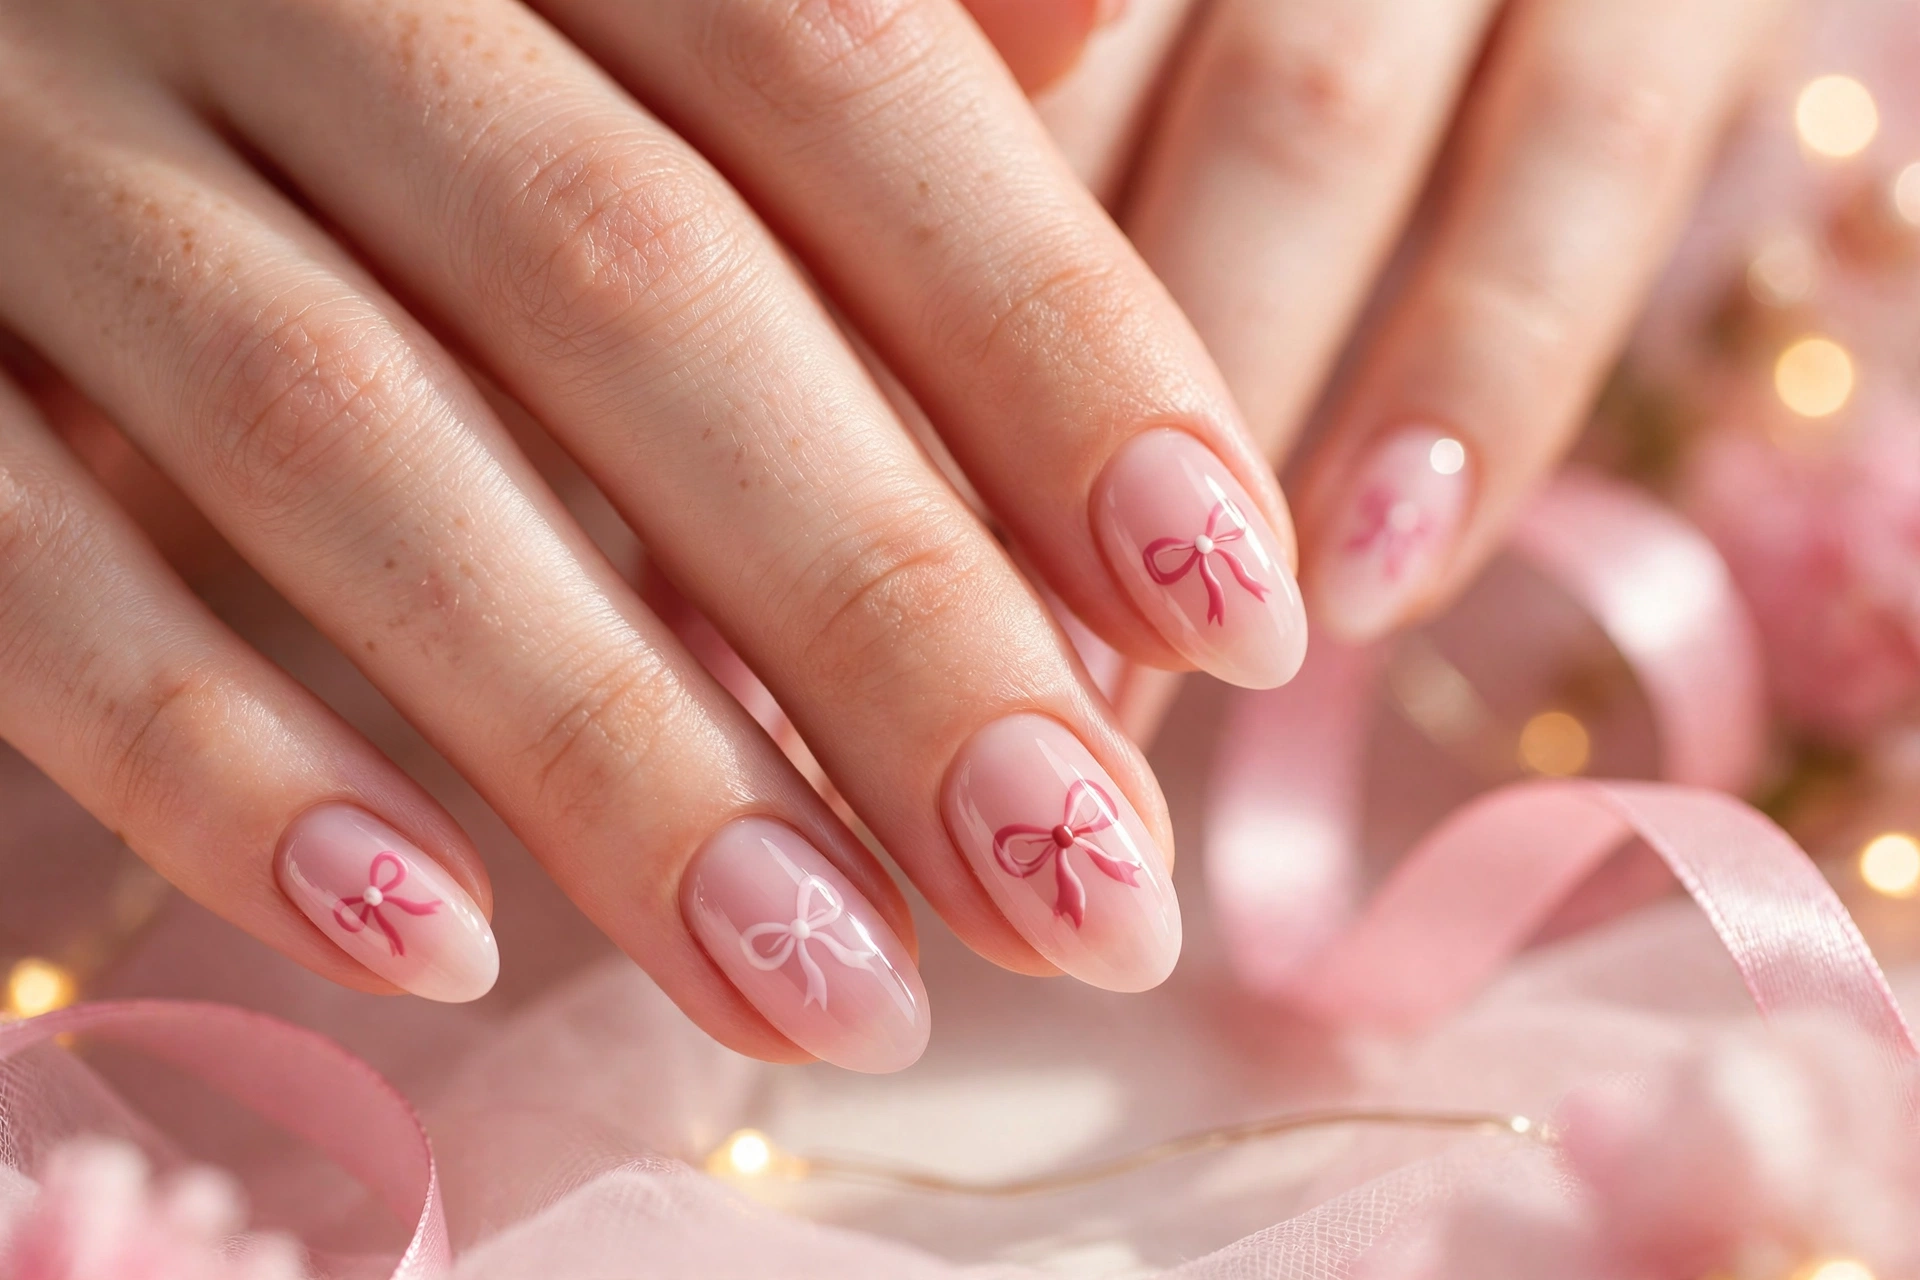
Paint the bow on a fully dry base, then draw two small loops and two short tails with a thin brush. Let the loops dry for two minutes before adding a tiny center dot, which keeps the shape crisp instead of smudged.
Small bows in white or deep red stand out clearly against a soft rose base, especially on the ring finger or thumb. Keep the bow small on shorter nails, and leave the other nails plain or lightly glittered for balance. A matte top coat over the bow gives a soft ribbon finish.
Bubblegum Pink Party Nails
BEFORE:
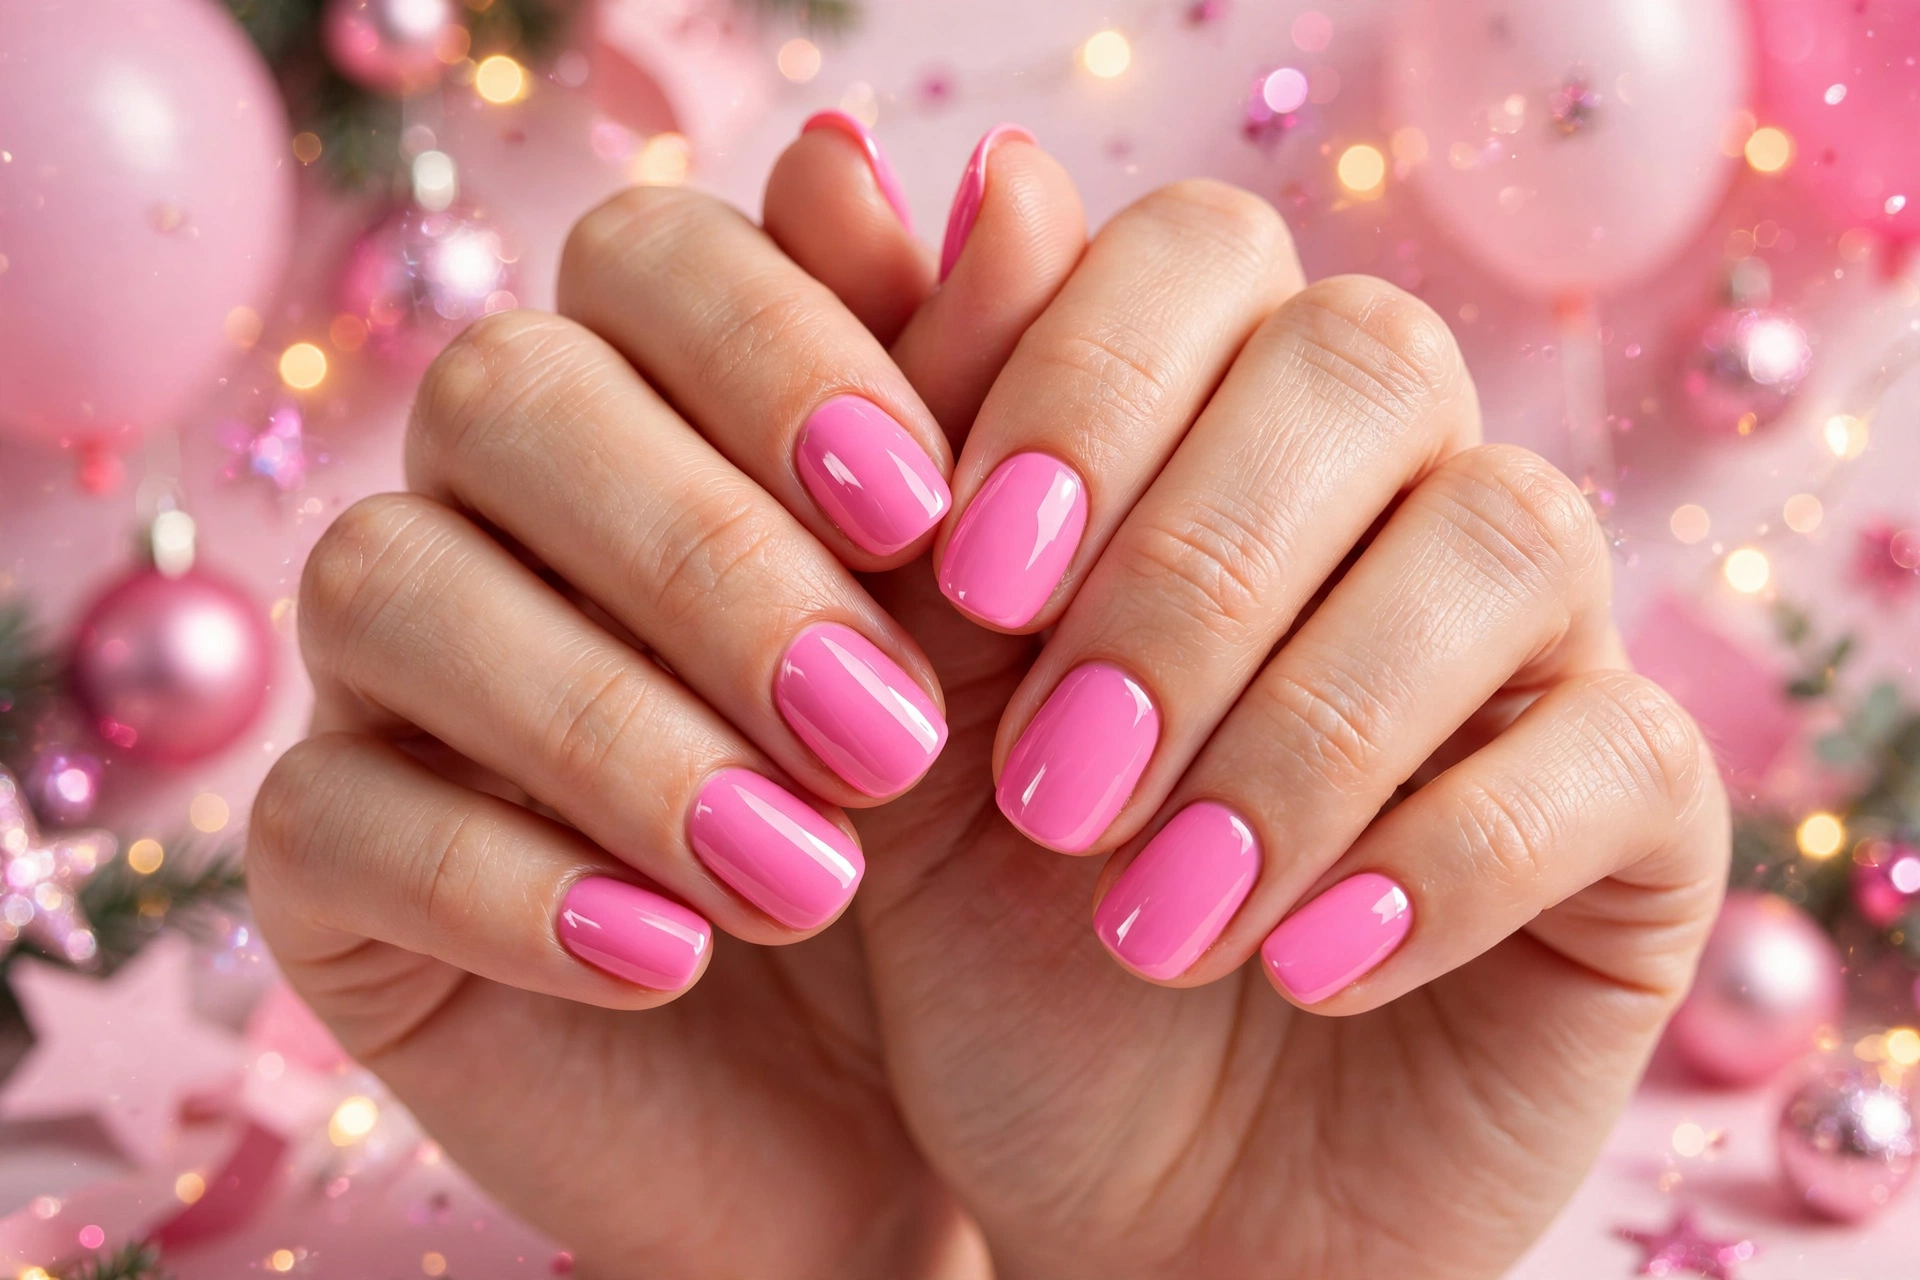
Plain bubblegum polish can feel flat at a holiday party, especially under bright lights where a single shade shows every chip. Without an accent or shine, the color may also fade into the background next to bolder outfits and jewelry.
AFTER:
A glossy top coat, one glitter accent nail, and a thin white snowflake stamp turn the same shade into a cheerful party manicure. The extra sparkle catches light in photos, while the bright base keeps the whole look fresh and youthful.
Start with two thin coats of bubblegum polish, letting each coat dry fully to avoid bubbles and streaks. Add glitter only to the ring finger, then seal everything with a high shine top coat for a clean finish. This simple balance works well for beginners who want a festive look without complicated art.
Pink Confetti Celebration Nails
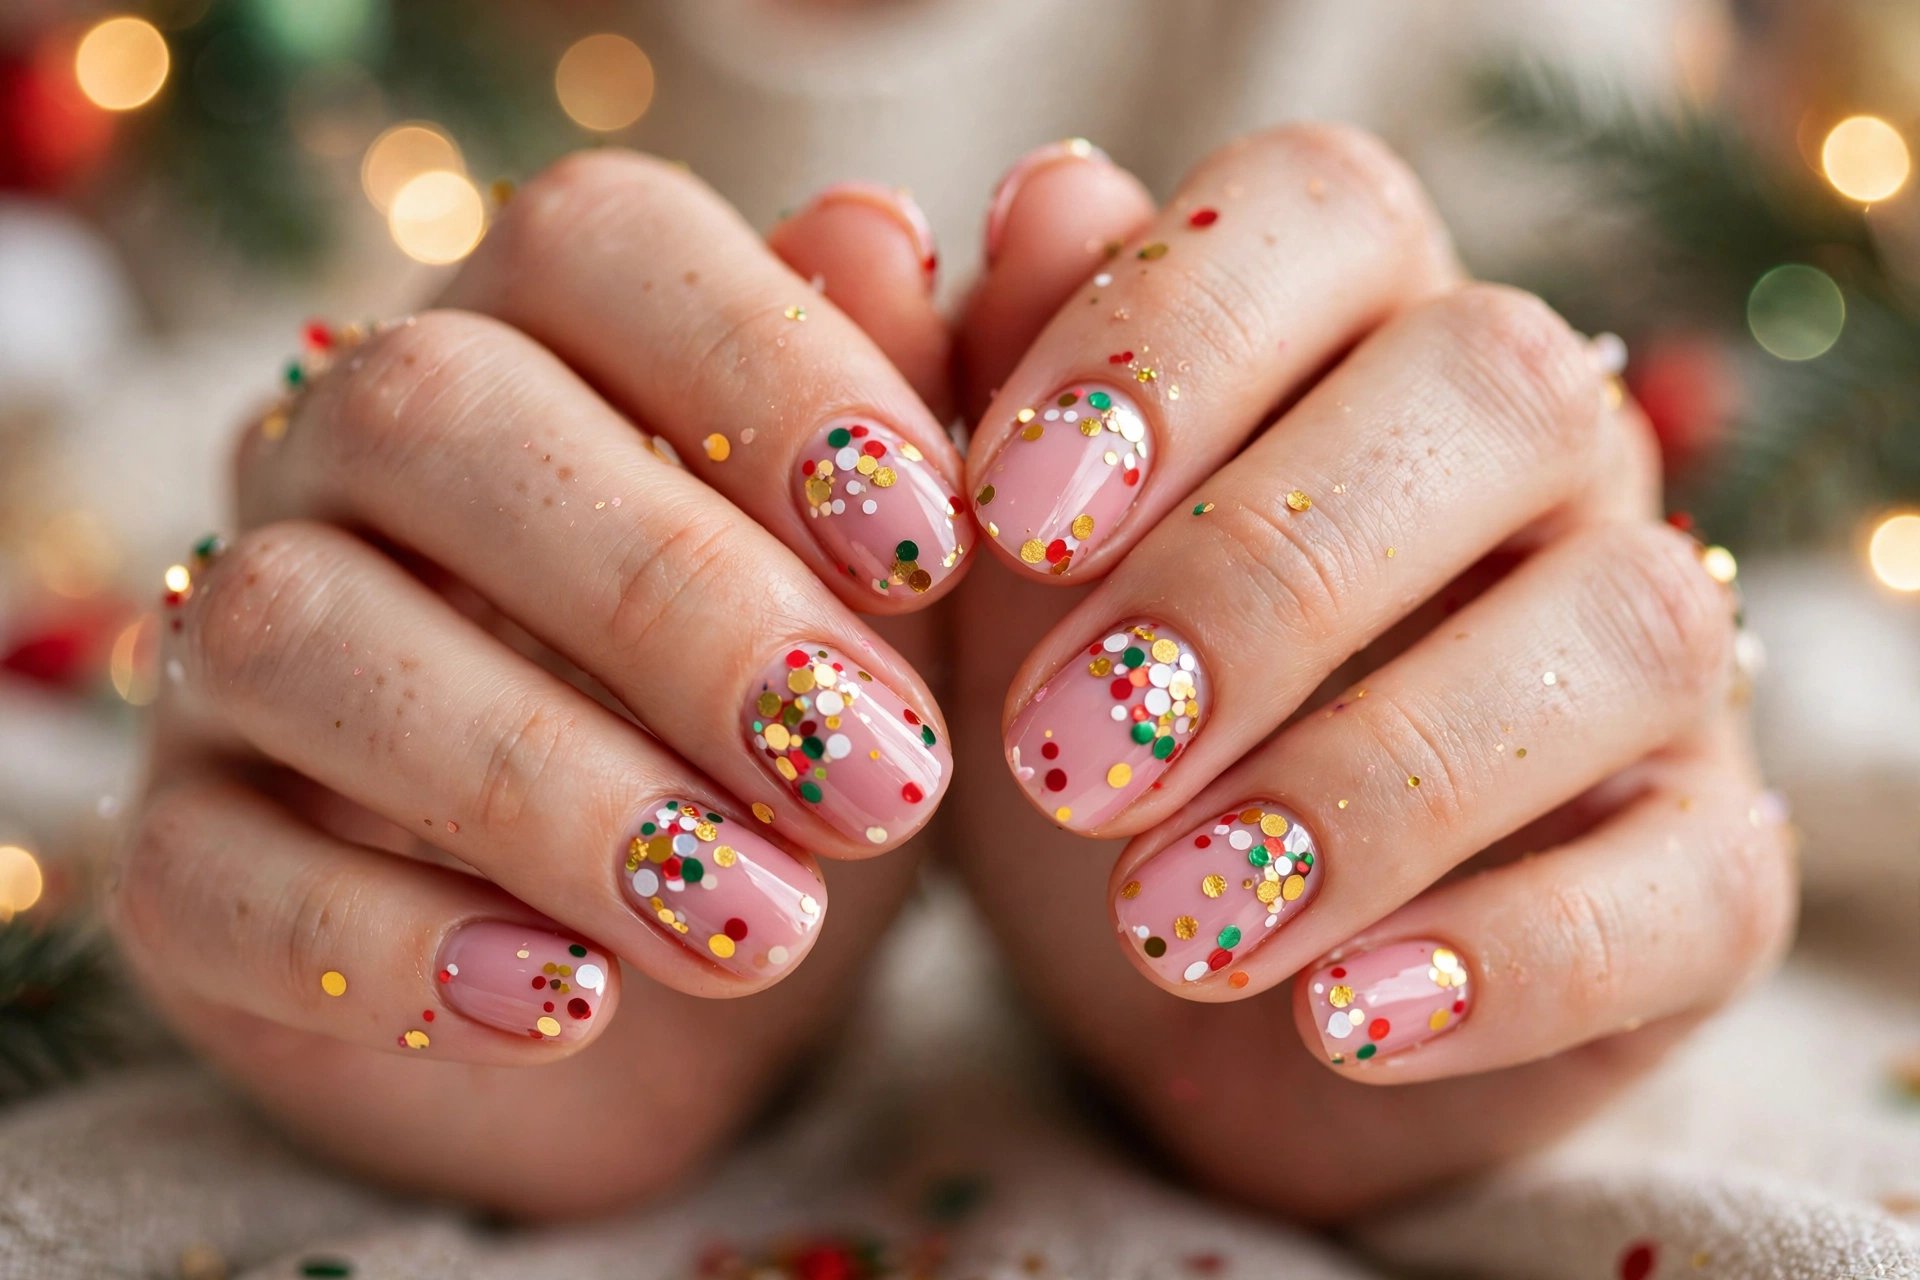
- Paint two thin coats of soft blush polish and let each coat dry fully before moving on.
- Dab tiny confetti pieces in rose, white, and gold over the tips and sides with a dotting tool.
- Press each piece flat with the tip of an orange stick, then seal everything with a glossy top coat.
Confetti looks best when the placement feels playful rather than crowded, so leave a little bare polish showing between pieces. In my experience, smaller dots near the cuticle and larger pieces toward the tip create movement without looking messy. Finish with a second top coat after a day to keep edges smooth and shiny.
Rose Quartz Marble Art
| Feature | Soft Rose Marble | Bold Rose Marble |
|---|---|---|
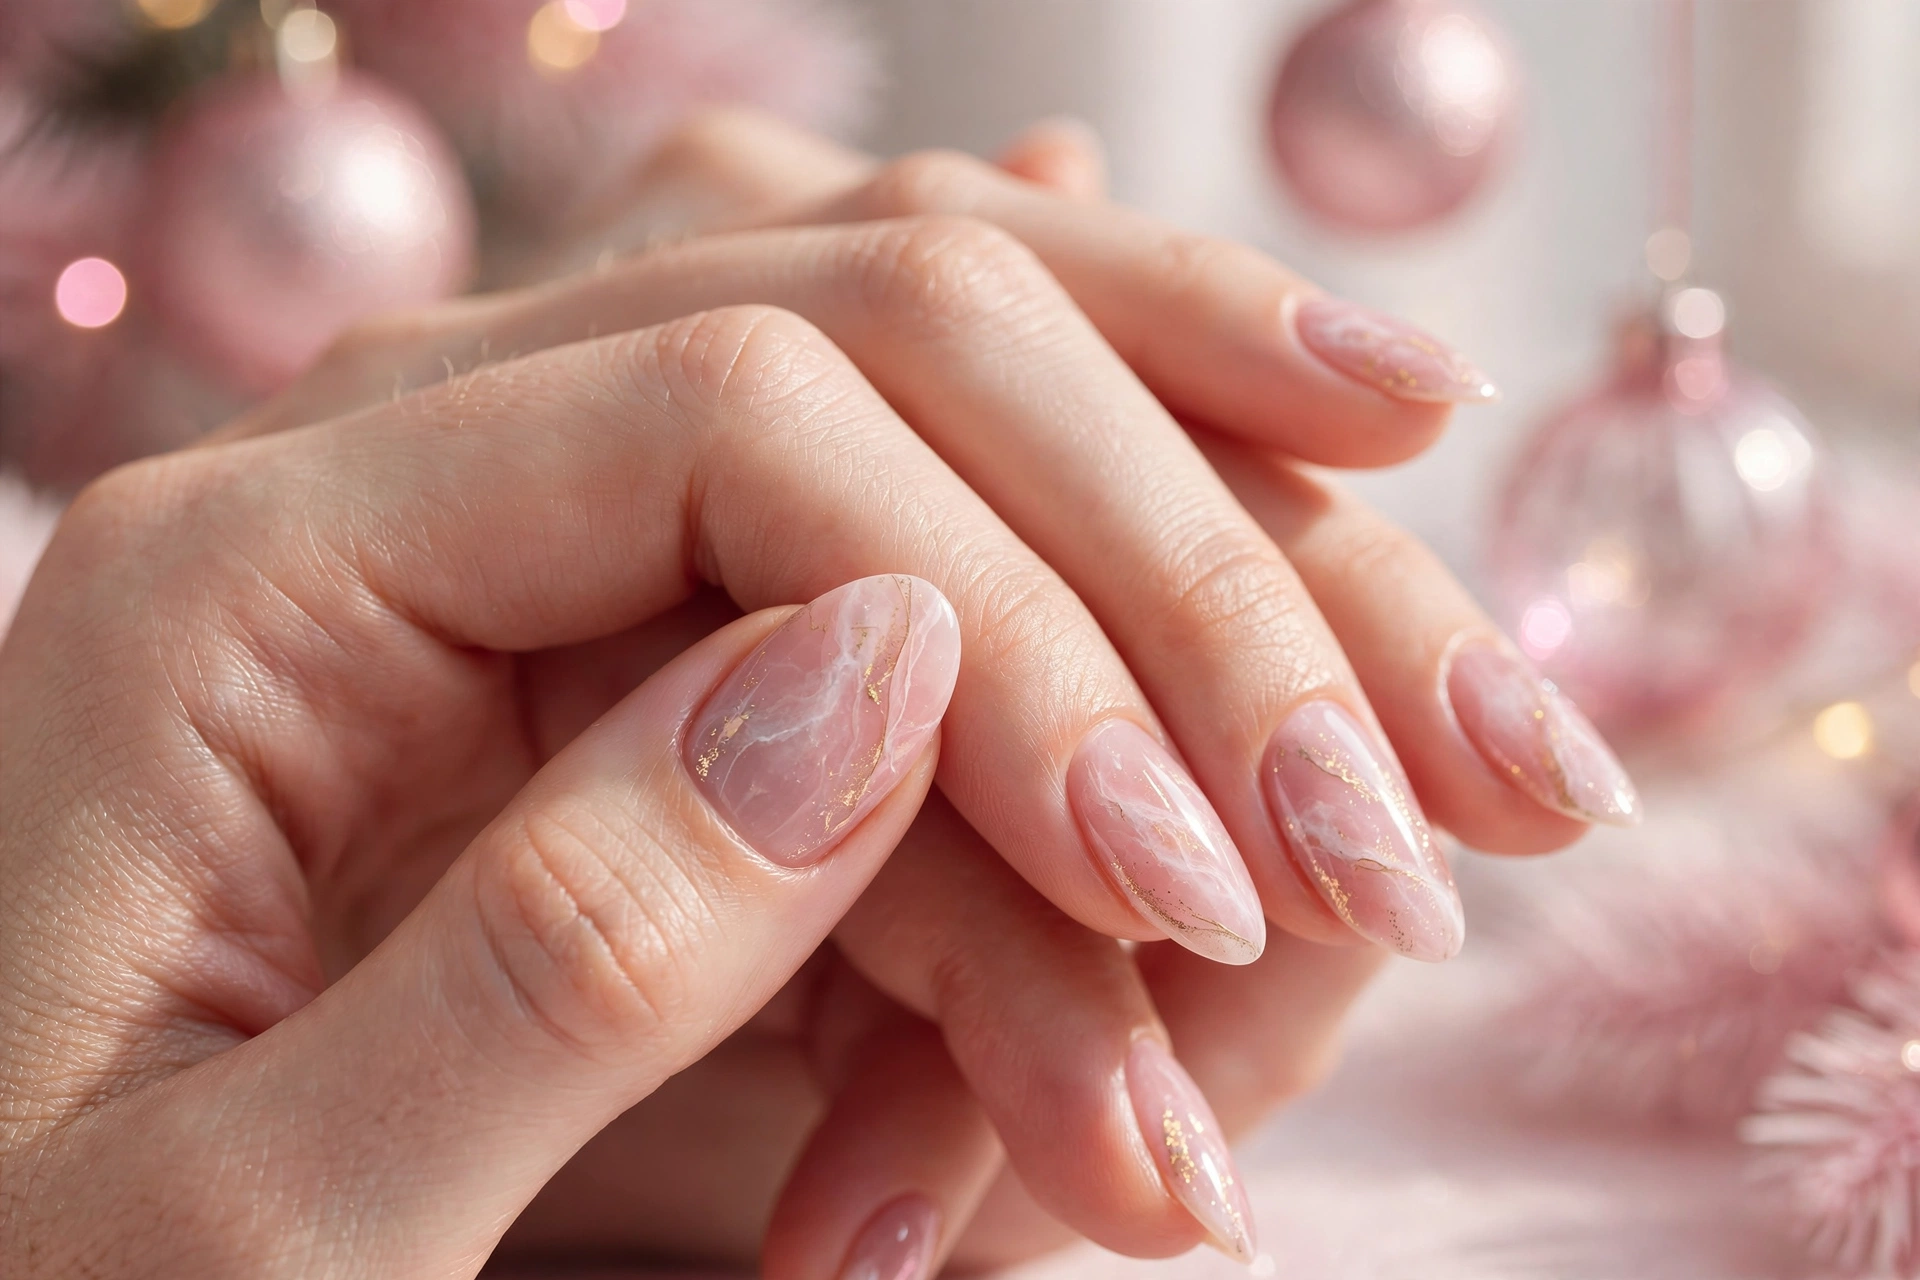
| Base | Pale blush | Deep rose |
| Veining | Thin white lines | Thick gold veins |
| Finish | Matte top coat | High gloss top coat |
| Best occasion | Everyday wear | Evening parties |
Marble works when you let the veins stay soft and a little uneven, because real stone never looks stamped on. Keep your brush barely damp and wipe it between strokes so lines stay thin and clean. A matte top coat calms the design for daytime, while gloss makes the rose tones glow for evening events.
Pink Satin Ribbon Lines
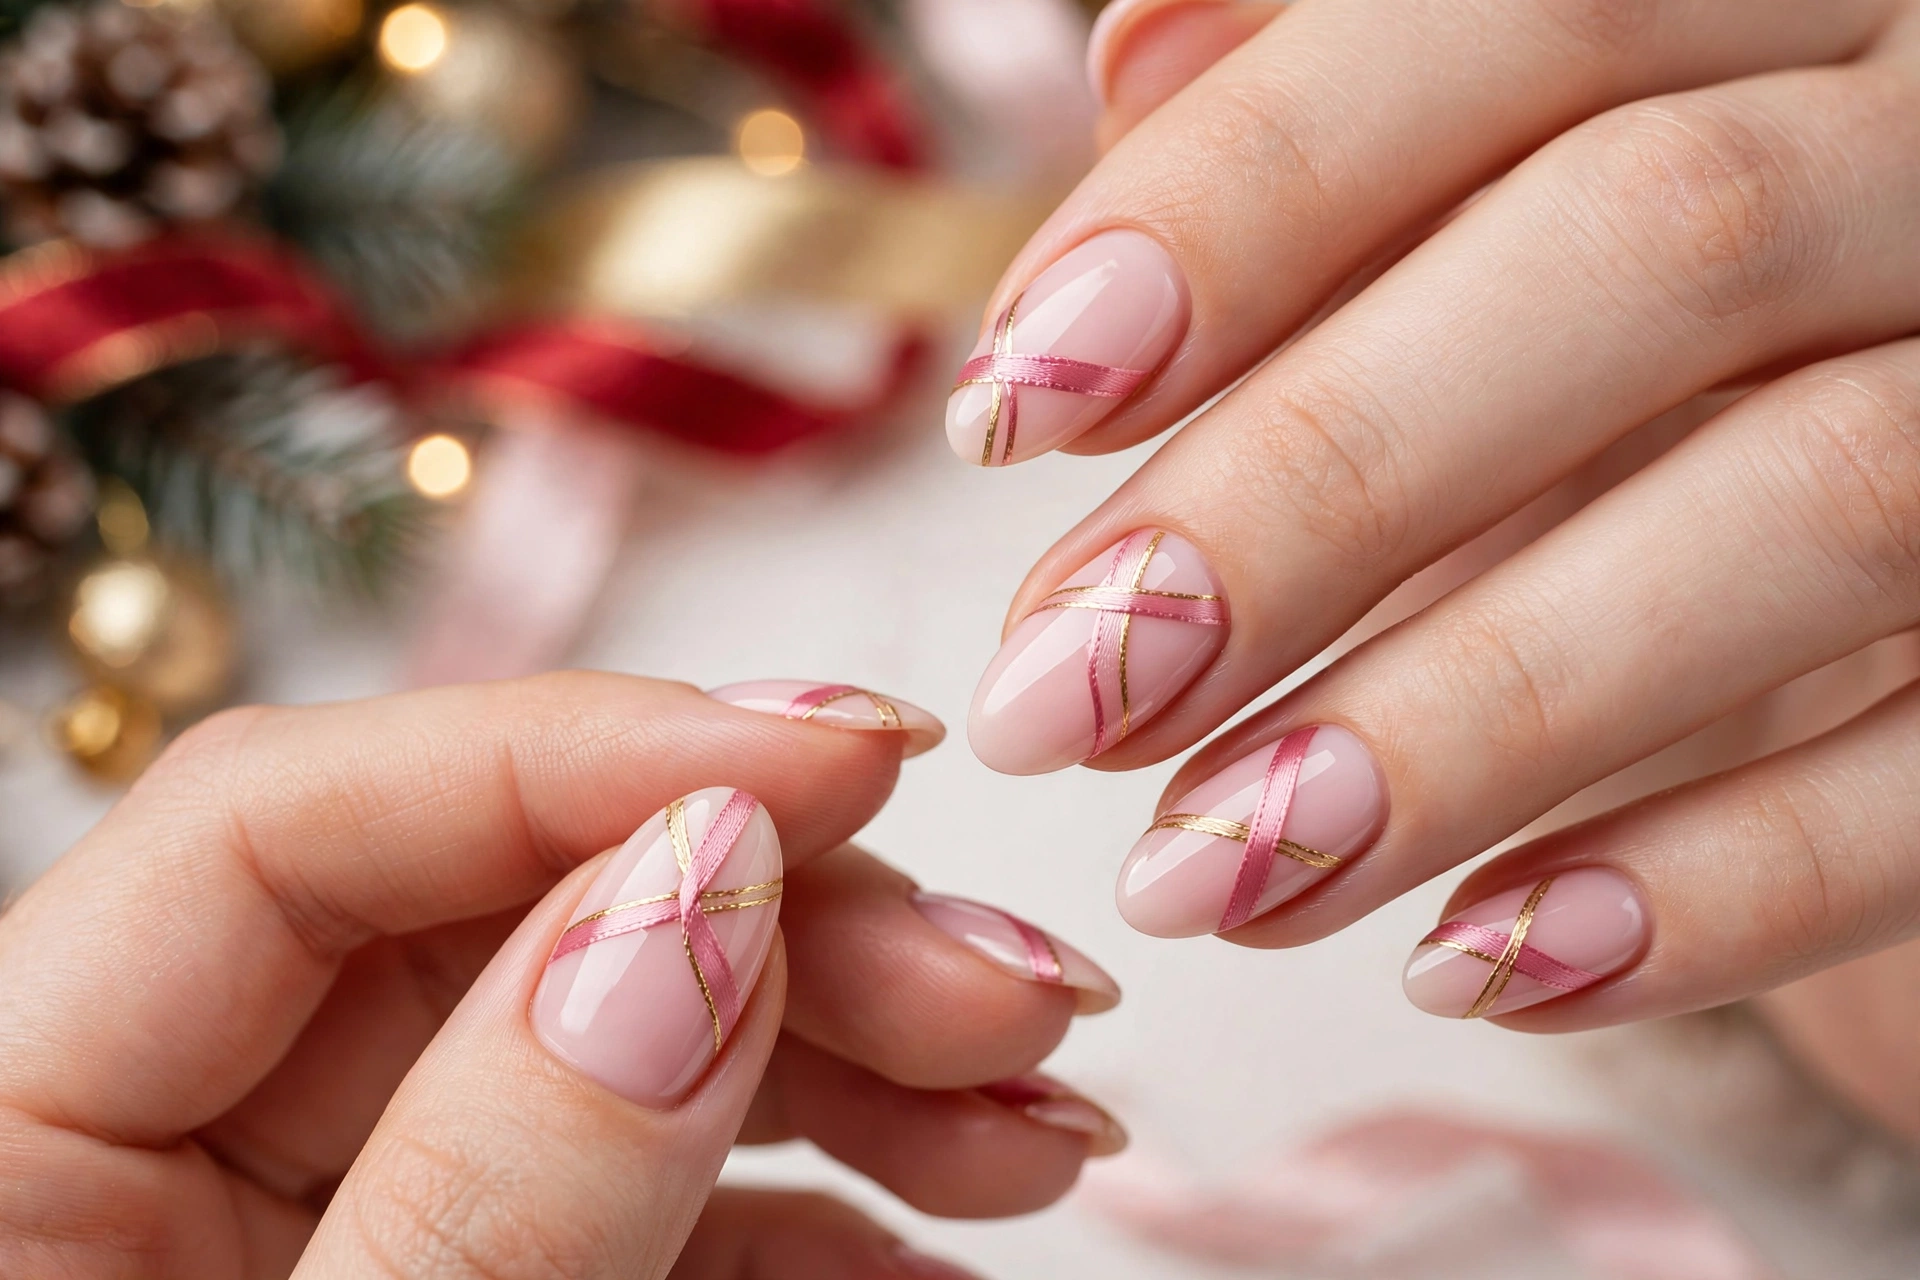
DO:
- Paint ribbon lines over a fully dry blush base for crisp edges.
- Use a thin striping brush and wipe excess polish before each stroke.
- Keep lines parallel and evenly spaced across each nail.
- Seal the design with a glossy top coat once lines are dry.
DON’T:
- Do not draw over wet polish, or lines will smudge and blur.
- Do not press hard with the brush, or lines will turn thick and uneven.
- Do not add ribbons to every nail if you want a balanced look.
- Do not skip top coat, or thin lines may chip quickly.
Ribbon lines reward a steady hand and a light touch, so practice one straight stroke on a nail wheel first. Thin striping tape can guide the first few attempts until your confidence grows. Once the lines feel even, add a tiny bow accent on one nail for a festive finish that still feels refined.
Sweet Pink Gingerbread Accents
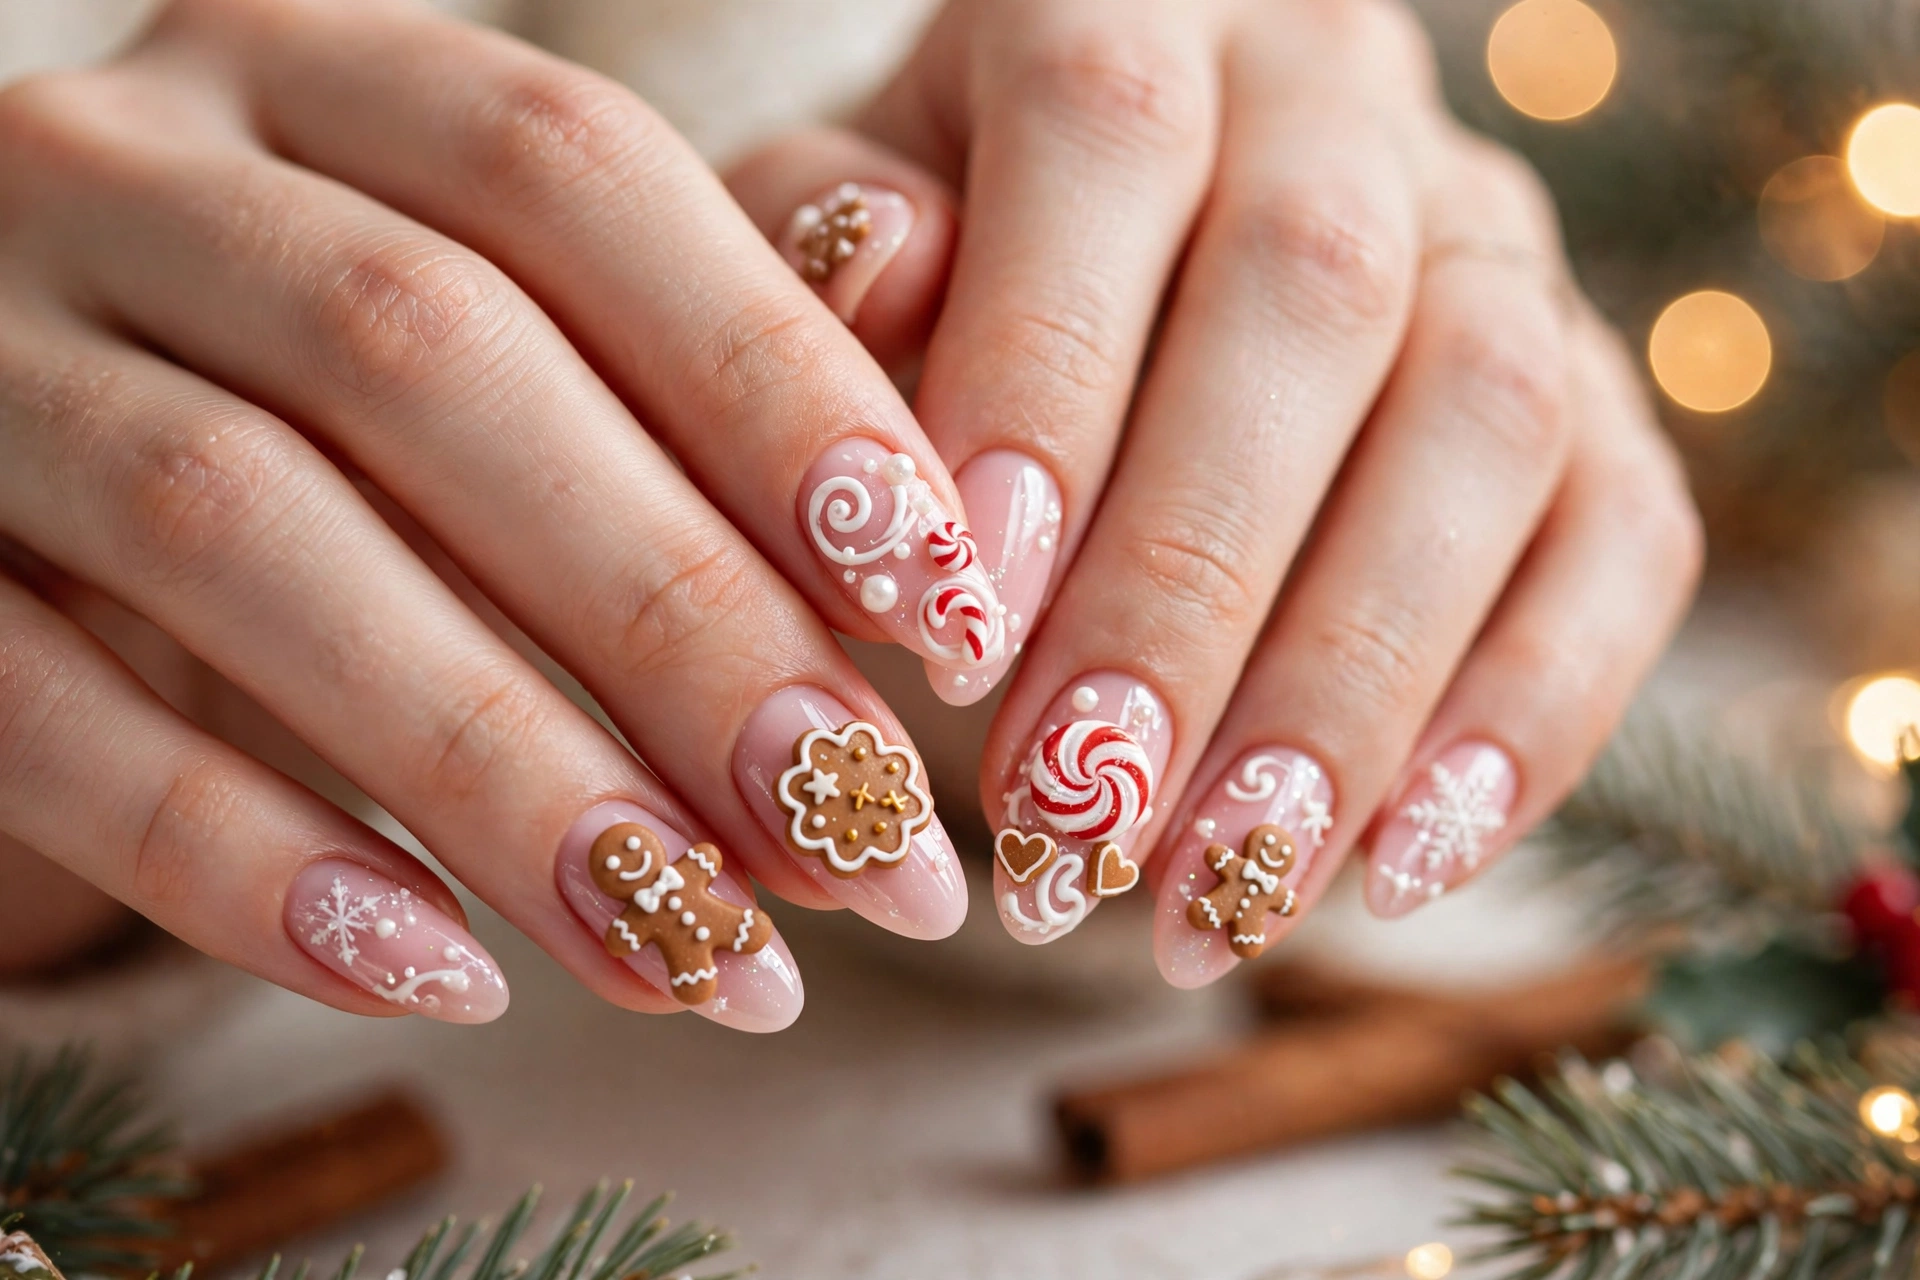
Cost: Low, using polish you likely already own.
Time: About 45 minutes for a full set.
Skill Level: Beginner friendly with stickers or a dotting tool.
Best For: Holiday parties, family gatherings, and cozy winter weekends.
Gingerbread accents charm most when they stay small and sweet, like a single cookie shape or tiny dots on two accent nails. Keep the rest of the nails in a plain blush shade so the detail stands out. A matte top coat adds a baked, cozy feel, while gloss keeps the design bright for parties.
Cozy Pink Knit Texture
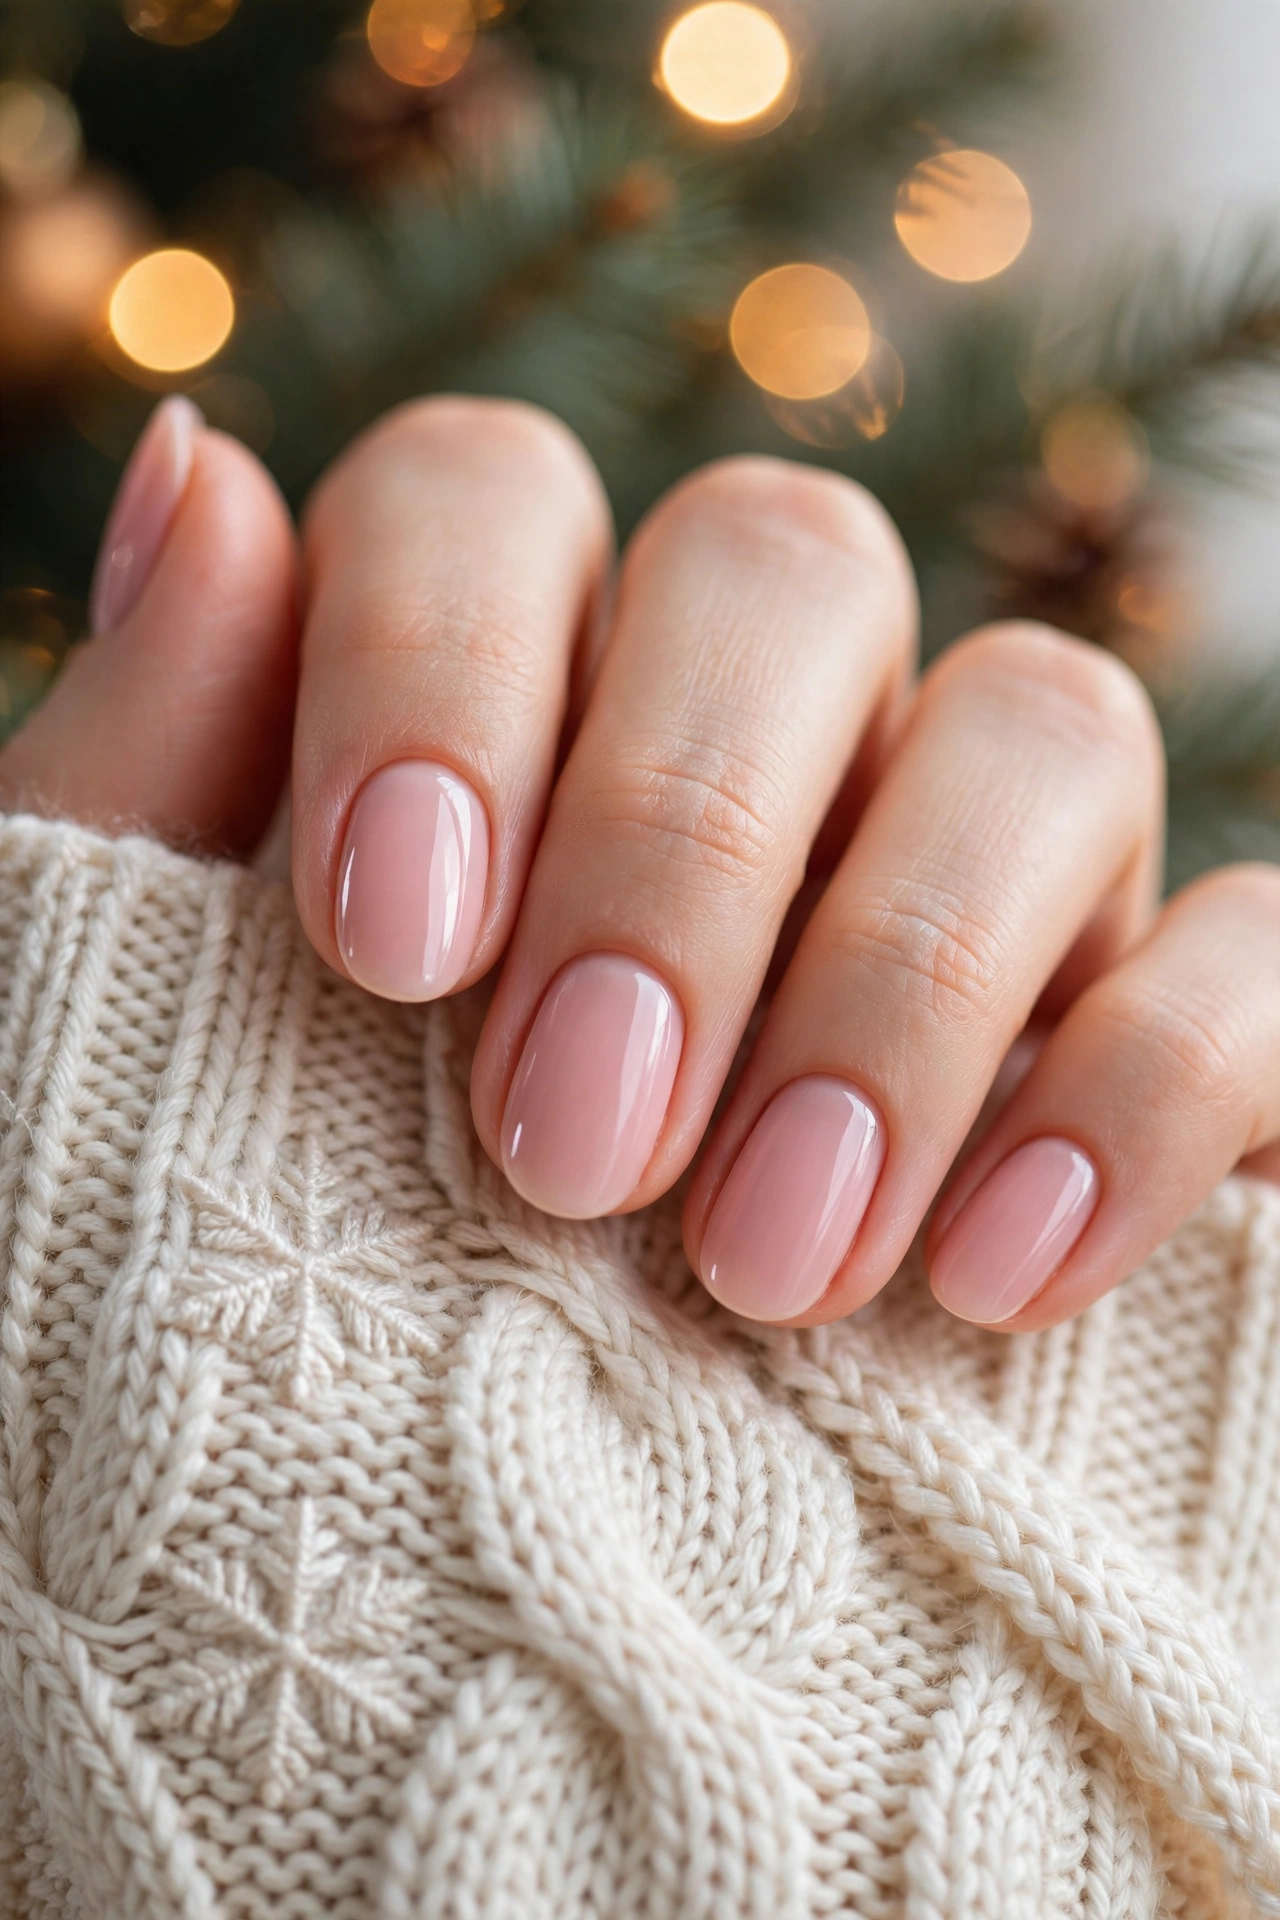
Knit texture brings instant warmth to rosy holiday nails, and the trick is building thin raised lines instead of one thick coat. Paint a blush base, then use a fine brush to draw tiny V shapes and cable curves across each nail. Work in small sections so the polish stays workable and the pattern stays neat.
Let the raised design dry fully before adding a matte top coat, which softens shine and makes the knit effect read clearly. I’ve noticed this finish pairs well with sweaters and gold rings, and it hides chips better than a flat cream shade.
Pink Sequin Winter Sparkle
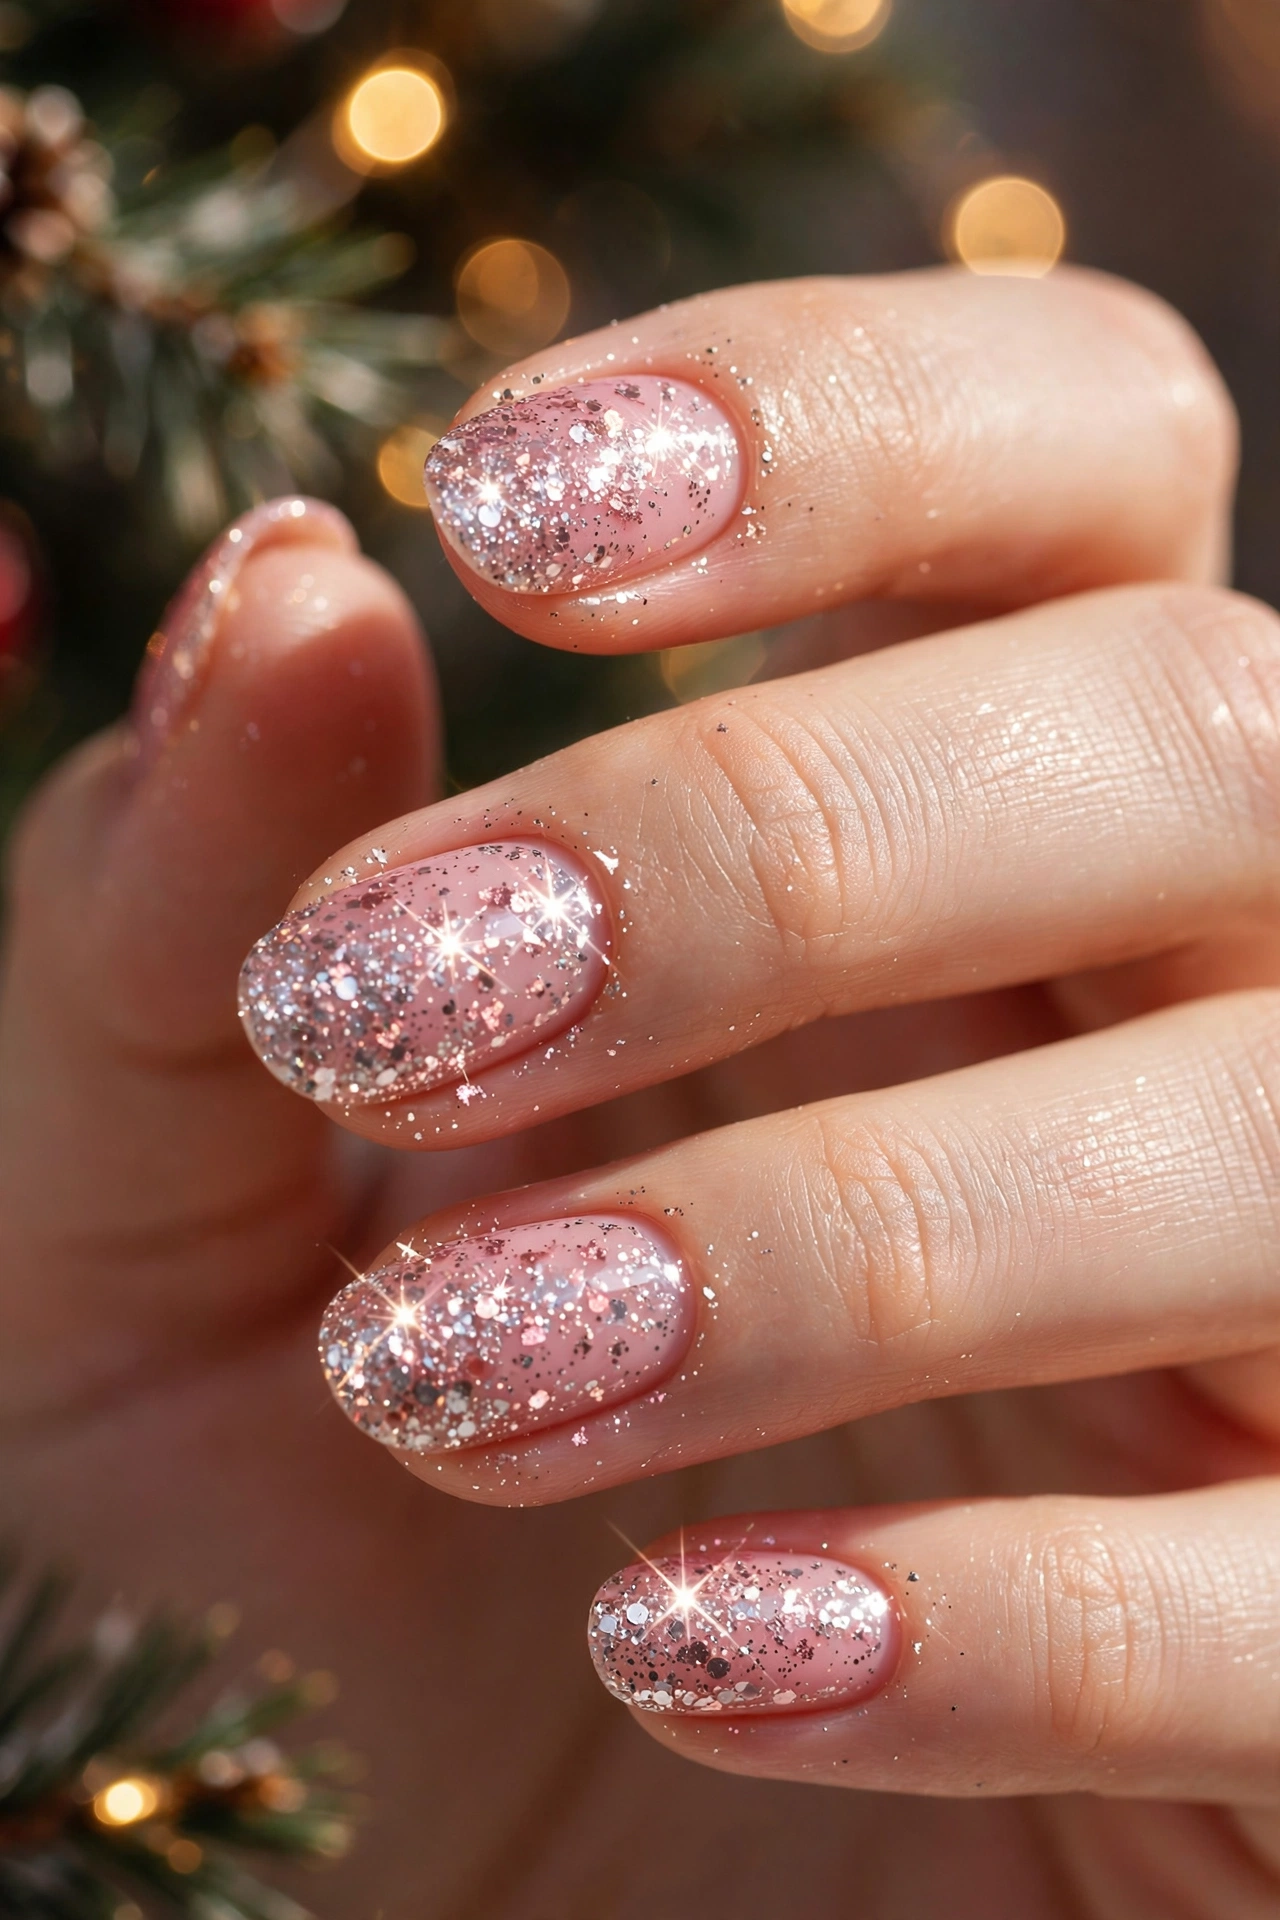
- Start with a soft blush base and add sequins while the second coat is still slightly tacky, so pieces grip well.
- Mix large sequins with fine glitter for depth, placing larger pieces near the tip and smaller ones near the cuticle.
- Use tweezers for precise placement, and press each sequin gently so it sits flat against the nail.
- Keep the ring finger as the main sparkle accent and use lighter glitter on the other nails for balance.
- Seal the design with two layers of top coat to smooth edges and stop sequins from catching on fabric.
Sequins catch light best when the base stays calm, so let one or two accent nails carry the heaviest sparkle. Press larger pieces near the tip and scatter fine glitter toward the cuticle for a fading effect. Seal with two top coats to smooth every edge and keep the shine intact for days.
Elegant Pink Gold Duo
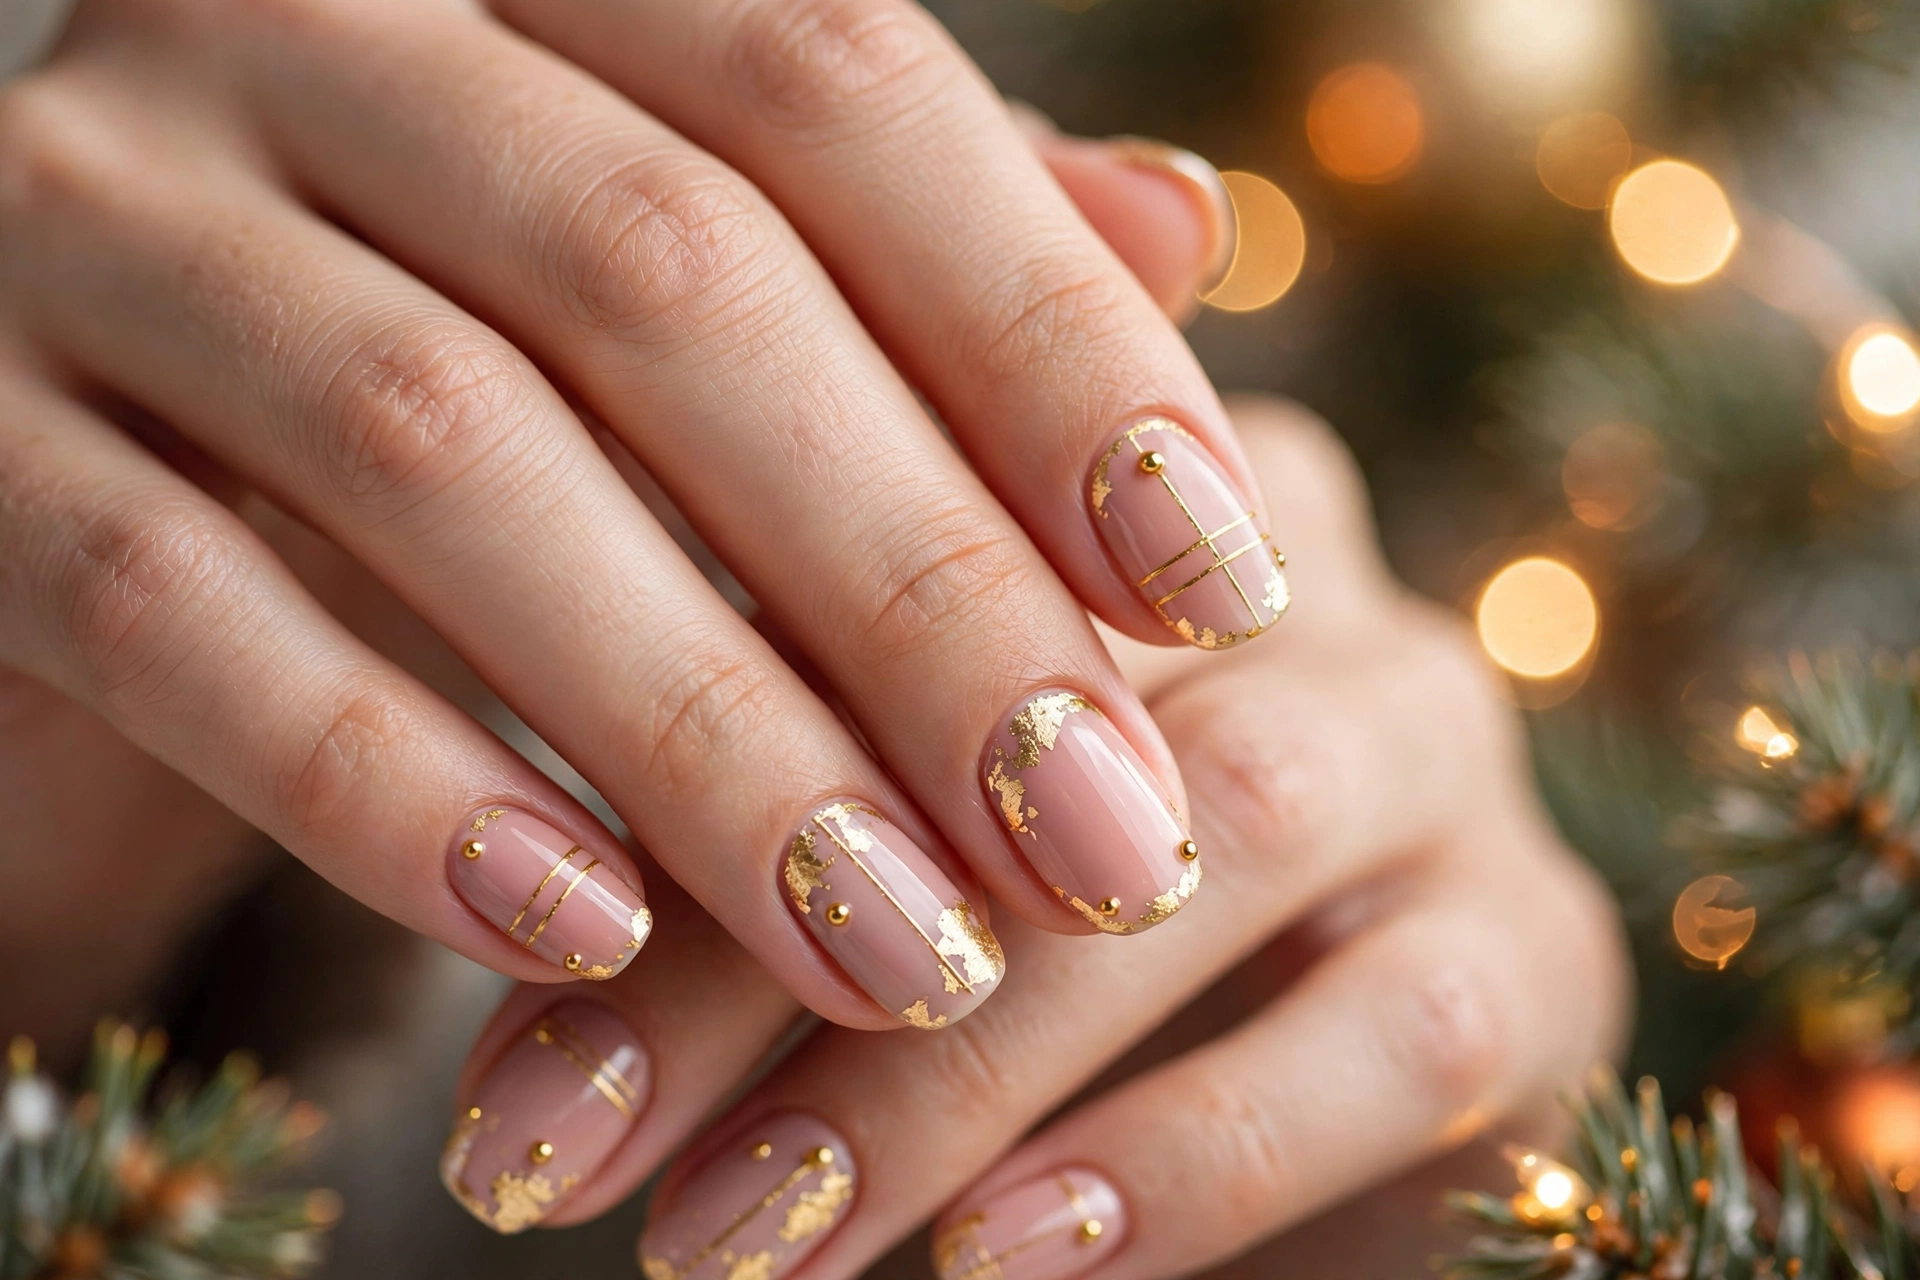
Quick Tip:
Place thin gold foil only along the cuticle line and one side edge, leaving most of the rose base clear. Seal each foil piece with a thin top coat before it fully sets so edges stay flat through washing and gift wrapping. A matte rose base under shiny gold gives a calm contrast that reads refined rather than loud.
Pair a soft rose polish with delicate gold accents for dinners, family photos, and evenings at home. Keep gold to two accent nails or one fine line per nail, and let the pink carry the rest of the look. In my experience, this restraint helps the manicure pair easily with rings, sweaters, and holiday dresses.
Pink Crystal Stud Shine
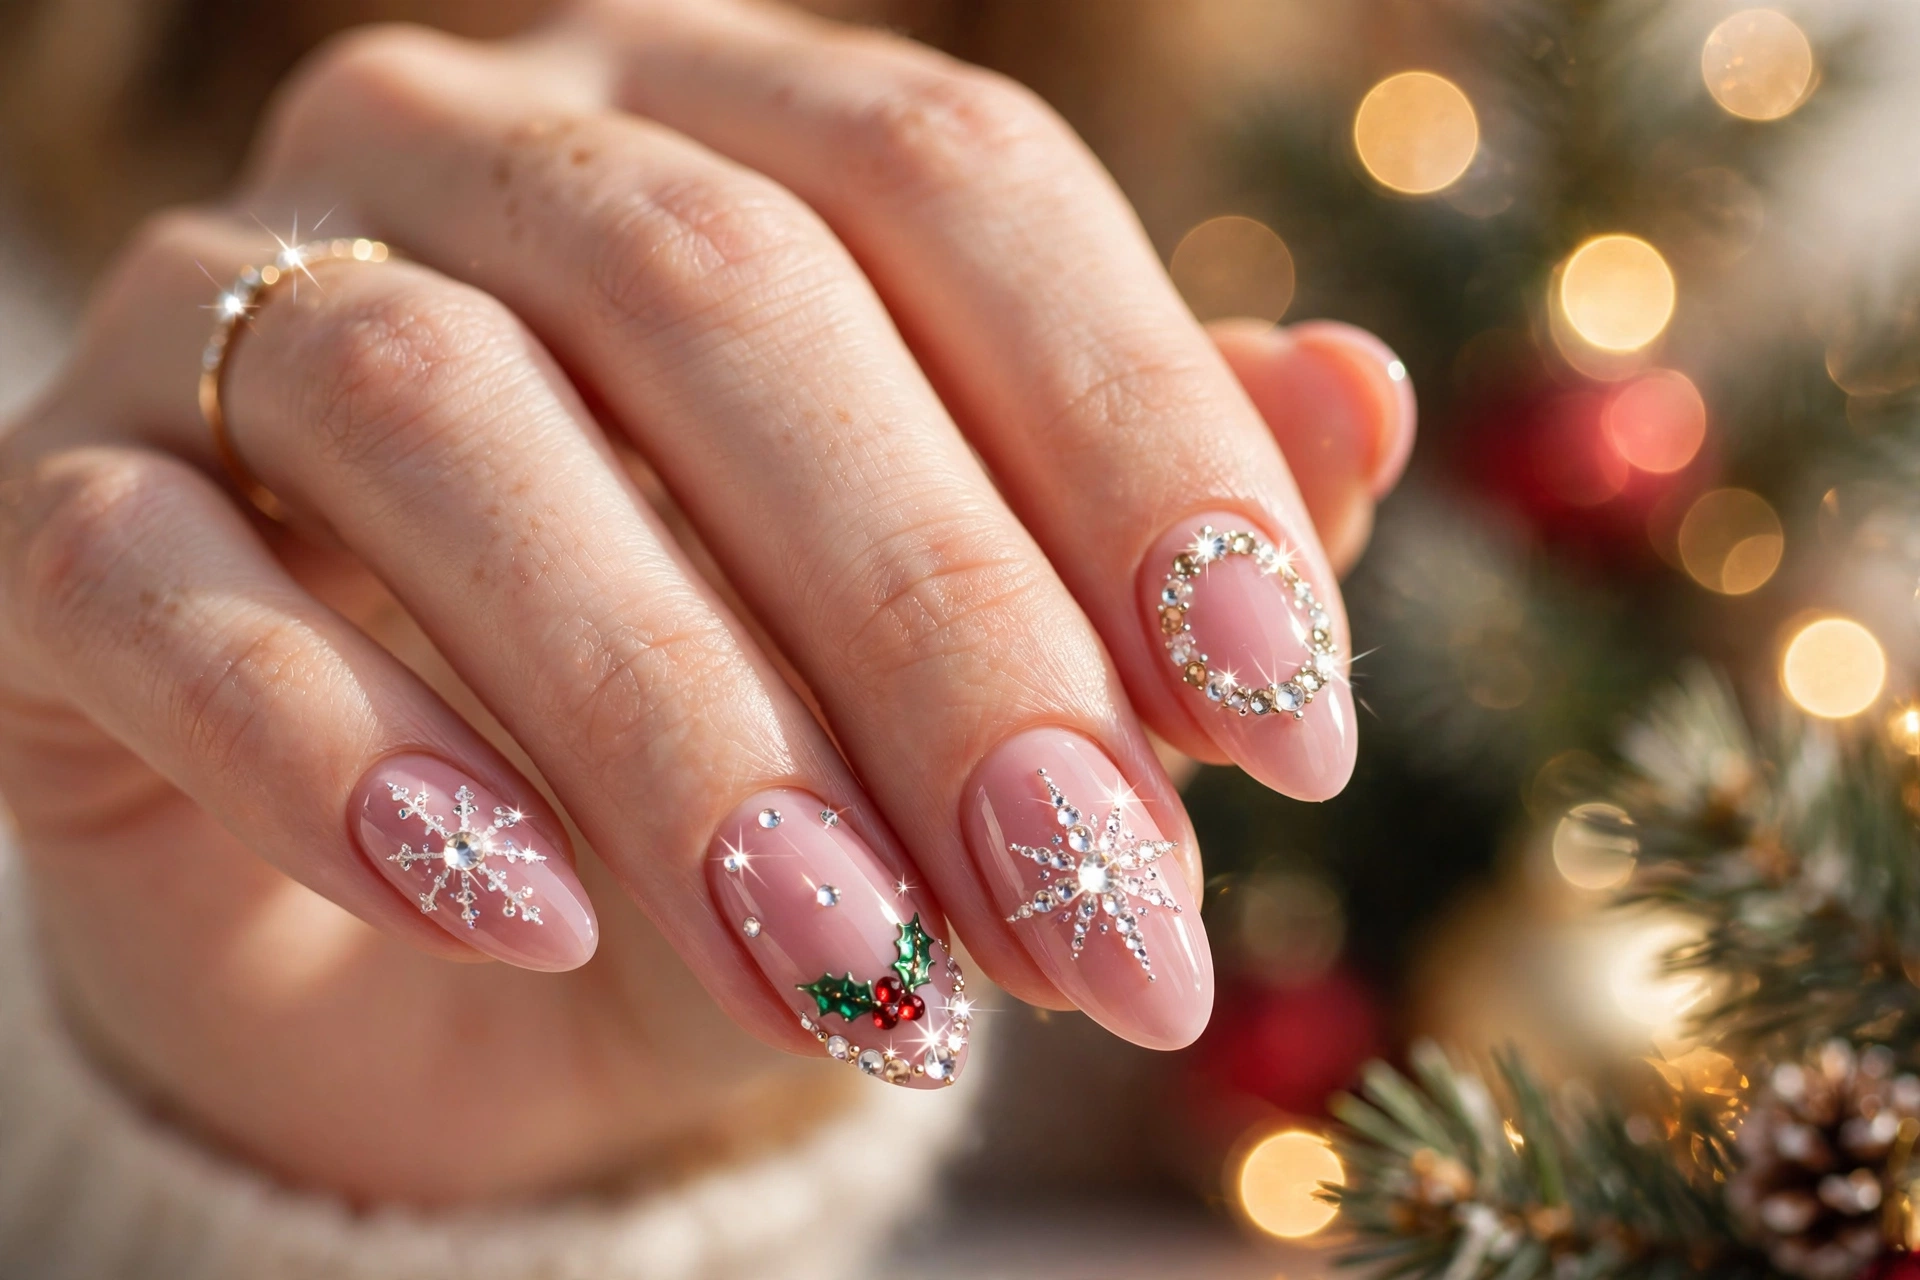
BEFORE: Small rhinestones often slide, catch on knit sweaters, and leave bare spots by the second day. Heavy glue can also cloud the polish around each stone and make the whole nail look messy instead of bright.
AFTER: Placed on a tacky top coat and sealed around the edges, the same crystals stay flat, catch light evenly, and hold through cooking, wrapping, and washing up. The result reads polished and intentional, with sparkle concentrated near the cuticle or tip rather than scattered everywhere.
Choose crystals in two sizes for depth, placing larger stones near the base and tiny ones toward the tip. Space them with a dotting tool, dry fully between layers, and finish with a thin top coat around each edge. This method keeps sparkle secure for a week of parties, travel, and errands.
Dreamy Pink Aurora Finish
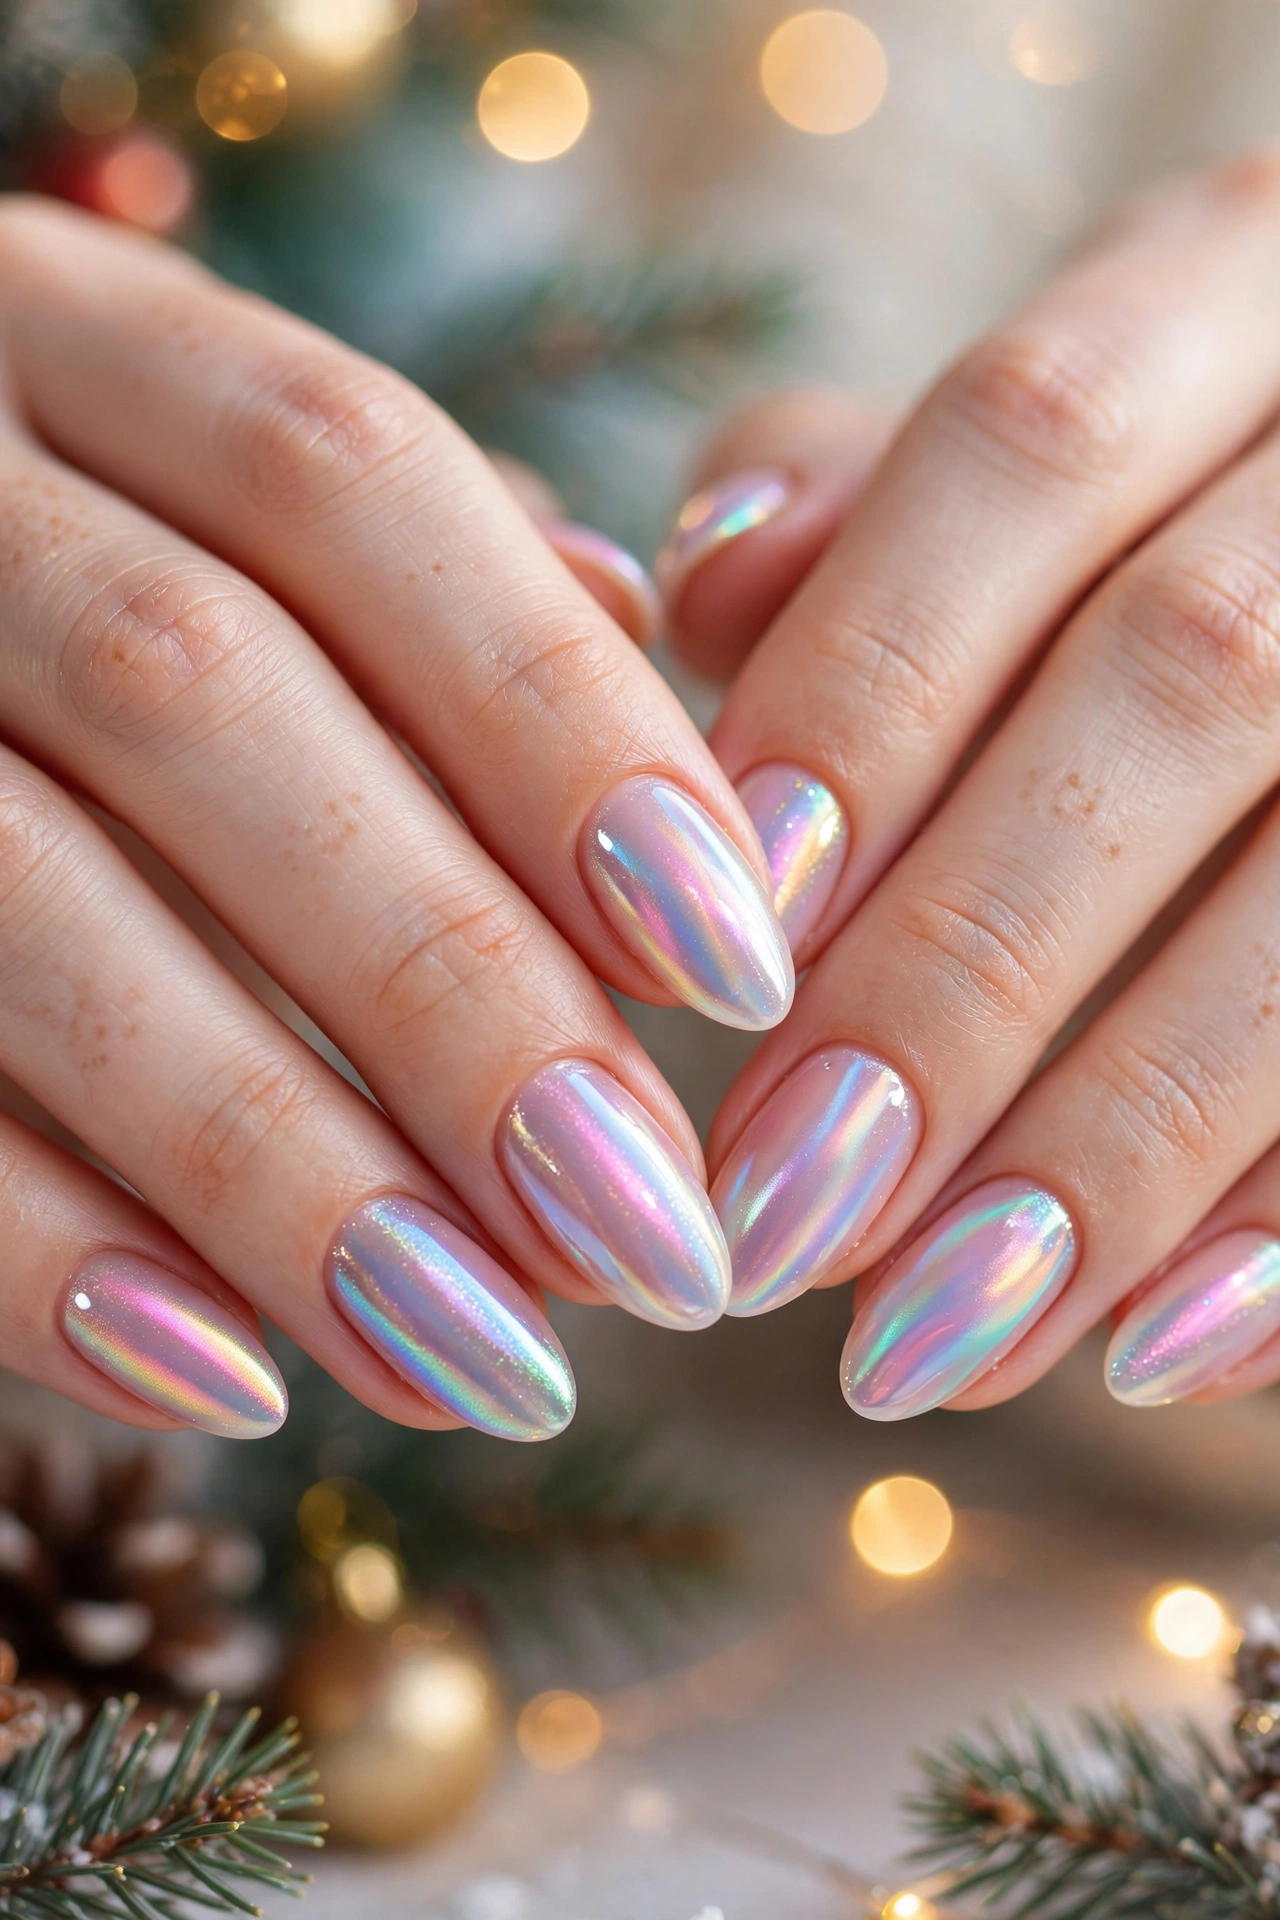
- Apply two thin coats of sheer blush polish, drying fully between coats for an even glow.
- Brush a fine aurora chrome powder lightly over the tacky top coat, focusing on the center of each nail.
- Dust away excess powder with a soft brush, then seal with a glossy top coat.
- Add a tiny white star or dot near the cuticle on one accent nail for a soft holiday accent.
Sheer layers matter here, because thick polish hides the shifting shimmer that makes this finish feel dreamy. Work under bright light so you can spot uneven powder before sealing. The finished nails shift from blush to lilac in different light, suiting daytime shopping and evening celebrations.
Festive Pink Crown Tips
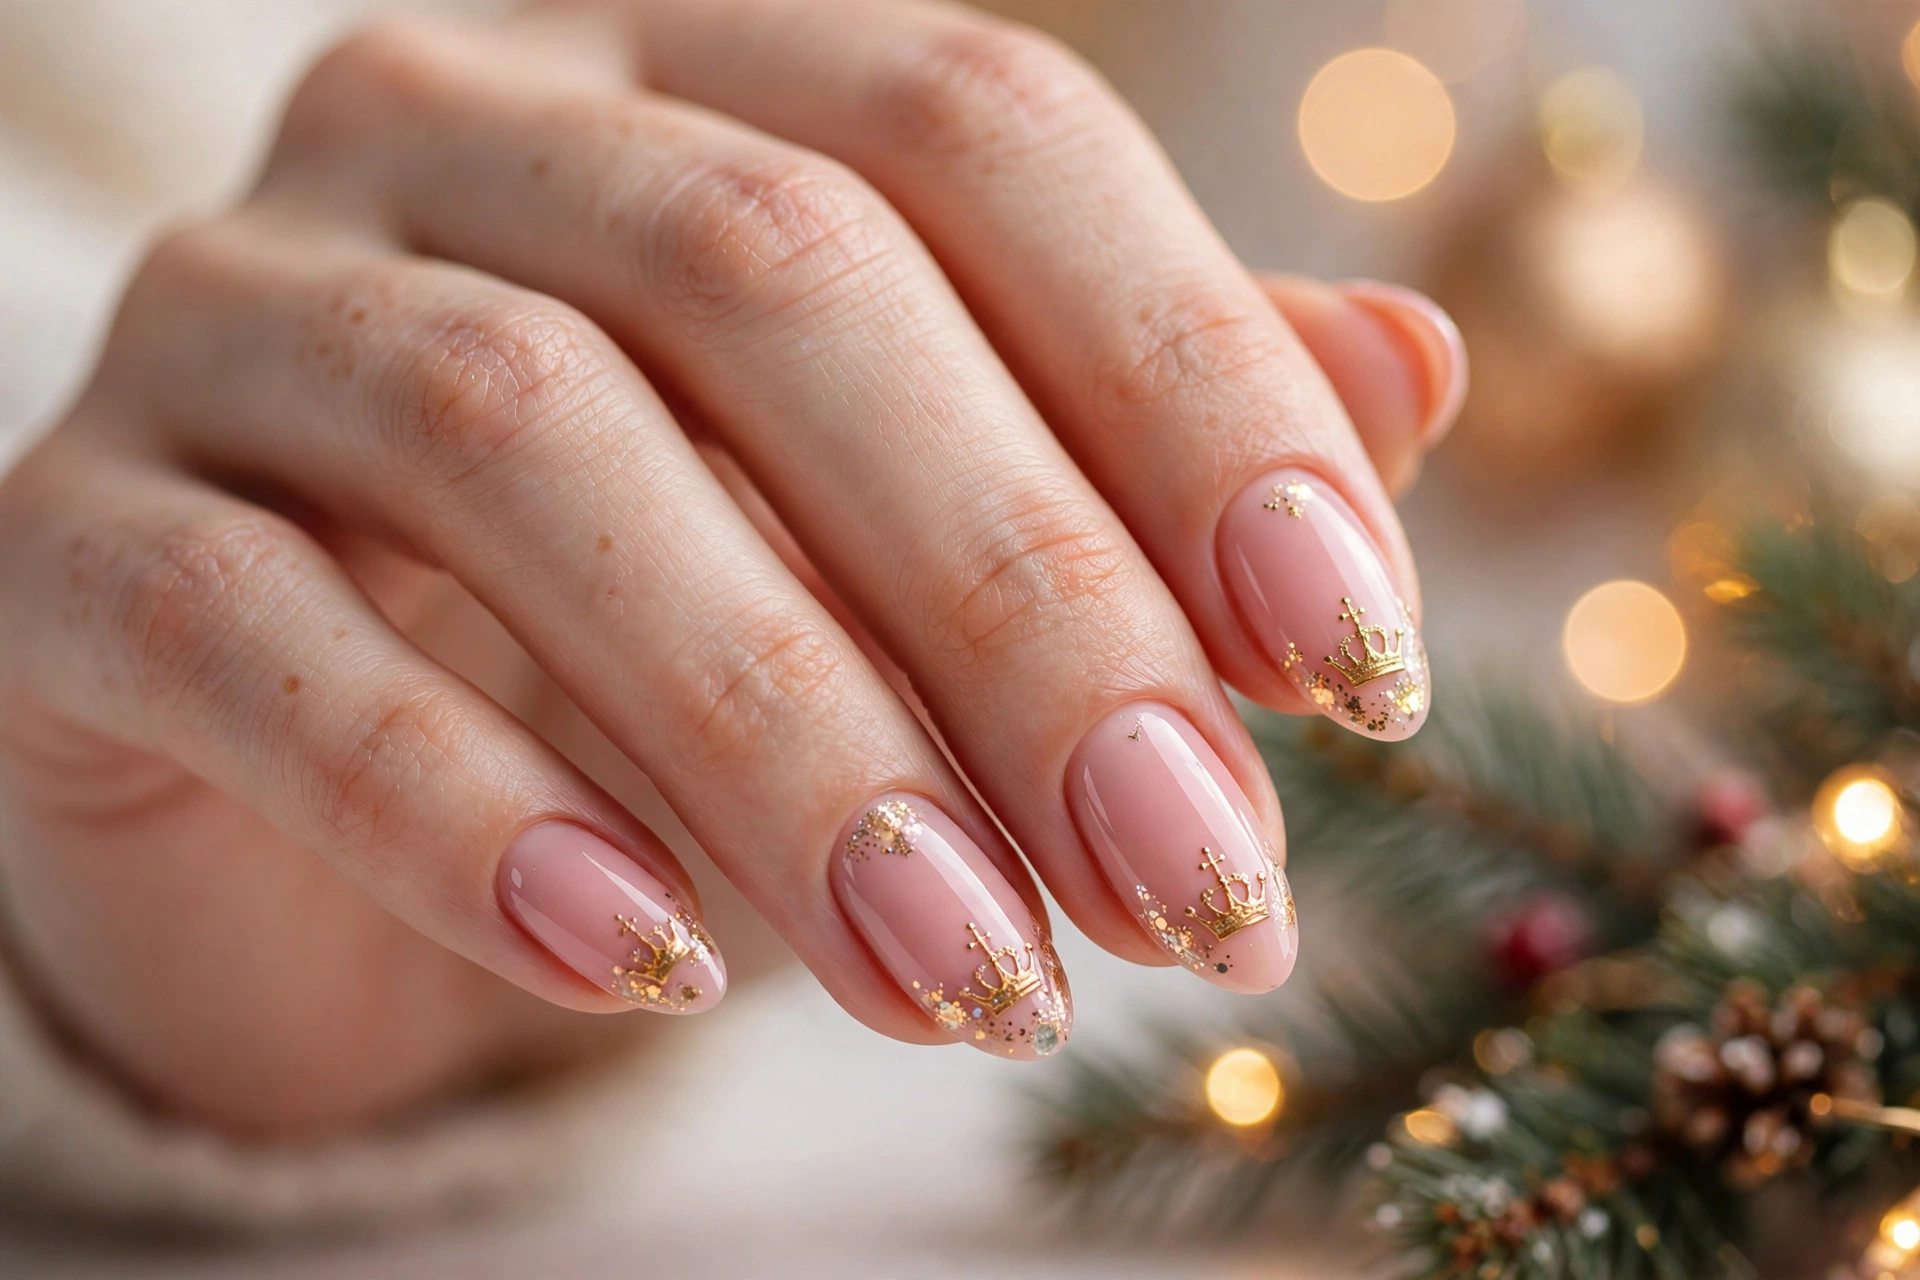
| Feature | Soft Crown Tips | Bold Crown Tips |
|---|---|---|
| Base color | Pale blush with a sheer finish | Deep rose with full coverage |
| Crown detail | Thin gold line at the tip | Chunky gold glitter along the tip |
| Best occasion | Work parties and family dinners | New Year gatherings and photo shoots |
| Upkeep | Easy touch ups with a fine brush | Needs a top coat refresh after two days |
Crown tips turn a simple pink base into a celebratory design without advanced painting skills. Outline the crown shape with a striping brush, fill it slowly, and clean edges with a flat brush dipped in remover. I’ve noticed this structured tip also makes nails look longer when crown points stay neat and evenly spaced.
Conclusion
Let this season be the one where you finally try the soft pinks, sparkling accents, and dreamy finishes that caught your eye while scrolling. Start with one idea that feels easy, gather your polishes and tools, and give yourself an unhurried evening to create something joyful. These pink christmas nails work for quiet family nights, lively parties, and every celebration in between, so choose the version that matches your mood. Save your favorites on Pinterest for later inspiration, try a new festive idea each week, and share your results proudly with friends who love festive beauty this season.