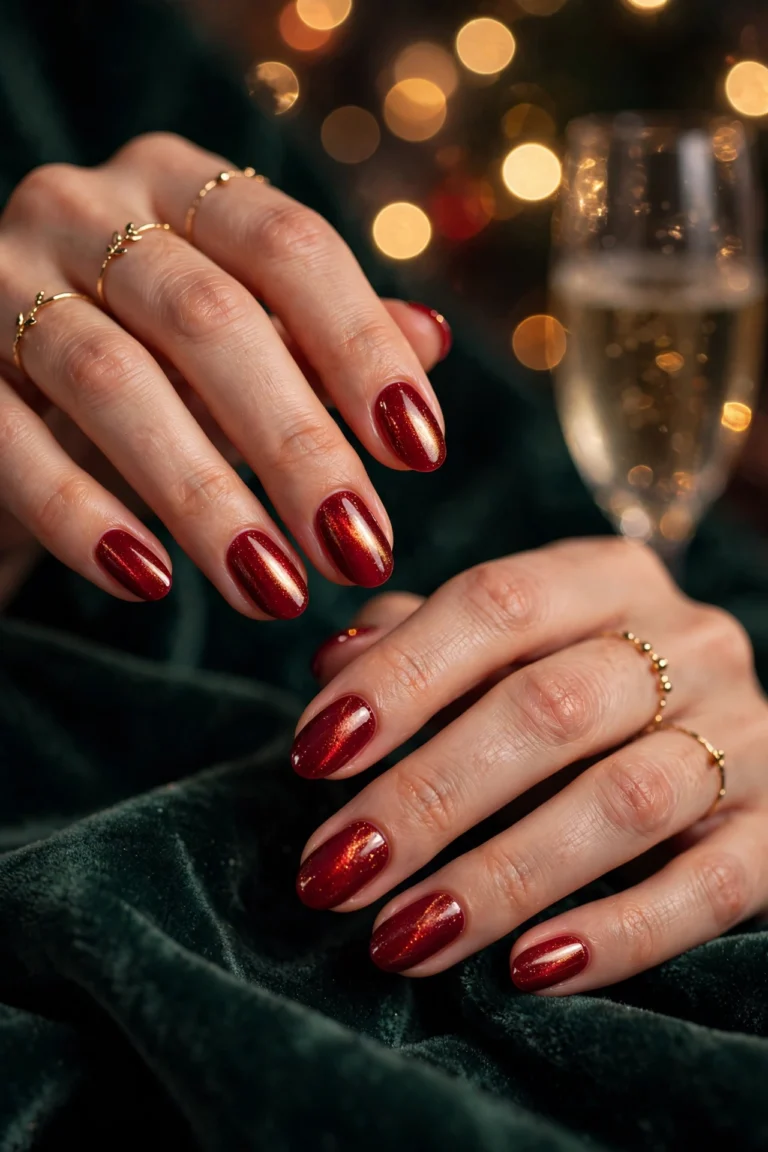
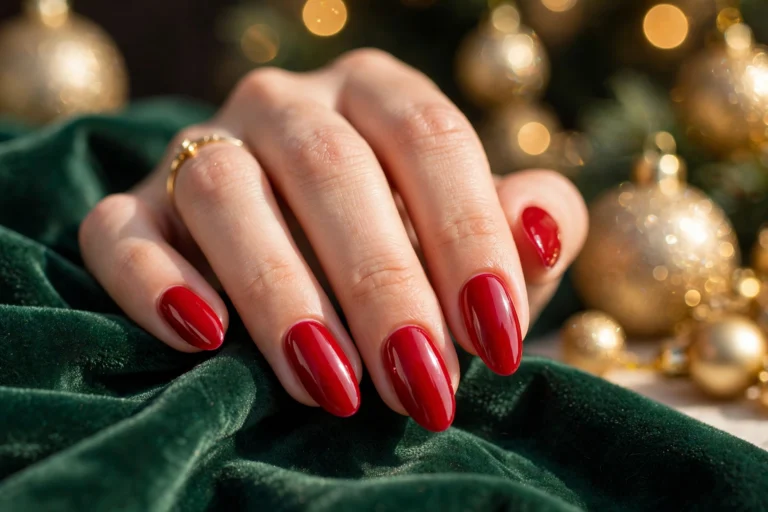
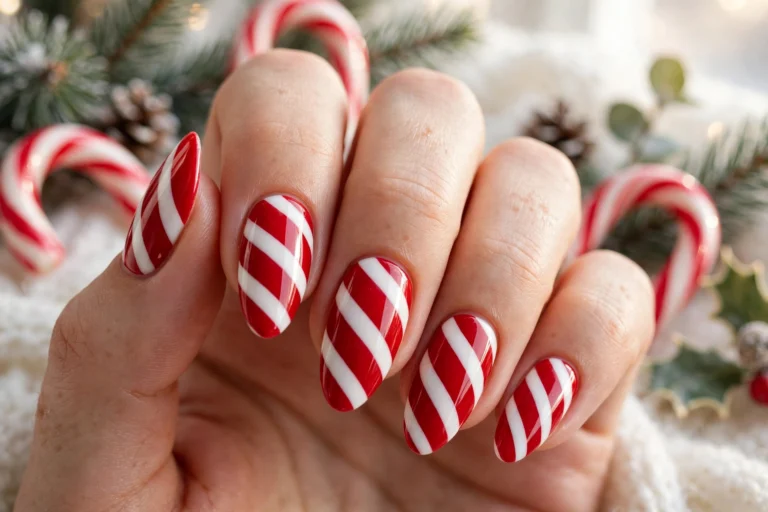
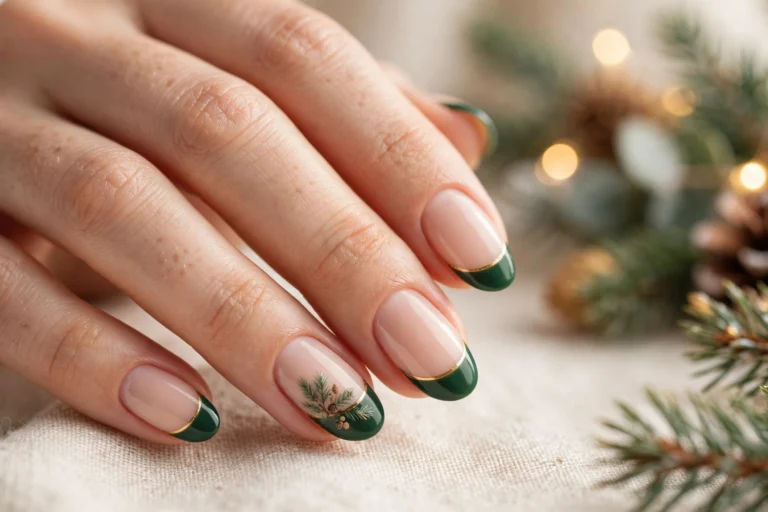
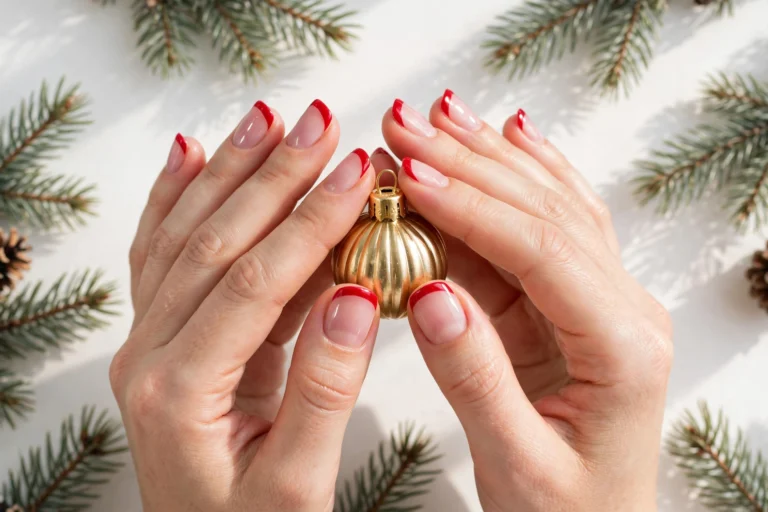
Jolly red hats, snowy white beards, and tiny gift details make santa christmas nails the happiest way to wear the season on your fingertips. Think bright Santa red, soft cream fur trim, warm cocoa skin tones, golden belt buckles, and sparkling snow that turns every manicure into a small celebration. You do not need salon skills or a large polish collection to enjoy these playful looks. A smooth base coat, two thin colour coats, a fine brush or a simple sticker, and a strong top coat can carry a cheerful manicure through parties, family dinners, gift wrapping, cozy weekends, and holiday photos. In my experience, Santa designs look best when one accent stays detailed and the other nails stay calm, which keeps the manicure joyful without feeling busy. This guide shares 20 whimsical ideas for every mood and outfit, with simple steps and easy care tips, so you can pick a favourite and start today.
Jolly Santa Face Charm
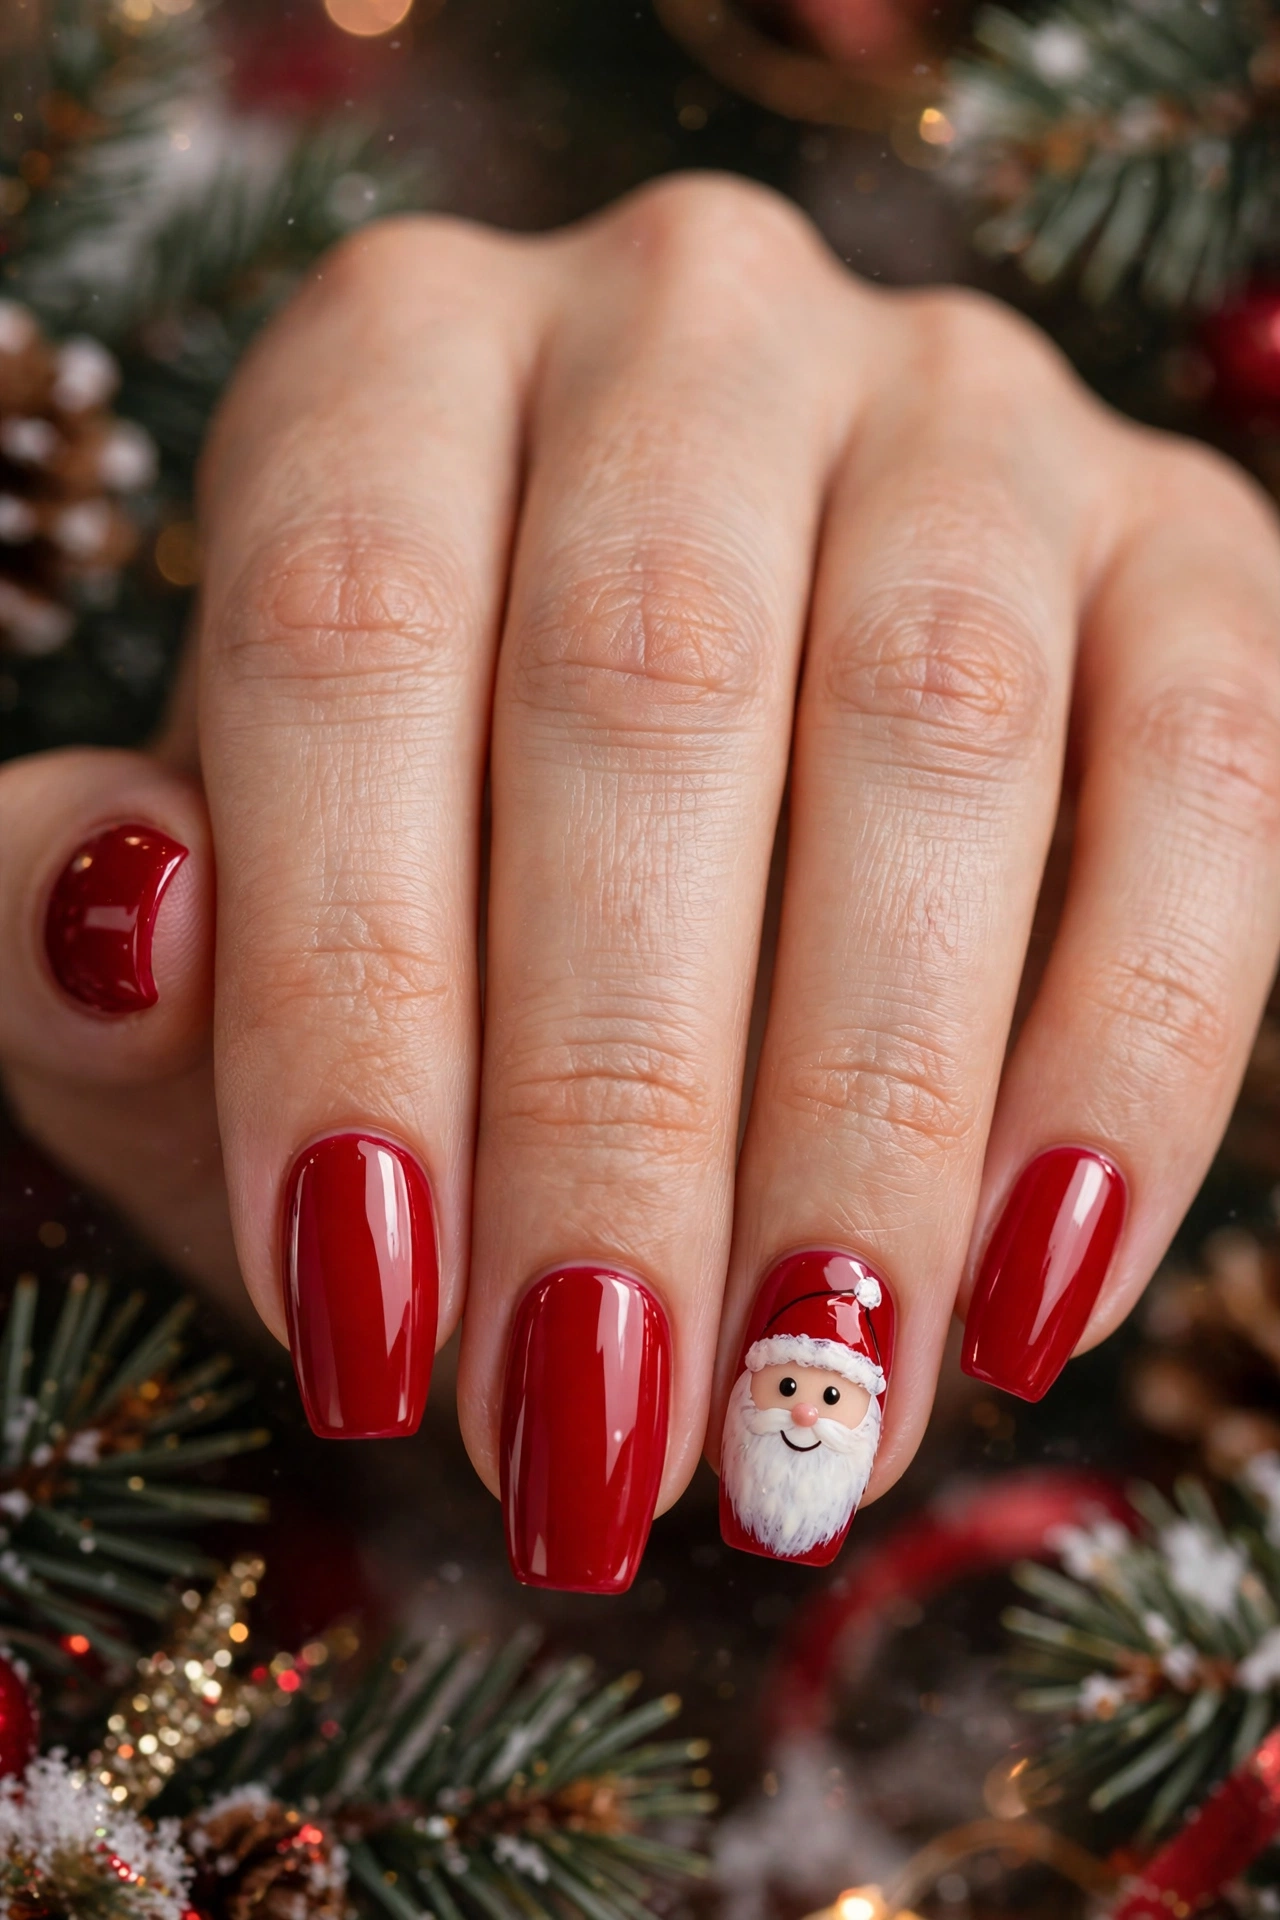
Paint a tiny Santa face on one accent nail and keep the rest in glossy cherry red for instant cheer. Use a fine detail brush to dot two black eyes, a soft pink nose, and a small smile over a creamy white beard shape. Add a red cap with a white trim near the cuticle so the face feels complete without looking crowded.
Seal the design with a shiny top coat and let each layer dry fully before adding the next detail. In my experience, a steady hand and short strokes keep the face neat and playful rather than messy.
Santa Hat Tip Sparkle
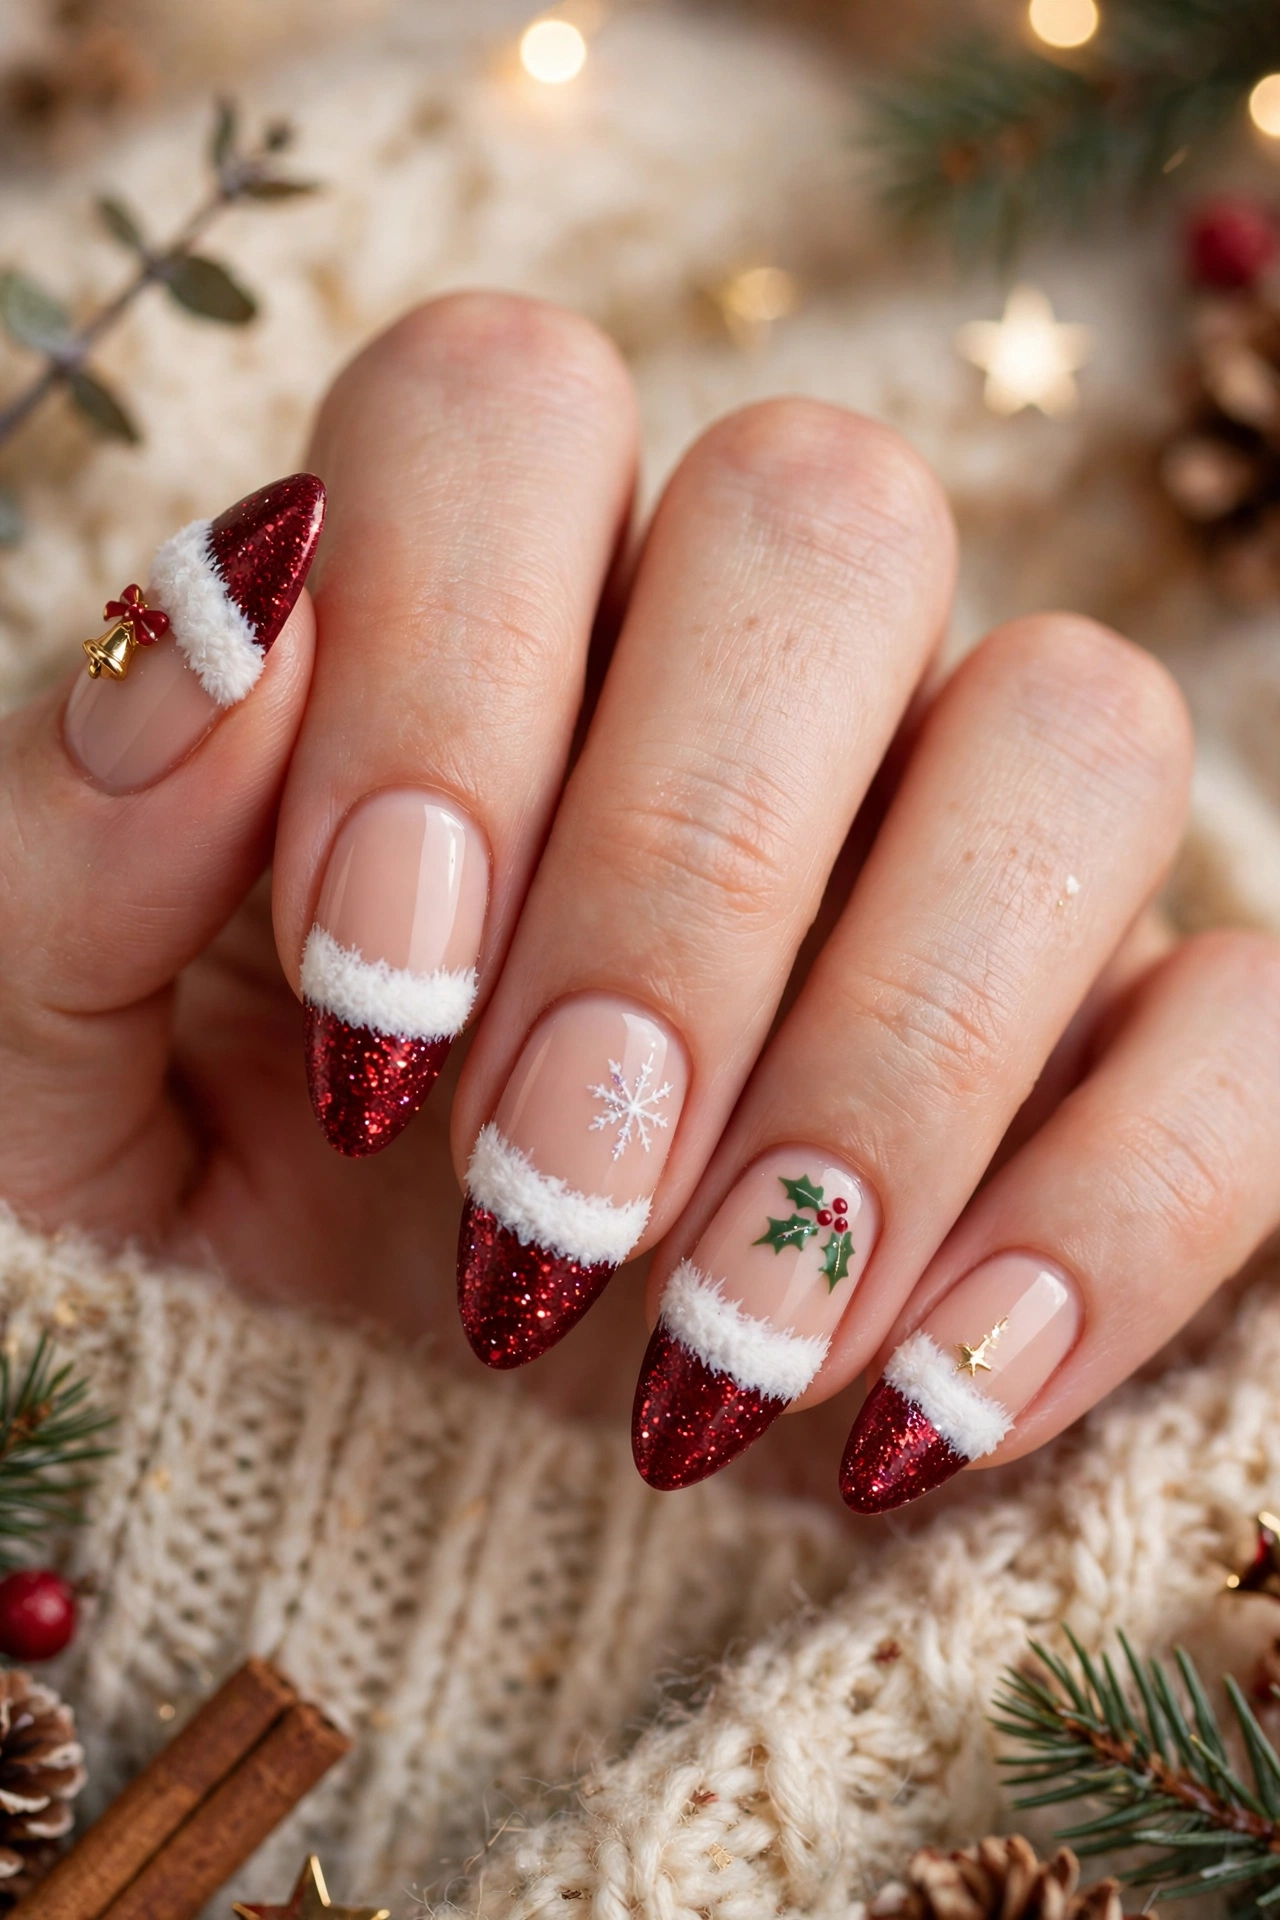
- Paint tips in deep red and add a fluffy white band just below each tip.
- Press fine red glitter over the wet polish for a bright festive sparkle.
- Keep the nail base soft nude so the hat shape stands out cleanly.
- Finish with a glossy top coat to lock in the glitter and smooth the edge.
Start with two thin coats of nude polish and let them dry before shaping the hat. Angle your brush gently across the tip to form a neat triangle, then press glitter only onto the red area. This look works well for parties because it reads festive from a distance yet stays simple up close.
Cozy Santa Beard Glow
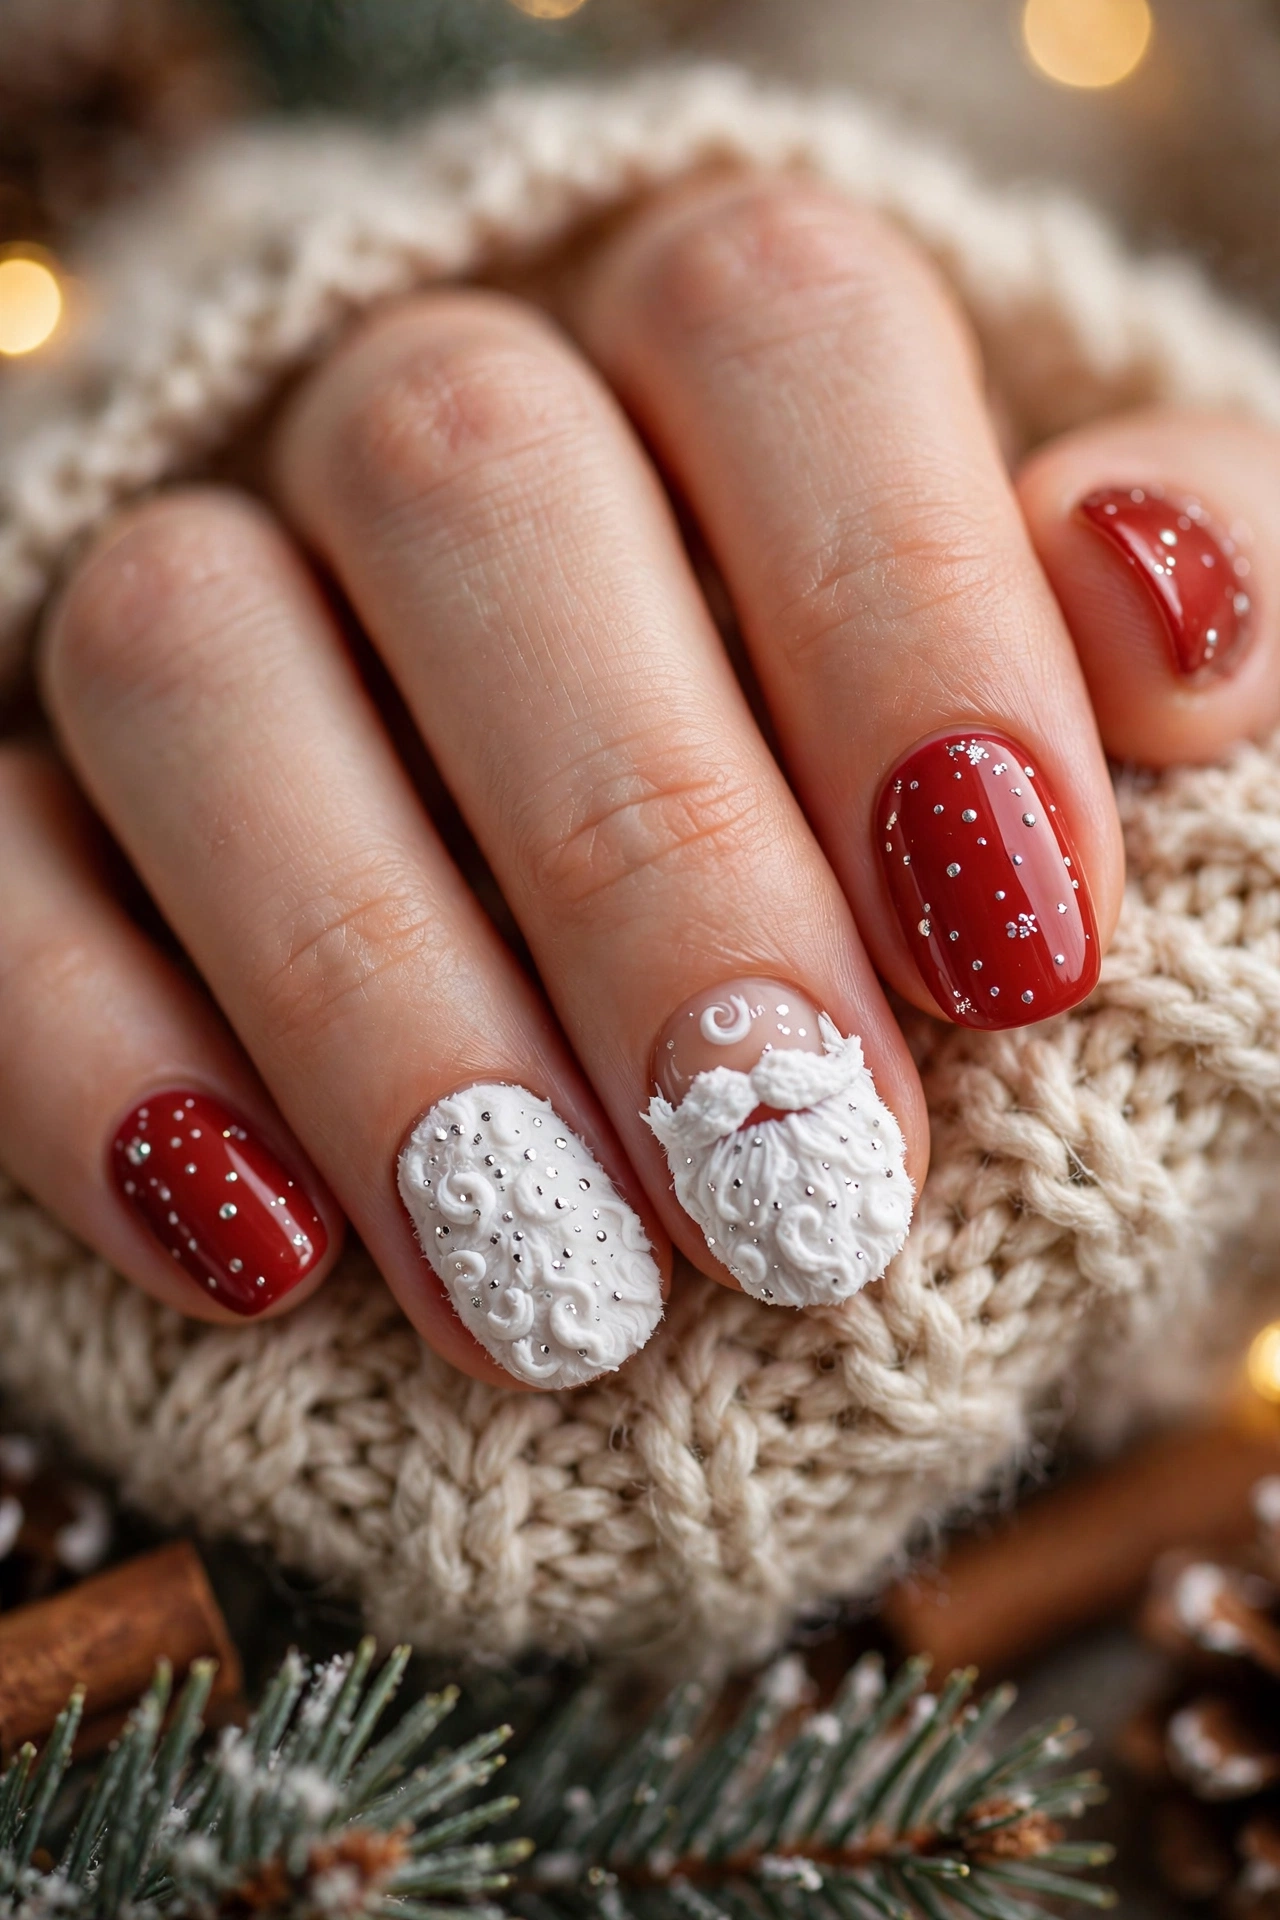
Quick Tip: Use a white textured polish for the beard so it looks soft and snowy.
Paint the lower half of each accent nail in fluffy white and blend the edge upward with a sponge for a gentle fade. Add tiny silver dots near the beard edge to suggest fresh snow catching light. Pair the look with warm red nails so the soft texture feels cozy and winter ready.
Red Suit Classic Polish
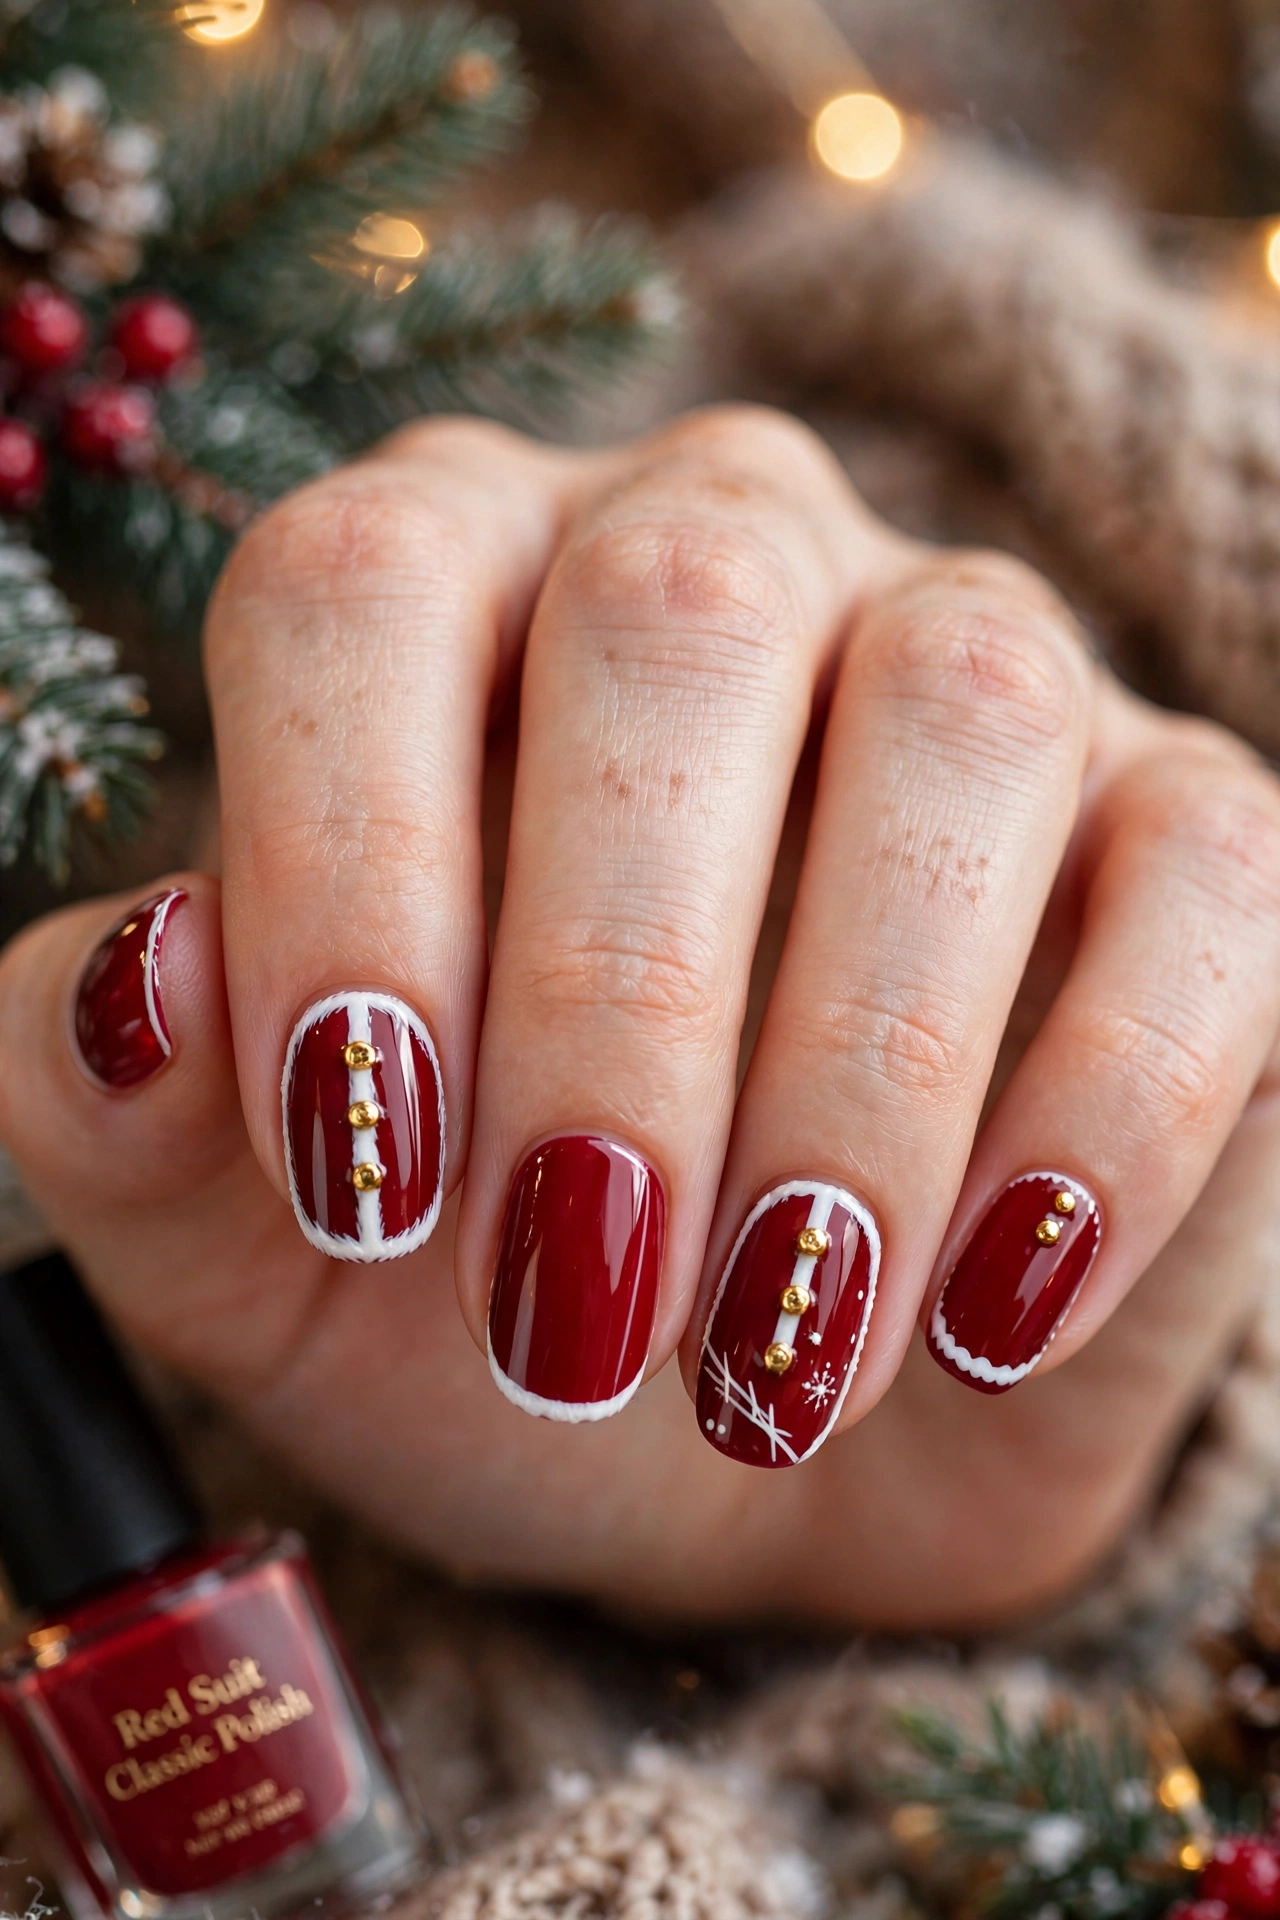
Before: plain red nails with no festive detail.
After: rich suit red nails with white trim and tiny gold buttons.
Choose a deep glossy red and apply two even coats for full coverage. Paint a thin white line across the base of each accent nail to echo a suit trim, then dot two small gold buttons down the centre. Keep the other nails solid red so the suit detail stays elegant for holiday gatherings.
Santa Sleigh Night Art
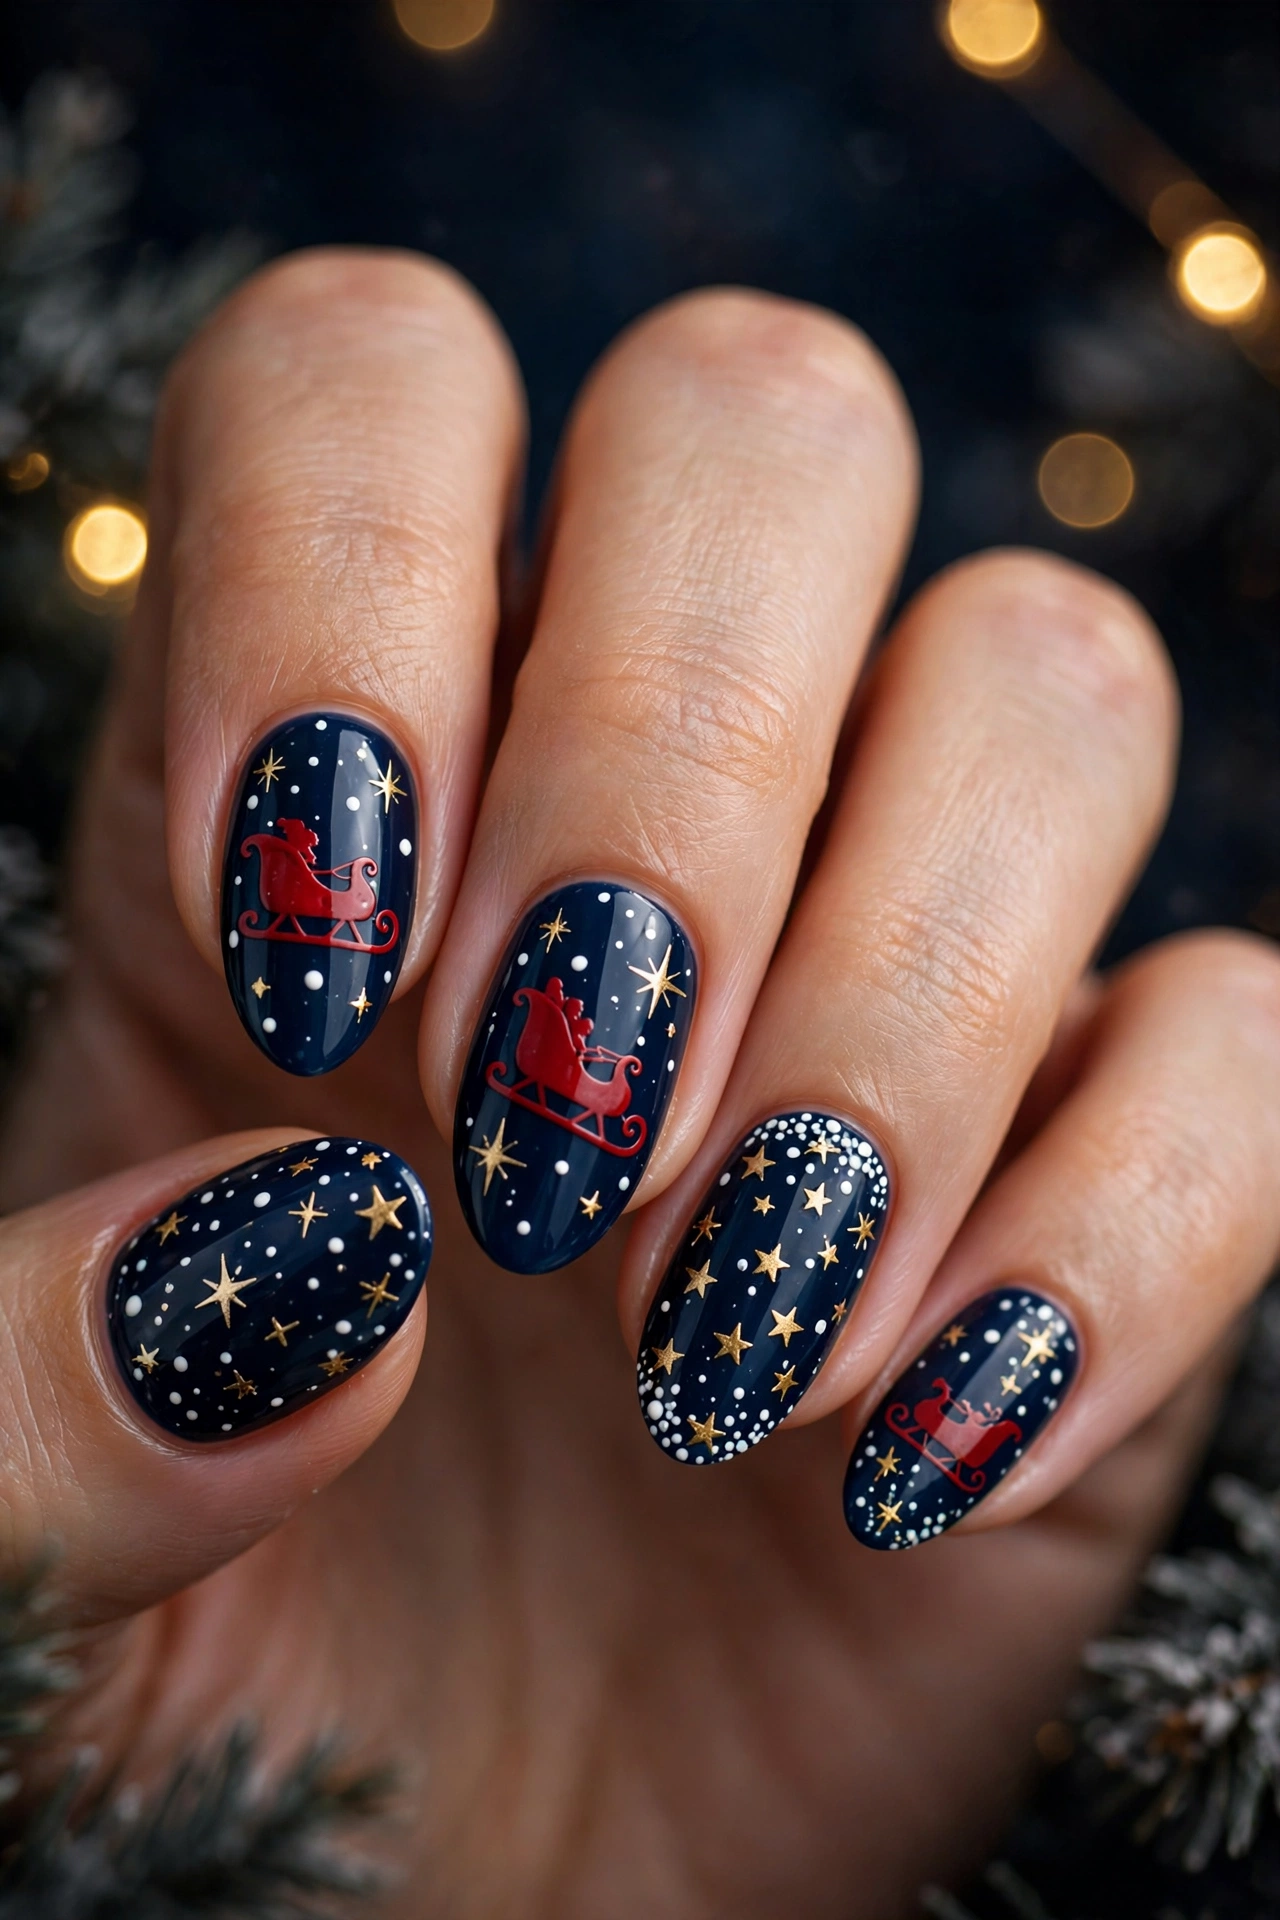
- Paint a deep midnight blue base on every nail and let it dry fully.
- Add a tiny red sleigh silhouette on one accent nail with a fine brush.
- Dot white snow and gold stars around the sleigh for a night sky glow.
- Seal with a glossy top coat to keep the art smooth and bright.
This look feels lovely after dark because the blue base makes the red sleigh stand out while white dots suggest falling snow. In my experience, a steady hand and a thin brush make shapes easier to paint. Keep the design on one or two nails so the night scene stays clear and wearable.
Frosted Santa Village Charm
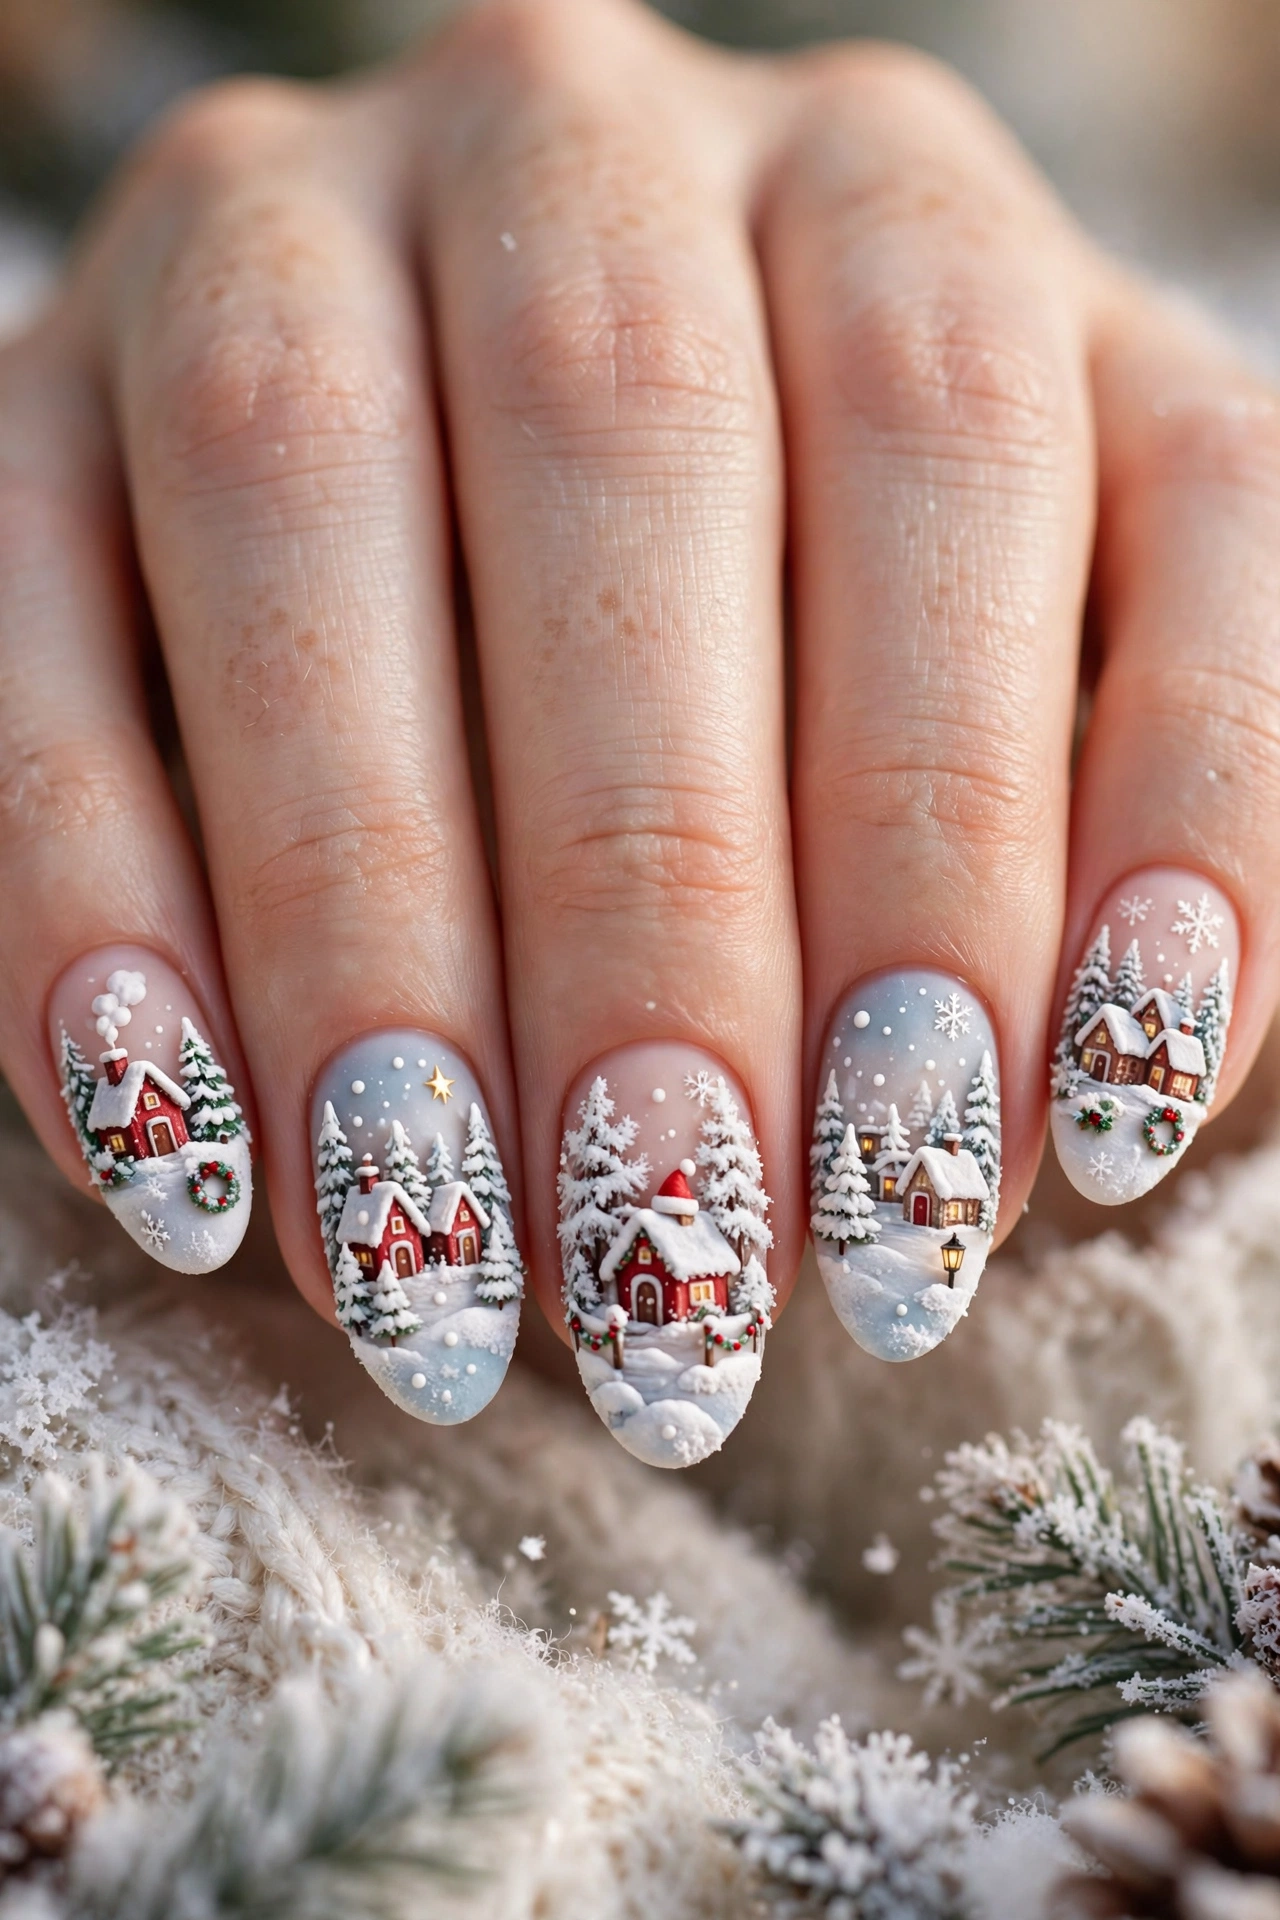
| Look | Best For | Finish |
|---|---|---|
| Frosted village scene | Cozy evenings | Soft matte glow |
| Tiny snowy rooftops | Family gatherings | Gentle shimmer |
| Pale blue frost | Everyday winter wear | Cool satin shine |
Choosing a frosted finish changes the mood because matte texture softens bright red and white details and gives the tiny village a snowy feel. A pale blue base works well for daytime, while deeper blue suits evening events. Add a few glitter dots so rooftops stay visible and easy to wear.
Chimney Gift Mini Art
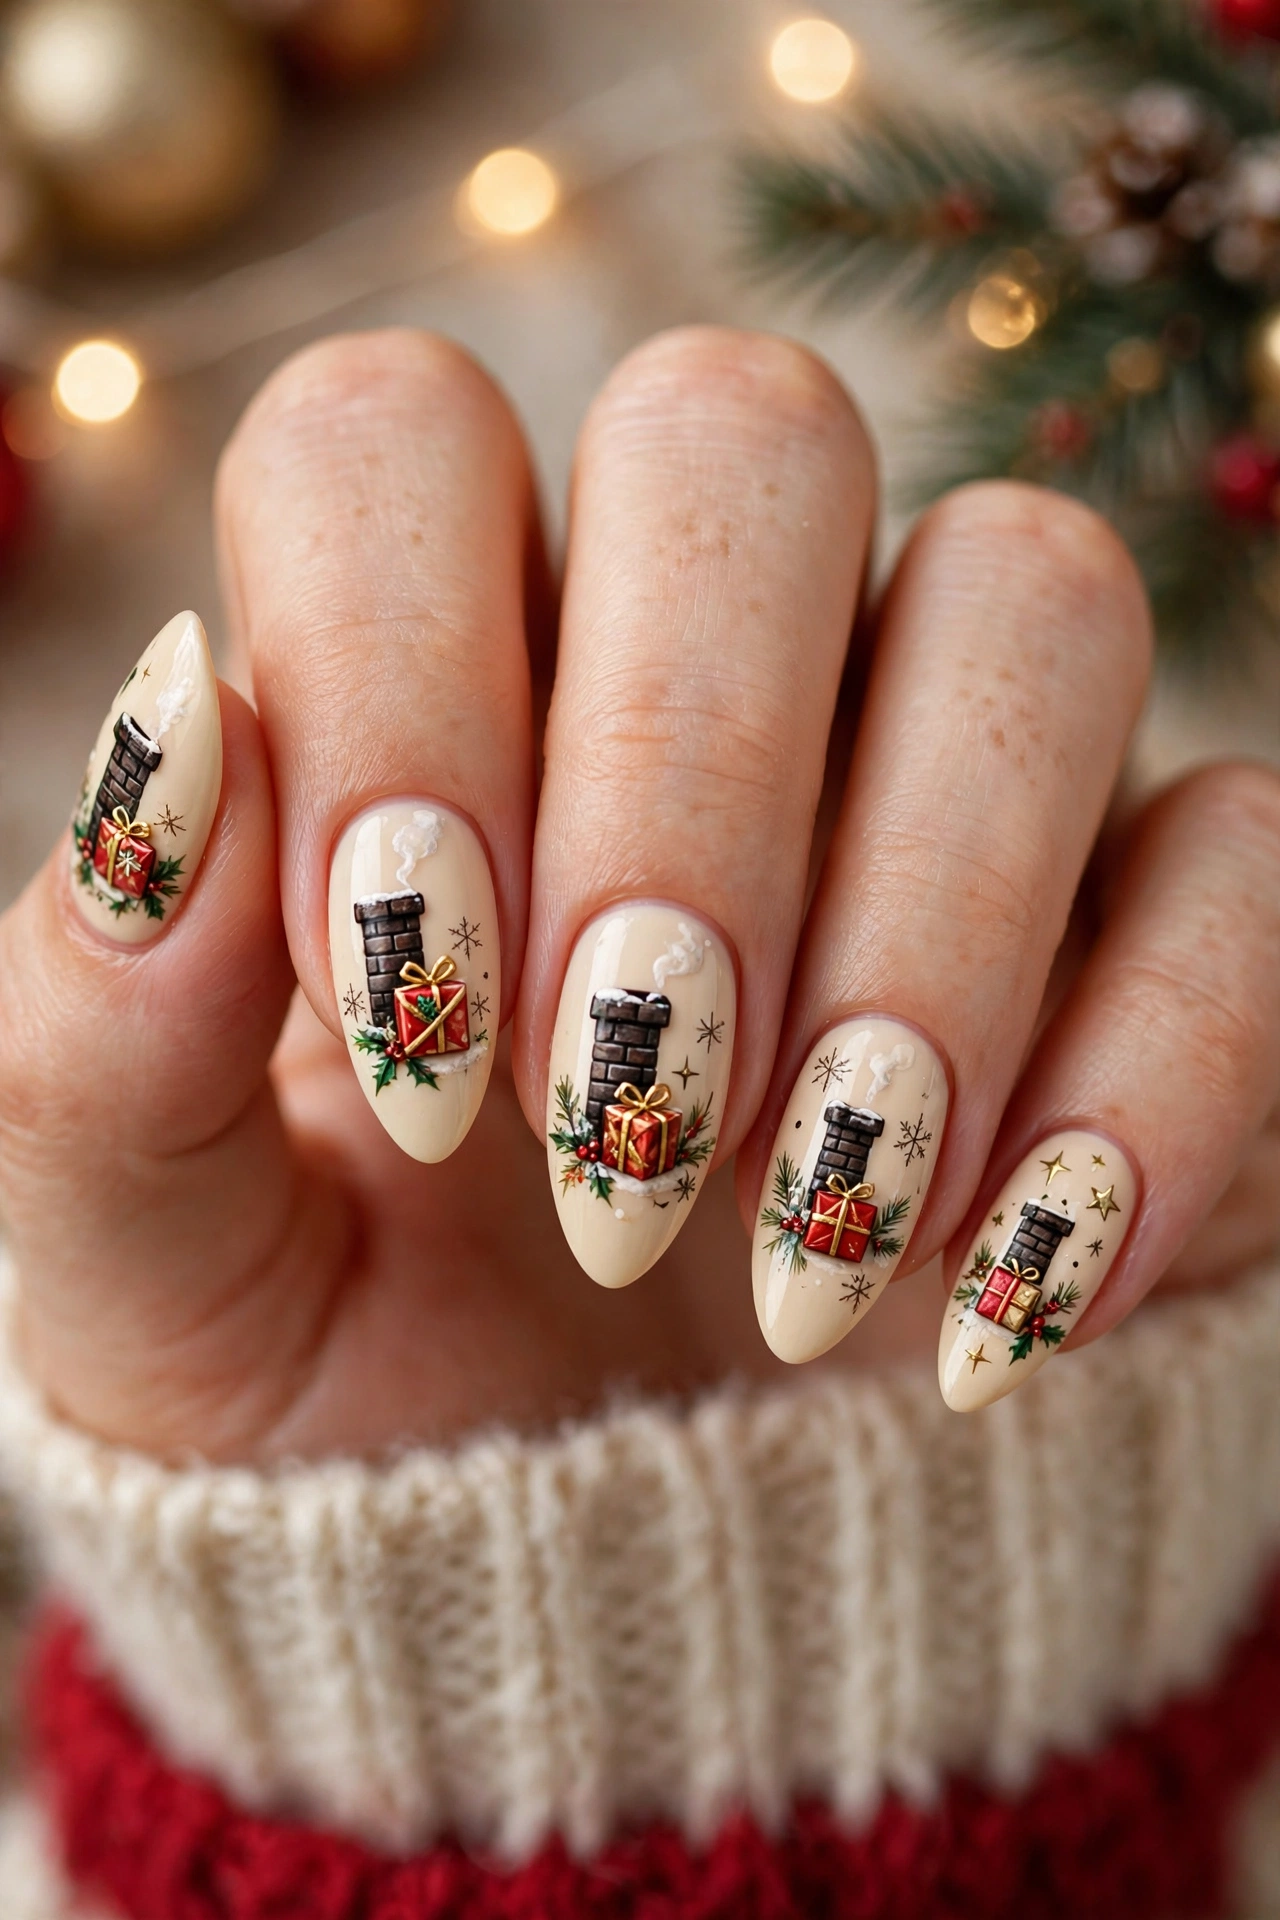
Do: Paint the chimney in neat dark bricks on one accent nail.
Do: Add a small wrapped gift in red and gold beside it.
Don’t: Crowd every nail with chimneys and gifts at once.
Don’t: Use thick polish layers that blur tiny gift details.
This design works best when one accent nail tells the story and the other nails stay simple in red, cream, or soft green. A bow or gold ribbon line adds charm without taking over the hand. Let each layer dry before adding the next detail, so lines stay crisp and ready for photos.
Candy Cane Santa Swirl
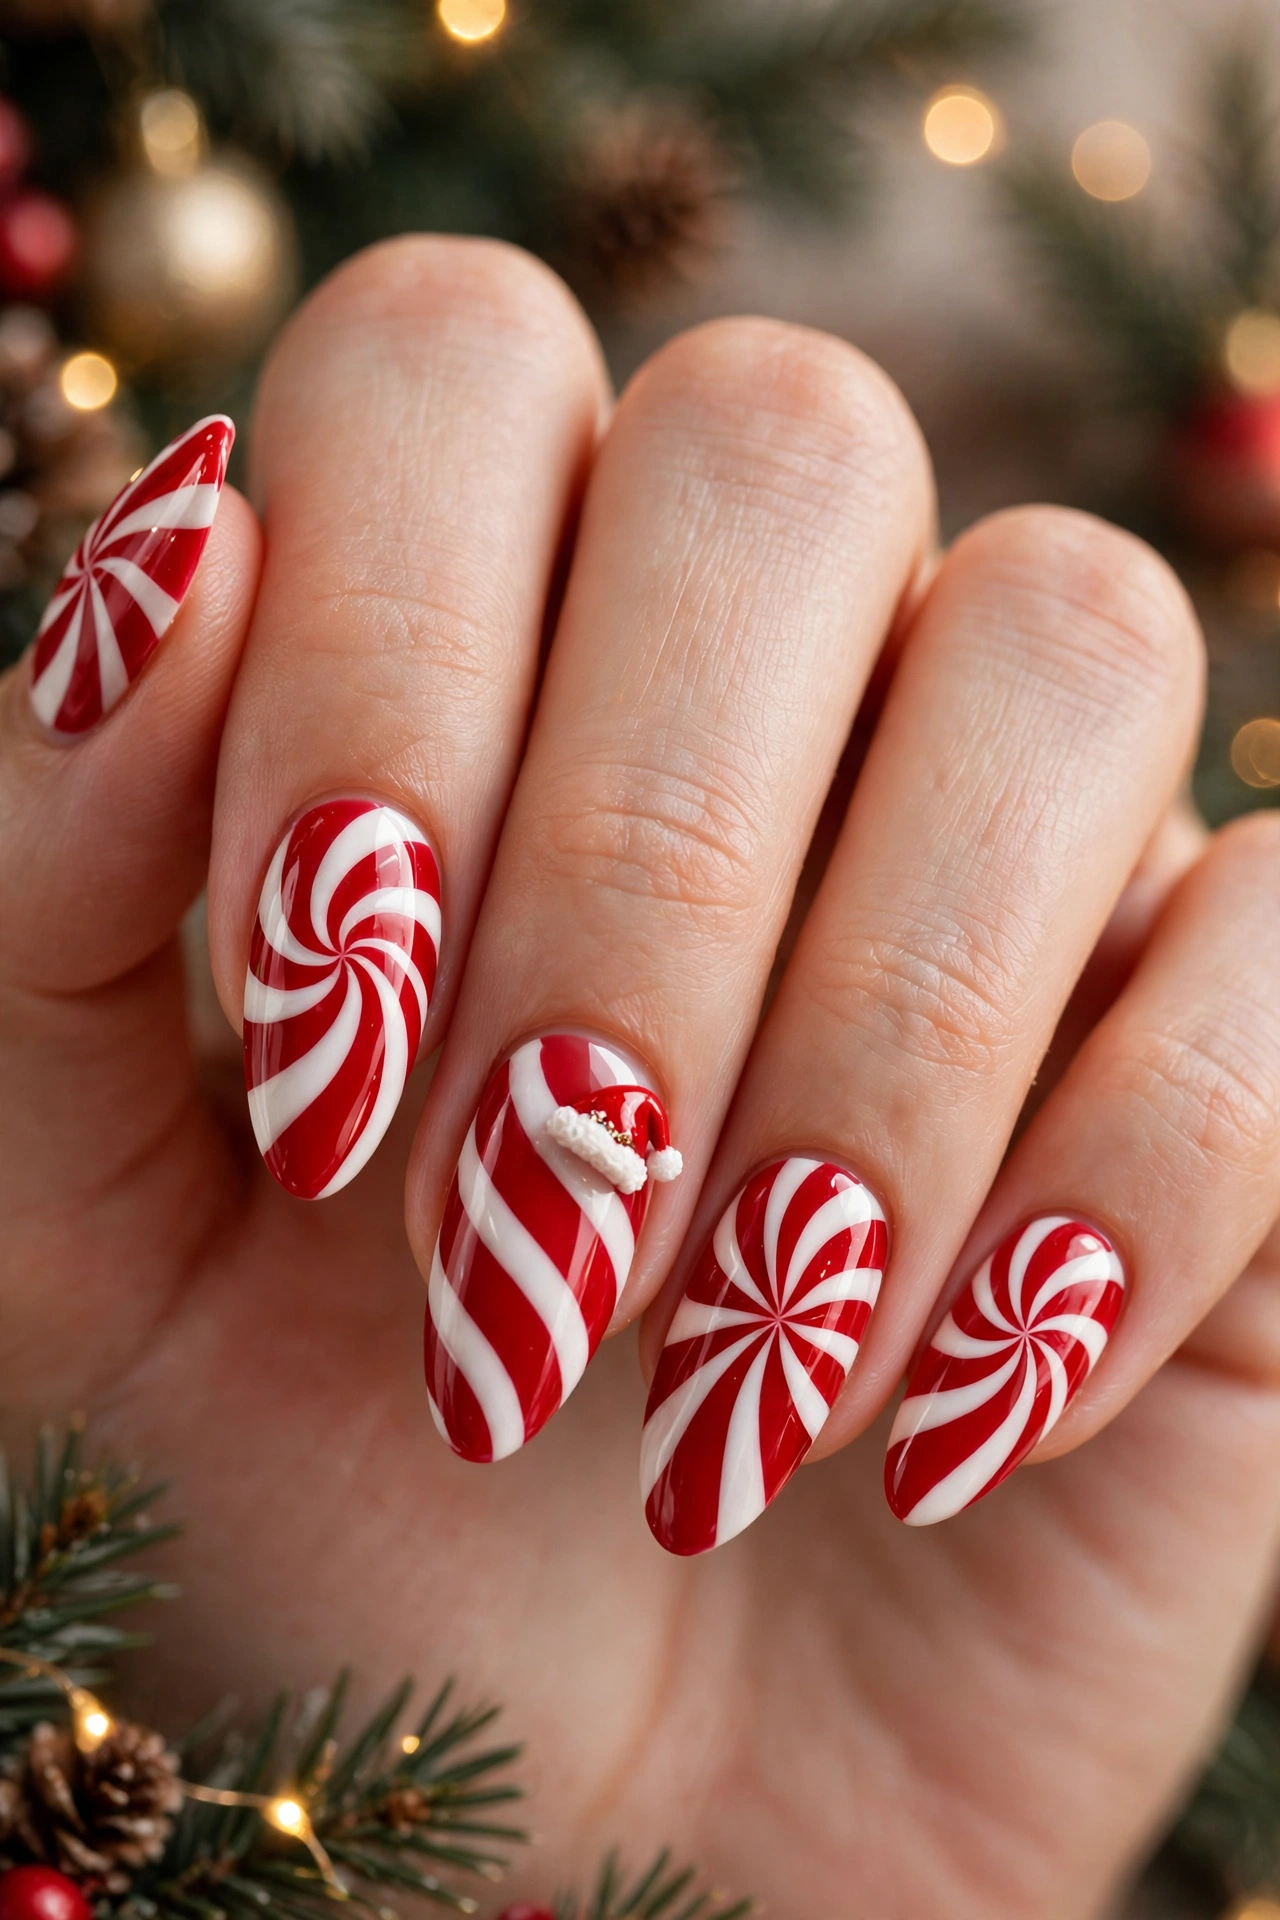
Quick Fact: Red and white swirls look best on a creamy white base.
Quick Fact: A thin striping brush keeps candy lines neat and even.
Quick Fact: One Santa hat accent adds jolly charm without clutter.
Quick Fact: Glossy top coat makes swirls shine like wrapped candy.
Candy stripes bring holiday joy because bold red swirls pop against a creamy base and pair well with a Santa hat accent. Keep lines thin and slightly curved so they feel like real candy rather than flat stripes. Finish with gloss for shine, and let this style brighten winter outfits and parties.
Santa Belt Gold Accent
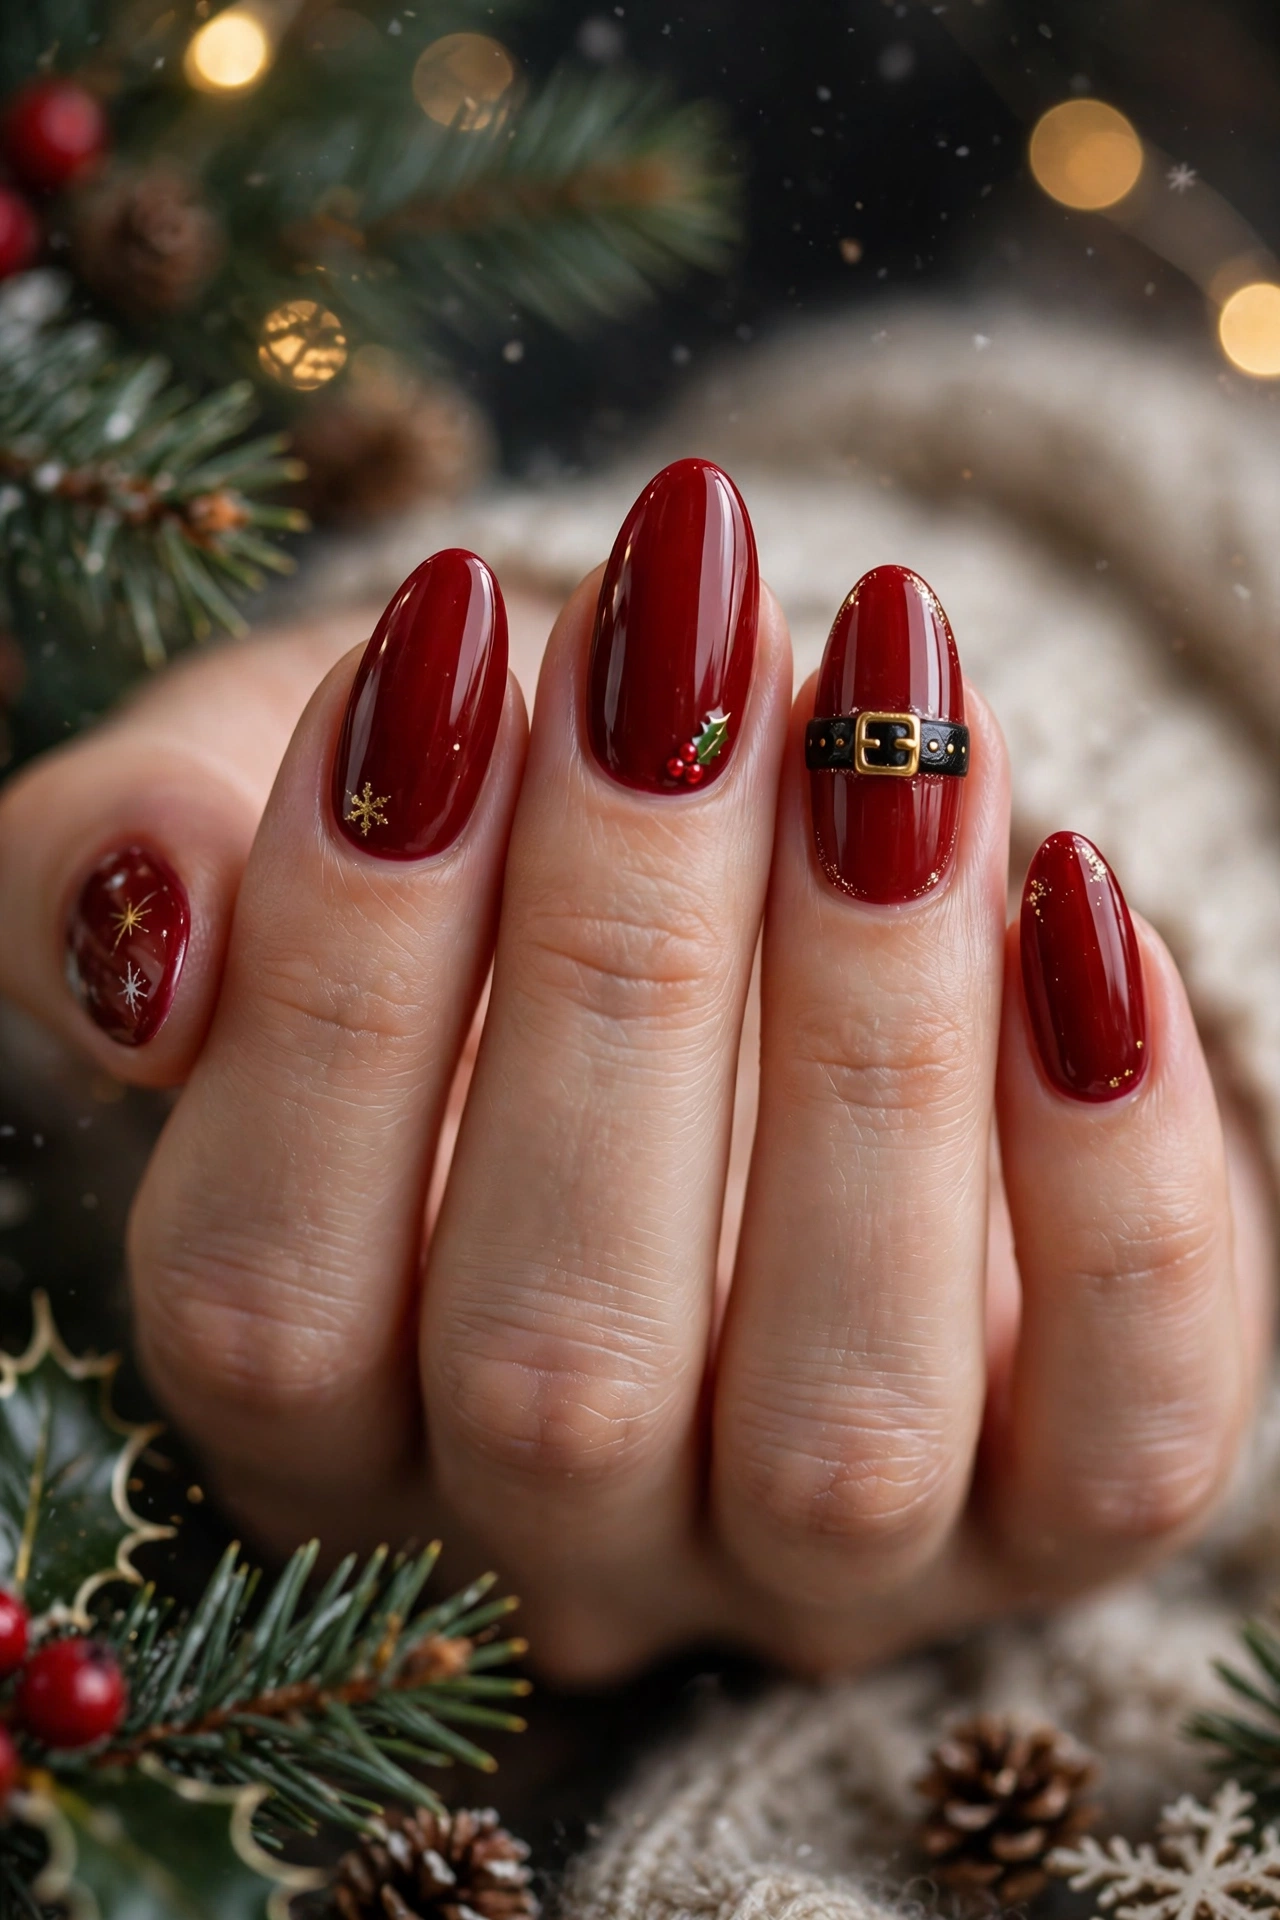
Paint a deep glossy red base on every nail, then add a slim black band across the middle of two accent nails for a classic belt effect. Place a small square gold buckle at the centre of each band with a dotting tool, keeping the shape neat and centred for a clean polished finish.
Keep the other nails simple with soft red shine and one fine gold line near the tip. Seal all nails with a glossy top coat, and check the buckle edges once dry so the gold stays crisp through parties and family photos.
North Pole Snow Glow
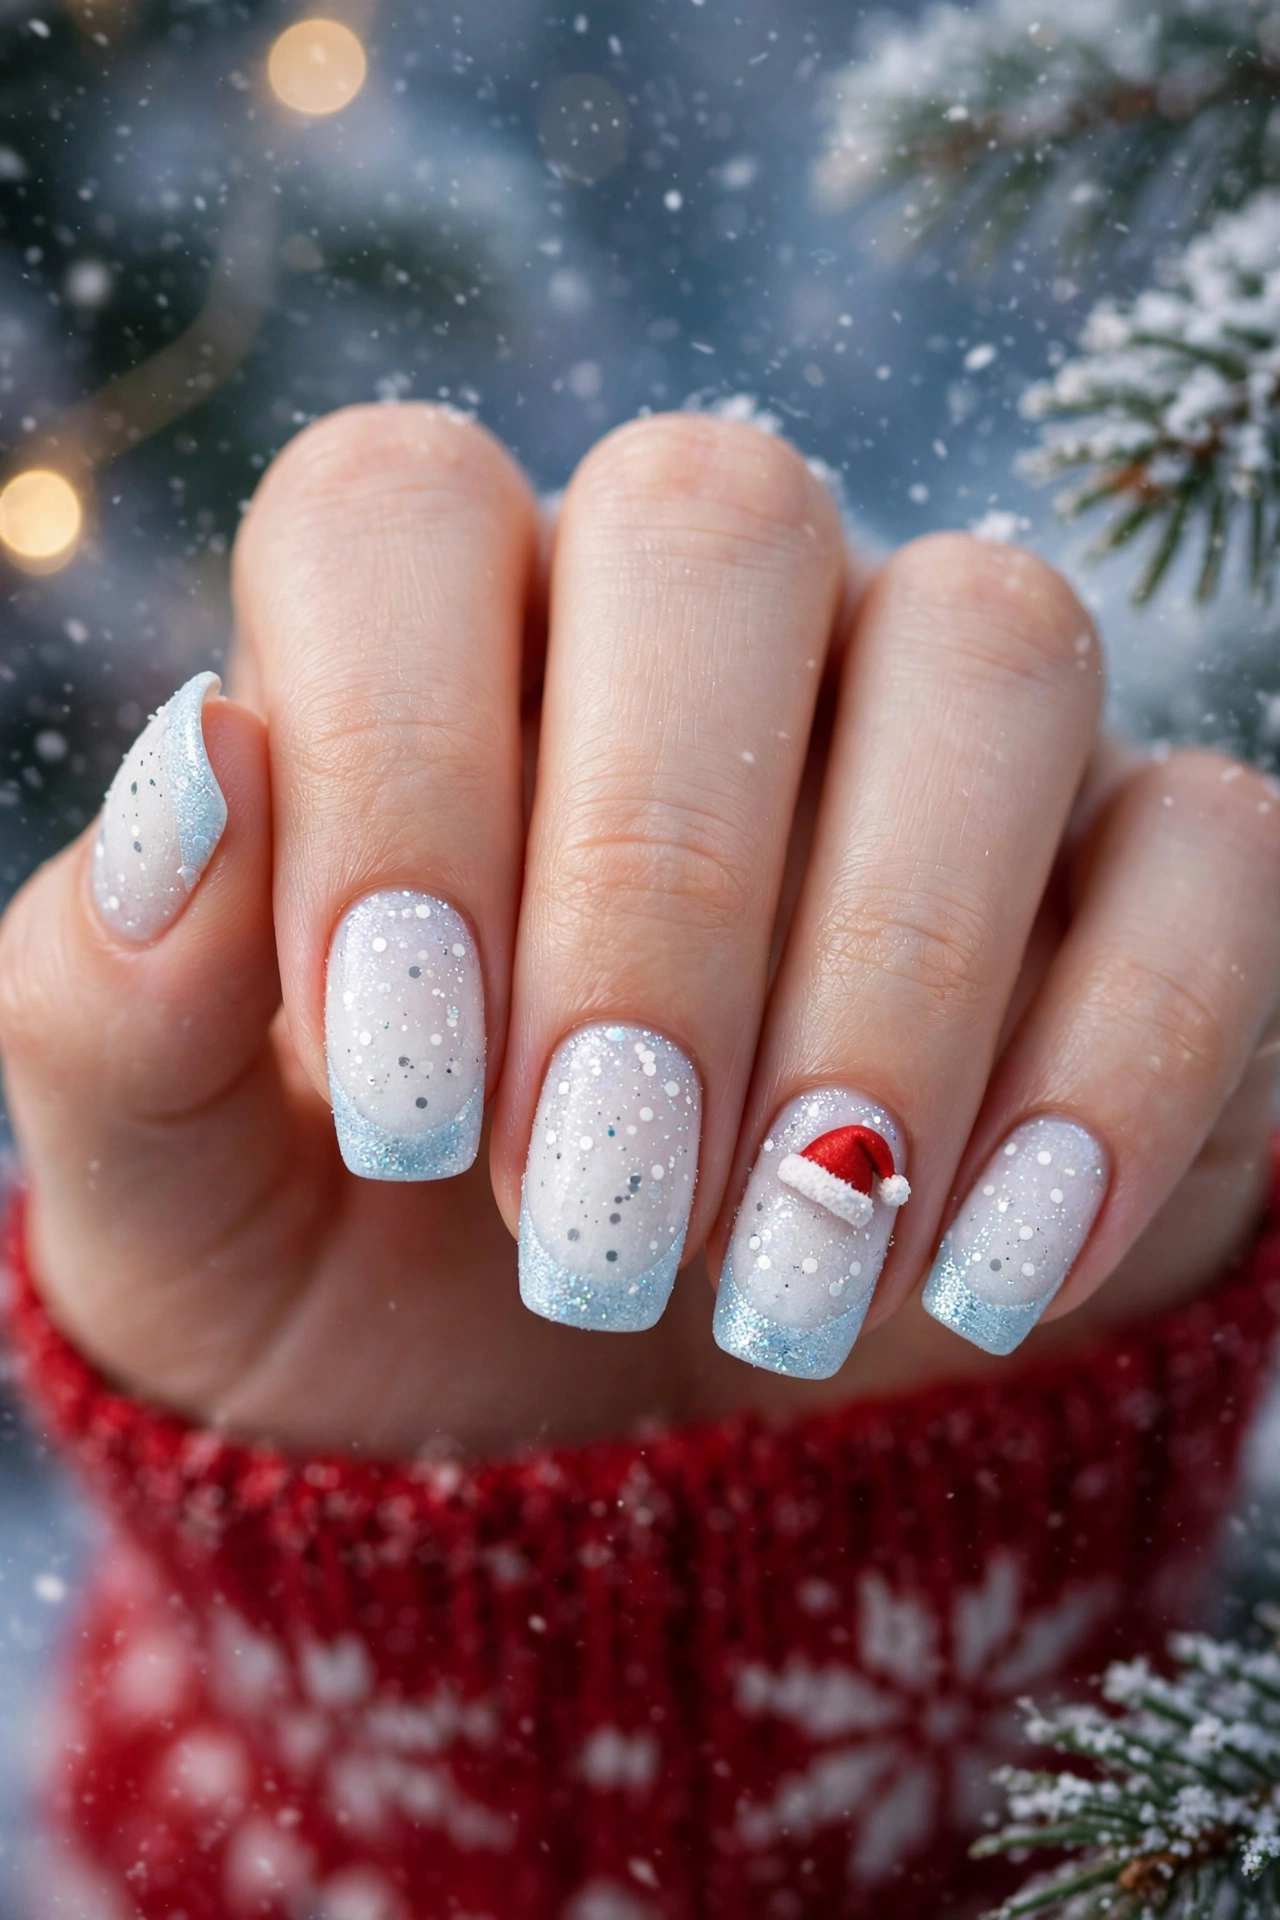
- Paint a snowy white base with soft blue shimmer on the tips.
- Add tiny white dots and fine glitter for falling snow.
- Place a small red hat accent on one ring finger nail.
- Finish with a matte top coat on snow nails and gloss on accents.
Blend the white into pale blue near the cuticle so the glow looks soft rather than stark. I love how this frosty finish catches light at evening gatherings, and a thin silver line along the smile line adds a crisp winter sparkle without hiding the snow detail.
Santa Boots Tiny Charm
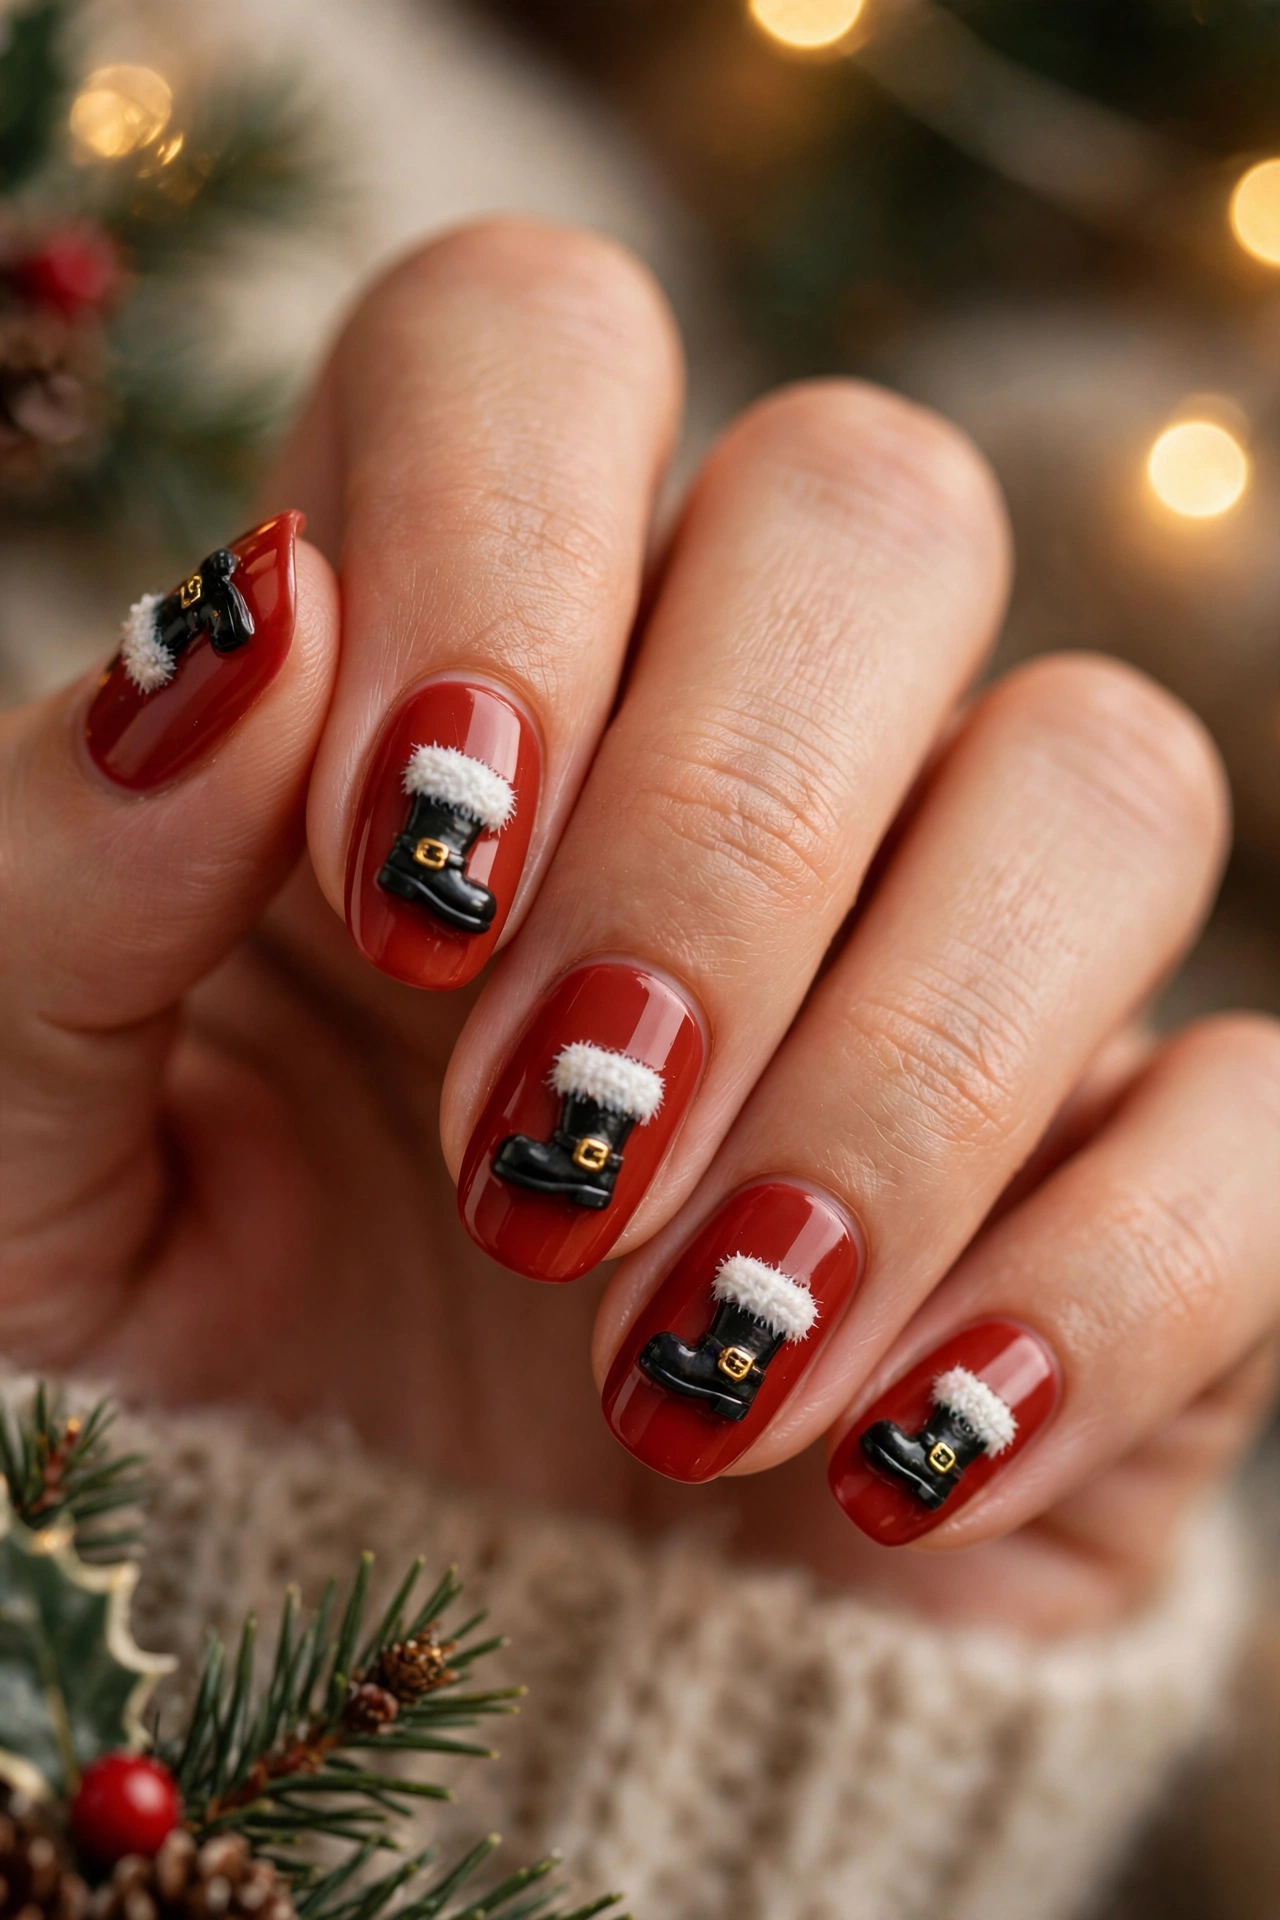
Quick Tip: Paint boot charms on short nails so the tiny detail stays clear and does not chip fast.
Start with warm red polish, then add black boot shapes near the tips with white fur trim along the top edge. Add a tiny gold buckle and a small white dot for snow, then seal with two thin top coat layers for a playful finish that lasts through busy holiday days.
Warm Cocoa Santa Glow
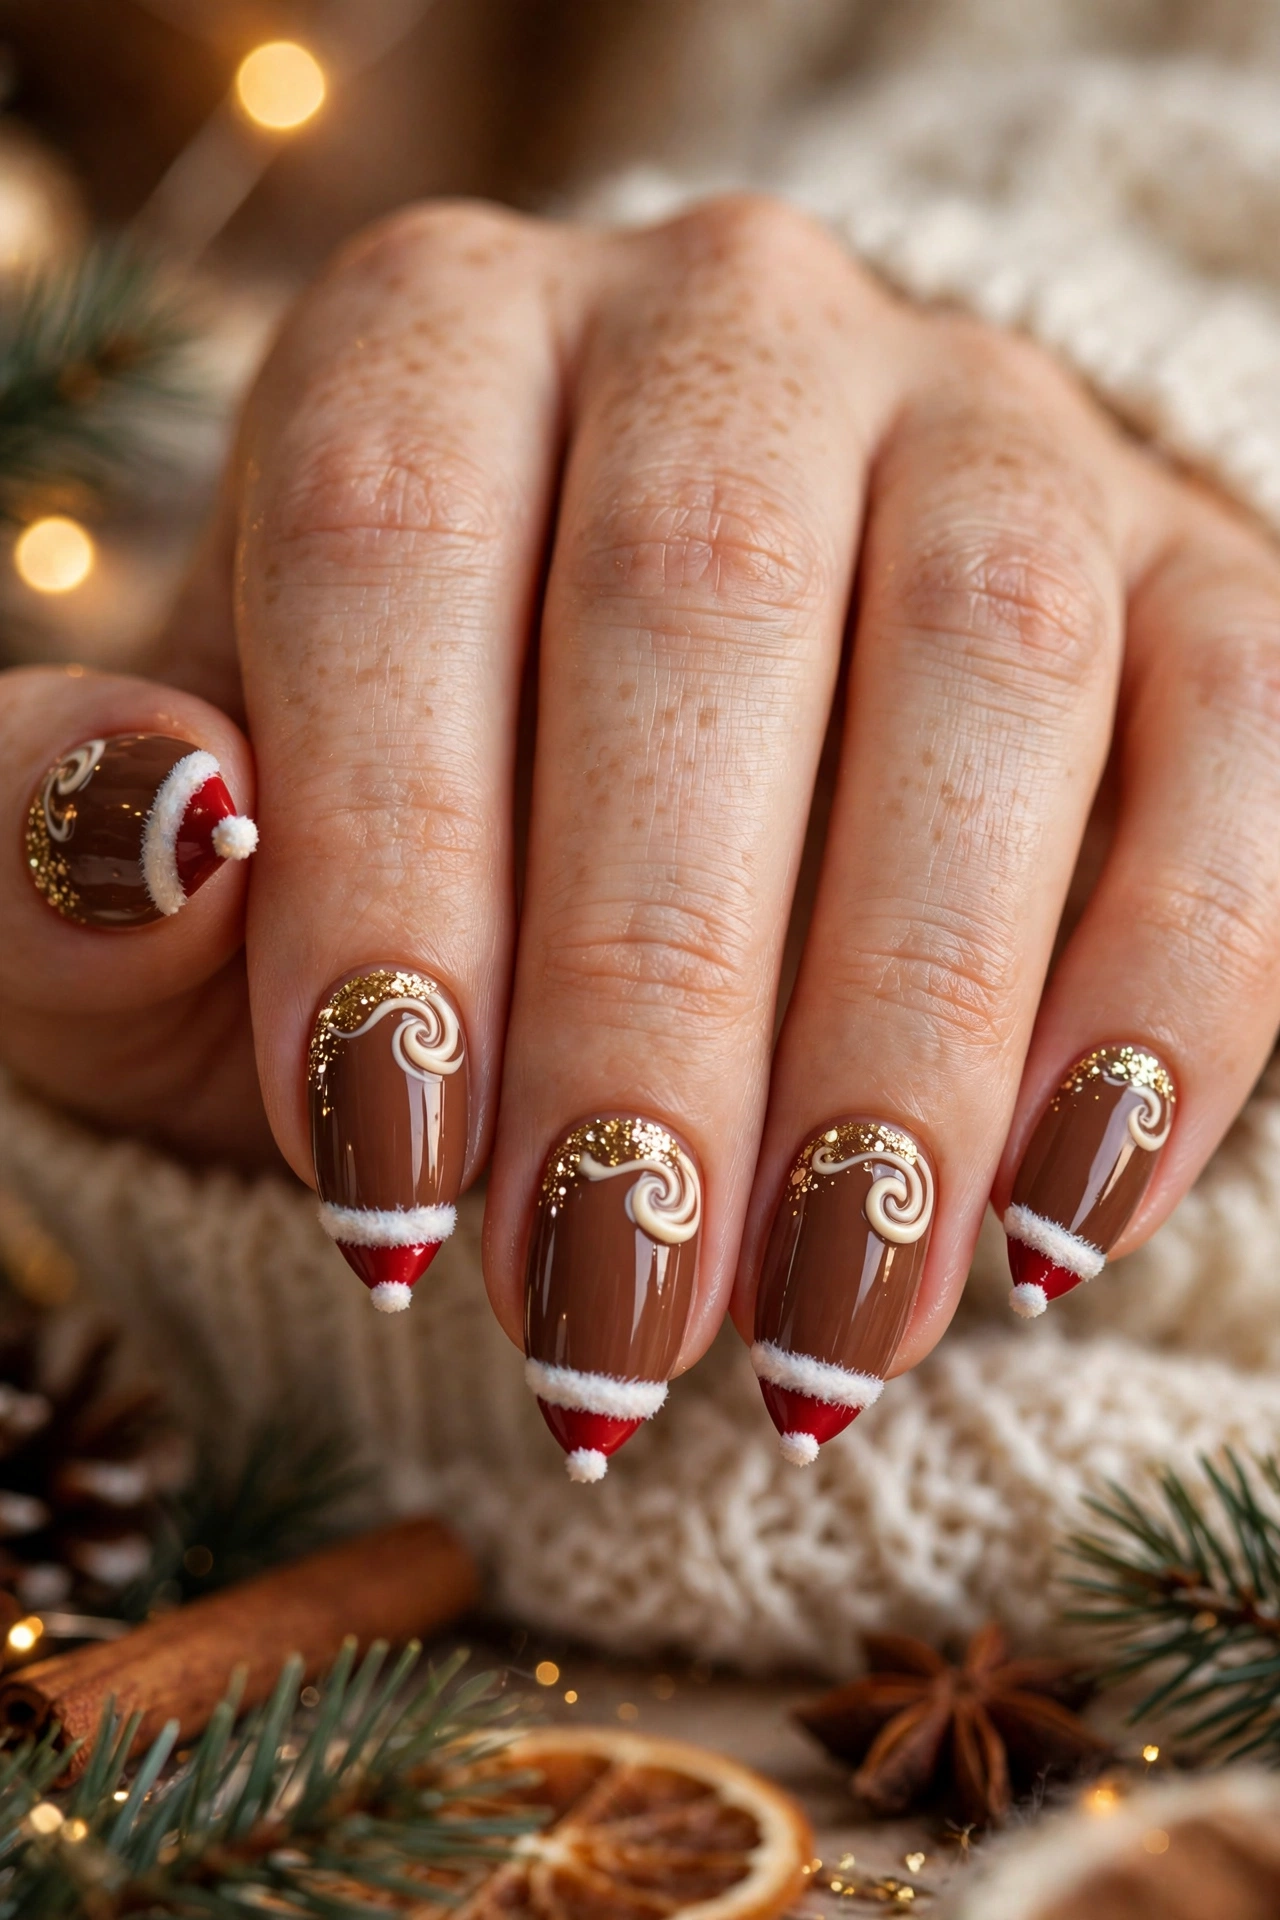
Before: Plain brown polish with no warmth or festive glow.
After: Rich cocoa tones with red Santa accents, gold sparkle, and a cosy holiday glow.
Layer deep cocoa brown as the base, then add small red hat tips and soft cream swirls for a warm drink feel. Finish with gold glitter near the cuticle and a glossy top coat, so the design looks rich, cheerful, and ready for cocoa nights and gift exchanges.
Santa Starlight Evening Nails
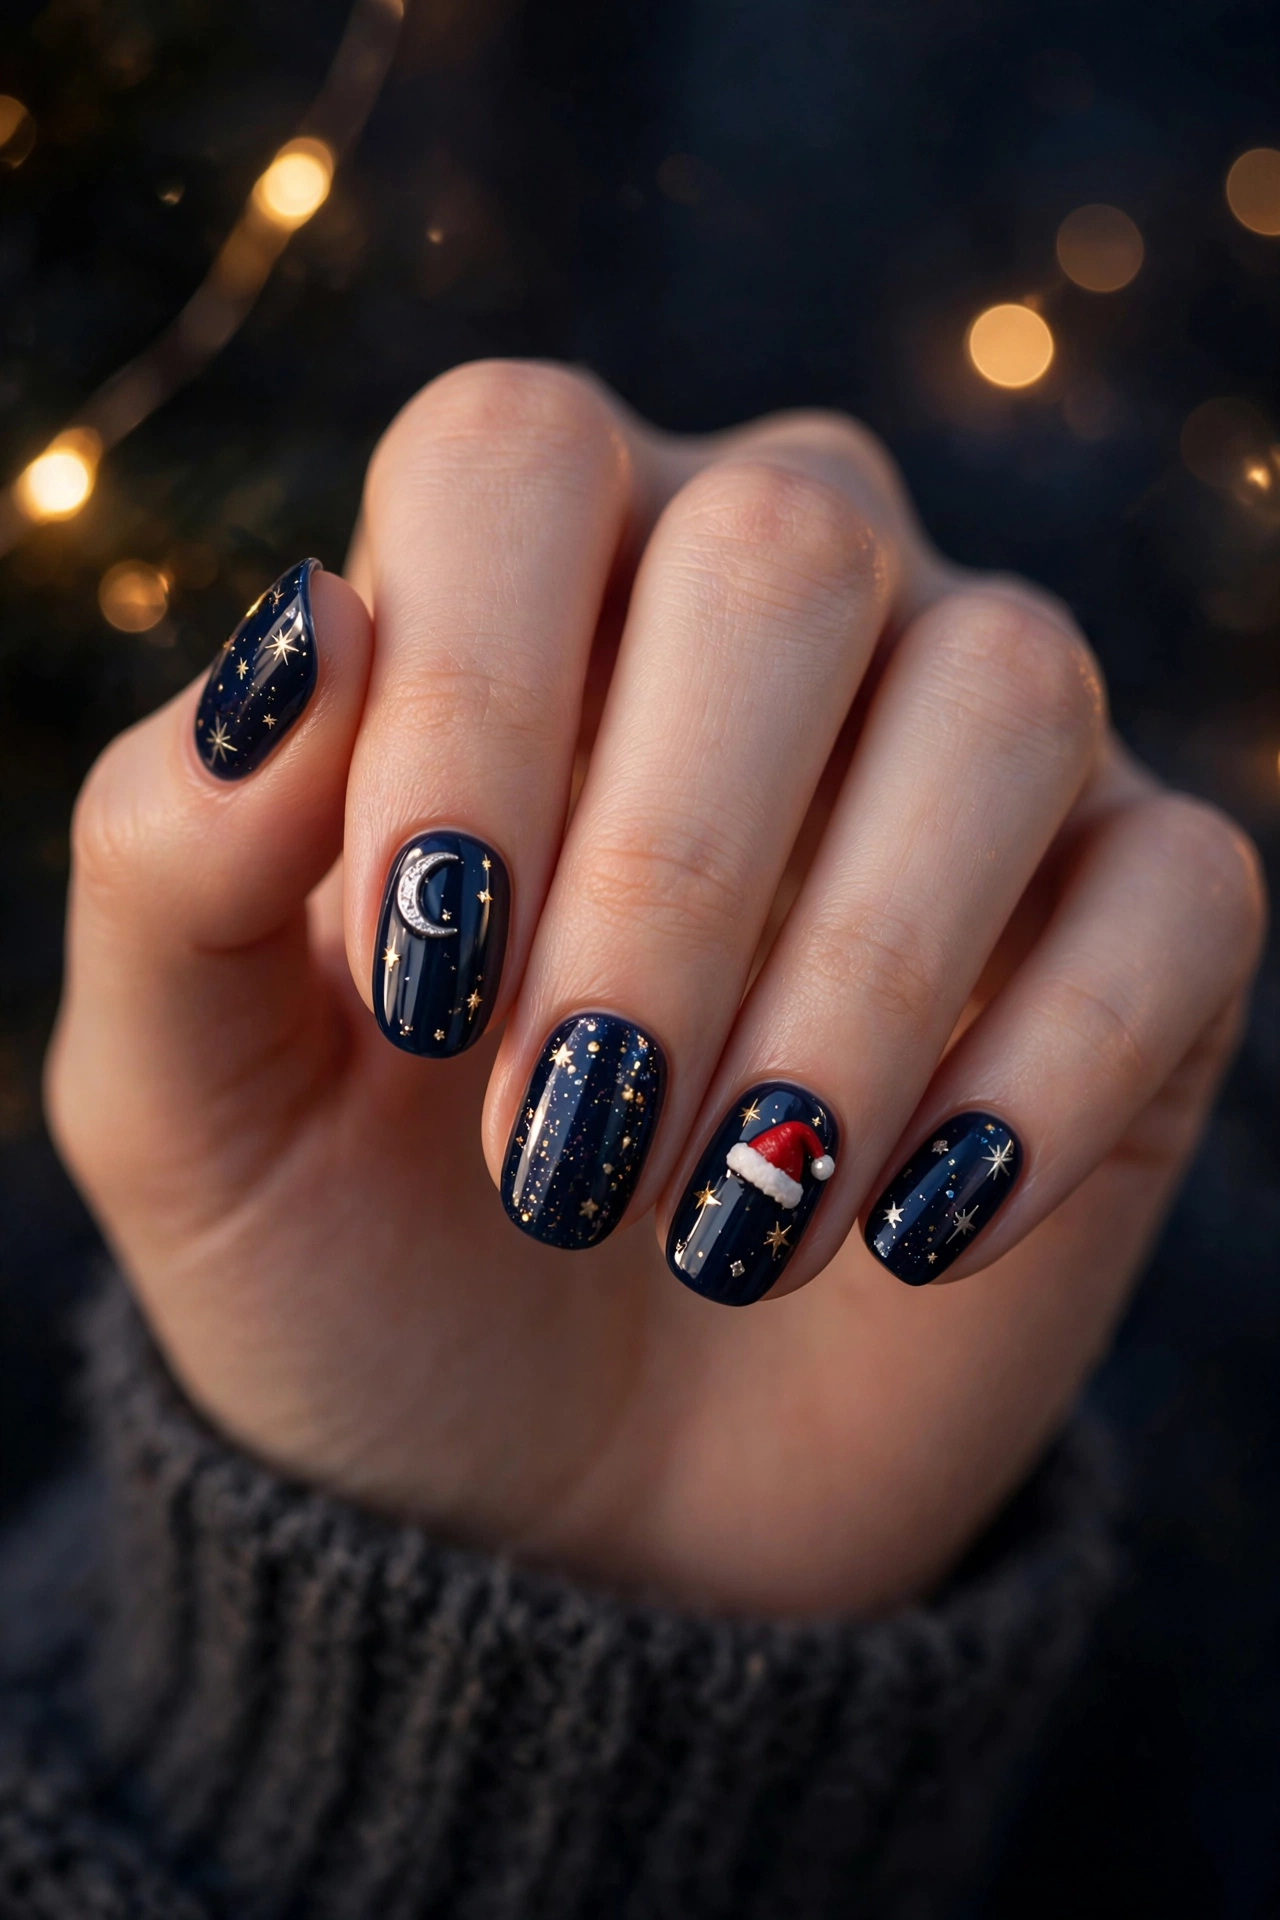
- Paint a deep navy base and let it dry fully.
- Add tiny gold stars and a soft silver moon accent on two nails.
- Paint a small smiling Santa hat on the ring finger.
- Seal with a glossy top coat for evening shine.
This evening look works best on almond or oval nails, where the dark base makes each gold star glow. Keep the Santa hat small and centred, so the design stays elegant rather than busy. Add glitter only on the accent nail, then finish with cuticle oil for a polished result.
Peppermint Santa Party Polish
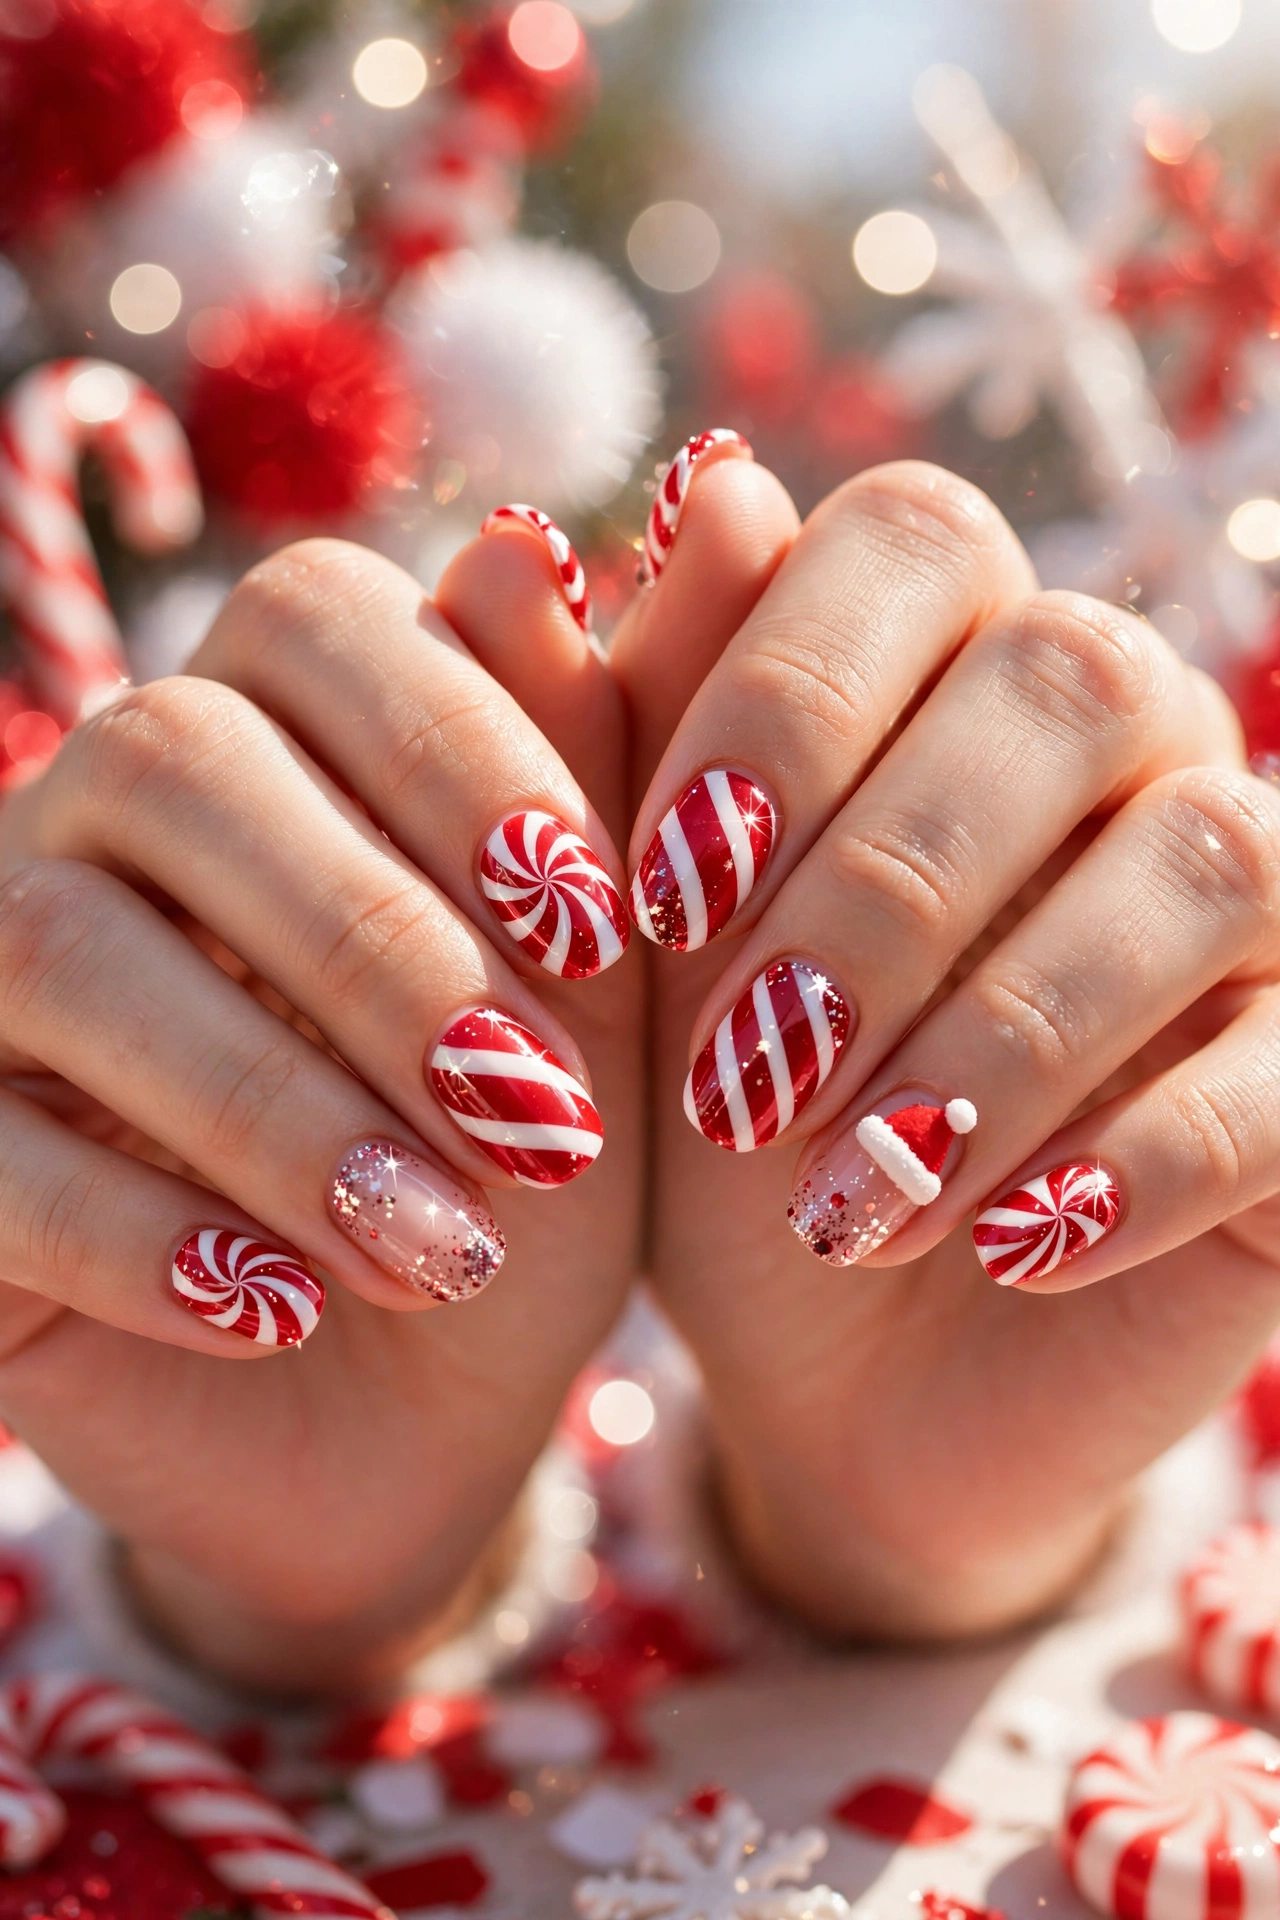
| Finish | Best For | Effort |
|---|---|---|
| Glossy red | Classic party glamour | Low |
| Matte candy stripe | Playful daytime looks | Medium |
| Glitter peppermint | Bold evening sparkle | High |
Choose glossy red when you want a timeless party look that pairs with almost any outfit. Pick matte candy stripes for a softer daytime feel, and save glitter peppermint for evenings when you want extra sparkle. In my experience, testing one accent nail first helps you judge the balance before painting the full set.
Santa Workshop Toy Charm
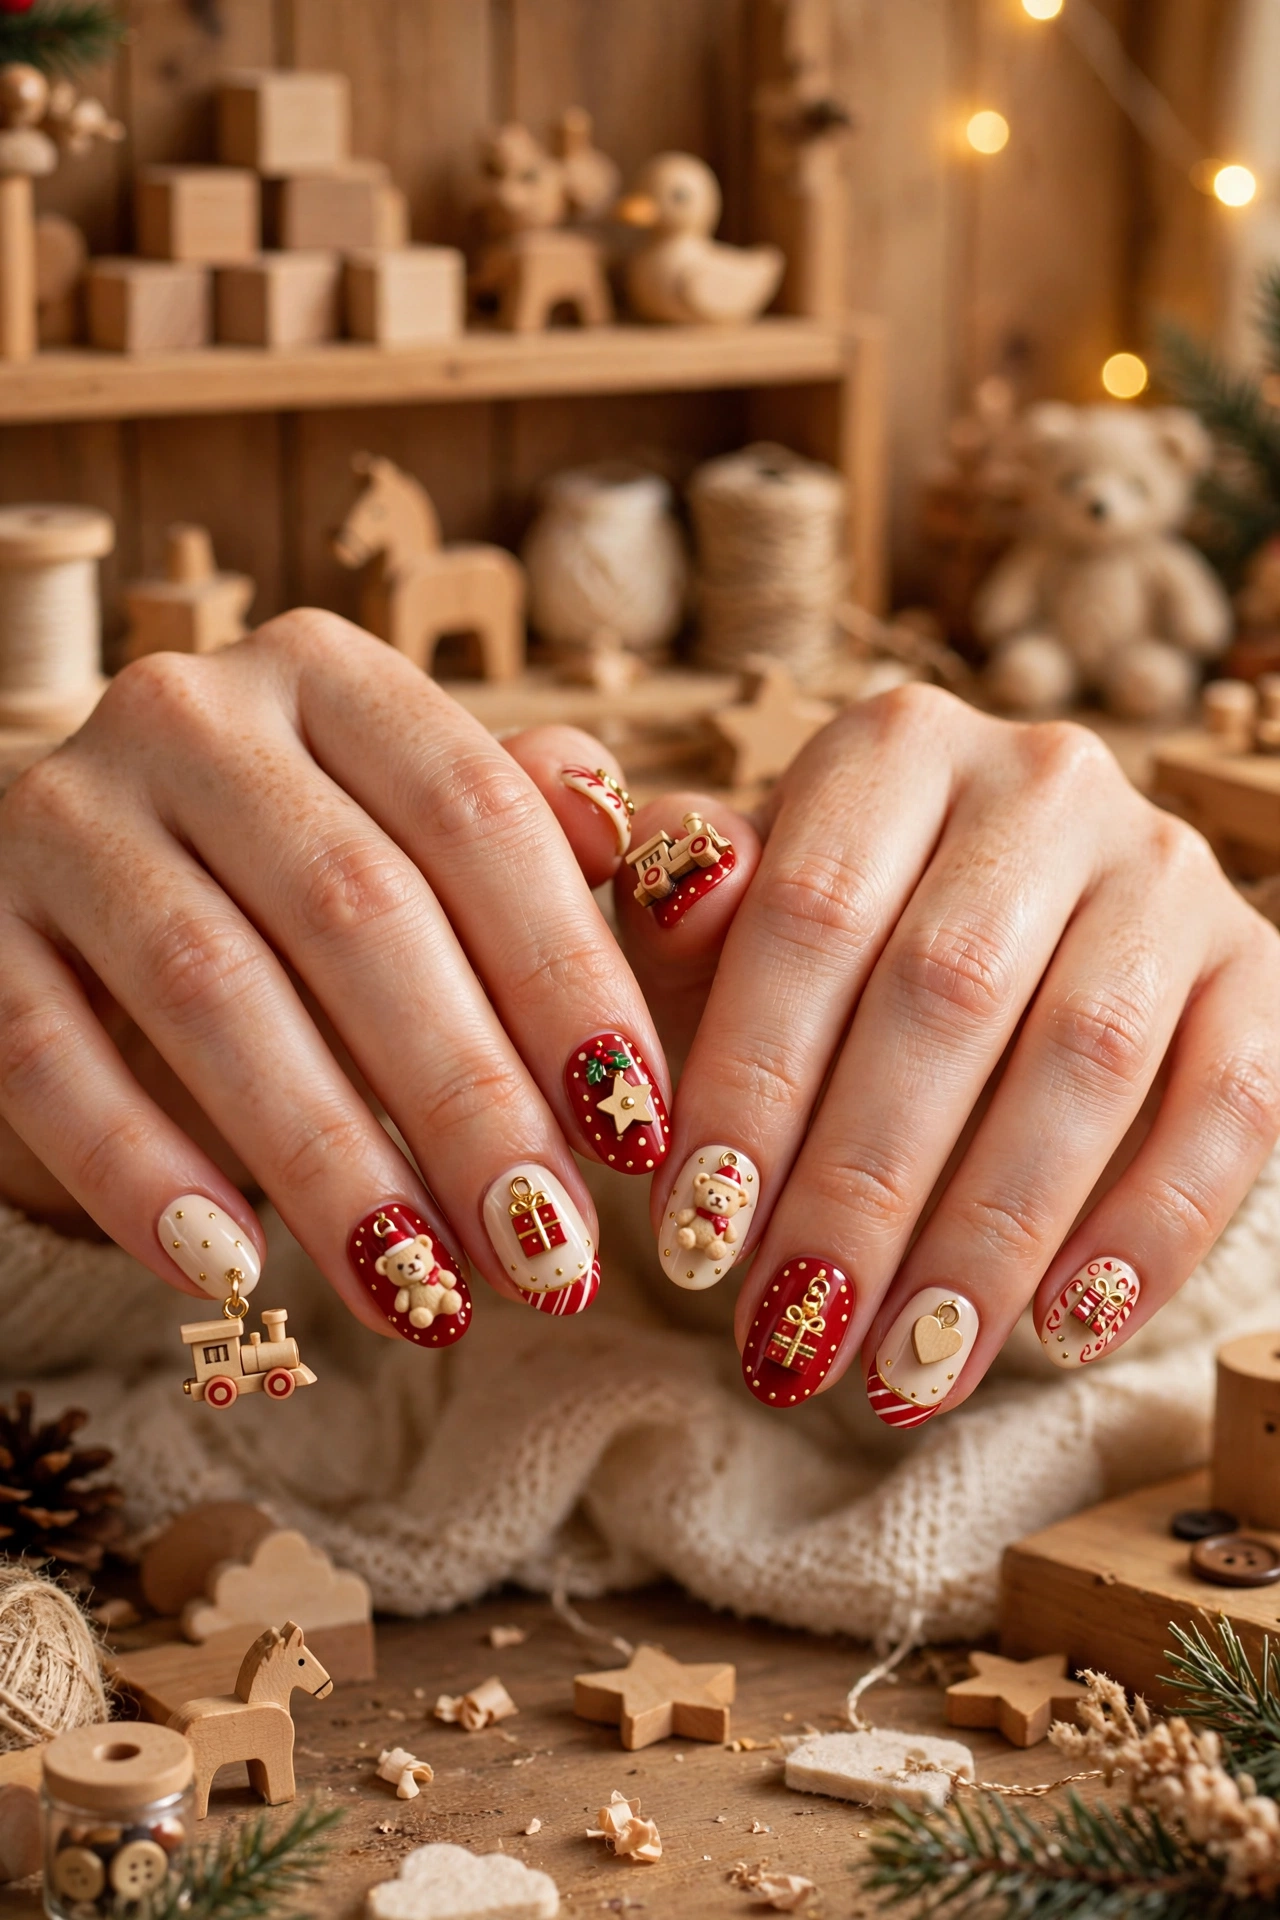
Do: Keep toy charms tiny and flat, so nails stay comfortable.
Do: Place one charm per hand for a playful focal point.
Don’t: Glue heavy charms near the nail tip, where lifting starts.
Don’t: Overload every nail with toys, or the look turns cluttered.
Toy charms bring instant cheer, but placement matters more than quantity. Choose small wooden train, teddy, or gift box charms in red, cream, and gold, and secure each one with a dot of nail glue. Seal the edges with top coat, then check that each charm sits flat before you leave the house.
Snowy Santa Portrait Art
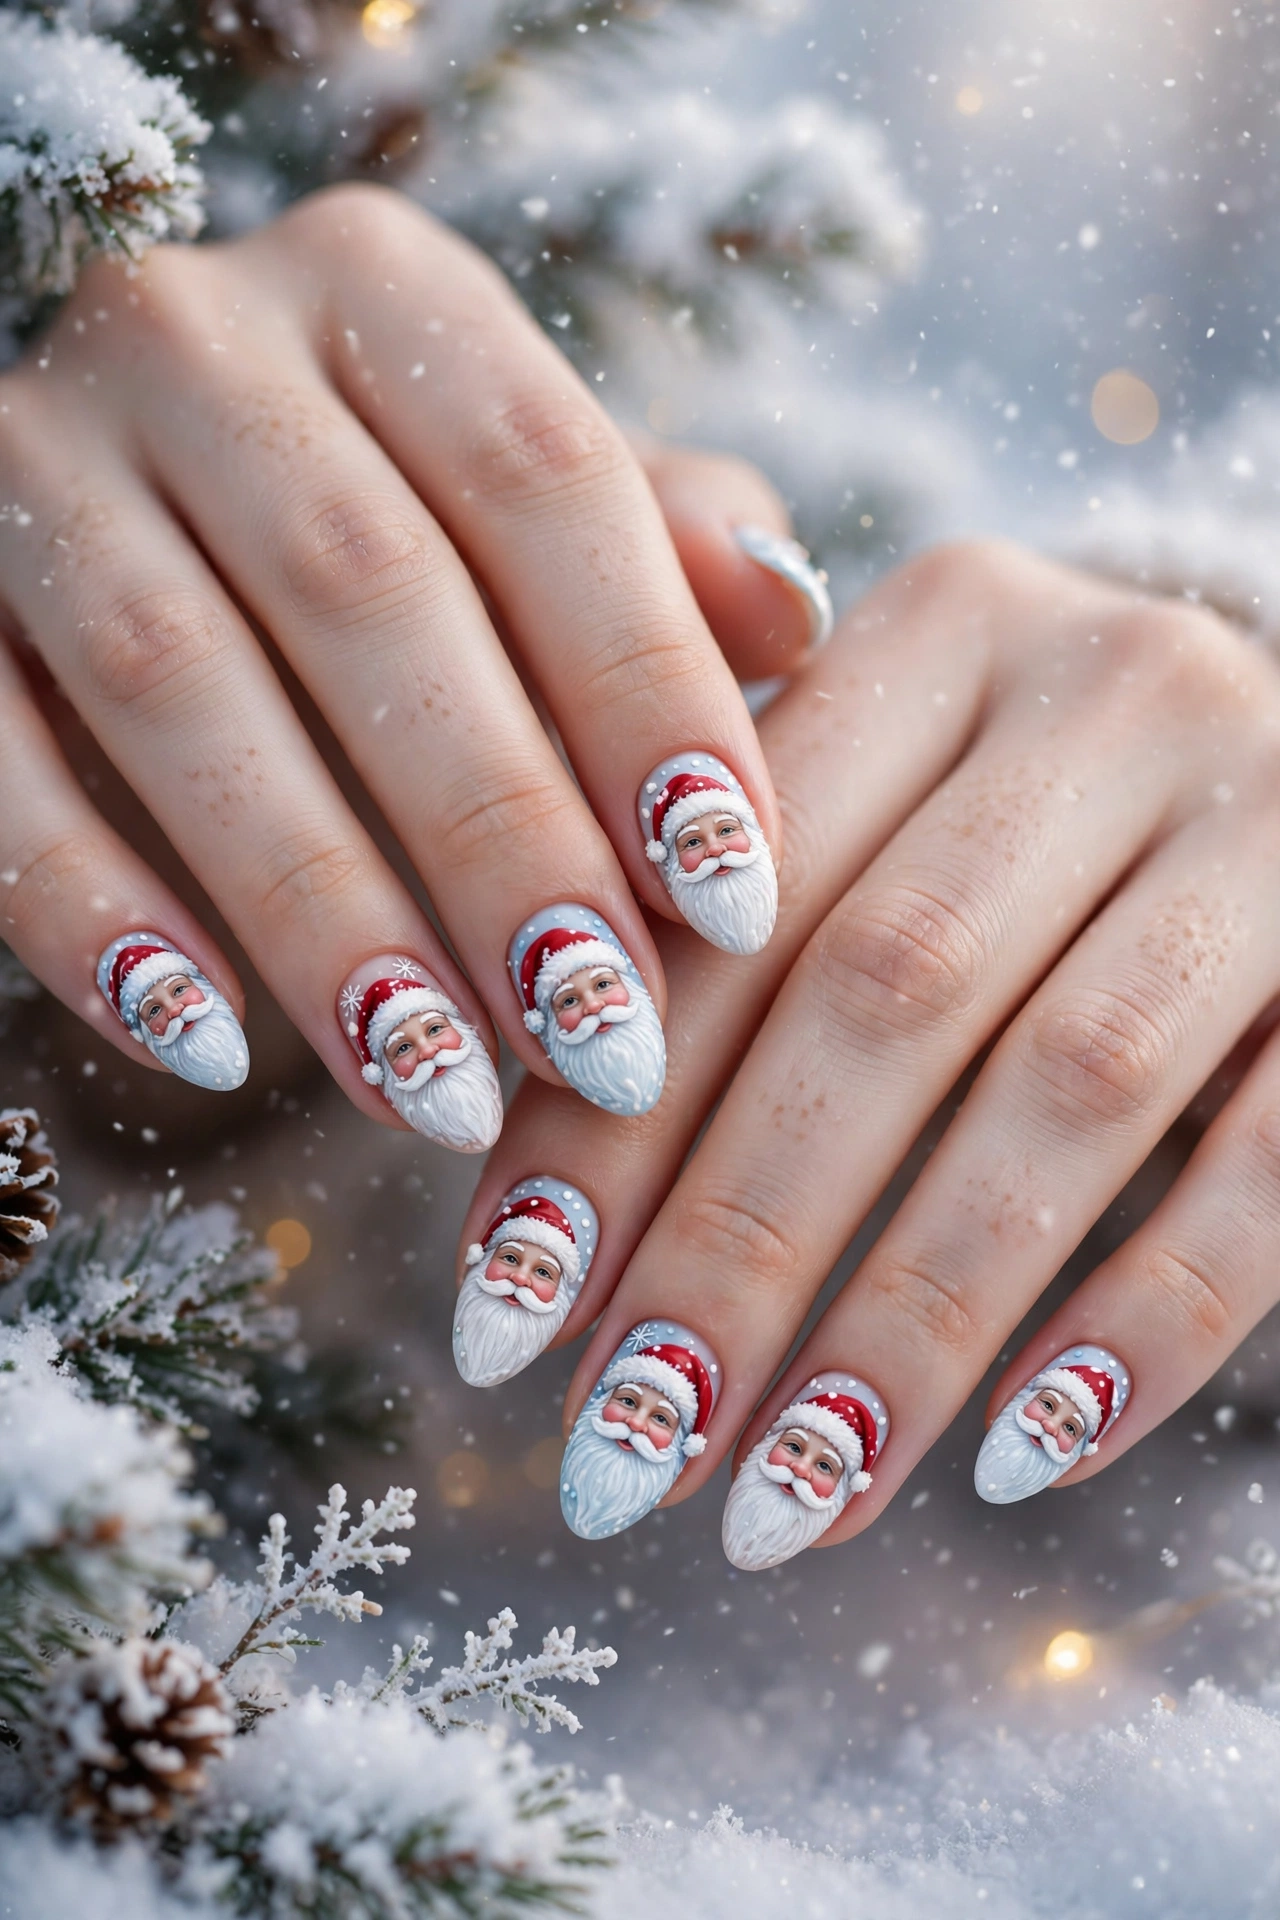
Quick Fact 1: Best nail shape: short oval, for a neat portrait frame.
Quick Fact 2: Key colours: cherry red, snowy white, and warm gold.
Quick Fact 3: Time needed: about 45 minutes for a full set.
Quick Fact 4: Seal with two thin top coats to protect fine detail.
A snowy portrait works when the face stays simple and the background stays clean. Paint Santa with rosy cheeks, a soft white beard, and a small red hat, then add tiny snow dots around him. Keep the other nails plain white or pale blue, so the portrait nail draws the eye without competing detail.
Santa Ribbon Gift Polish
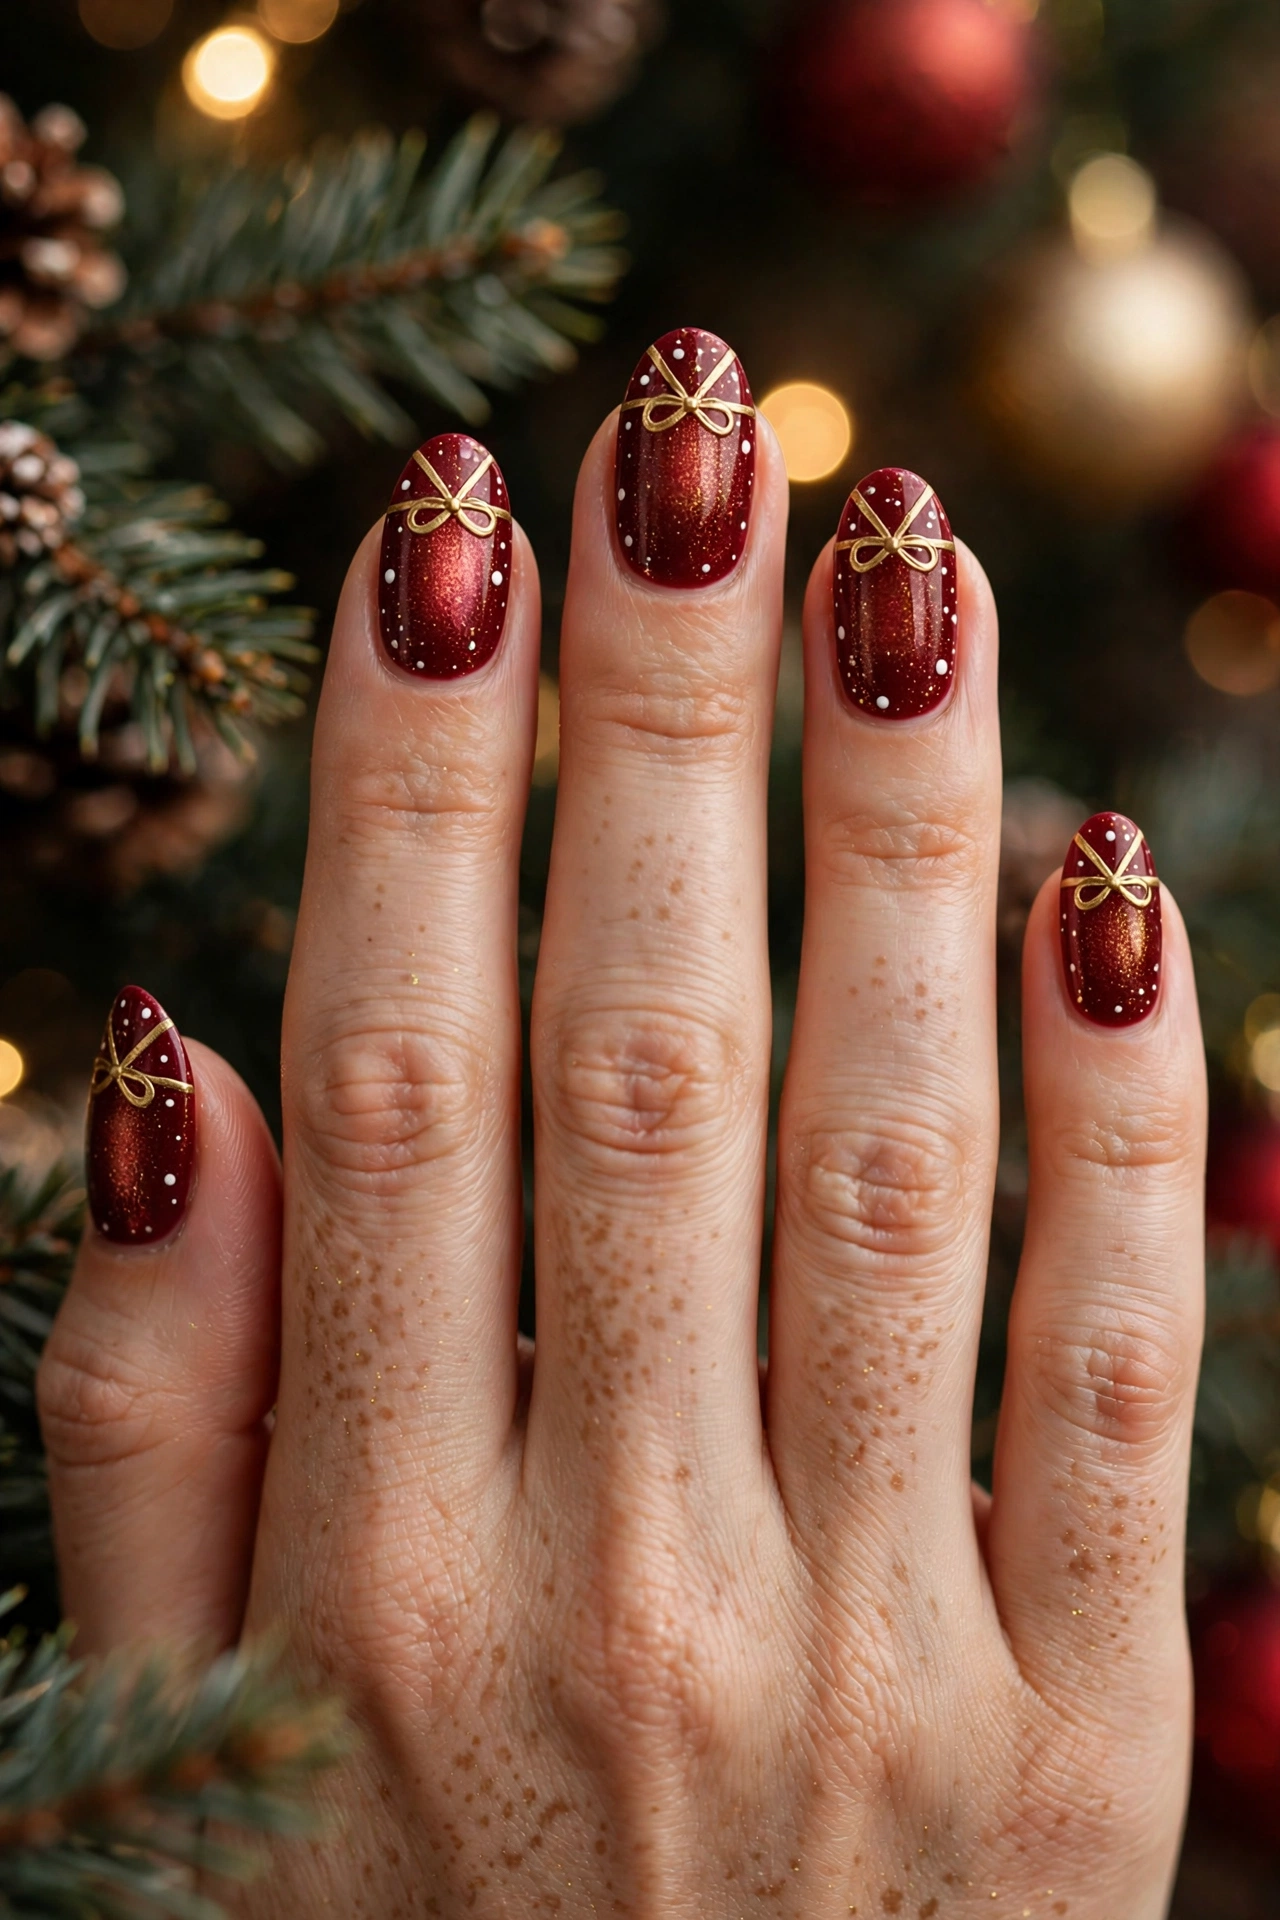
Wrap each nail in deep red polish, then paint a slim gold ribbon that crosses near the tip like a present bow. Add a tiny white dot at the centre and a soft gold shimmer over the base for a festive finish.
Keep the ribbon thin so the design stays neat on shorter nails, and seal it with a glossy top coat for shine through the evening. In my experience, painting the bow last keeps the lines crisp and stops the gold from smudging while the red base sets fully.
Santa Cookie Milk Charm
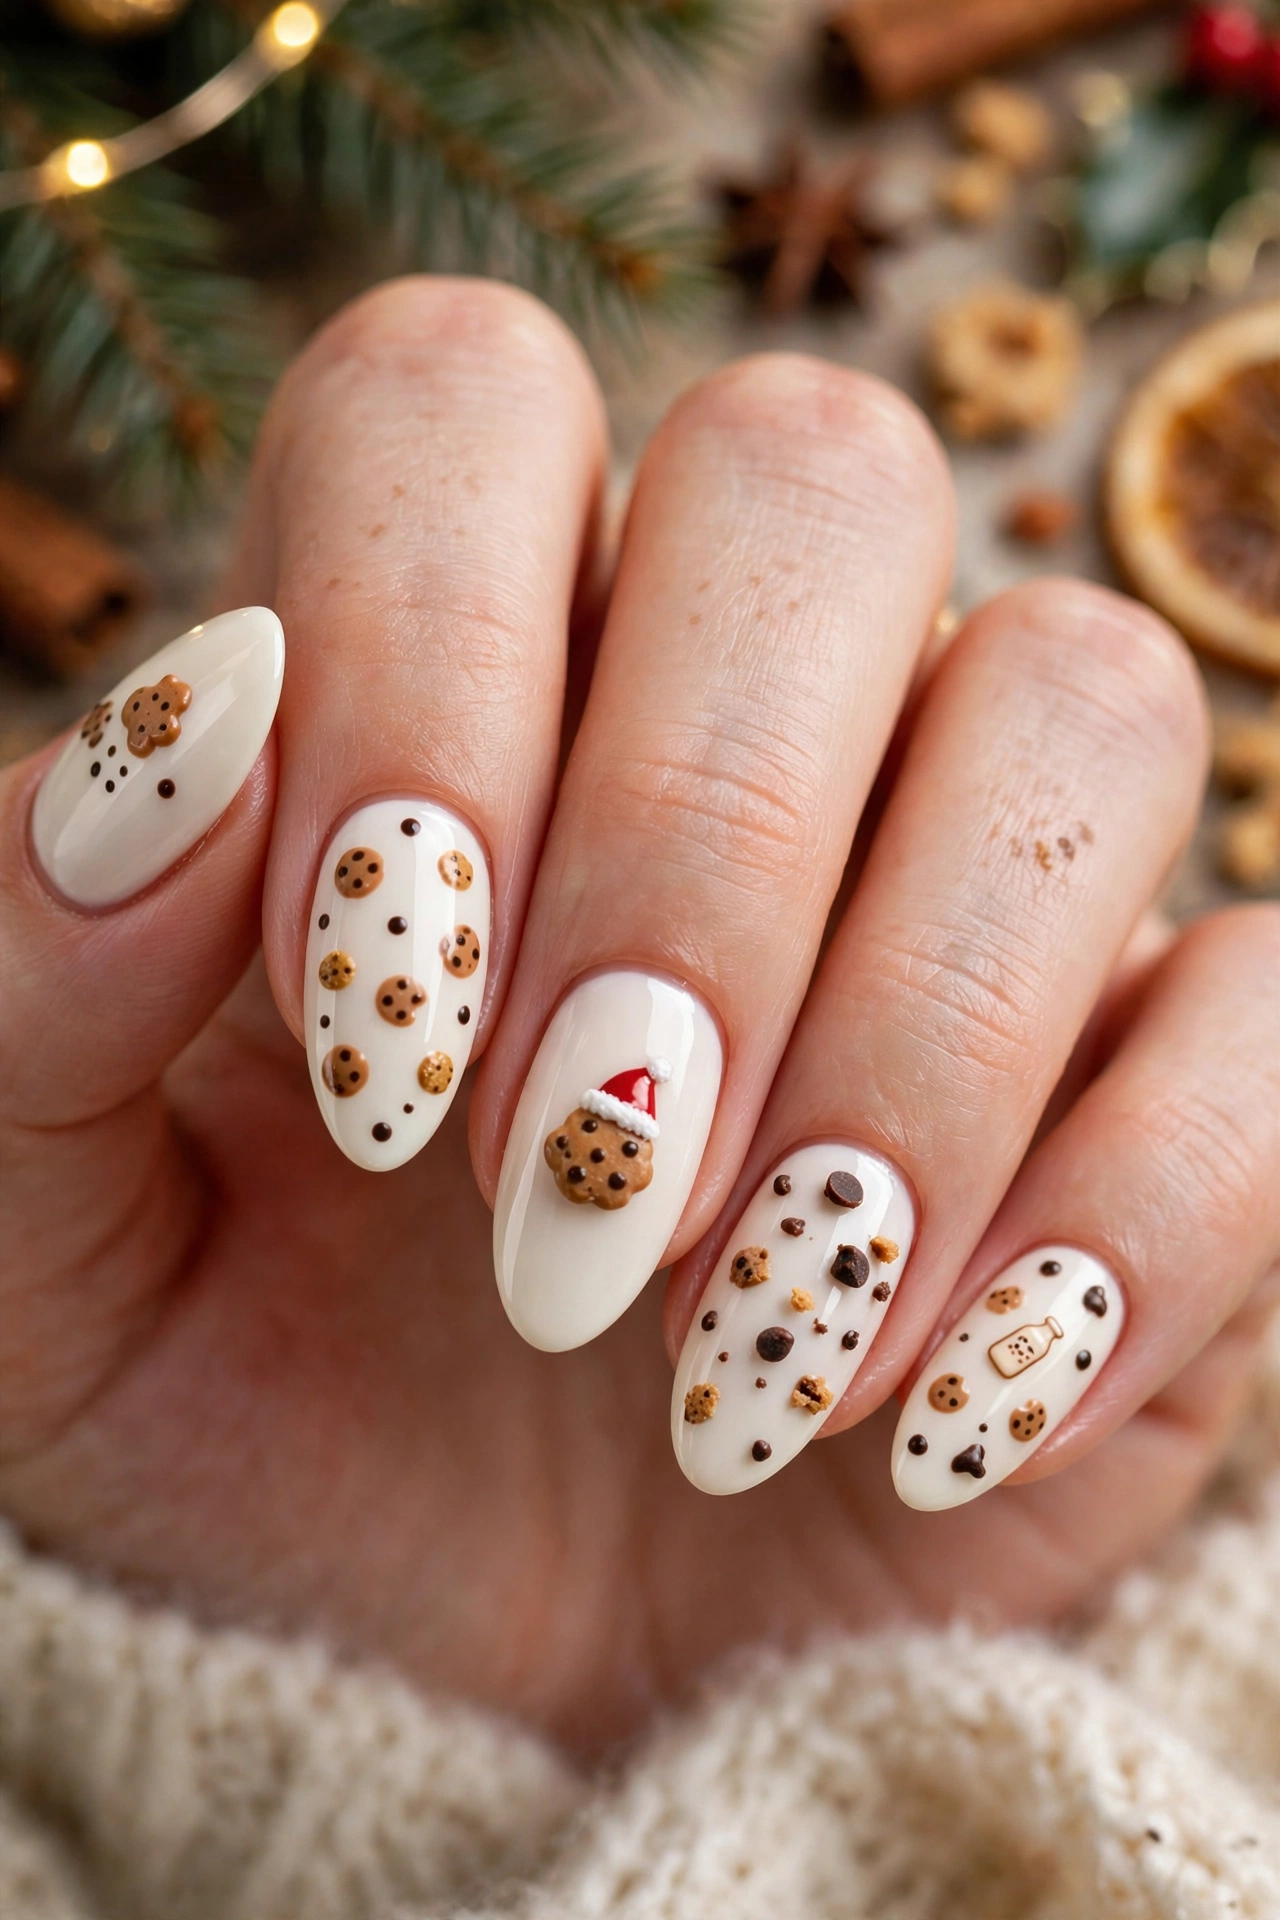
- Paint a creamy milk white base with a soft matte finish.
- Add tiny brown cookie shapes on two accent nails.
- Dot mini chocolate chips with a fine brush.
- Finish with a clear gloss that keeps the art smooth.
This sweet pairing works best when the cookie art stays small, so the white base keeps the whole look clean and playful. Wear it with a cosy knit and a warm drink in hand, and the design feels like a holiday treat without looking busy.
Santa Mittens Cozy Charm
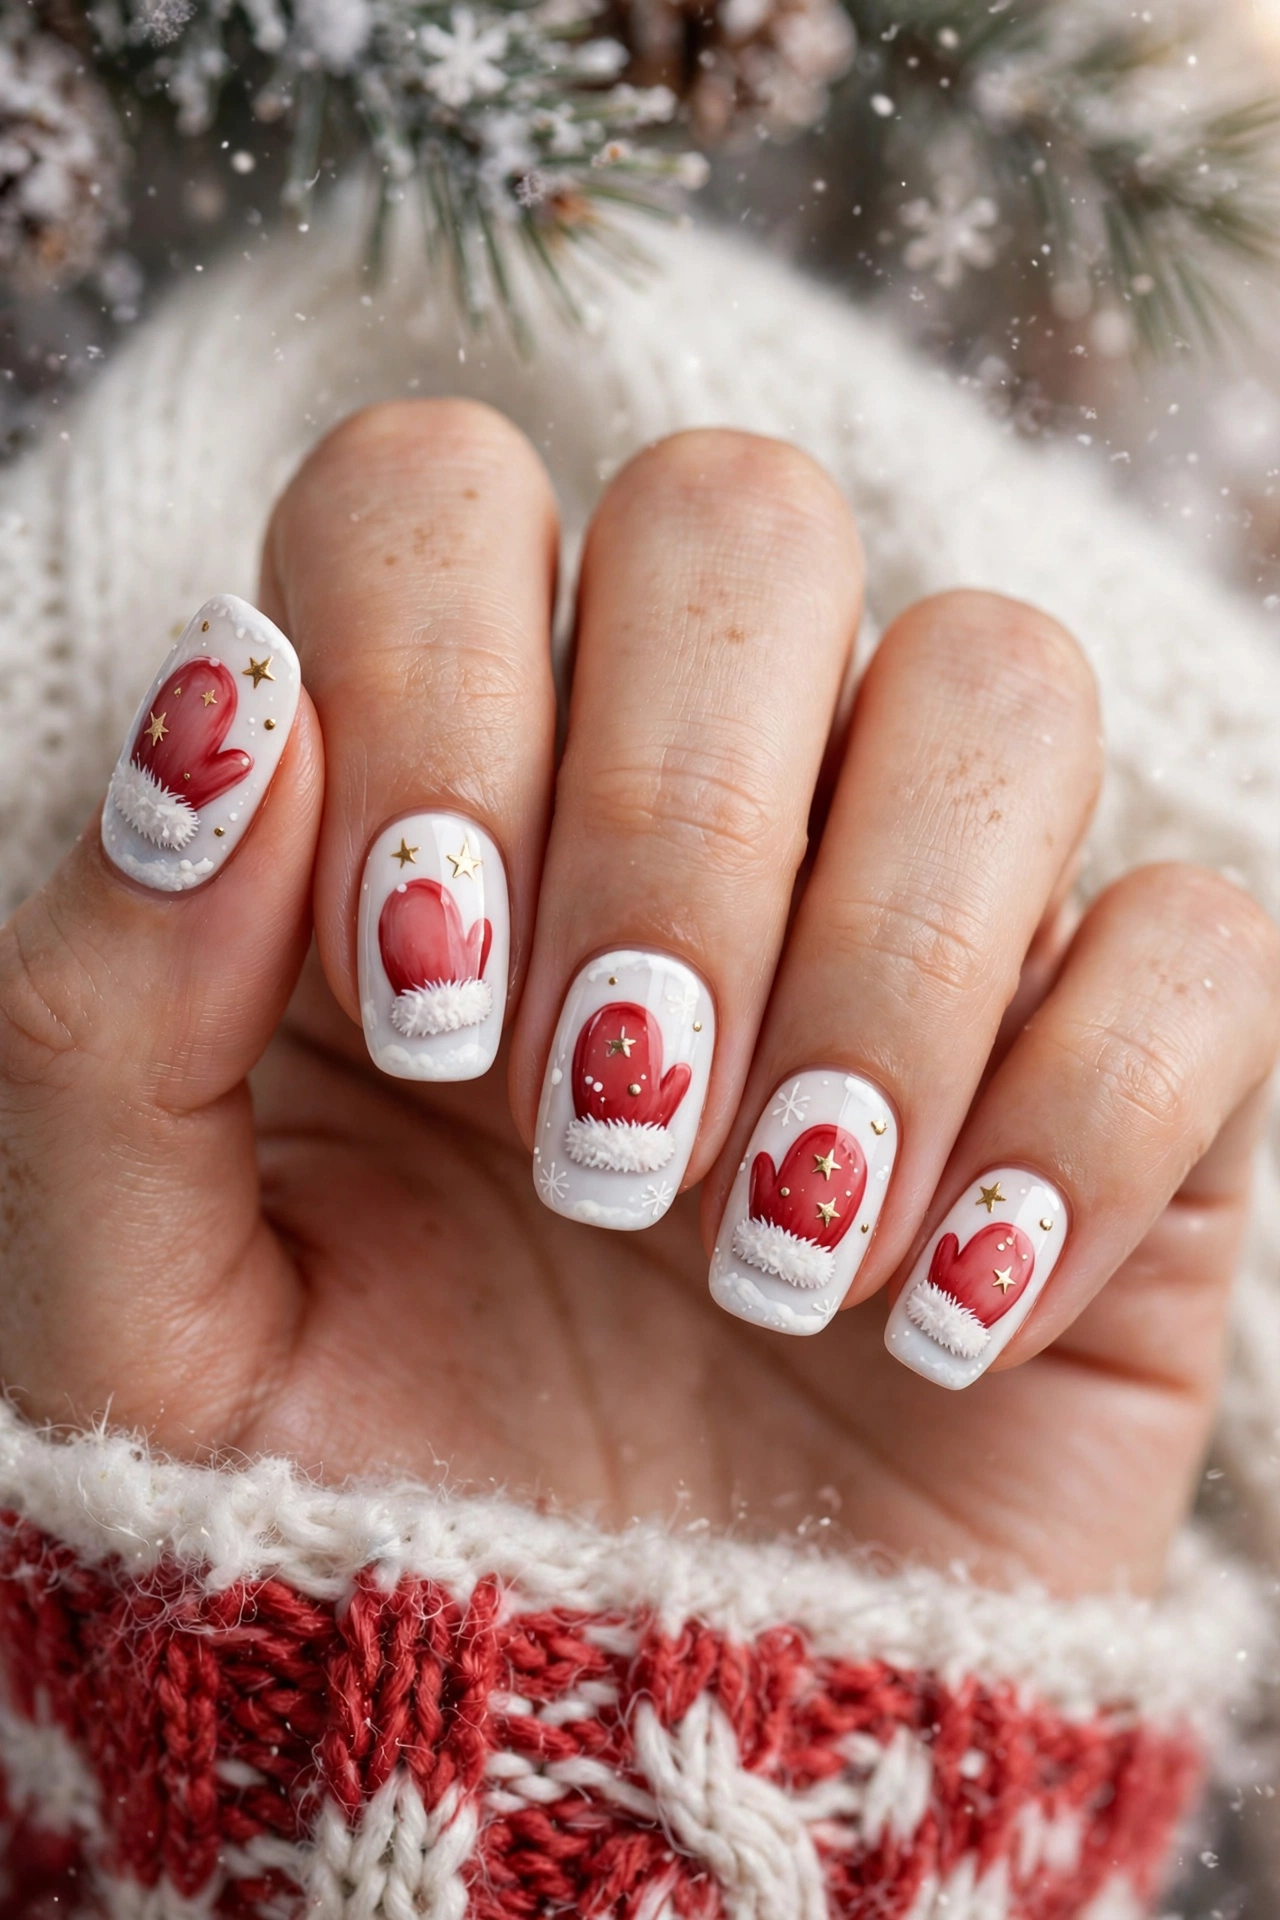
Quick Tip: Use a dotting tool for even mitten cuffs and tiny snow dots.
Paint soft red mittens on accent nails over a snowy white base, then add a fluffy white cuff and a small gold star. Keep the other nails plain red or cream so the mittens stand out. The result feels warm, cosy and ready for winter evenings at home.
Santa Wonderland Winter Glow
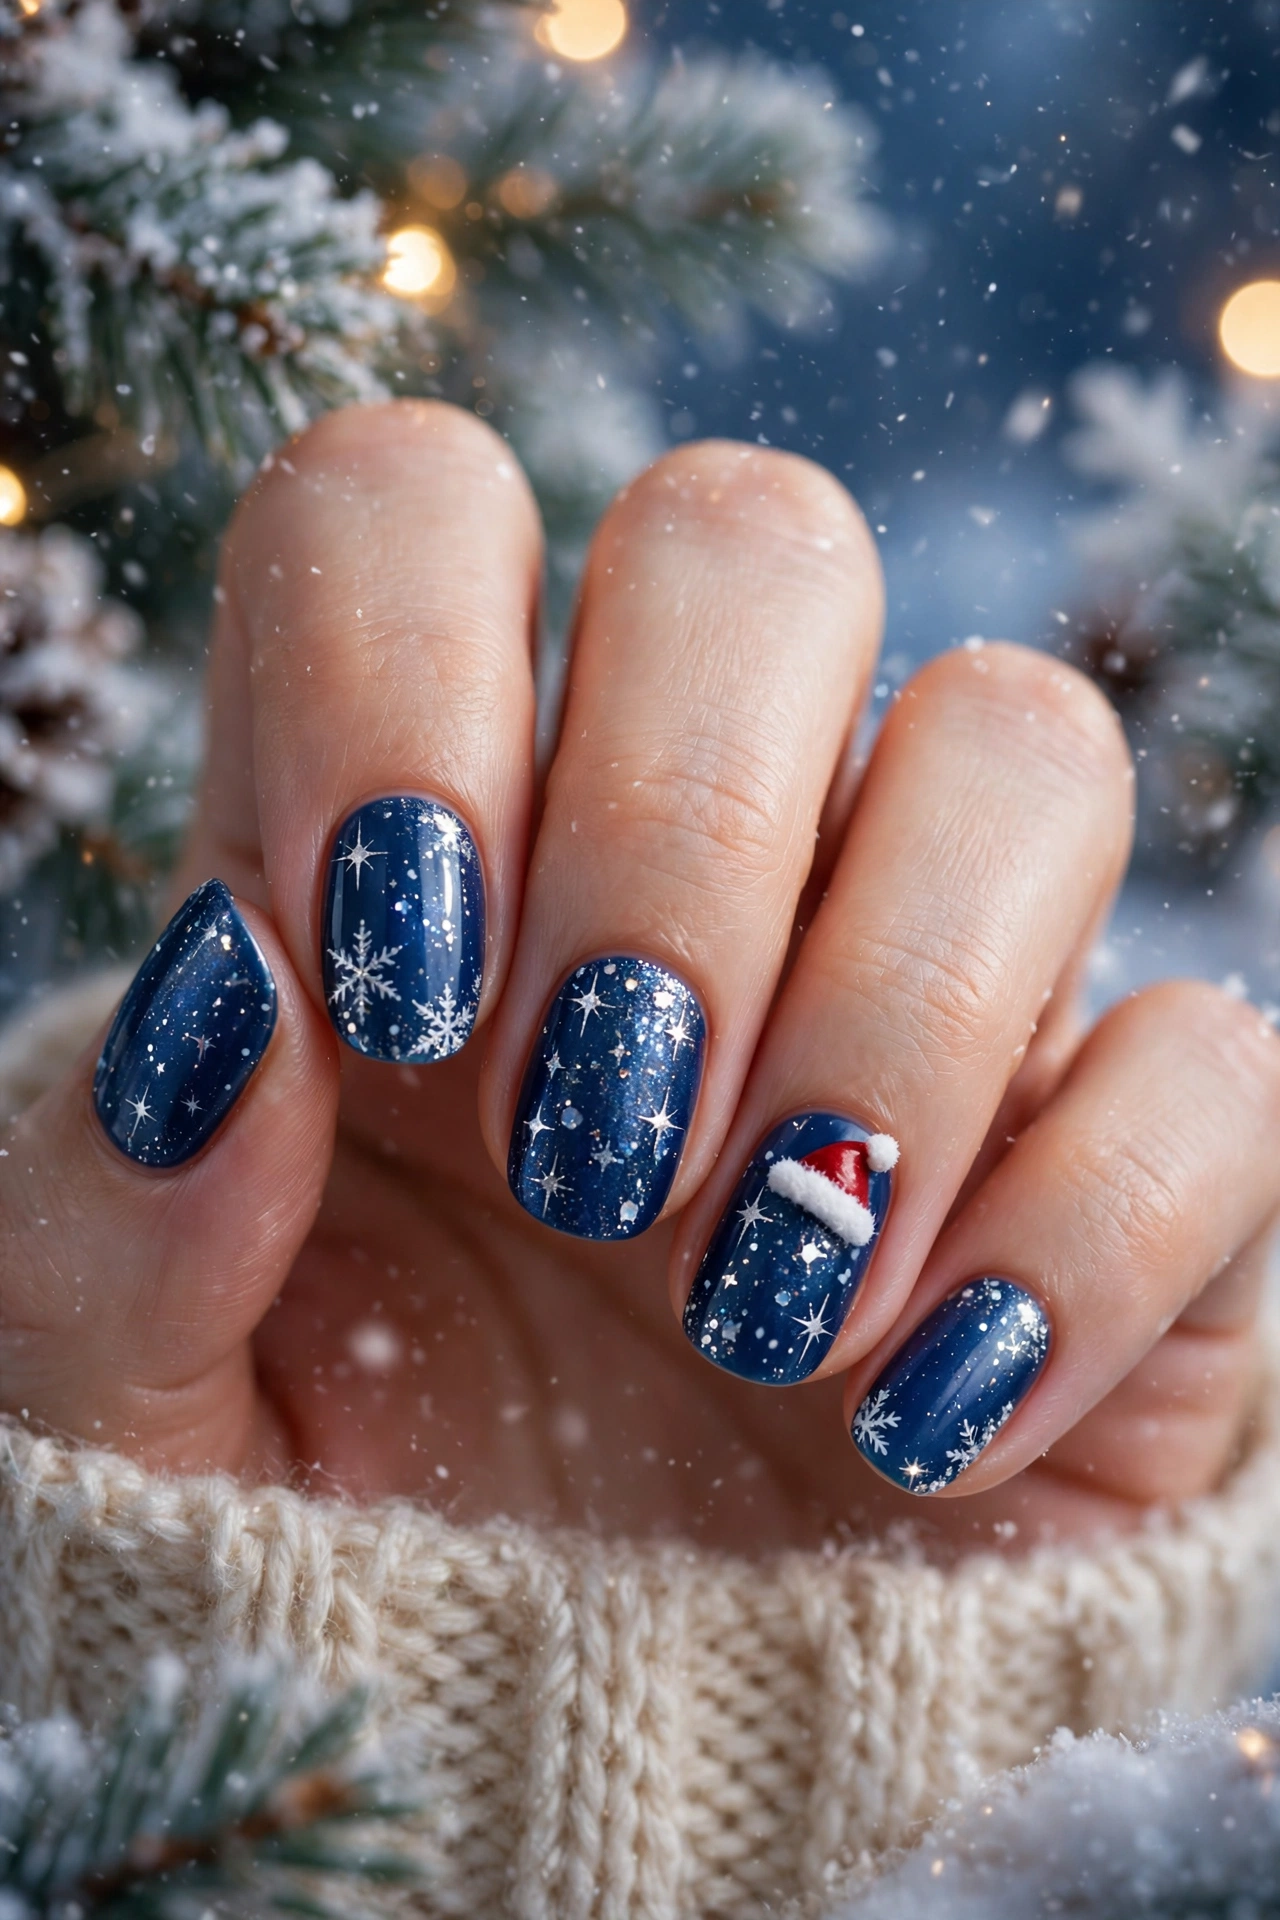
Before: Plain deep blue polish with no winter detail.
After: Glowing silver stars, soft snow sparkle and a tiny Santa hat accent.
Start with a deep blue base, then layer silver glitter near the tips for a frosty glow. Add one small hat accent and a few star dots, keeping the rest simple so the sparkle shines. This dreamy finish suits long evenings, festive lights and a touch of holiday magic.
Conclusion
With so many jolly ideas to choose from, the best santa christmas nails look is the one that makes you smile. Start with one idea, perhaps a cheerful Santa face or a classic red suit polish, build it with polishes you already own, and finish with a strong top coat for shine that lasts. Save this guide on Pinterest, try one idea this week, and share your favourite with a friend who loves a festive manicure too. A little red, a white trim, and a few careful layers can turn an ordinary manicure into a holiday favourite worth enjoying daily.