Red and white stripes have a way of making December feel instantly festive, and this year they are taking over holiday manicures in the prettiest ways. If you love candy cane christmas nails, you will find plenty of inspiration here, from classic stripes to soft glitter and modern twists that still feel joyful. These designs work for cozy family dinners, sparkling holiday parties, and quiet evenings by the tree, because they pair so well with red sweaters, gold jewelry, and deep green outfits. In my experience, a candy cane design looks best when one detail shines, whether that is a crisp stripe, a touch of sparkle, or a creamy white tip. Get ready to pick your favorite, save it for your next salon visit, and enjoy nails that feel merry from the first candy stripe to the last.
Classic Candy Cane Stripes
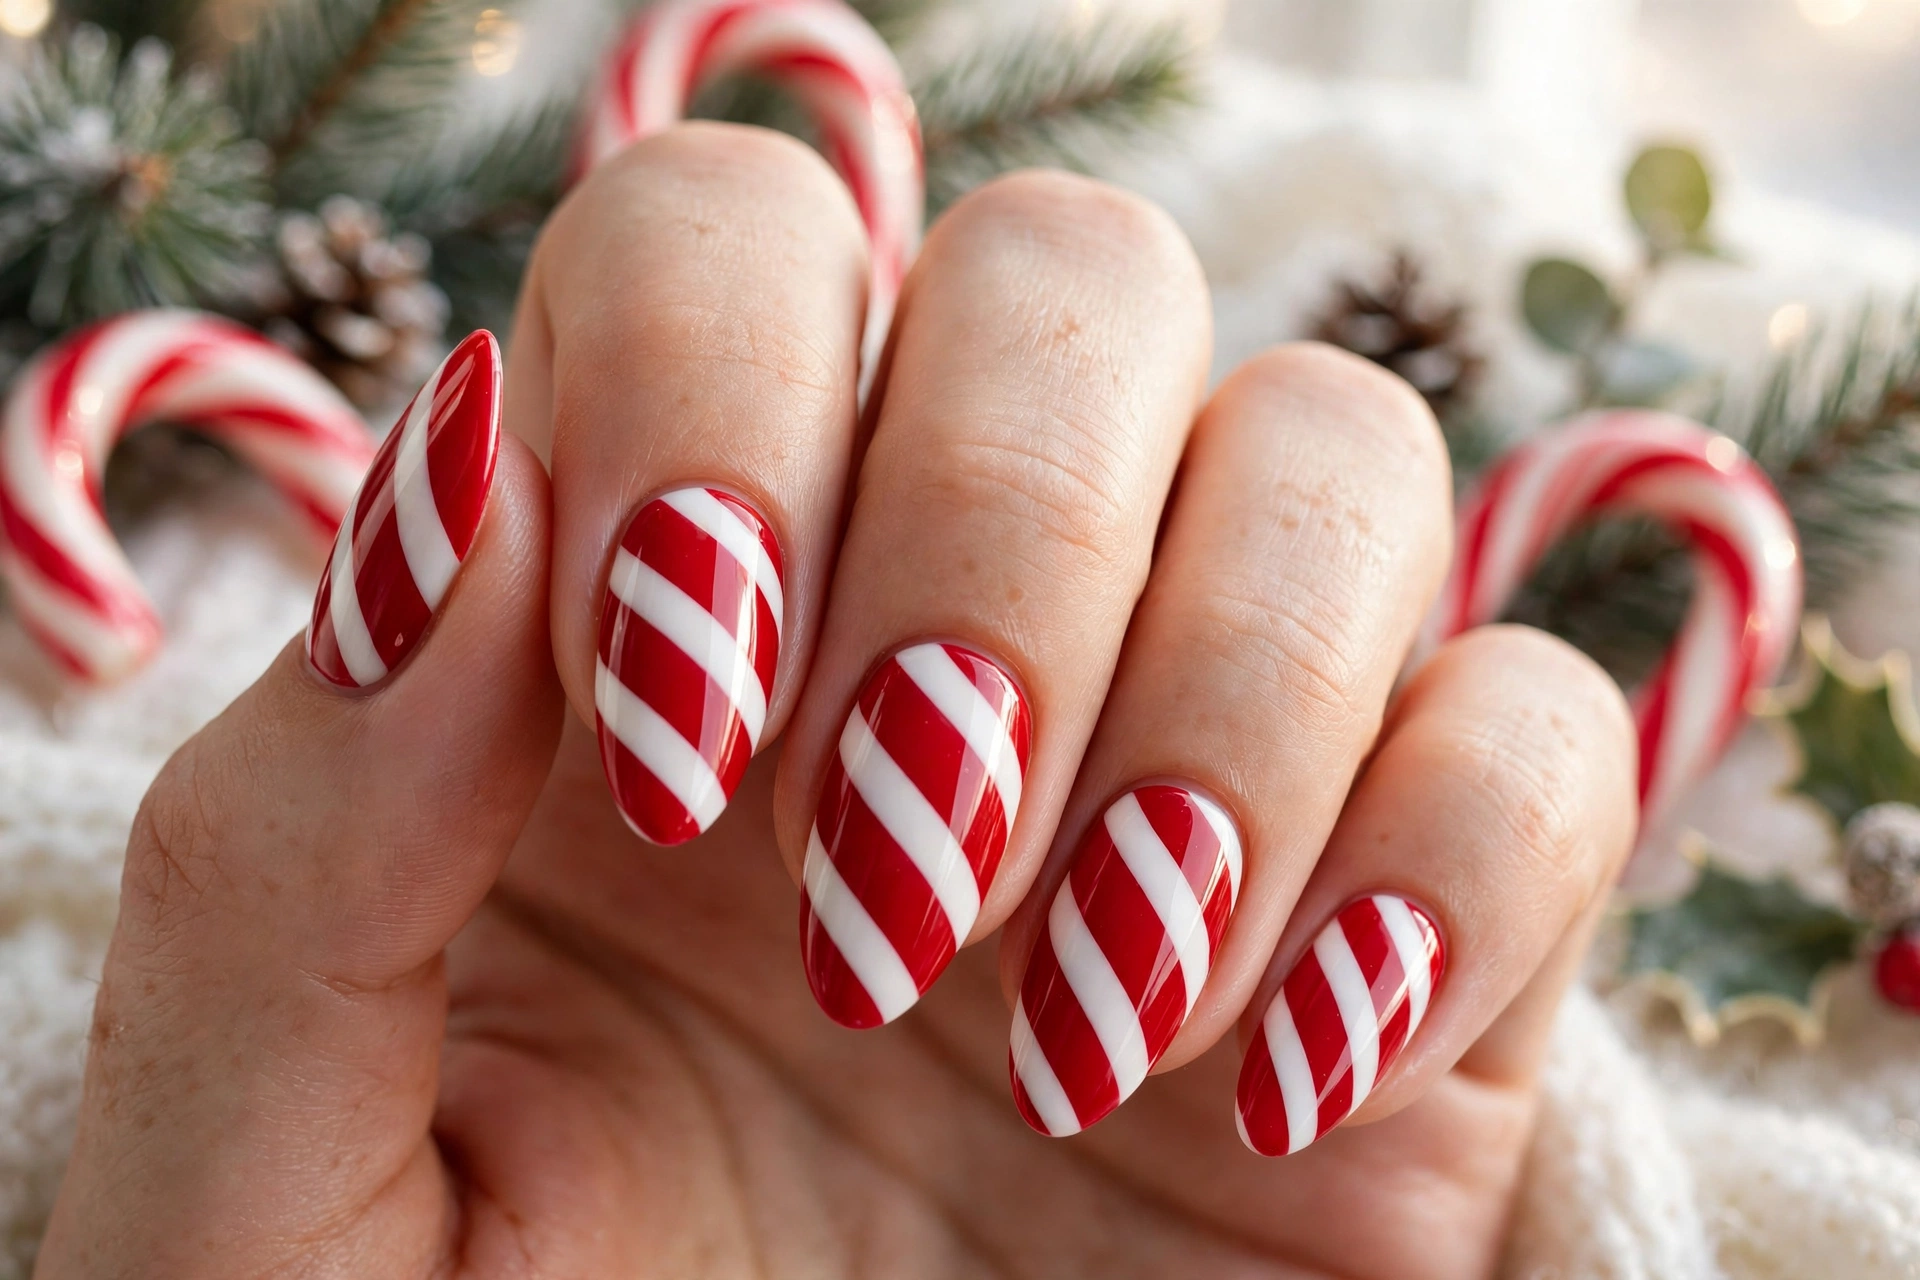
Crisp red stripes over a white base give this look its classic holiday charm. Keep the lines thin and even, and let one accent nail carry a slightly wider stripe for balance. A glossy top coat keeps the red bright and helps the design last through parties and busy December days.
Ask your artist to start each stripe at the cuticle and taper it gently toward the tip. Short and medium lengths both suit this style, and it pairs beautifully with a red dress or cozy knit. Clean prep and a steady hand make all the difference here.
Red Glitter Candy Swirls
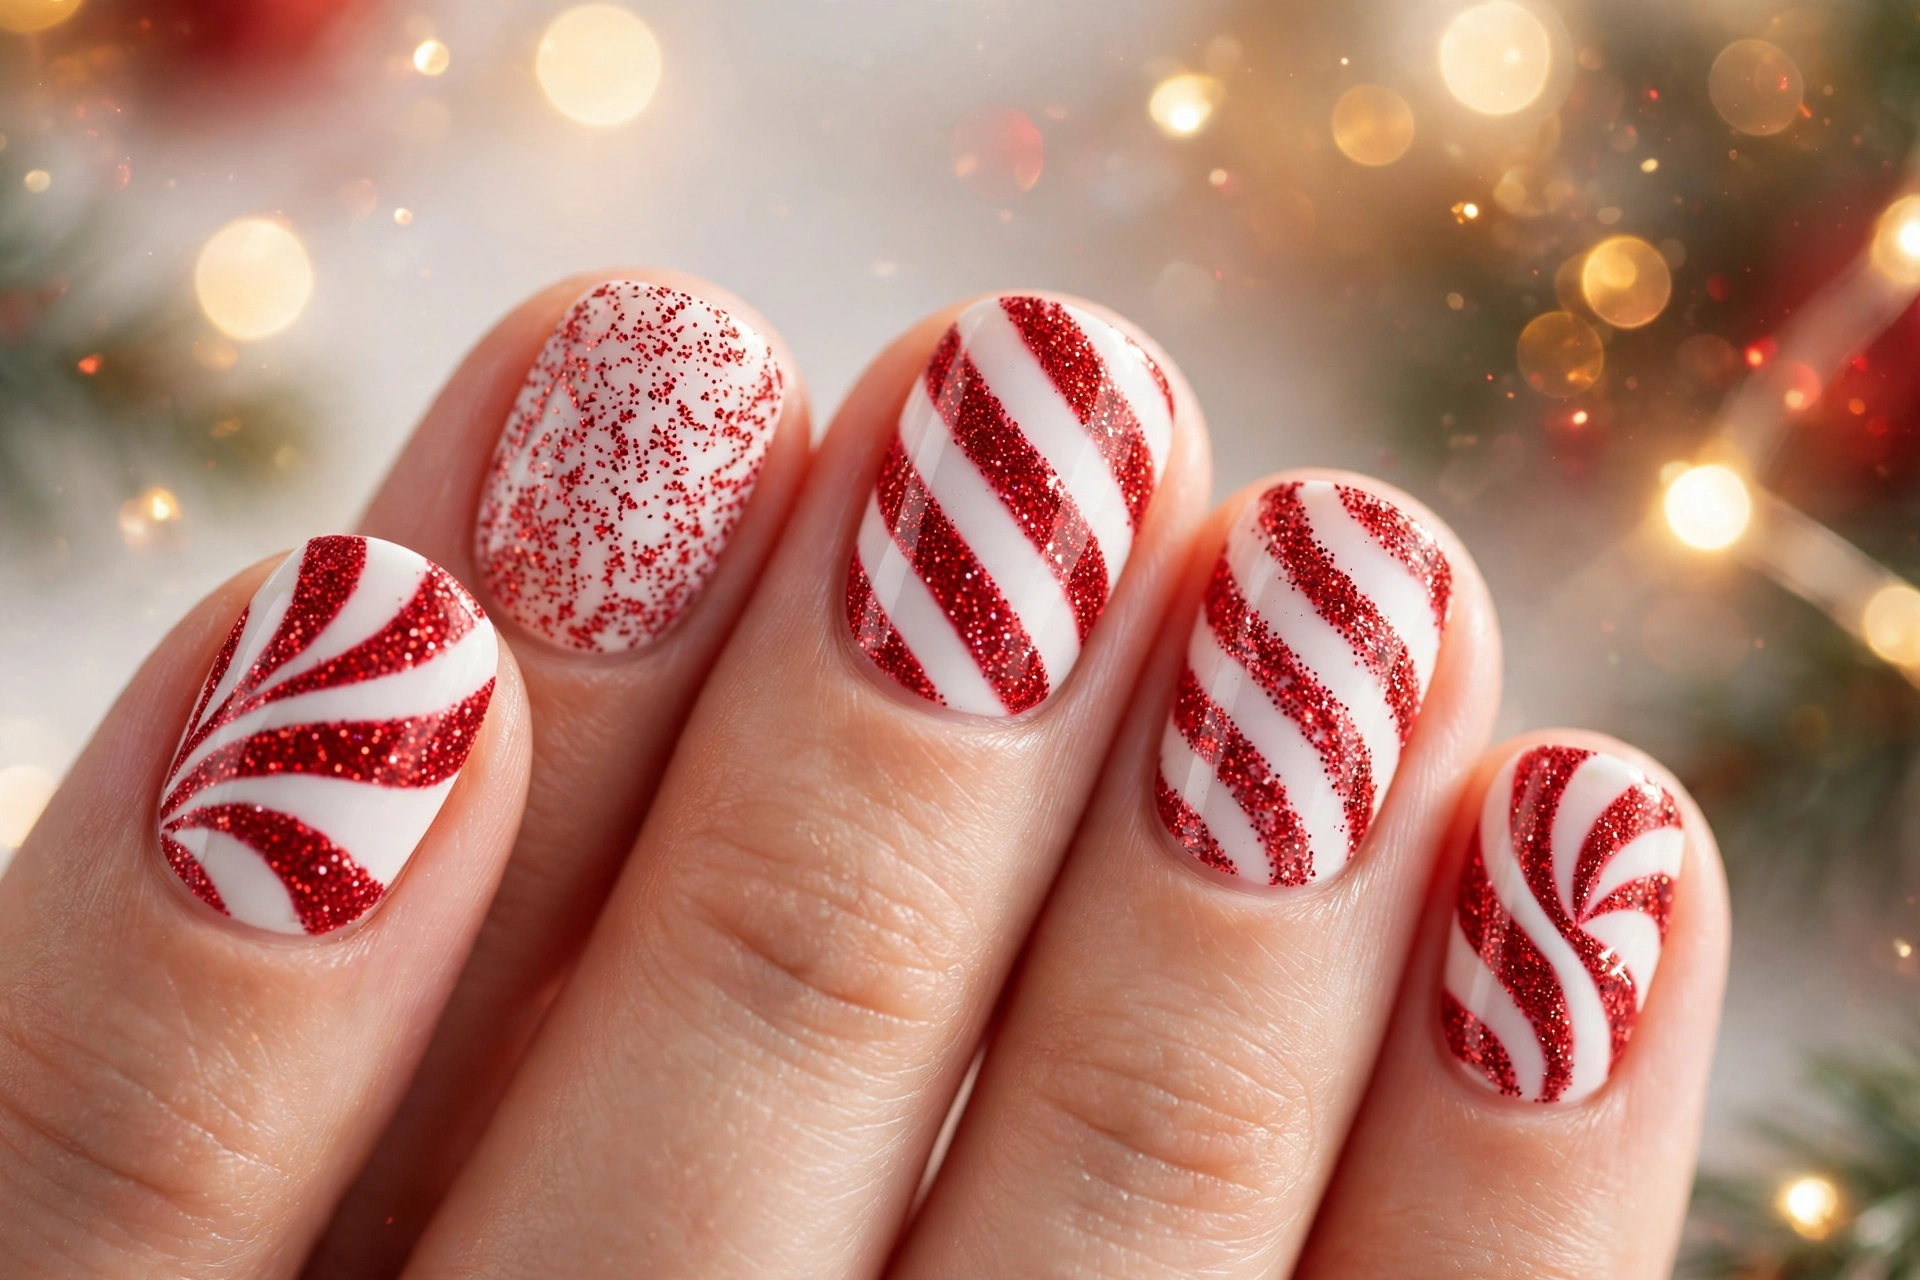
- Paint a milky white base and let it dry fully before adding any red swirls.
- Use a thin brush to curve the red lines gently, following the natural shape of each nail.
- Add fine red glitter only along the curves, so the sparkle feels intentional rather than heavy.
- Seal with two thin layers of glossy top coat to smooth the glitter and lock in shine.
- Keep ring fingers slightly simpler, so the swirled nails stand out without feeling busy.
This swirl style feels playful yet polished, and it works especially well on almond and oval shapes. Pair it with silver jewelry and a soft red lip for a balanced holiday look. If you prefer a quieter finish, keep the glitter on two accent nails and leave the rest clean and glossy.
Peppermint White Candy Tips
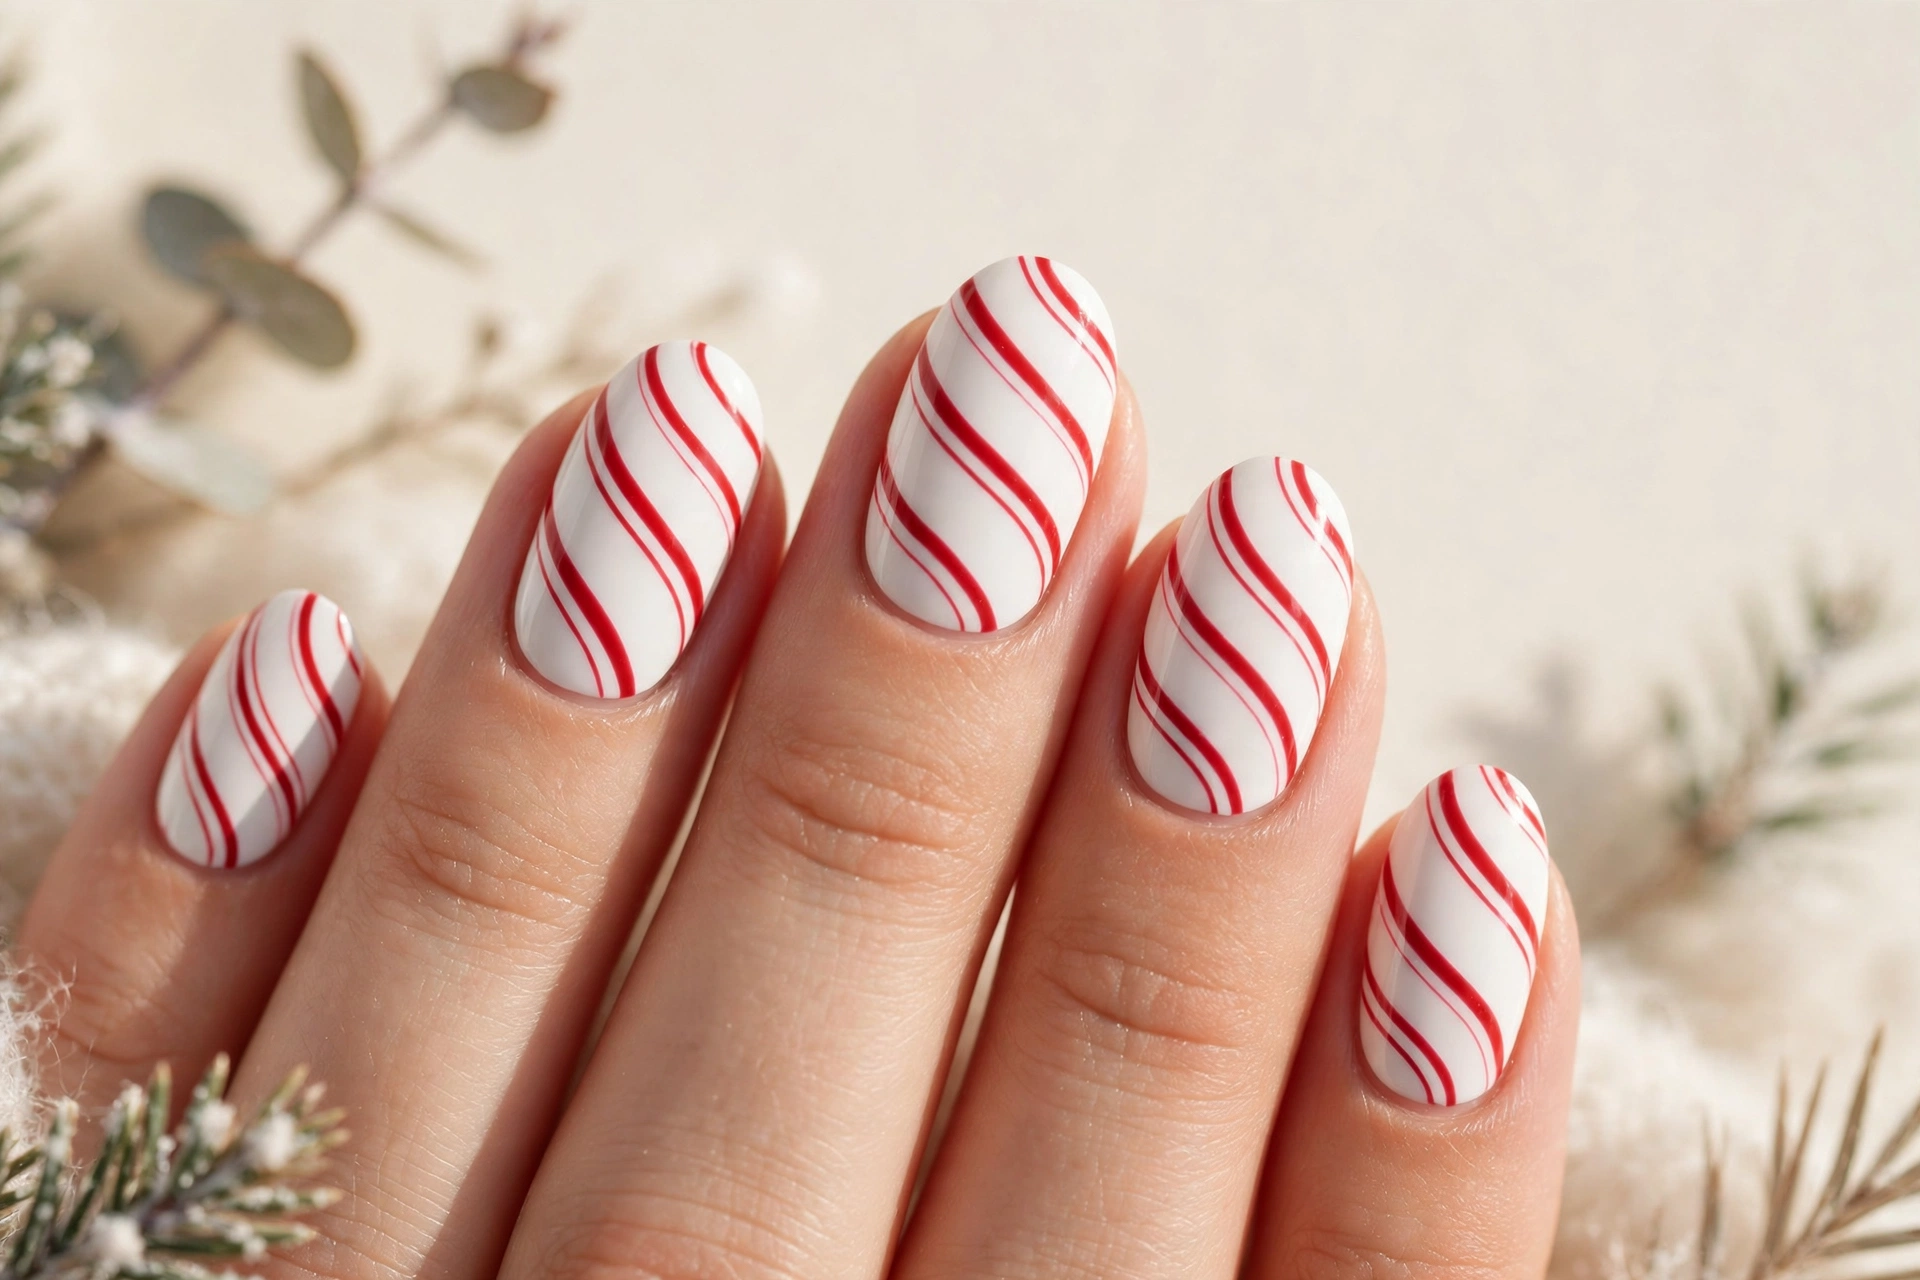
Quick Tip: Use a white base with a hint of pearl shimmer, then paint slim red tips that curve like a candy twist. Keep the tips short for a fresh, wearable finish.
Peppermint white tips feel clean, bright, and easy to wear from office days to holiday dinners. They also grow out gracefully, since the white base blends softly with the natural nail. Add a tiny red dot near the cuticle on one accent nail for a sweet finishing detail.
Gold Candy Cane Accents
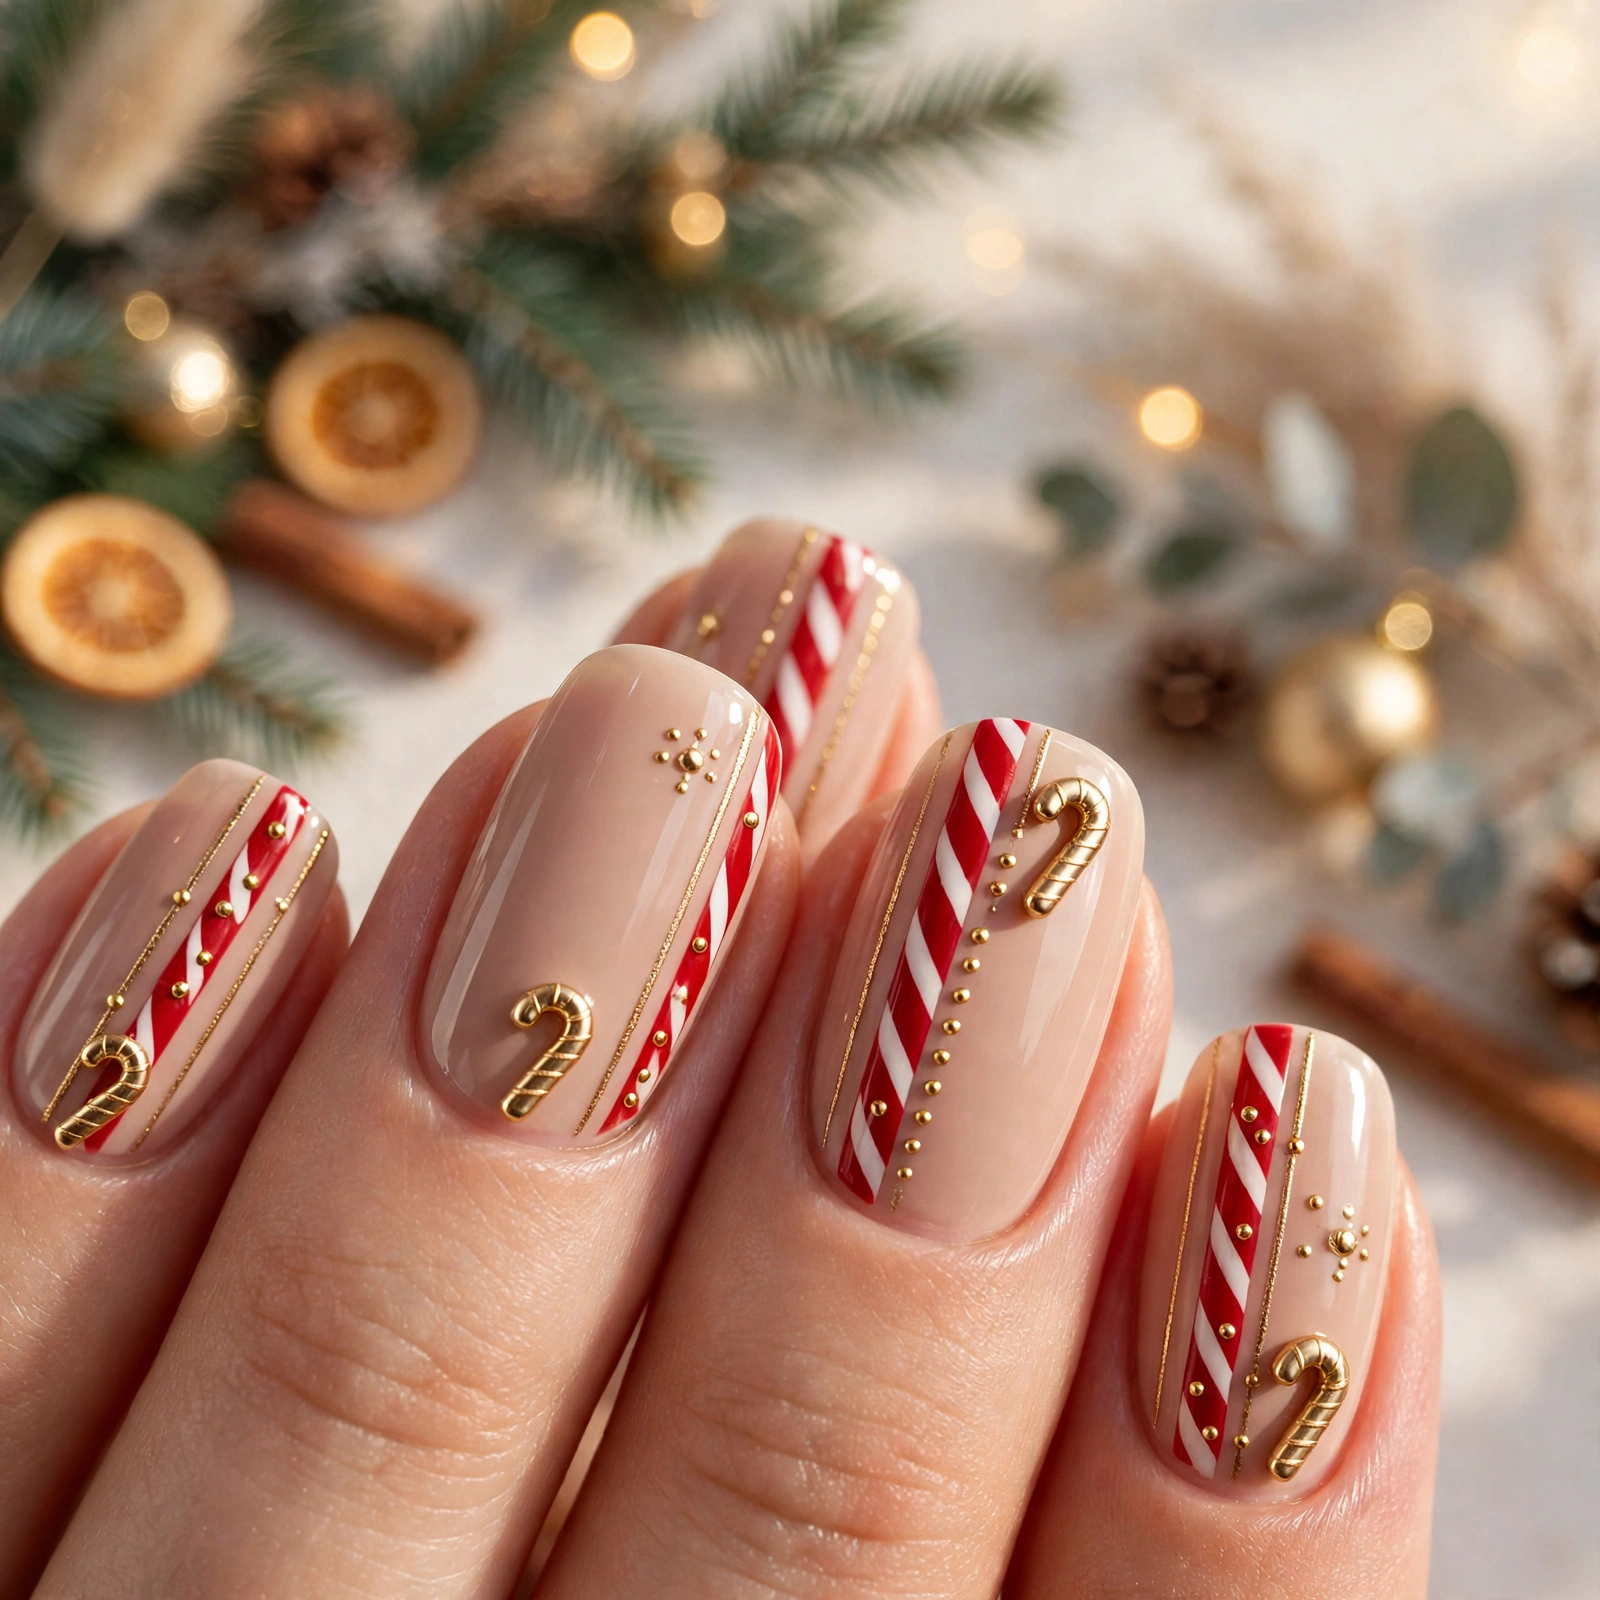
Before: Plain red nails can look lovely, but they sometimes feel flat in holiday photos and busy party lighting.
After: Adding slim gold stripes and one gold foil accent gives the same red base warmth, depth, and a luxurious festive glow.
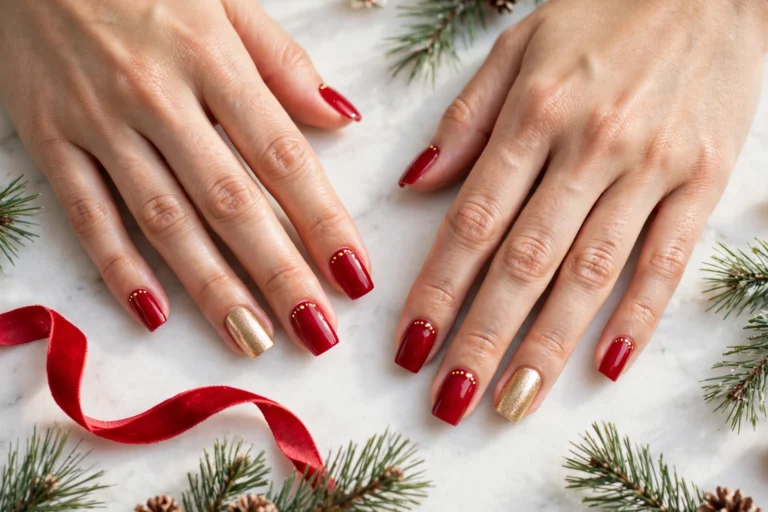
This gold accent style pairs beautifully with gold rings, warm metallic eyeshadow, and classic black or cream outfits. Keep the gold on two or three nails for balance, and let the remaining candy stripes stay crisp and simple. The result feels glamorous without looking overdone for family gatherings.
Frosted Candy Cane Glow
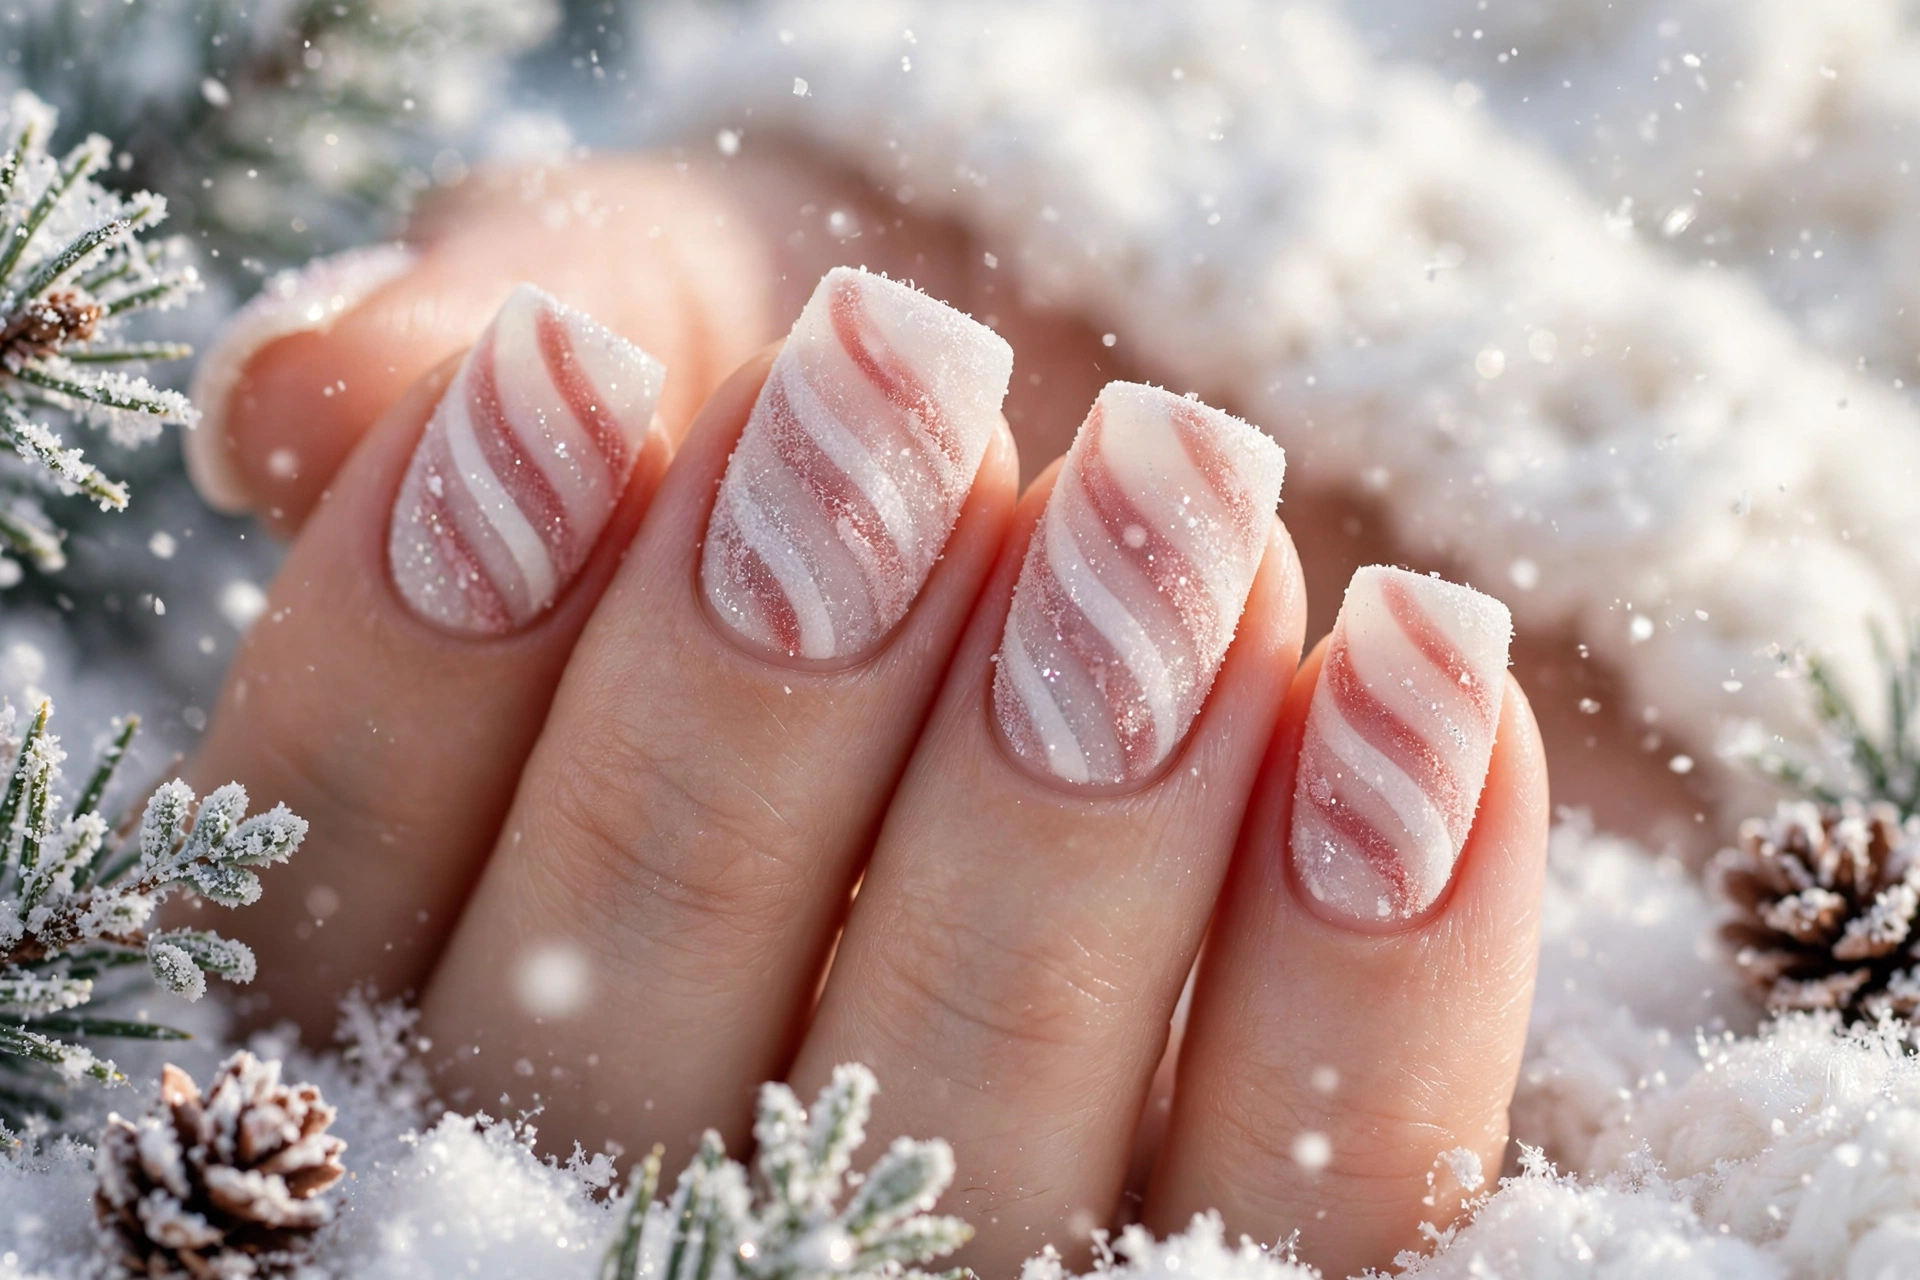
- Start with a sheer pink or milky base and cure or dry it completely.
- Paint soft red diagonal stripes, leaving small gaps so the frosted base shows through.
- Brush a thin layer of matte top coat over the design for a soft, frosted glow.
- Add a light dusting of white shimmer on the tips, then seal the free edge carefully.
The frosted finish softens bold red stripes and makes this look feel dreamy for winter evenings. It suits shorter nails especially well, since the matte texture keeps the design looking neat as it grows out. Pair it with cozy knits and silver accessories for a calm, wintry holiday mood.
Pink Peppermint Candy Tips
| Look | Best For | Finish |
|---|---|---|
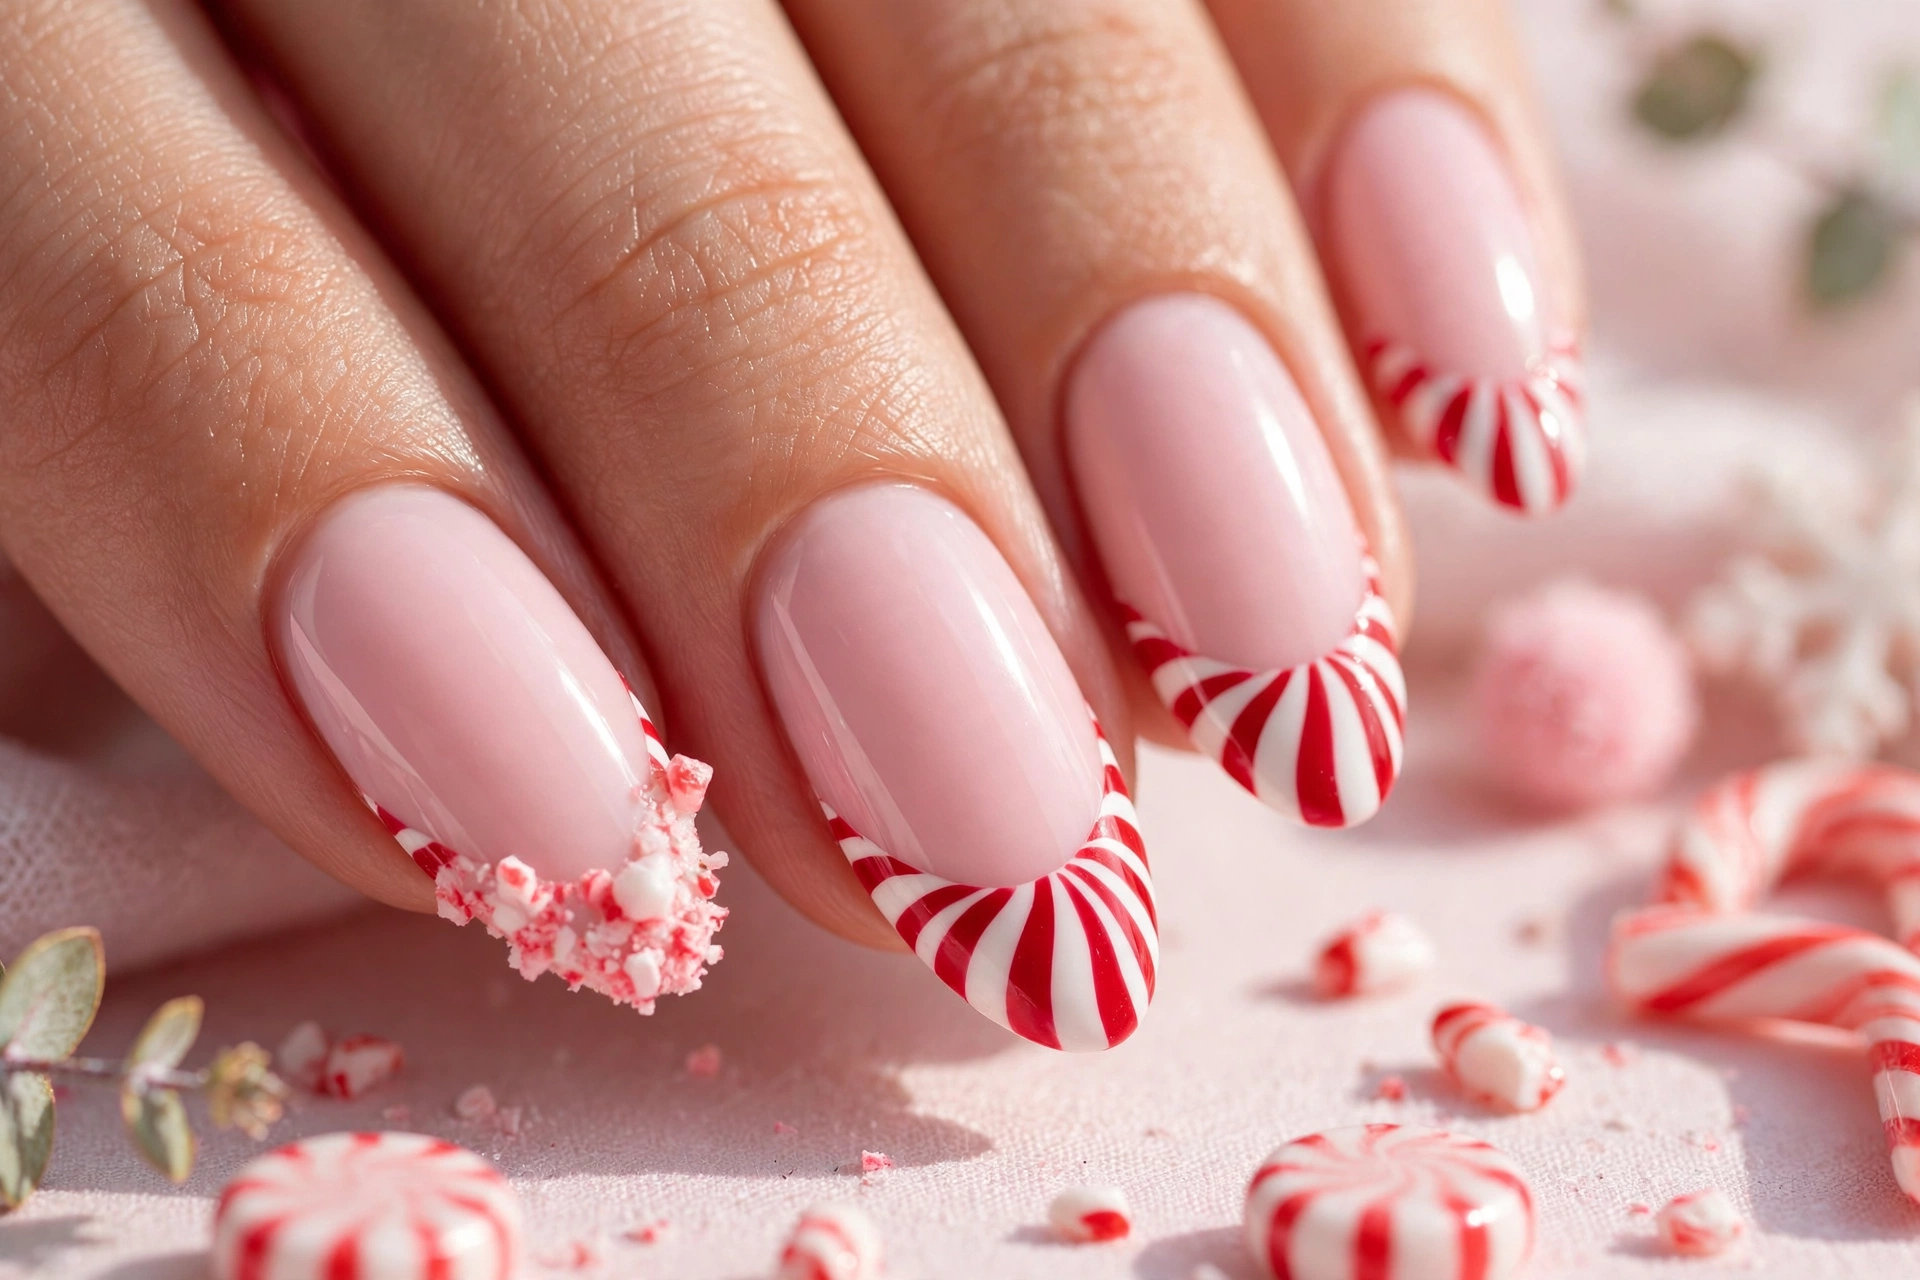
| Soft pink base with red tips | Everyday holiday wear | Glossy and fresh |
| Hot pink base with white swirls | Parties and photos | Bold and playful |
| Pale pink base with glitter tips | Elegant dinners | Soft and sparkling |
| Deep pink base with candy stripes | Statement manicures | Rich and festive |
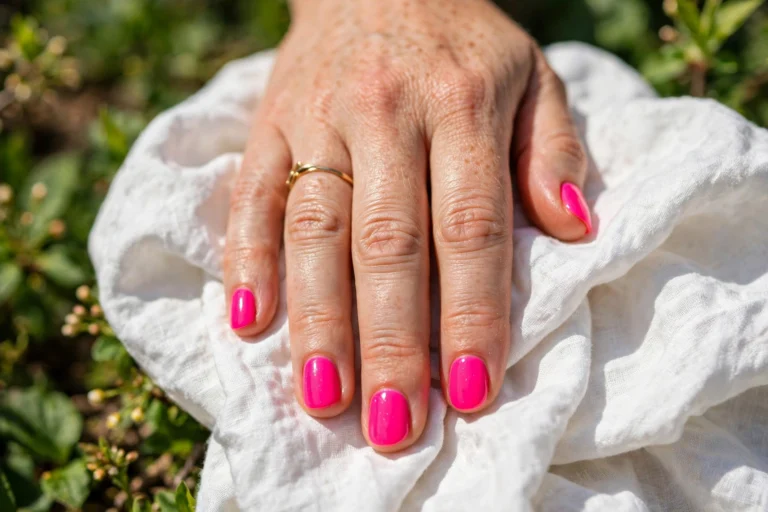
Pink peppermint tips add a sweet, modern twist without losing the classic candy feel. Choose a softer pink for daytime events and a brighter pink when you want your nails to stand out in photos. With the right base shade, this playful style can feel both youthful and polished.
Candy Cane French Tips
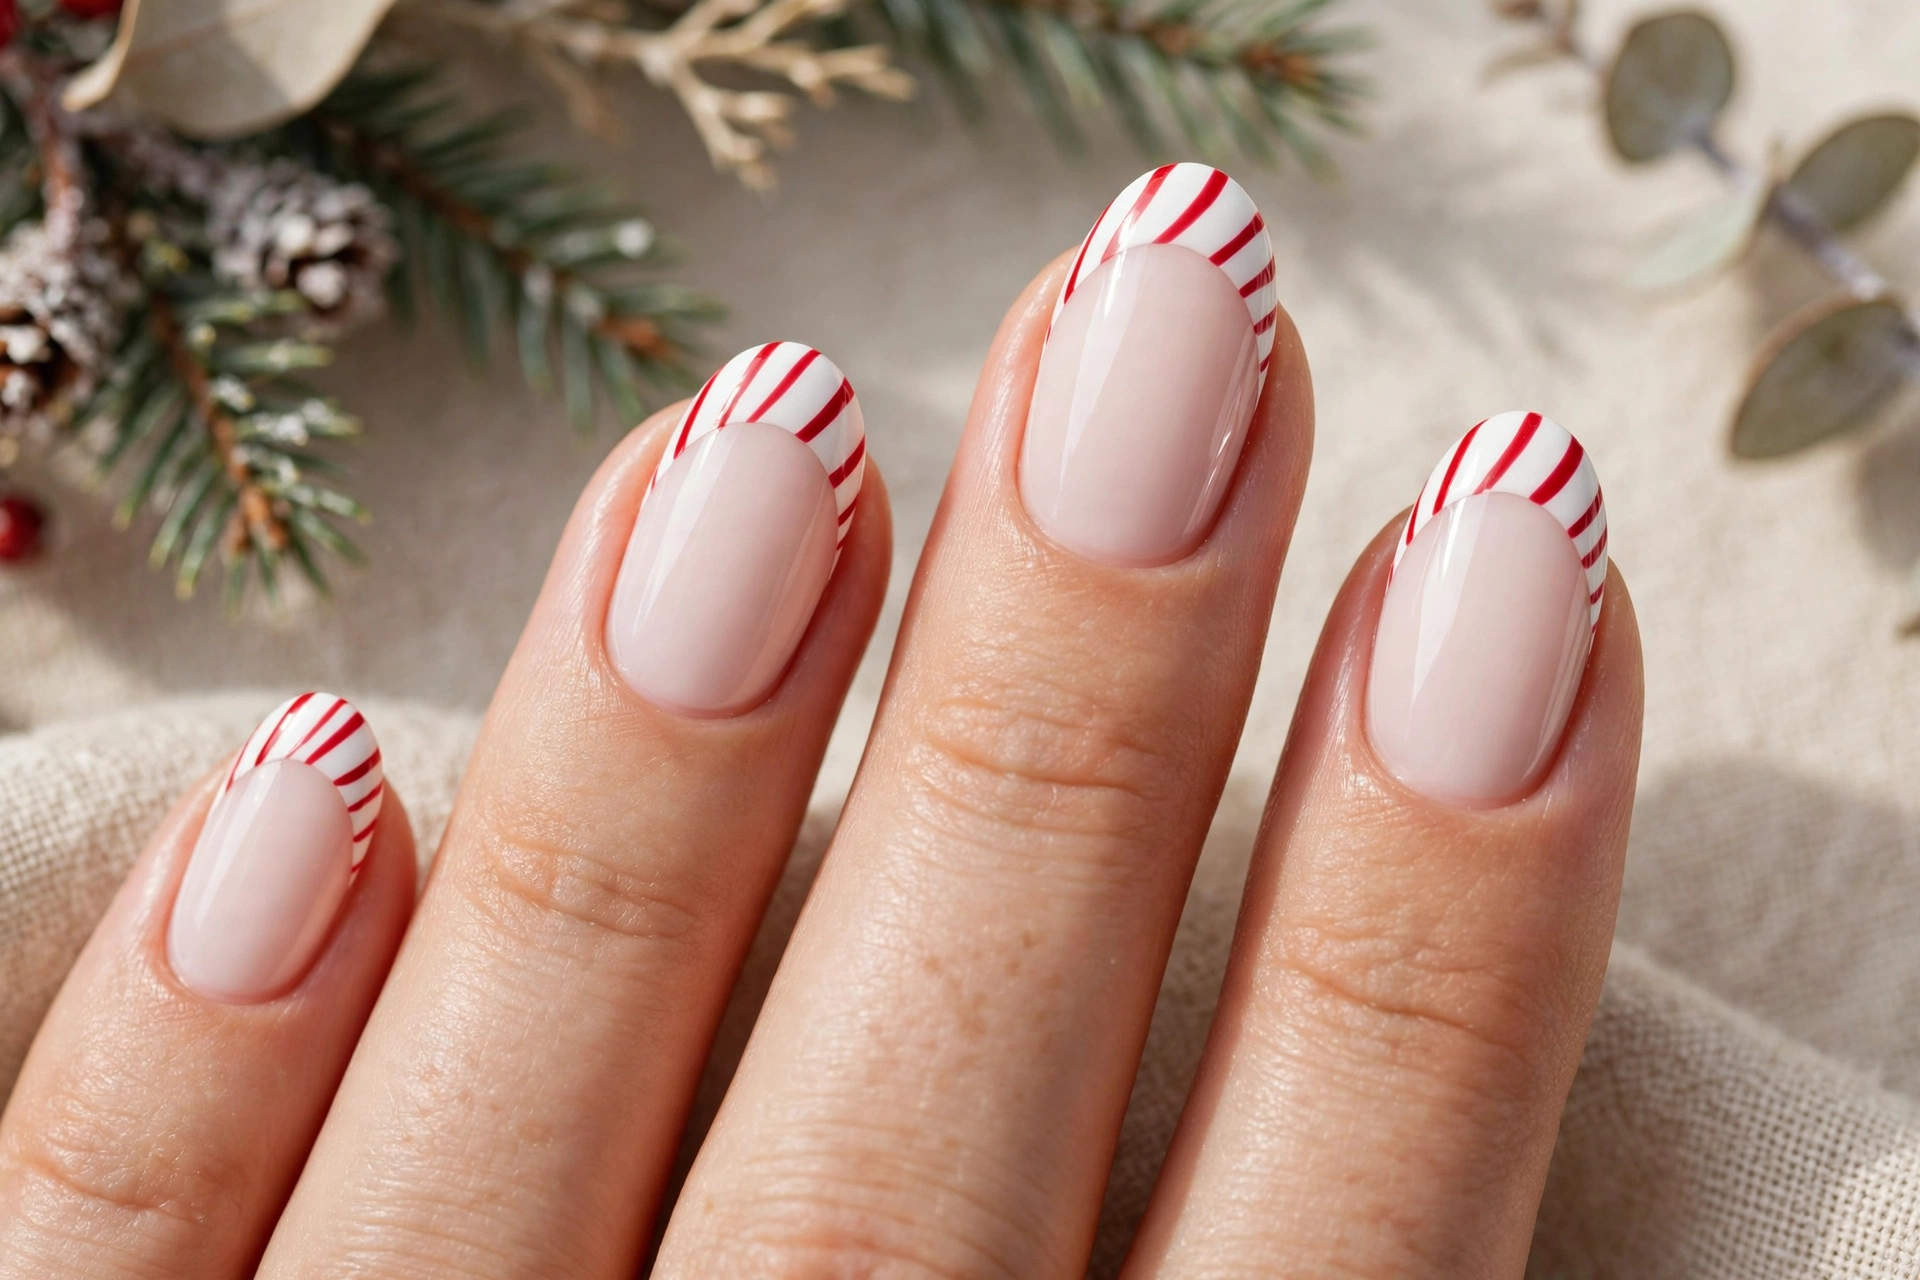
DO: Start with a clean white base, then paint diagonal red stripes with a thin striping brush for sharp, even lines.
DON’T: Load the brush with too much polish, or the stripes will bleed and lose their crisp candy look.
DO: Keep the French smile line narrow so the tip stays neat and the stripe pattern stays visible.
DON’T: Add thick glitter over the stripes, since heavy sparkle can hide the classic peppermint pattern.
DO: Seal with two thin top coat layers to smooth the stripes and extend wear.
DON’T: Rush the drying time between colours, or the red may drag into the white base.
Keep the smile line thin and crisp so the stripes read clean from a distance. A steady hand, a fine liner brush, and a quick dry top coat will protect the design through parties, photos, and gift wrapping. Practice on one nail first, then repeat the same spacing across all ten.
Silver Candy Stripe Sparkle
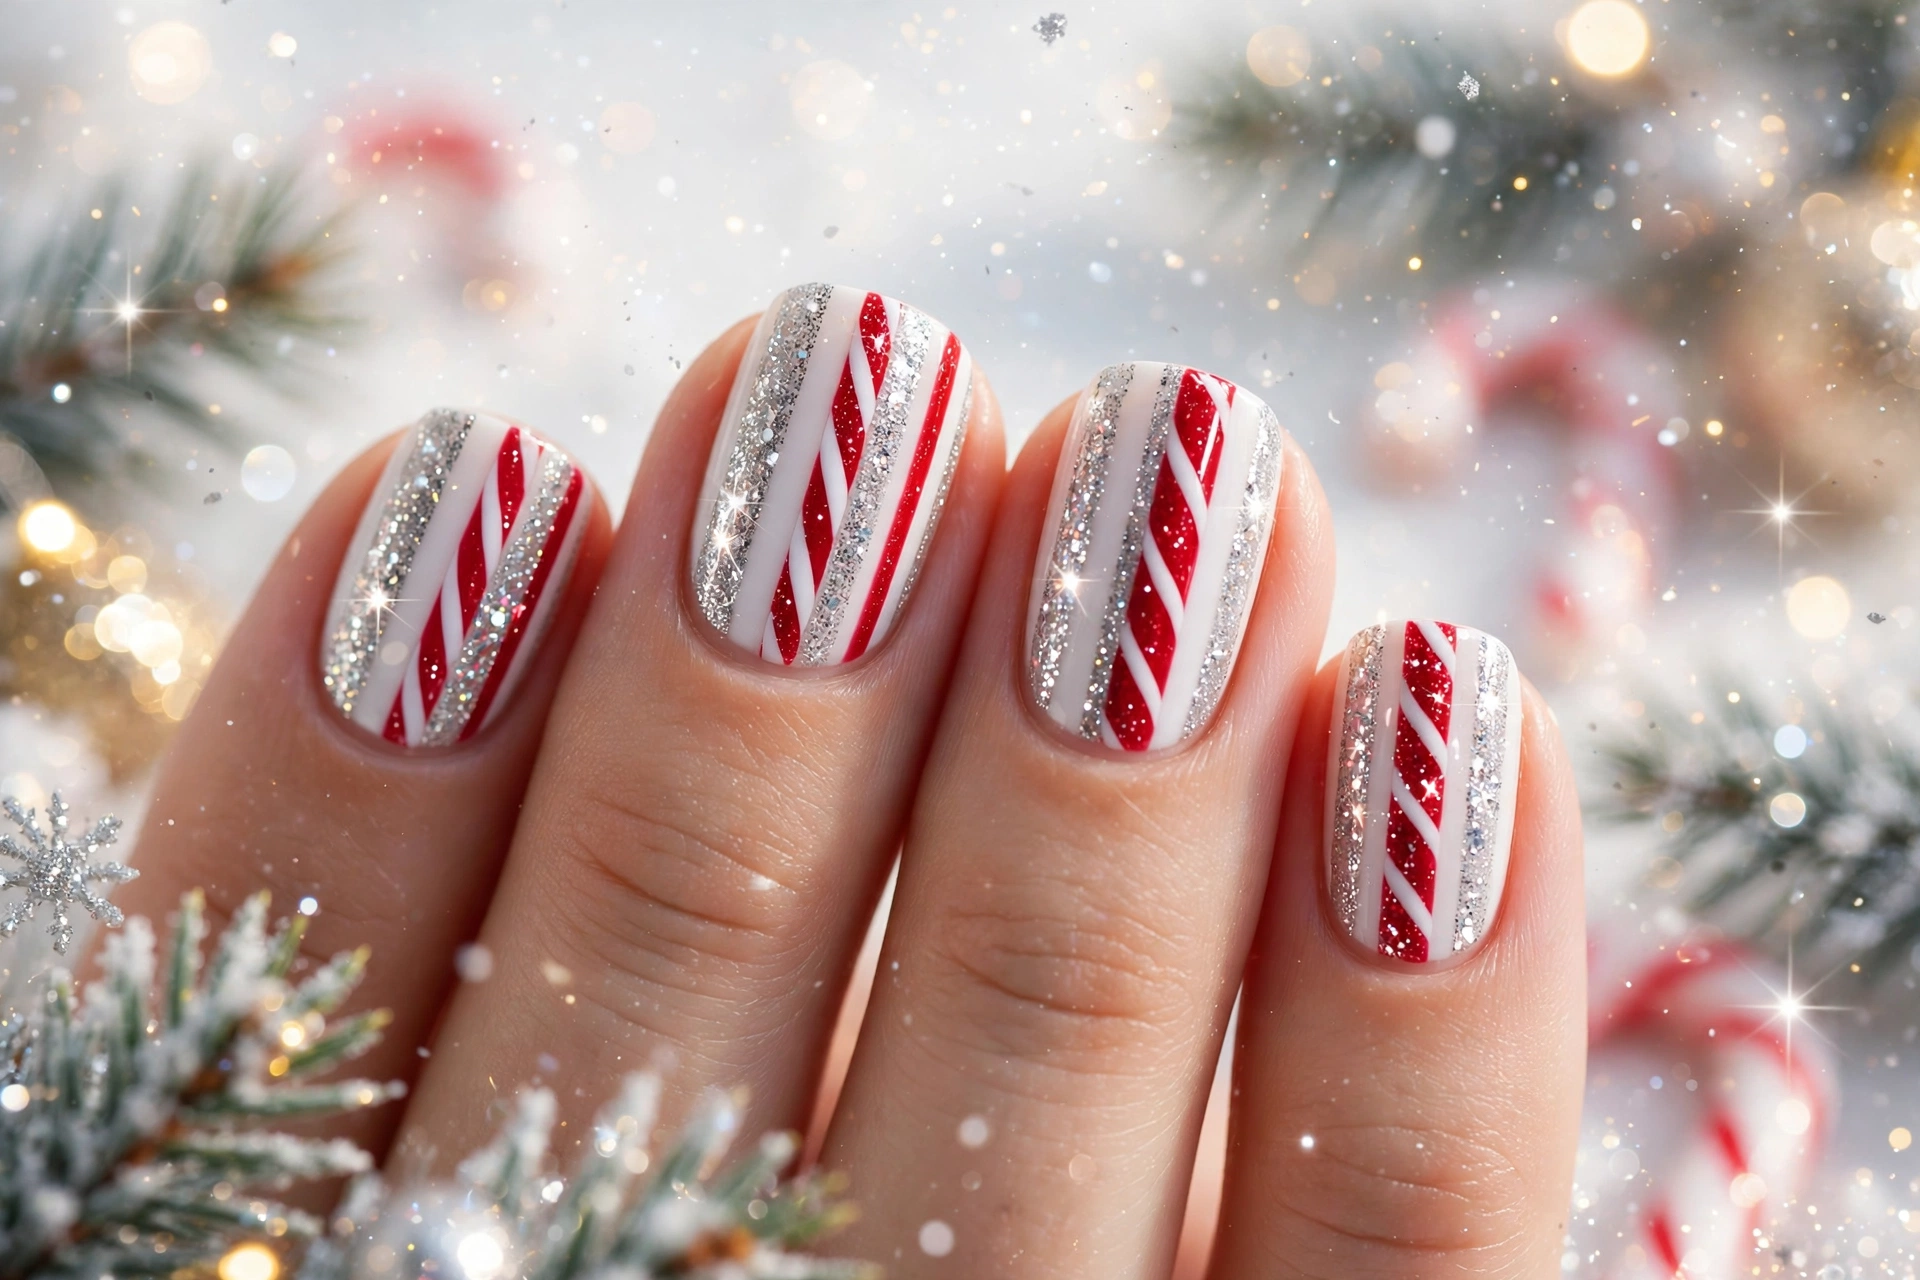
Base colour: Sheer nude or soft white, so the silver stripes stand out cleanly.
Stripe style: Thin diagonal silver lines paired with one wider white stripe on each nail.
Best finish: High gloss top coat to boost shine and keep the silver bright.
Wear tip: Reapply top coat on day three to prevent chips and dullness.
Silver stripes catch light without overpowering a holiday outfit, which makes this look easy to wear again. Pair it with a simple ring or a grey sweater, keep the base glossy, and refresh the top coat after two days. The result stays bright, polished, and ready for every celebration.
Mint Candy Cane Swirls
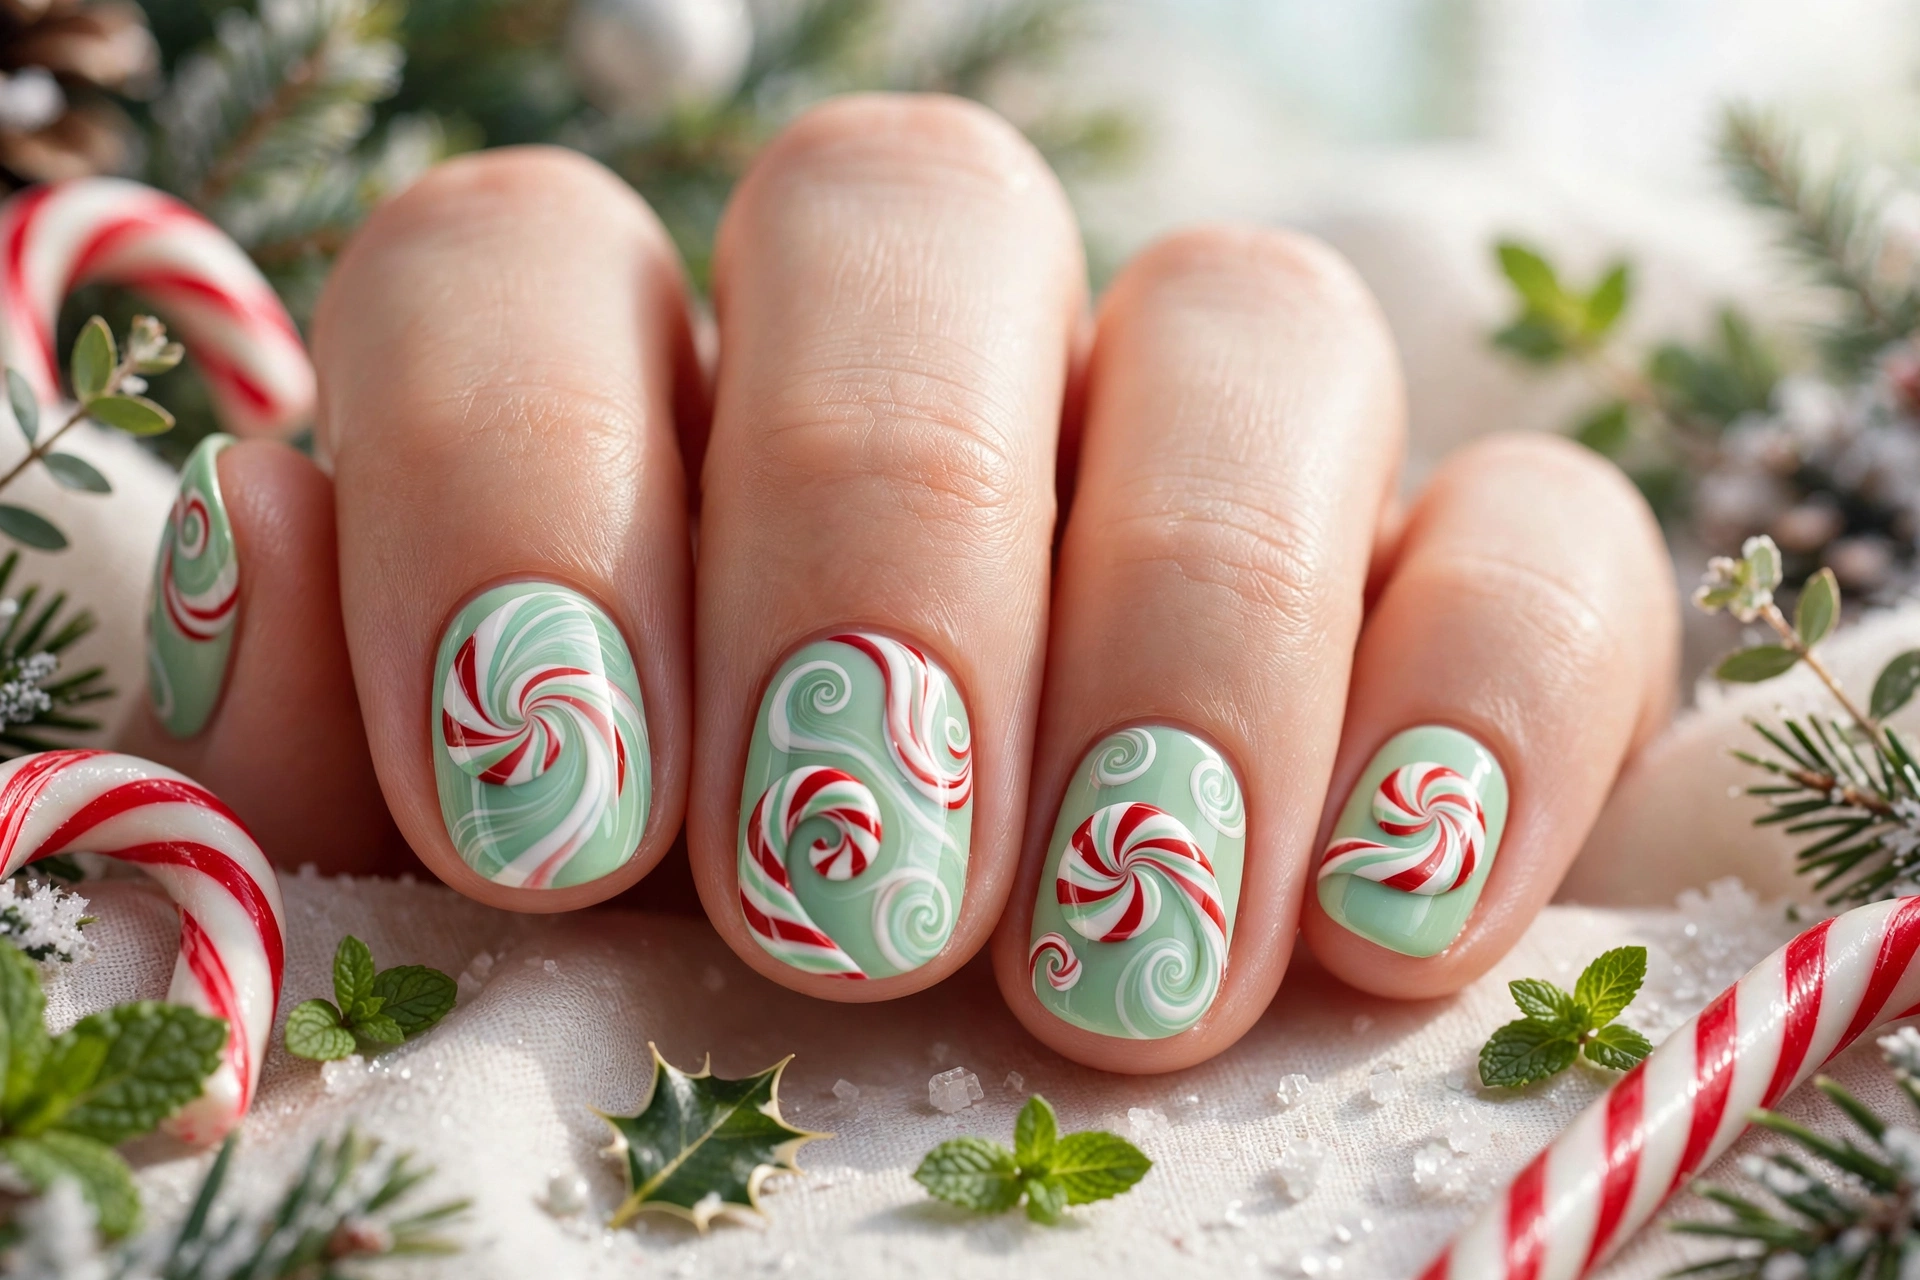
Mint green softens the classic red and white stripe, giving this manicure a cool, fresh feel for winter parties and casual gatherings. Paint the base pale mint, then draw slim stripes in white and deeper green for contrast. Keep the lines slightly curved so they follow each nail shape.
Add a thin silver line beside one stripe for a frosty finish, then seal it with a glossy top coat. In my experience, this shade suits short to medium nails best, where the swirl stays neat and easy to read. Pair it with a cream knit or silver clutch.
Burgundy Candy Cane Elegance
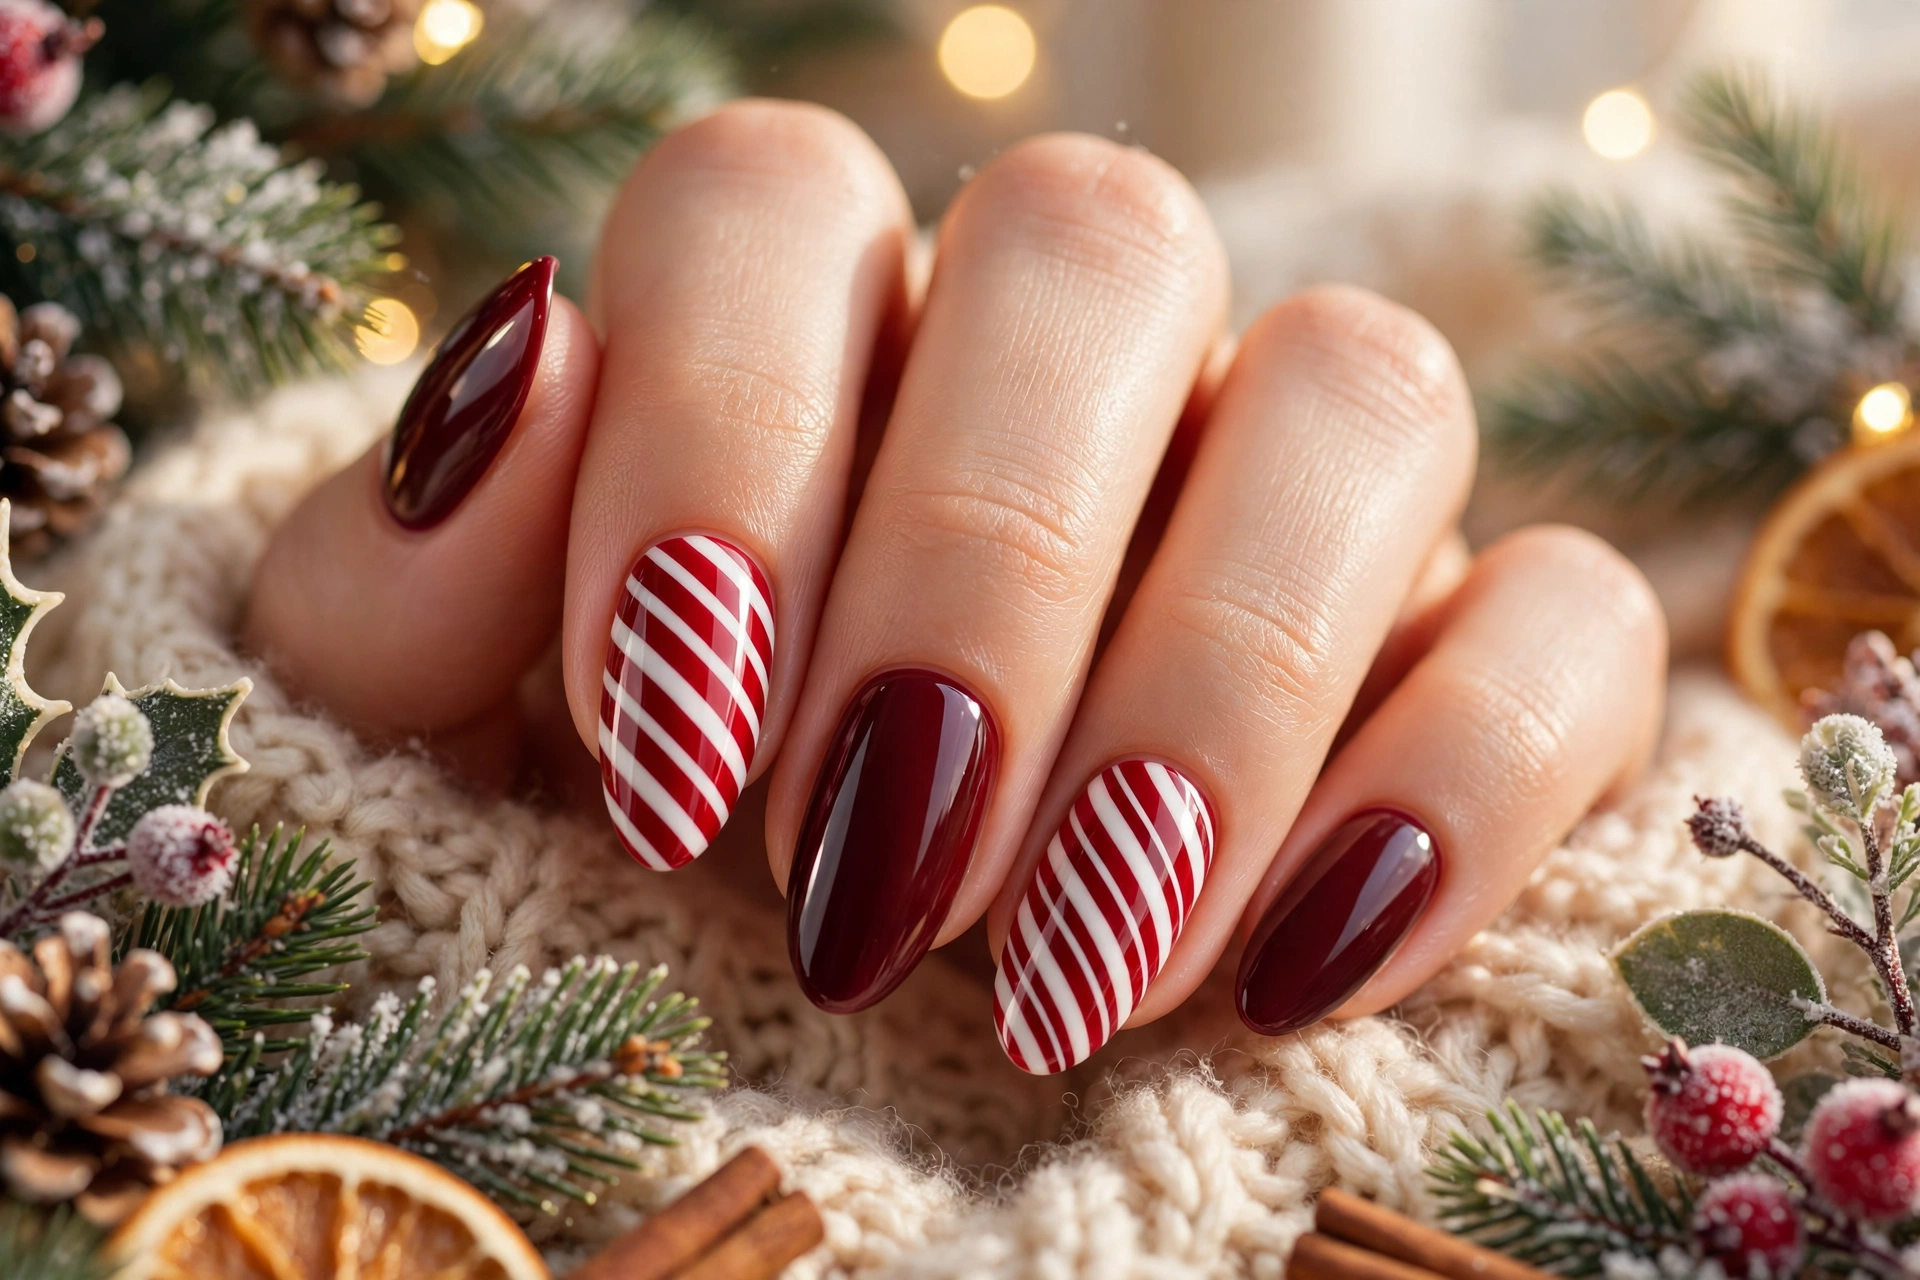
- Paint a deep burgundy base in two thin coats for rich, even colour.
- Add slim white and red diagonal stripes on one or two accent nails only.
- Keep the remaining nails solid burgundy with a glossy top coat for balance.
- Place one tiny gold dot at the cuticle of each accent nail for a refined touch.
- Pair the look with a burgundy dress, gold jewellery, or a dark winter coat.
Deep burgundy keeps the playful stripe feeling grown up and elegant, especially for evening dinners and formal holiday events. Keep the other nails simple, add one gold accent if you like, and choose a glossy finish over matte. The rich colour will flatter most skin tones beautifully.
Champagne Candy Cane Shine
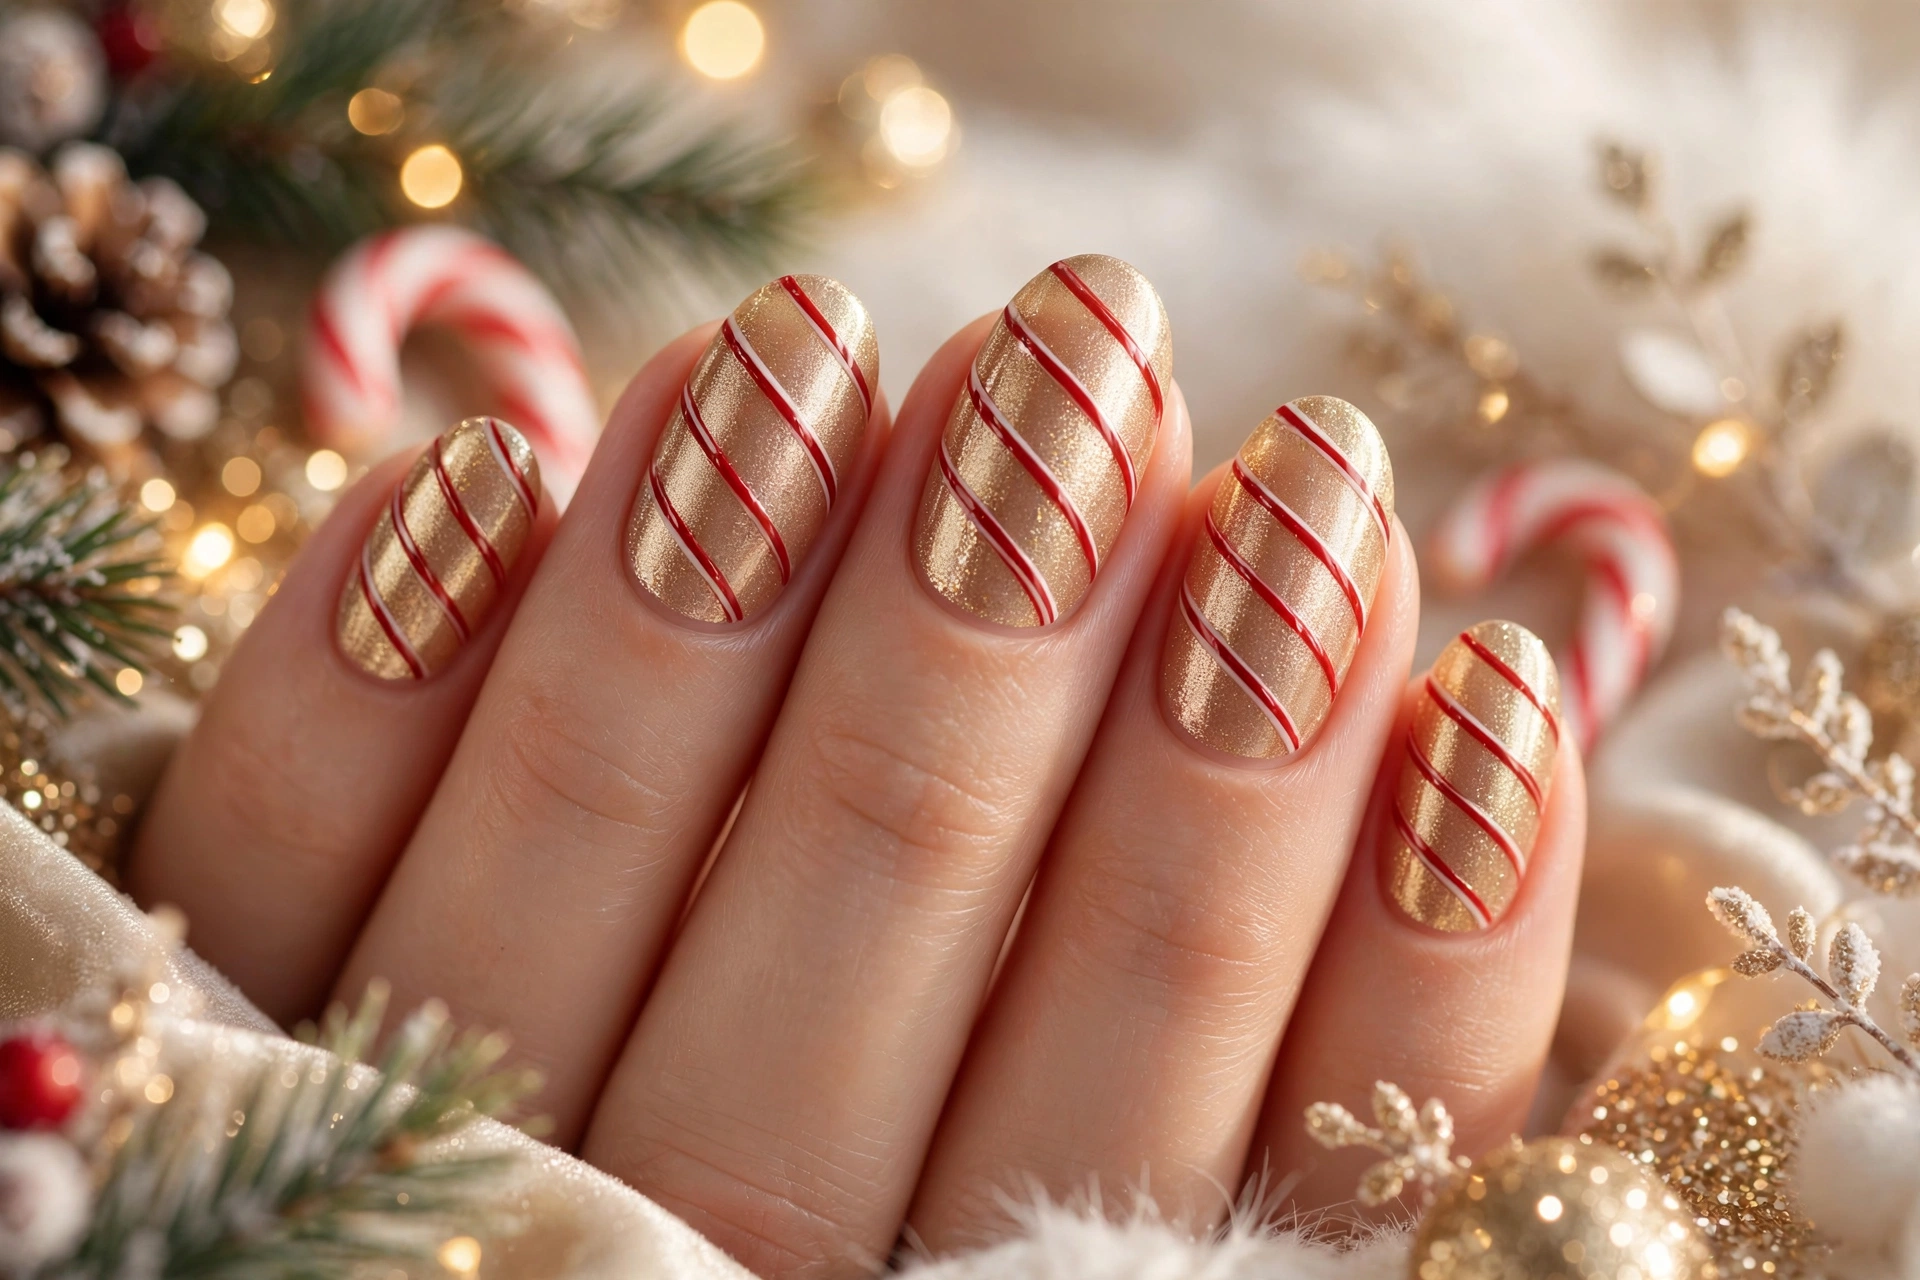
Quick Tip: Use a sheer champagne base and paint only two fine candy stripes per nail, leaving plenty of sheer space so light can pass through the design. A dotting tool helps keep the stripes straight on shorter nails.
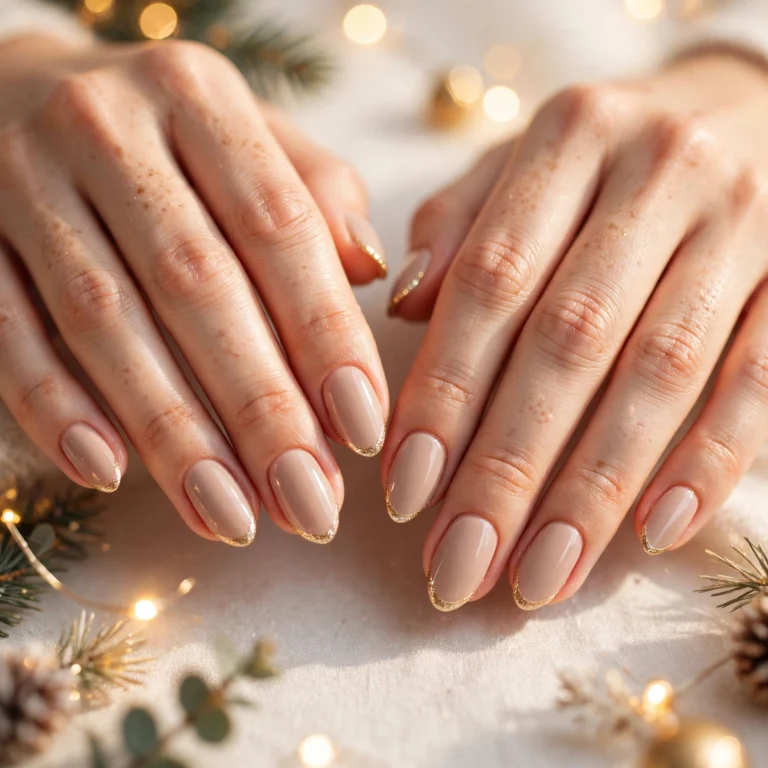
Champagne tones add a soft glow that works from daytime brunch to late night parties without feeling too bold. Keep the stripes fine, the base sheer, and the shine high for the most flattering result. A clear top coat every couple of days will keep this manicure looking fresh.
Candy Cane Bow Details
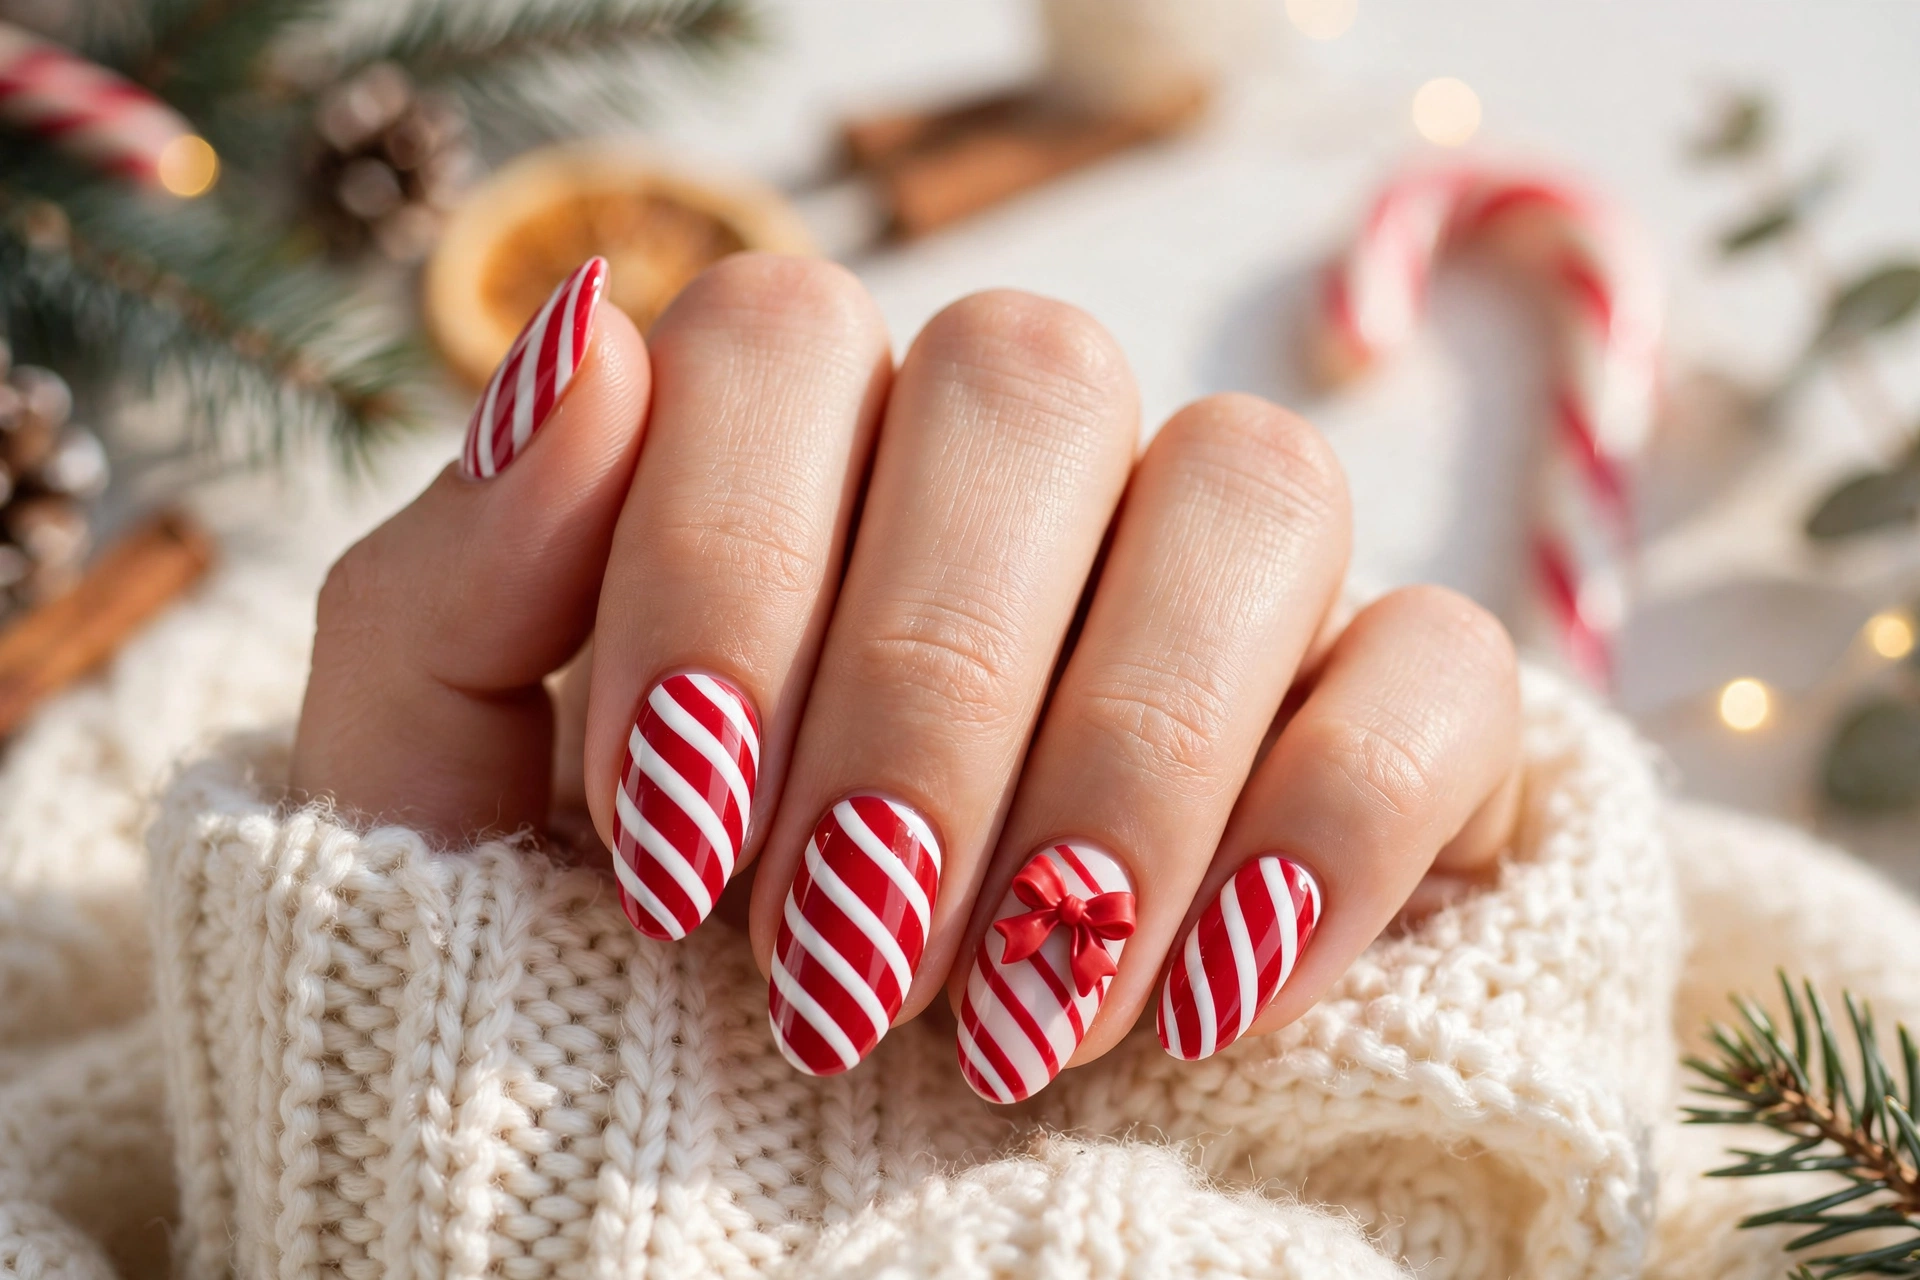
Before: Nails painted in plain solid red can look pretty but flat, with no detail to catch the eye at a party.
After: The same red base with slim white candy stripes and one tiny bow near the cuticle looks festive, detailed, and ready for the season.
Small bows turn a striped manicure into a gift ready detail that feels charming without looking childish. Keep the bow tiny, place it near the cuticle, and match the ribbon colour to your stripe. The finished look is festive, polished, and perfect for holiday photos and parties.
Icy Peppermint Candy Tips
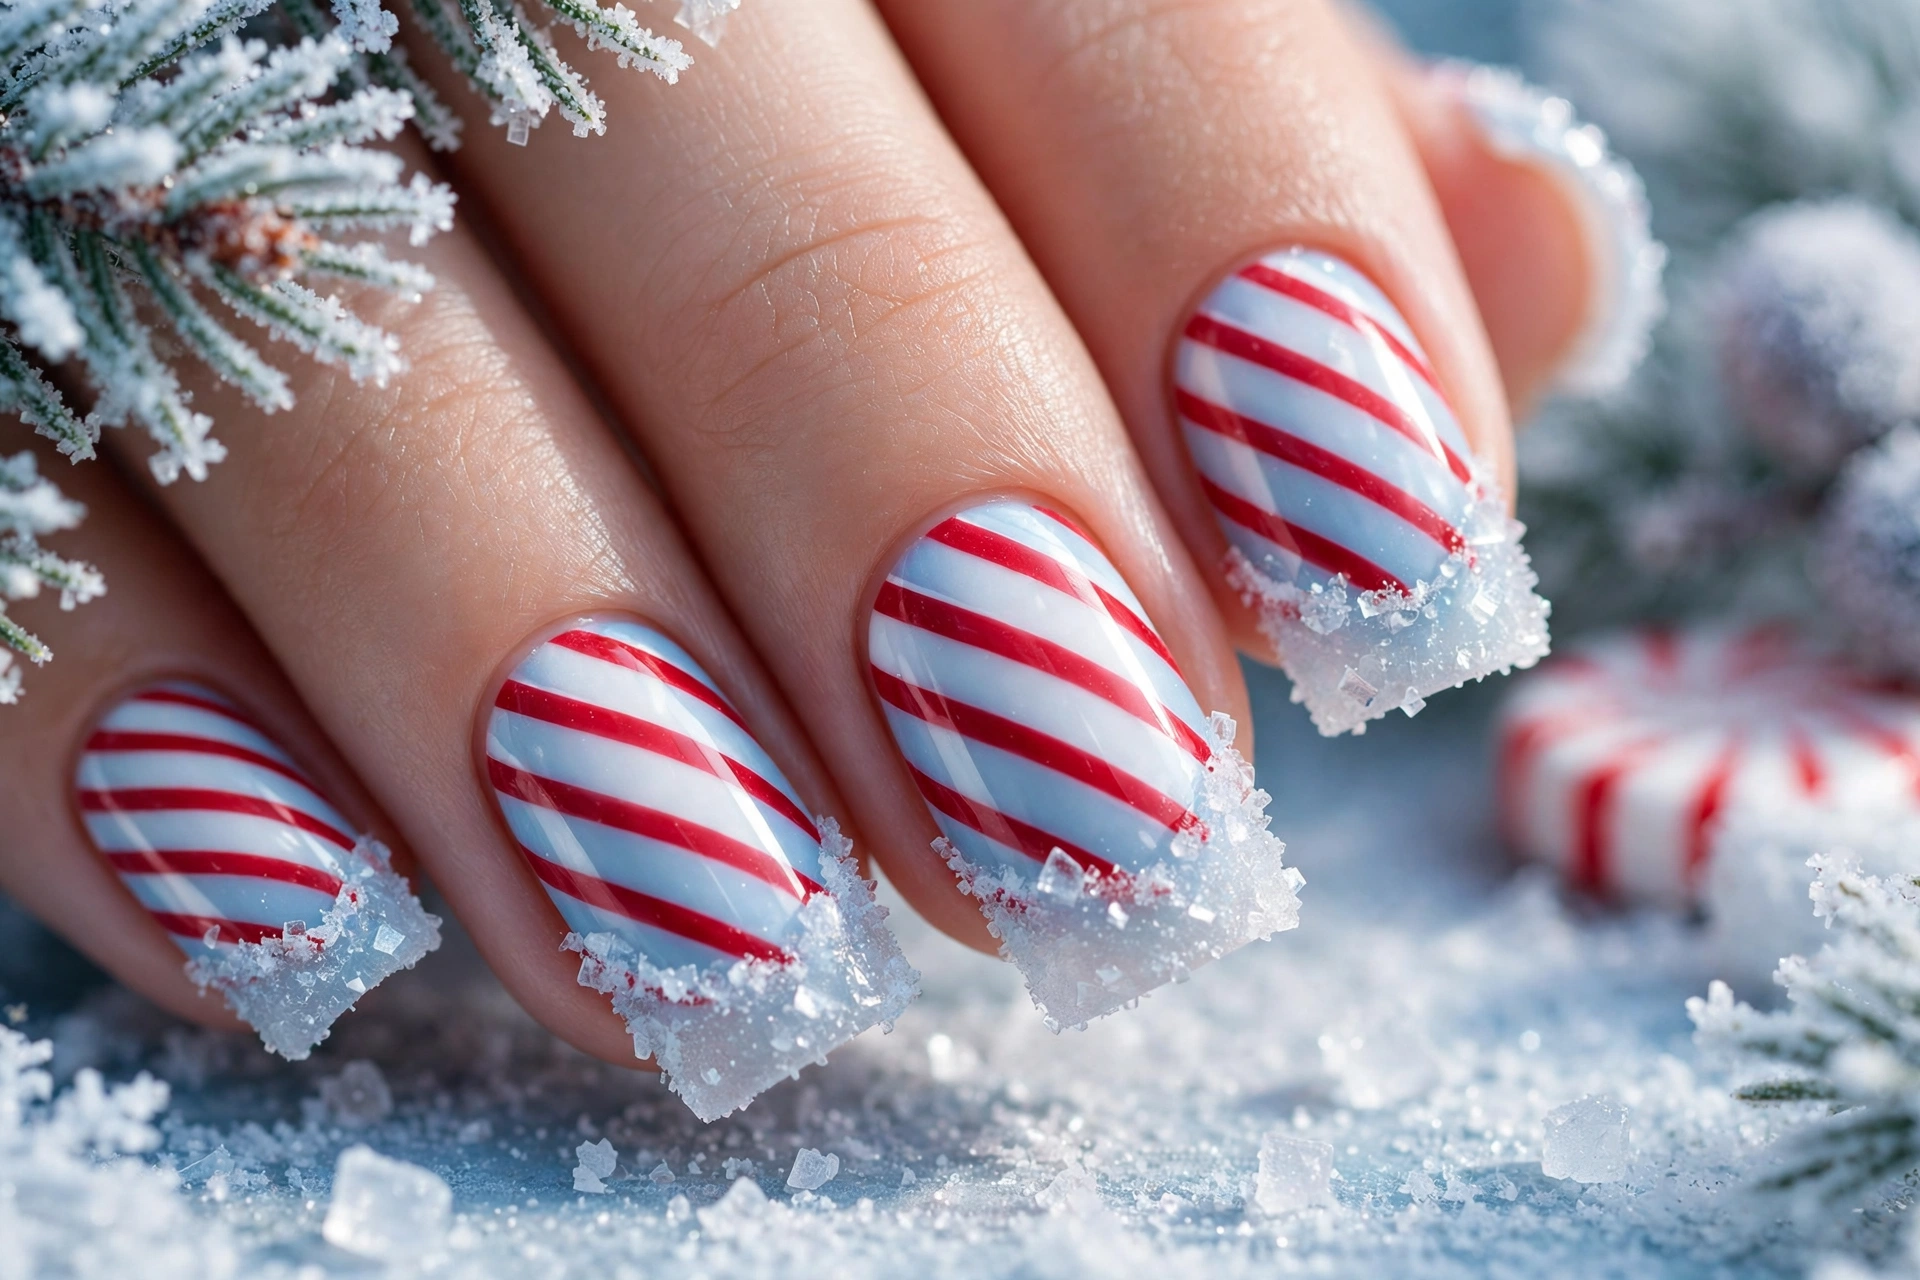
- Apply two thin coats of icy white polish, letting each coat dry fully so the base stays smooth and bright.
- Paint slim red stripes diagonally across each tip with a striping brush, keeping the lines slightly uneven for a hand painted peppermint effect.
- Add a tiny silver dot at the base of one accent nail for a cool frosty highlight.
- Seal the design with a glossy top coat, then apply cuticle oil once the nails are fully dry.
This icy version feels fresh rather than heavy, which makes it easy to wear with silver jewelry, white knits, and soft party makeup. Keep the stripes slim and the base bright, and the look stays crisp for days. If one stripe smudges, fix just that nail instead of starting over completely.
Rose Gold Candy Stripes
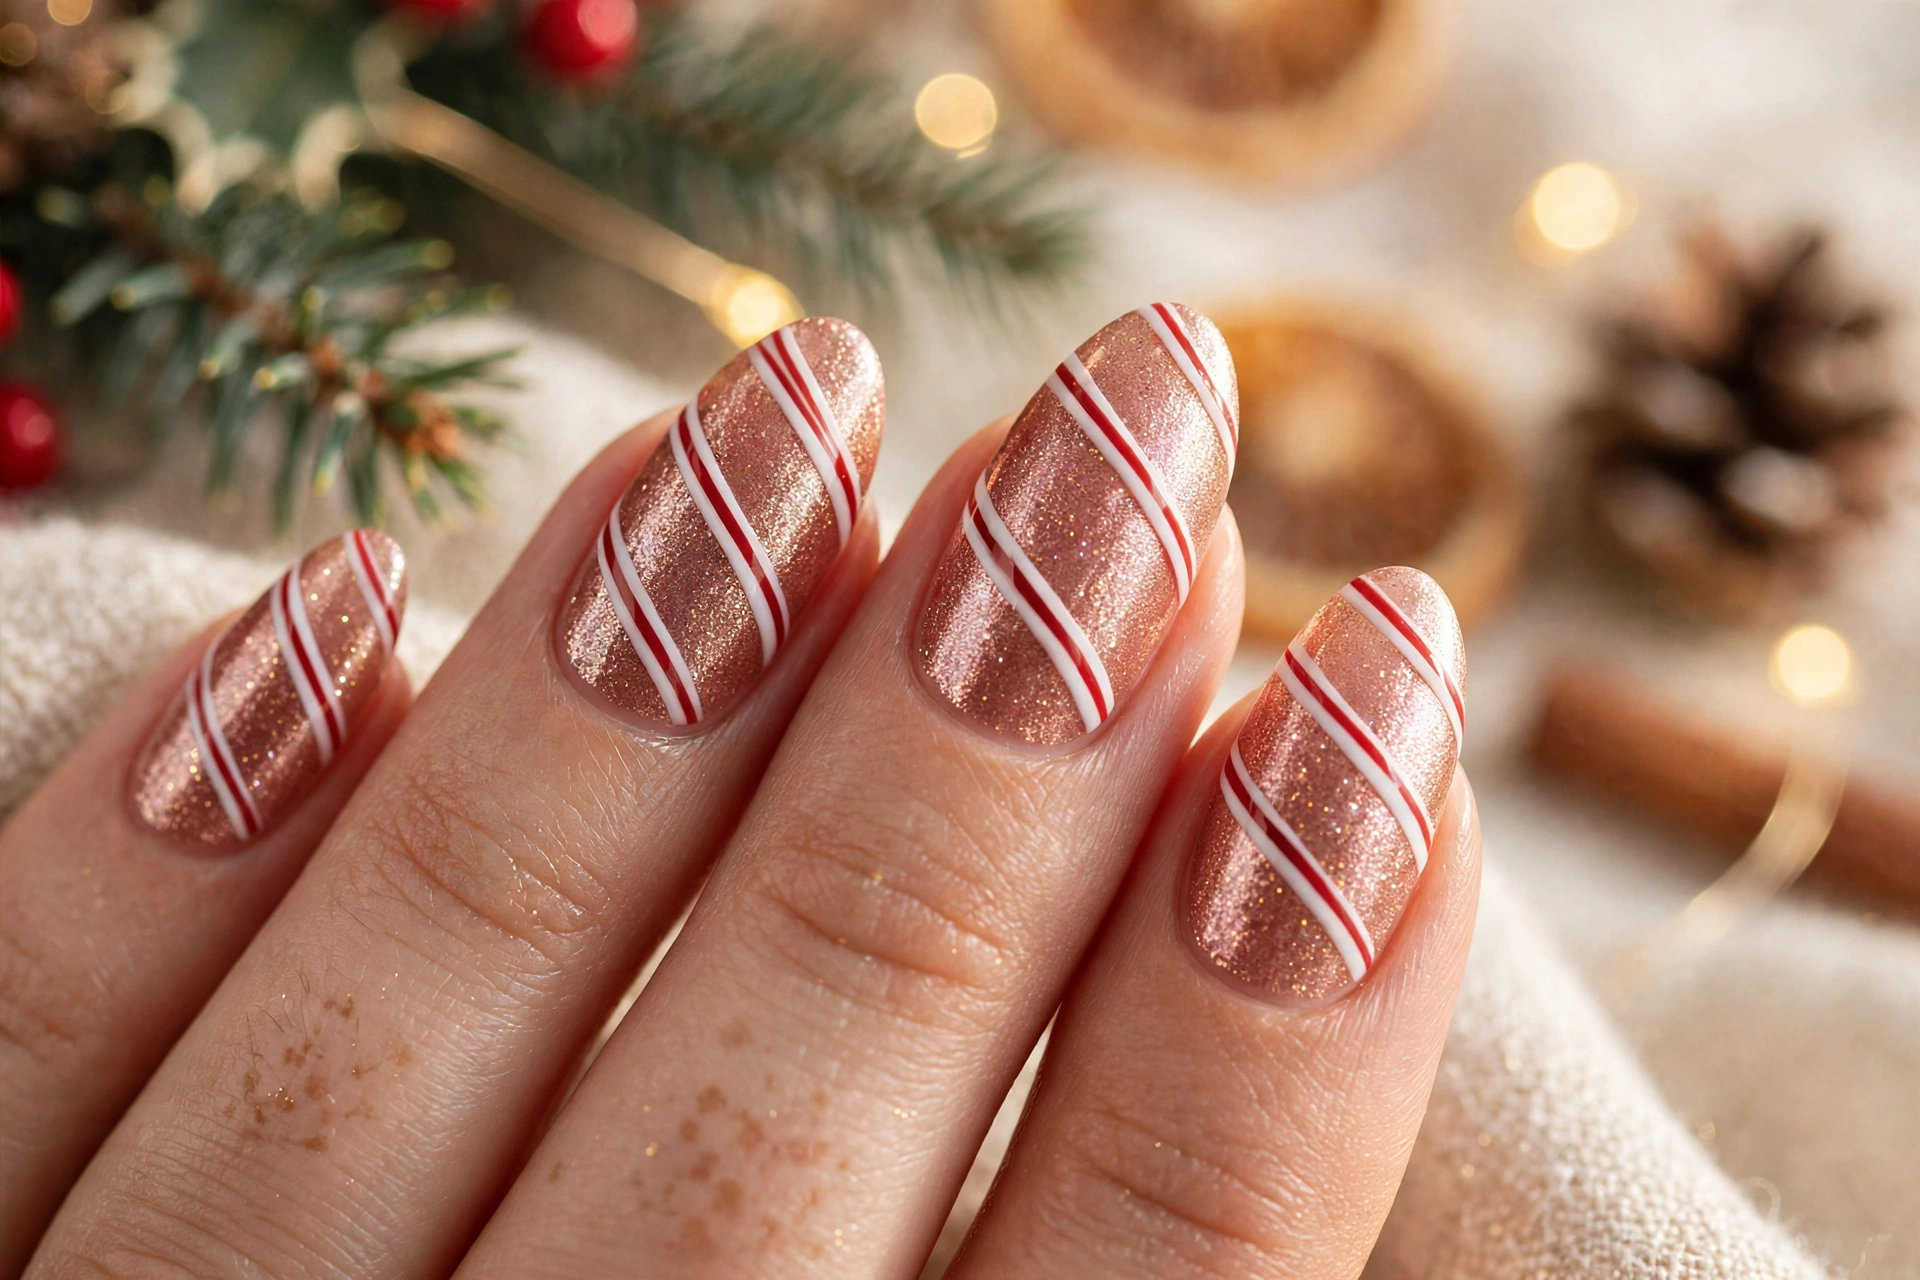
| Finish | Best For | Styling Tip |
|---|---|---|
| Soft rose gold foil stripes | Evening parties | Pair with blush nails and simple gold rings |
| Rose gold chrome stripes | Formal dinners | Keep other nails plain to let the shine stand out |
| Thin rose gold polish lines | Everyday wear | Match with neutral makeup and delicate jewelry |
| Rose gold glitter stripes | Festive photos | Add glitter only near the tips for balanced sparkle |
Rose gold softens the classic red and white pattern, so it suits both formal dinners and relaxed family gatherings. Choose foil for shine, chrome powder for a smoother glow, or thin metallic polish for everyday wear. Whichever finish you pick, keep one accent nail simpler so the stripes stay the star.
Candy Cane Snowflake Tips
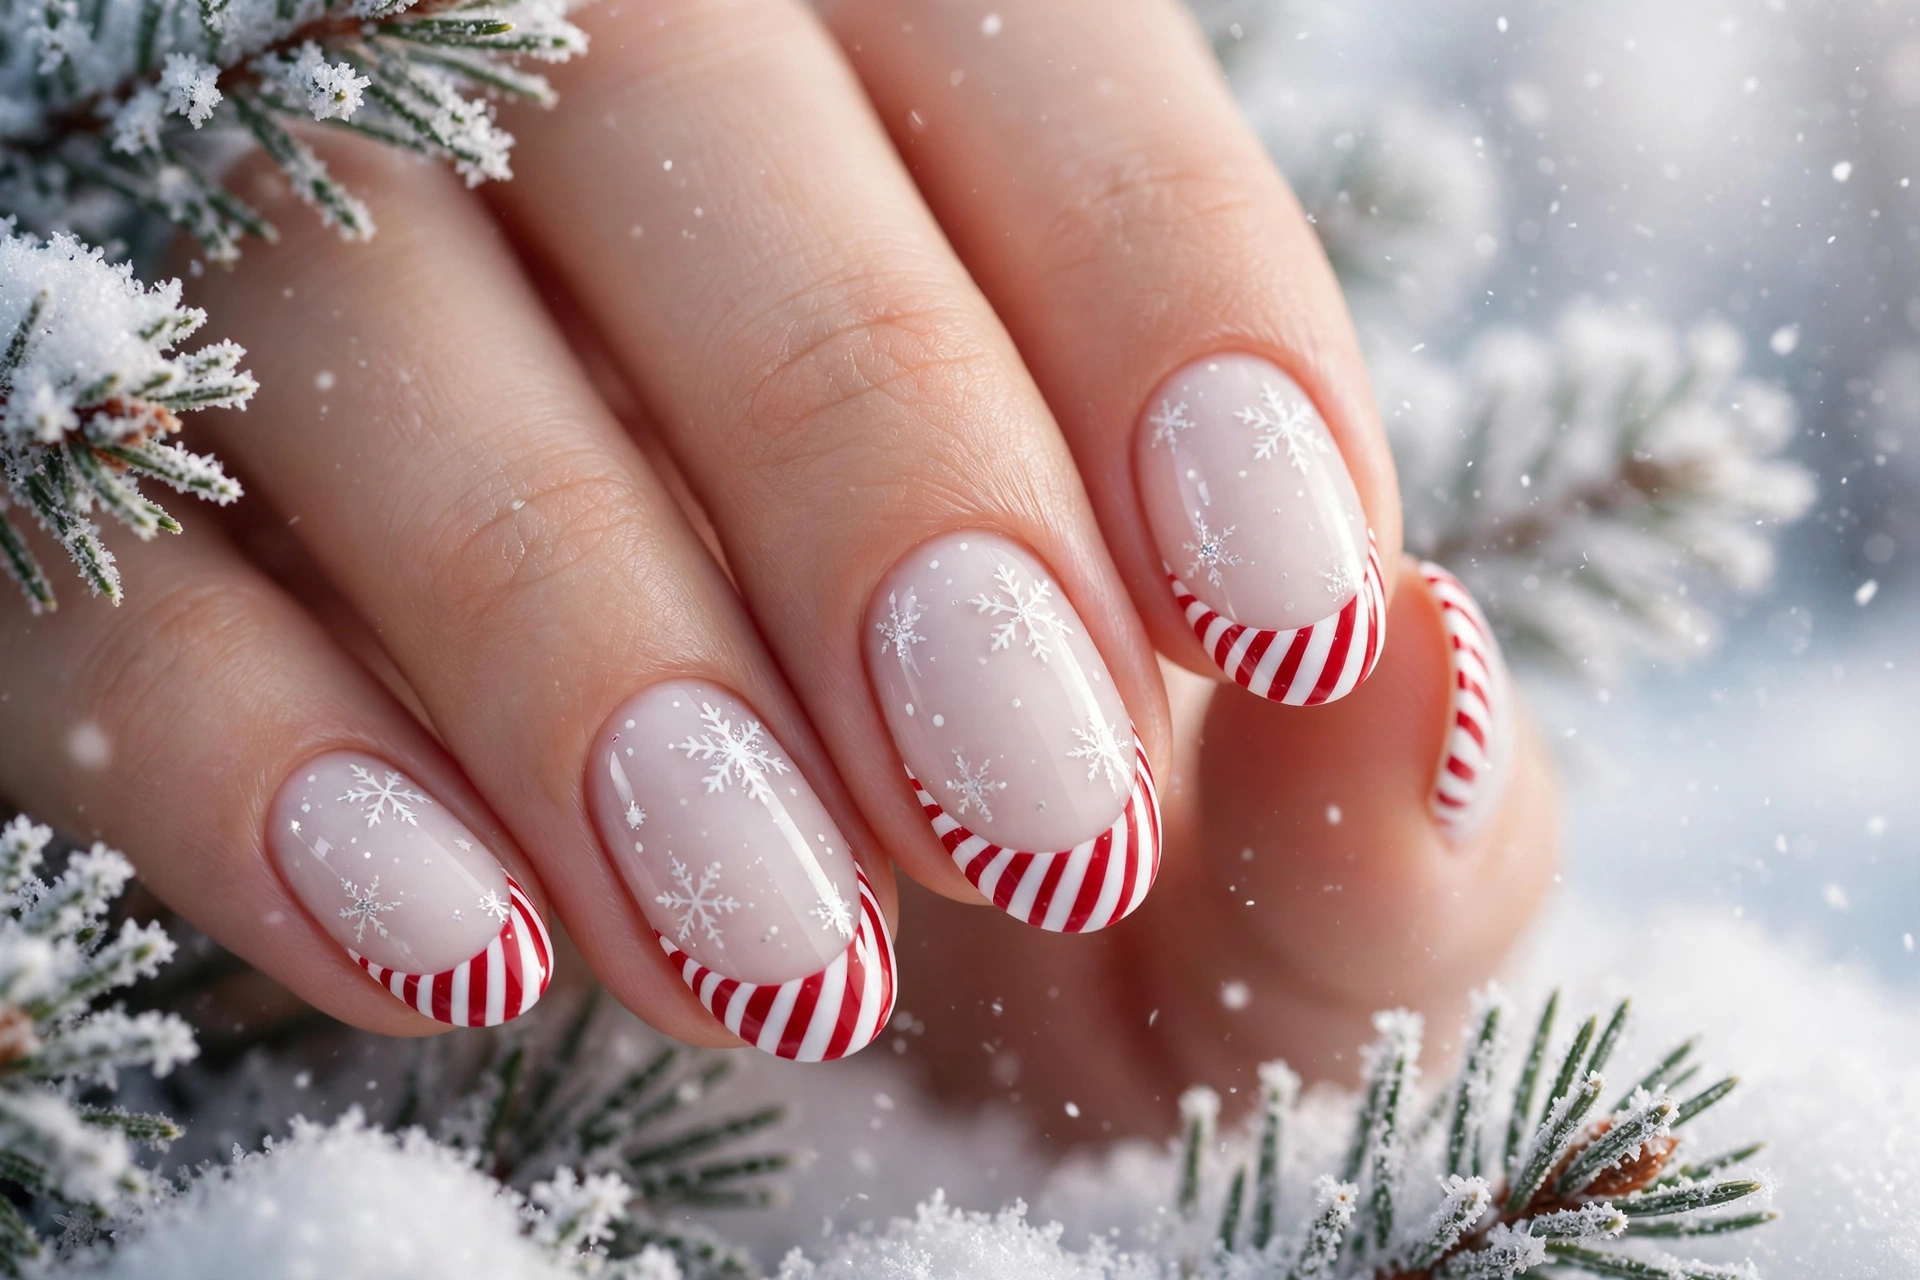
DO: Keep snowflakes on one or two accent nails so each design stays clear and readable.
DO: Use a fine dotting tool and a thin brush for small six arm snowflakes.
DON’T: Cover every nail with large snowflakes plus thick stripes at the same time.
DON’T: Skip top coat, because white details can smudge and lose crisp edges quickly.
When snowflakes and stripes share the nail, balance matters more than extra detail. Let the stripes frame the design and give each snowflake room to stand out. The result looks wintry and polished without feeling busy, and it pairs beautifully with cozy sweaters and simple silver accessories.
Emerald Candy Cane Accents
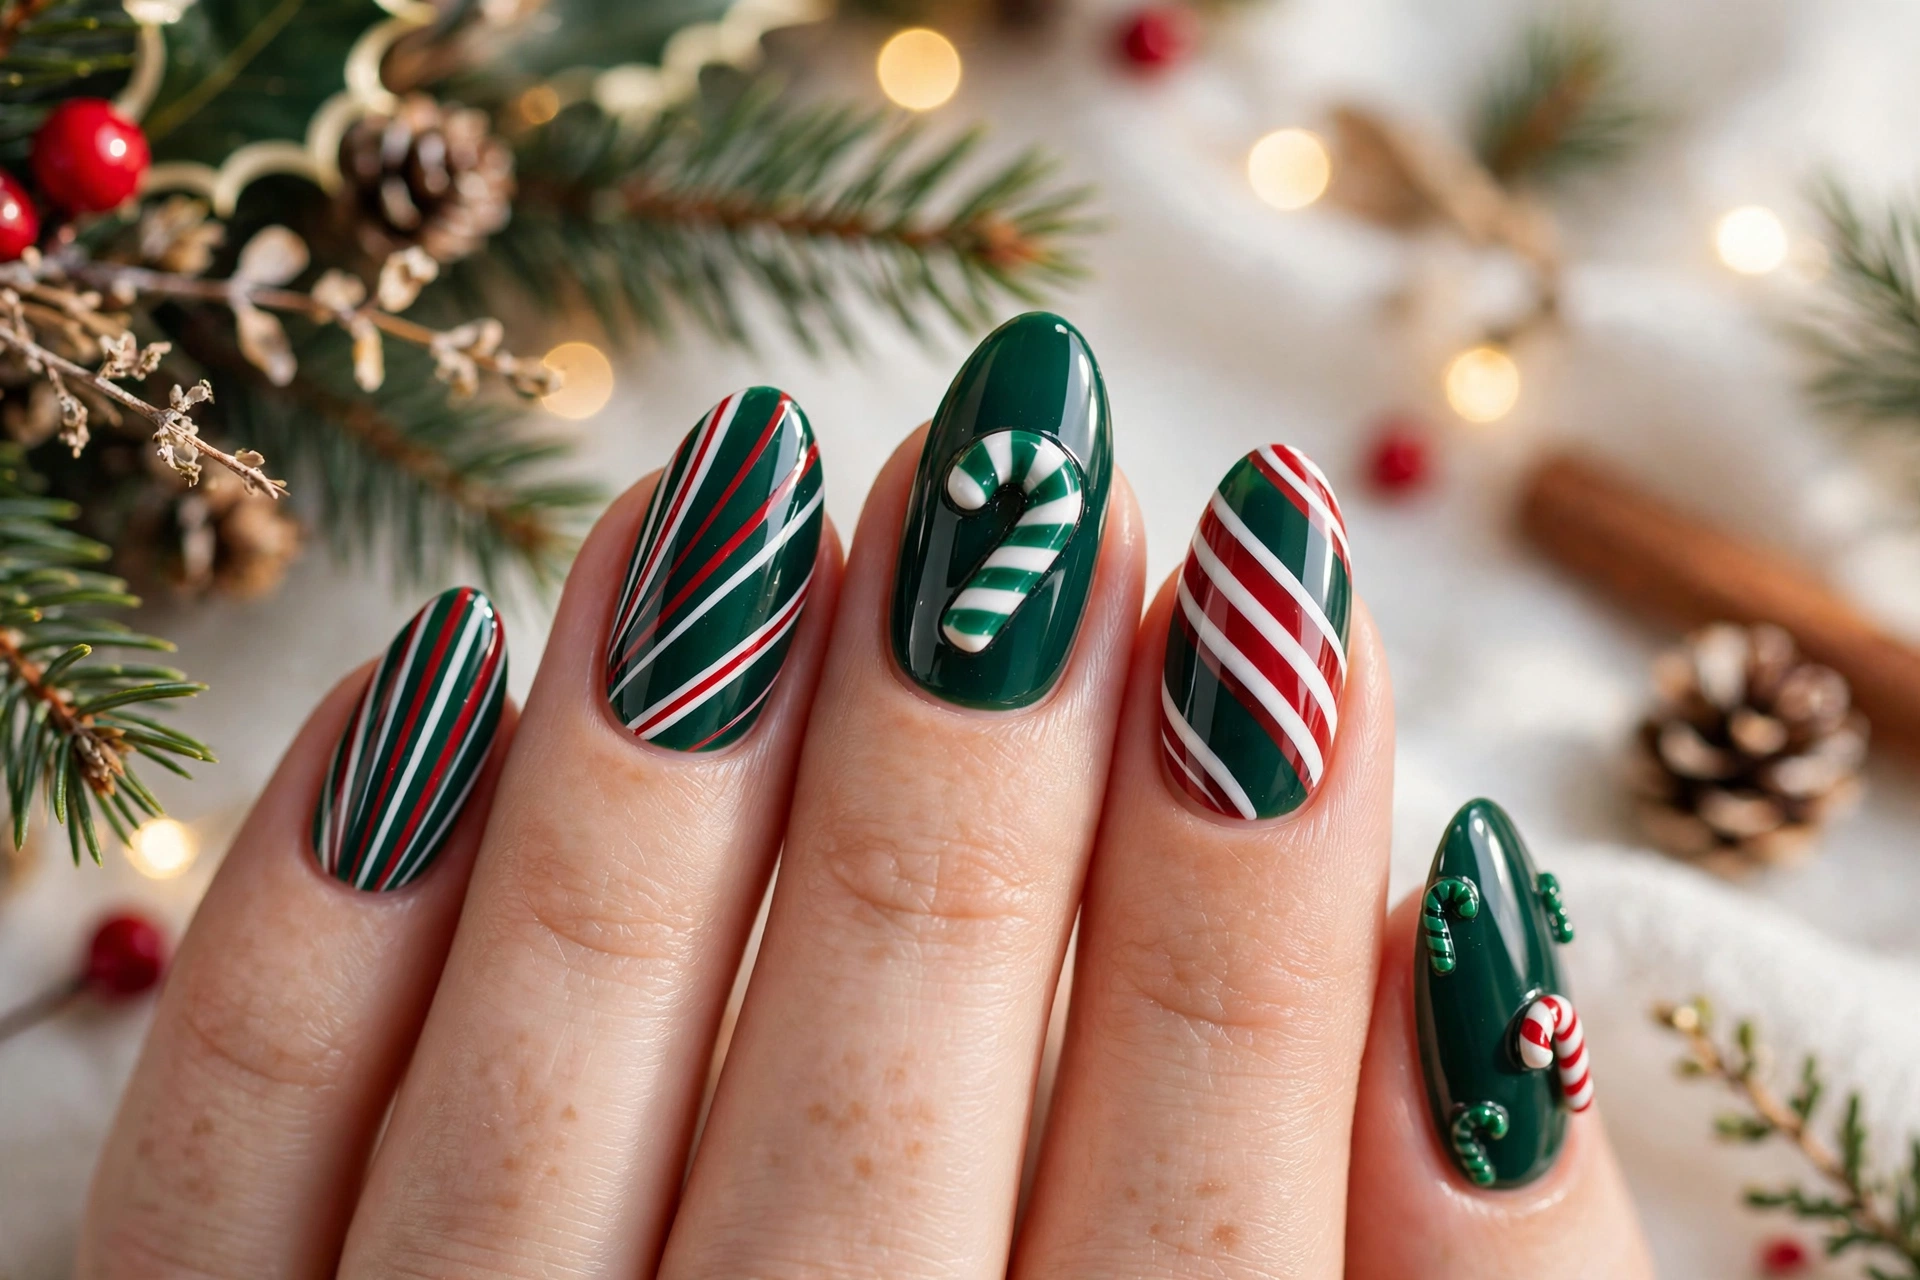
Best base: Deep emerald on accent nails, with soft white on the remaining nails.
Stripe width: Keep red stripes slim so emerald does not compete with the pattern.
Pairing: Gold jewelry, velvet outfits, and dark green or black clothing.
Upkeep: Apply top coat every two to three days to protect metallic or foil details.
Emerald brings a rich, jewel toned depth to peppermint stripes without overpowering them. Use it sparingly on accent nails or as a thin outline, and let the red and white pattern do most of the talking. This mix works especially well for evening events, velvet outfits, and gold jewelry.
Nude Candy Cane Tips
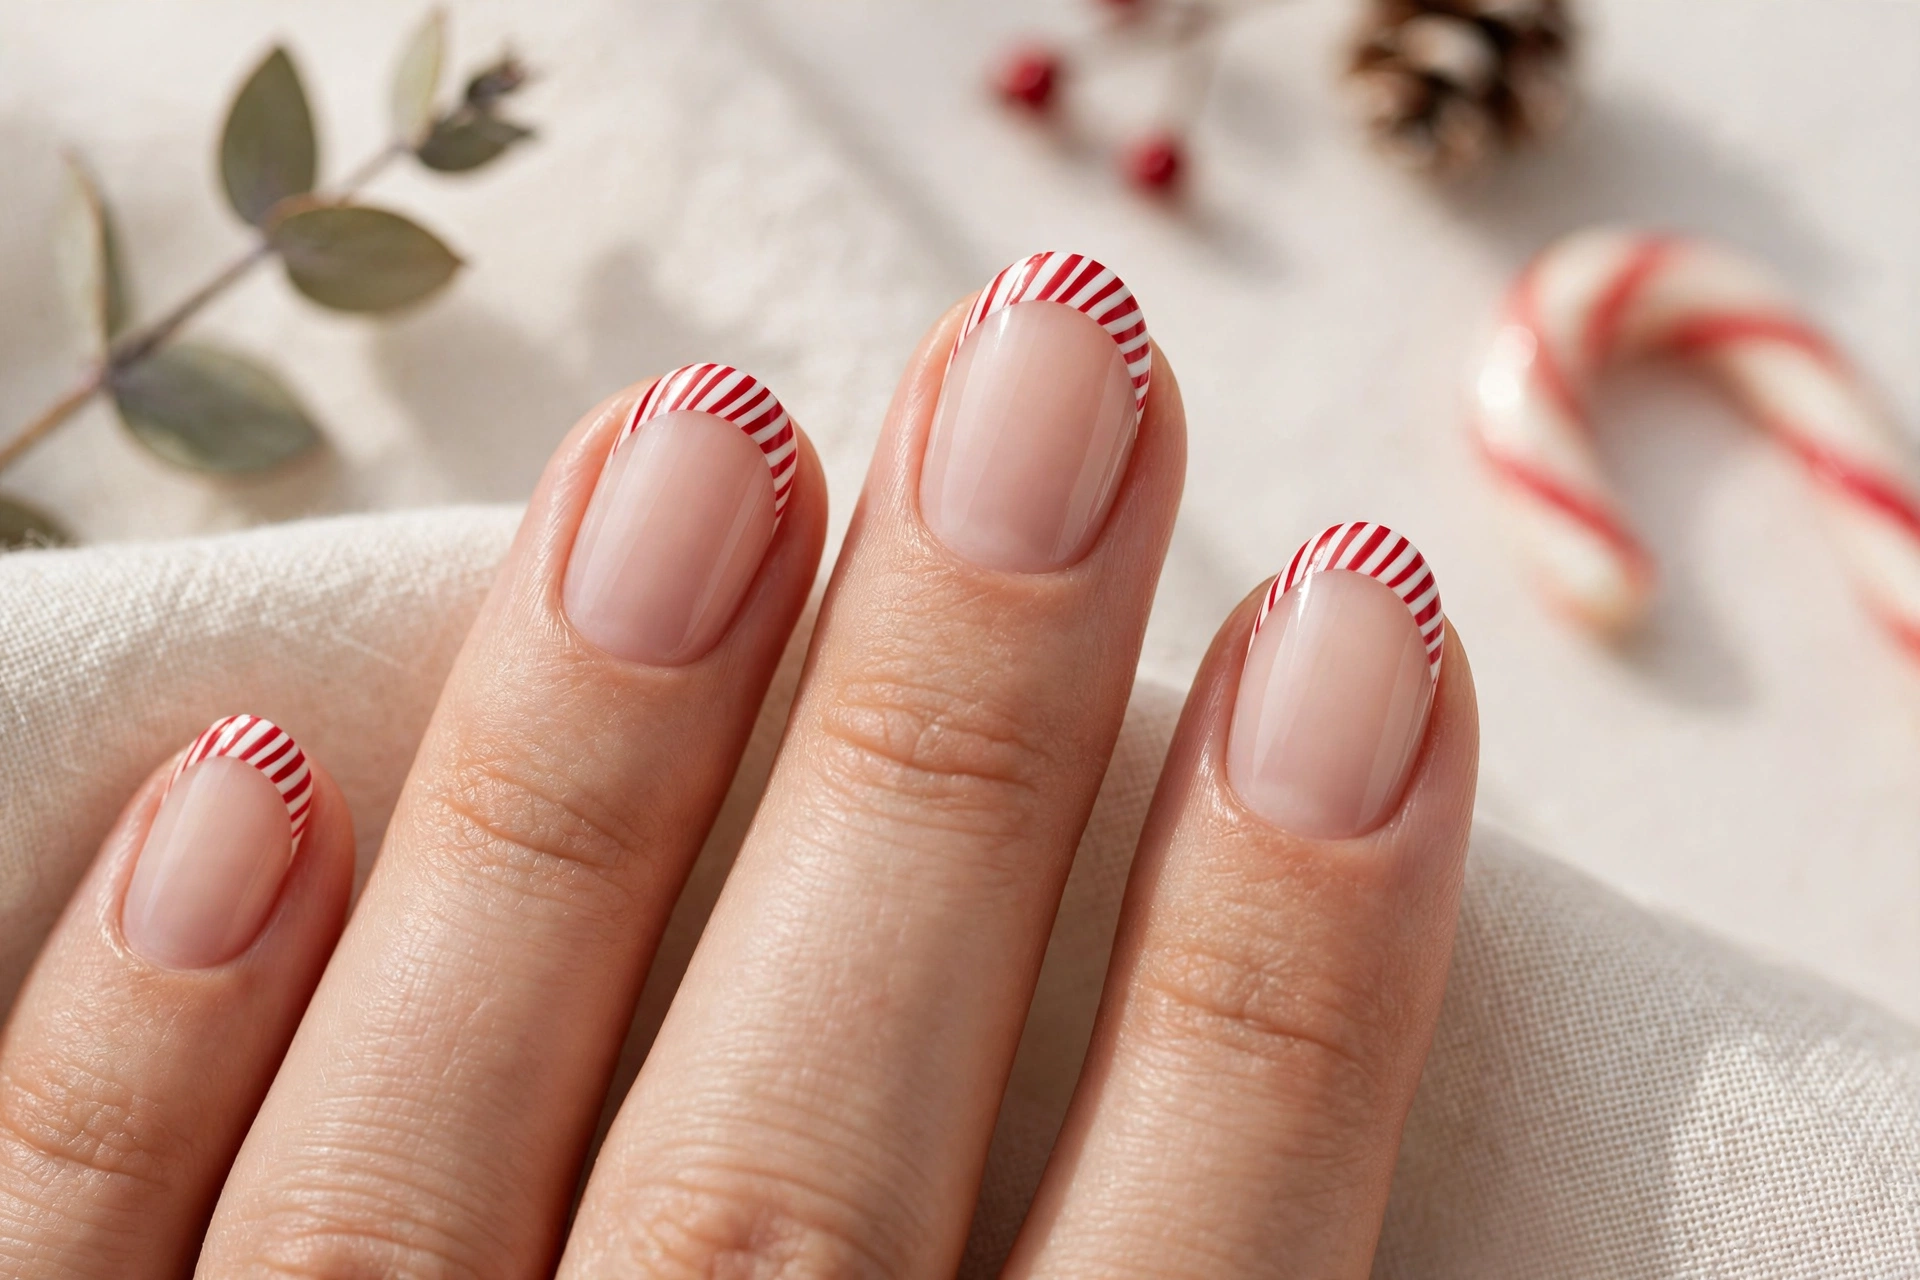
A nude base lets peppermint stripes look refined rather than loud, which makes this version ideal for work, weddings, and quiet holiday dinners. Choose a nude that matches your skin tone, then keep the stripes thin and placed only near the tips. The soft background also hides minor growth at the cuticle, so the manicure stays neat for longer between appointments.
In my experience, a matte top coat softens the contrast, while gloss makes the stripes pop for parties. Add one tiny crystal at the base of an accent nail for a subtle festive touch.
Candy Cane Glitter Fade
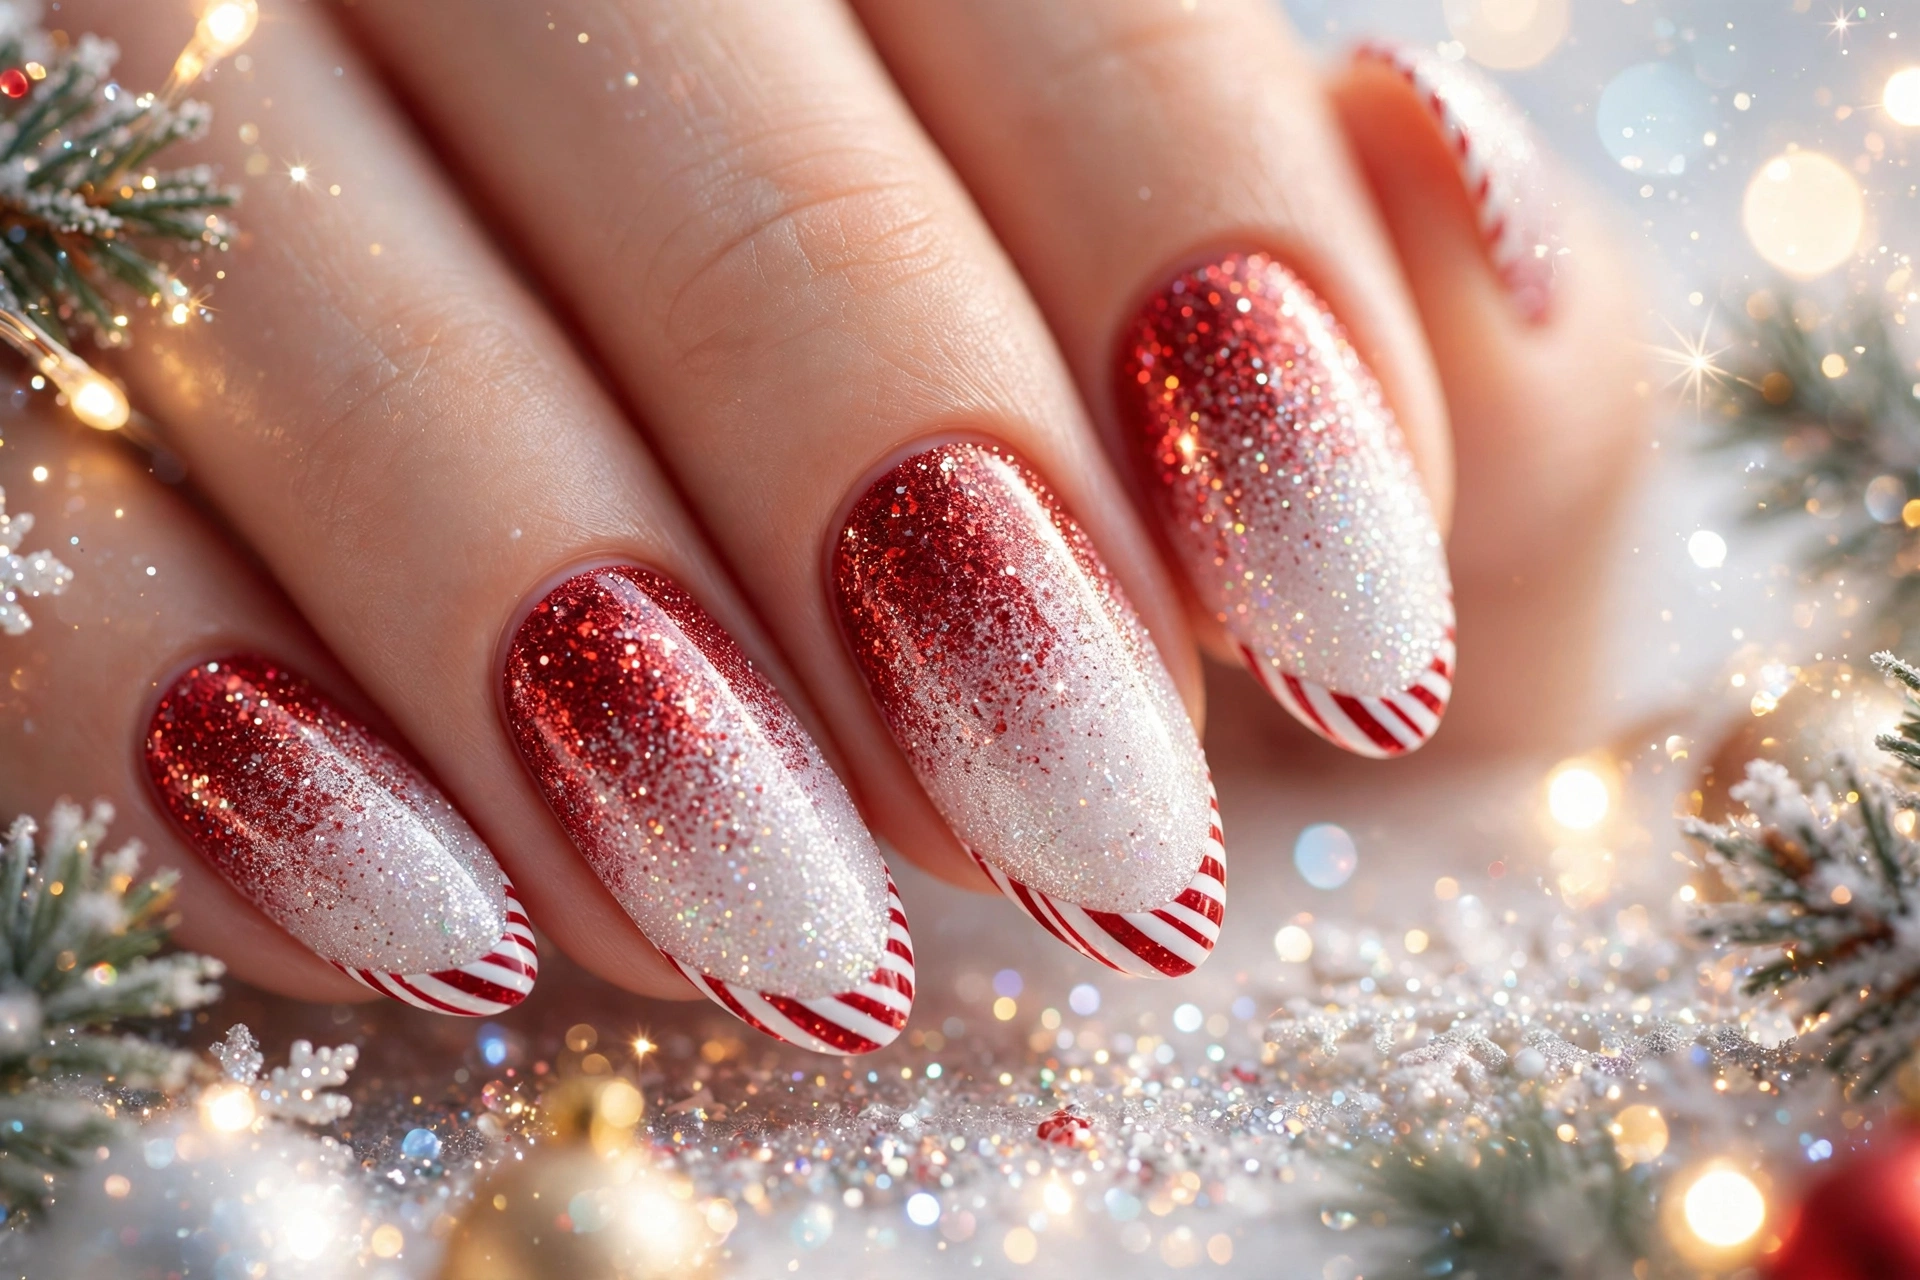
- Start with a clean white base and let it dry fully before adding color.
- Sponge silver and red glitter lightly over the tips, building the layers gradually.
- Leave the middle of the nail softer so the stripes underneath remain visible.
- Seal with two thin top coats and clean the edges with a small brush dipped in remover.
A glitter fade adds sparkle without covering the stripes completely, so the peppermint pattern still shows through clearly. Keep the heaviest glitter near the tips and fade it gently toward the cuticle for a smooth blend. This finish catches light beautifully in photos and at evening parties.
Midnight Candy Cane Stars
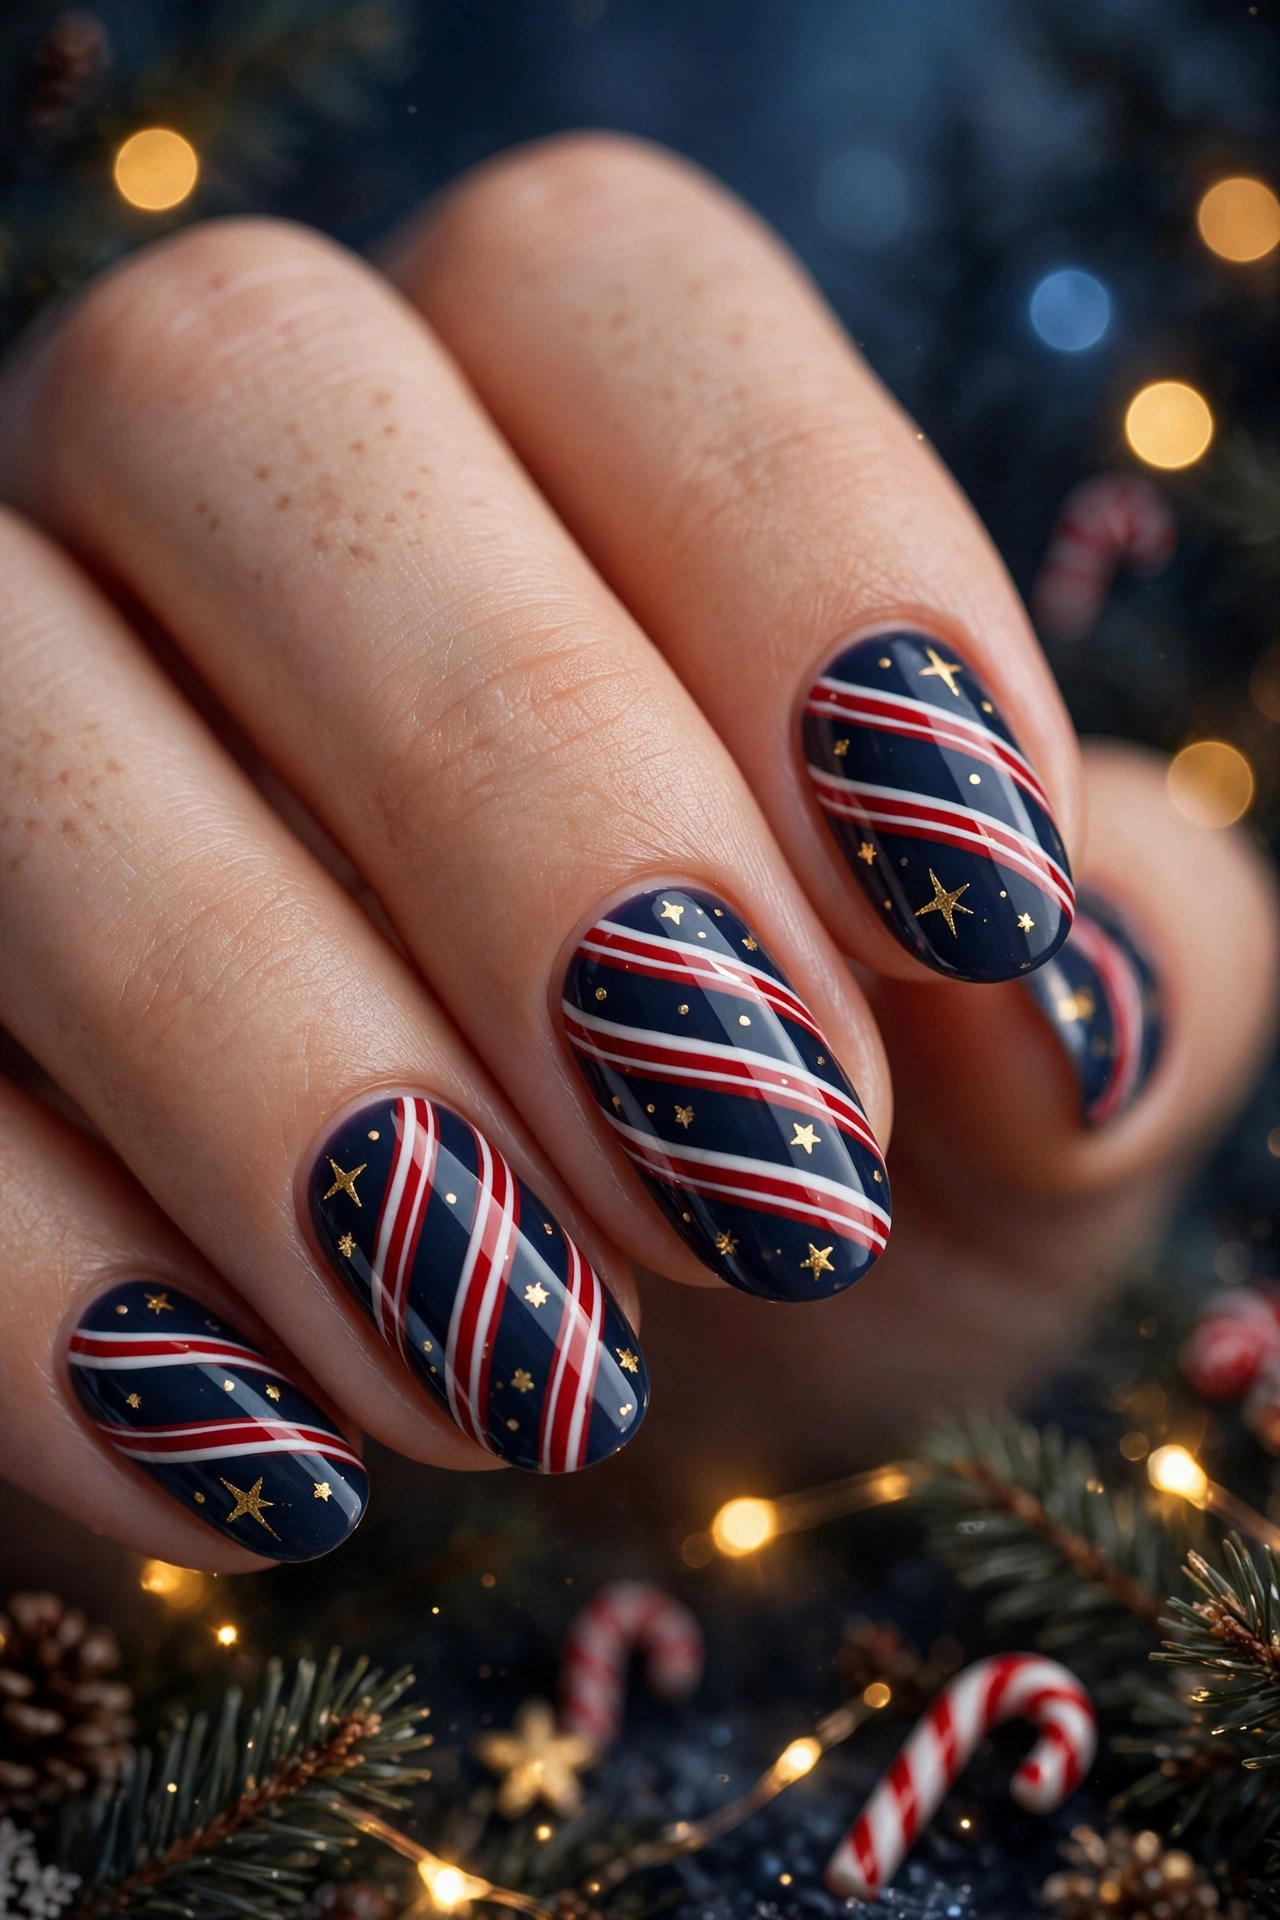
Quick Tip: Paint the navy base first and let it dry fully before adding red and white stripes with a thin striping brush. Place one small gold star near the cuticle on two accent nails, then finish with a glossy top coat so the stars sit flat and catch the light.
These midnight stars look best when the base stays glossy and the stripes stay crisp, so seal each layer with a thin top coat and clean the edges with a flat brush. Pair them with silver rings and a dark sweater, then refresh the shine on day three to keep them looking freshly done.
Candy Cane Holly Accents
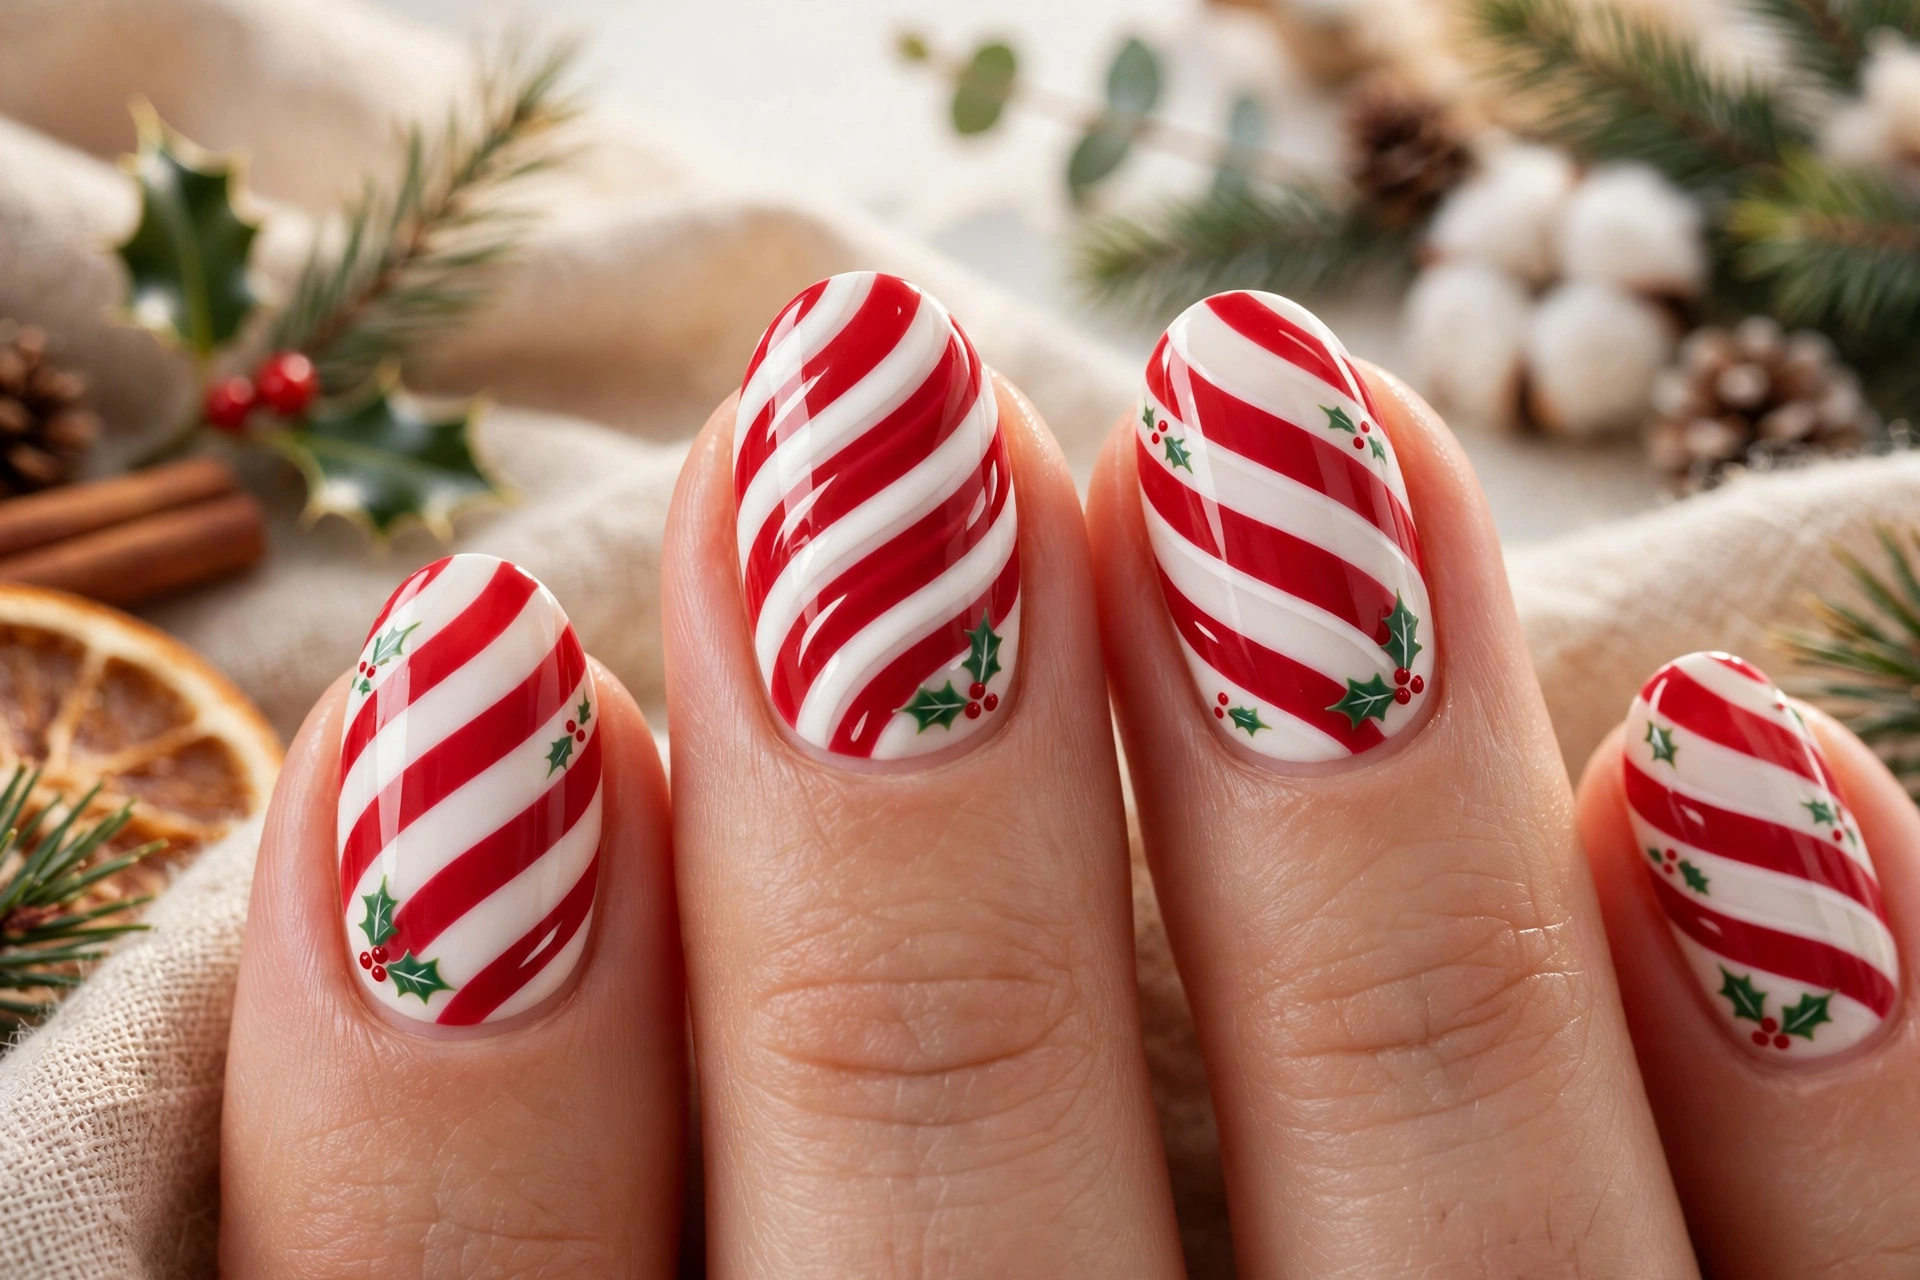
Before: A plain red and white striped manicure can feel flat when every nail repeats the same pattern with no focal point.
After: Add tiny holly leaves and three red berries at the base of one or two accent nails, keep the other nails striped, and the set gains a seasonal focal point while staying clean and wearable.
That small change keeps the look festive without covering the whole nail in busy detail, and it works well on short and medium lengths. Keep the holly leaves tiny and the berries neat, and make the stripes slightly thinner near the tip so the design stays balanced and photographs beautifully.
Soft Blush Candy Tips
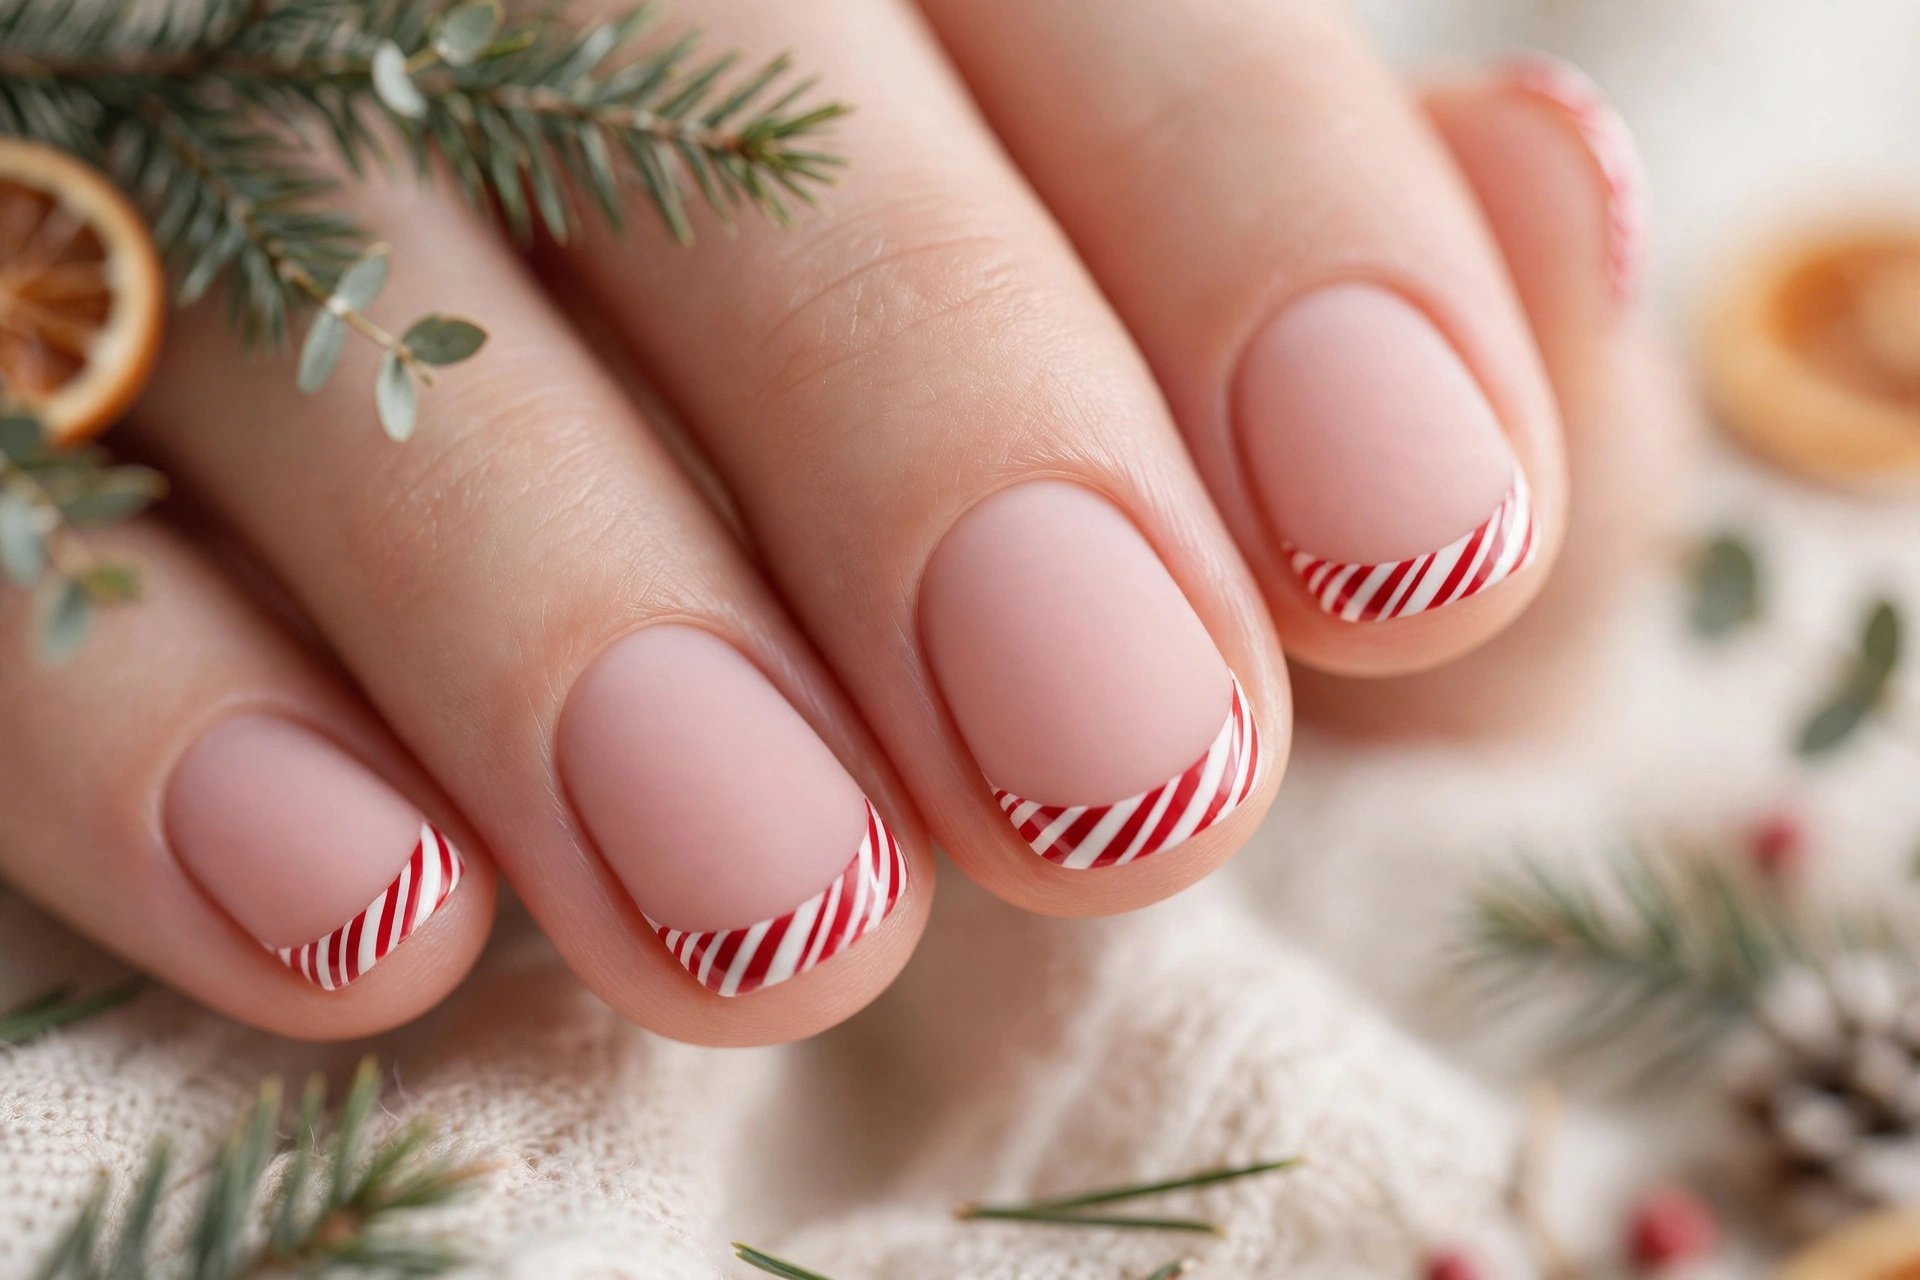
- Shape nails into a soft oval and apply a sheer blush base, letting it dry completely.
- Paint diagonal red and white tips with a thin brush, keeping the lines slightly curved for a soft candy effect.
- Add a faint white shimmer over the tips and a tiny dot of gold at the smile line on accent nails.
- Seal with a glossy top coat and tidy the edges with a cleanup brush.
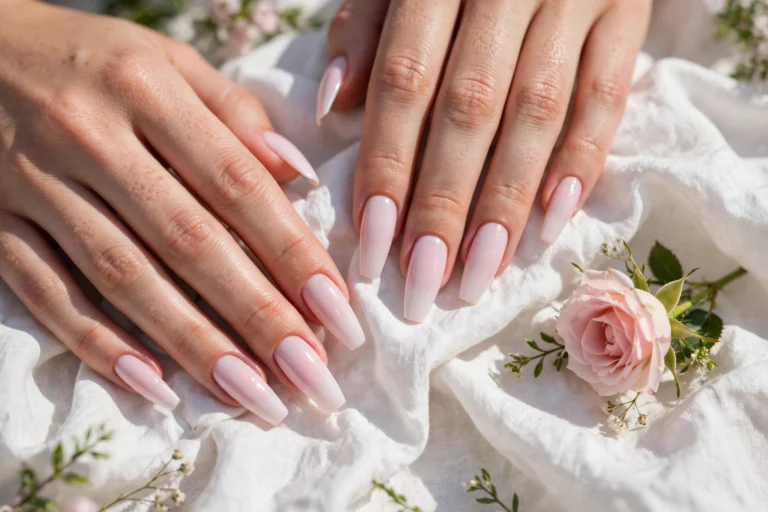
This softer version suits office parties, family dinners, and anyone who prefers a gentle take on holiday nails. The blush base keeps the red from feeling too bold, while the curved tips make short nails look longer. A second top coat on day two keeps the shine strong all week.
Candy Cane Crown Details
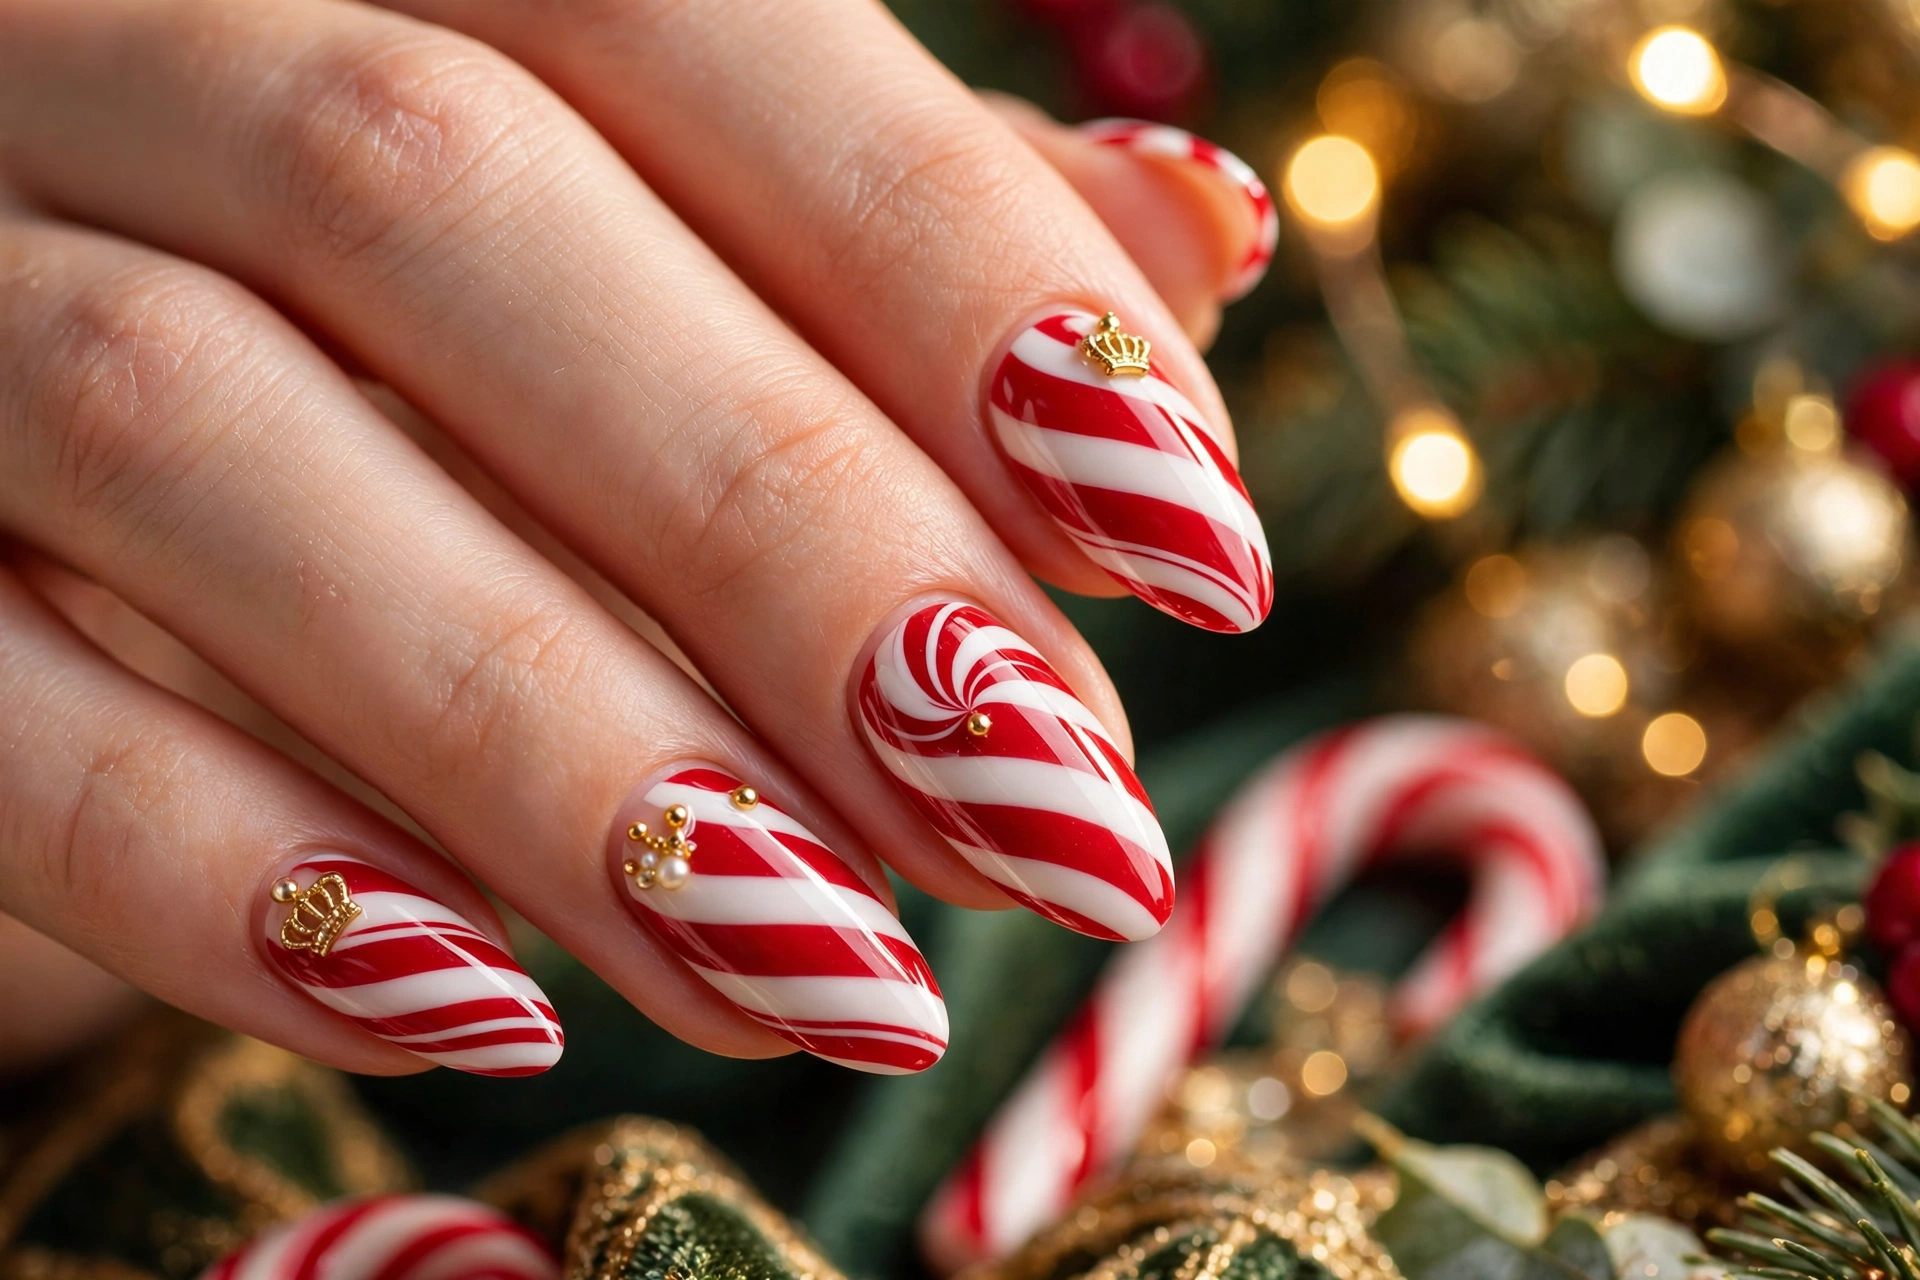
| Detail | Soft everyday version | Regal party version |
|---|---|---|
| Crown placement | One accent nail | Two accent nails with matching thumbs |
| Gem colour | Clear crystals | Gold and red crystals |
| Stripe style | Thin even stripes | Wide stripes with a gold outline |
| Finish | Glossy top coat | Glossy top coat plus gold shimmer |
Choose the regal version for evening parties and the softer version for daytime events, since both share the same striped base. Keep the gems small and close to the cuticle so they stay comfortable, and press each one into wet top coat for a secure hold that lasts through the night.
Regal Candy Cane Party
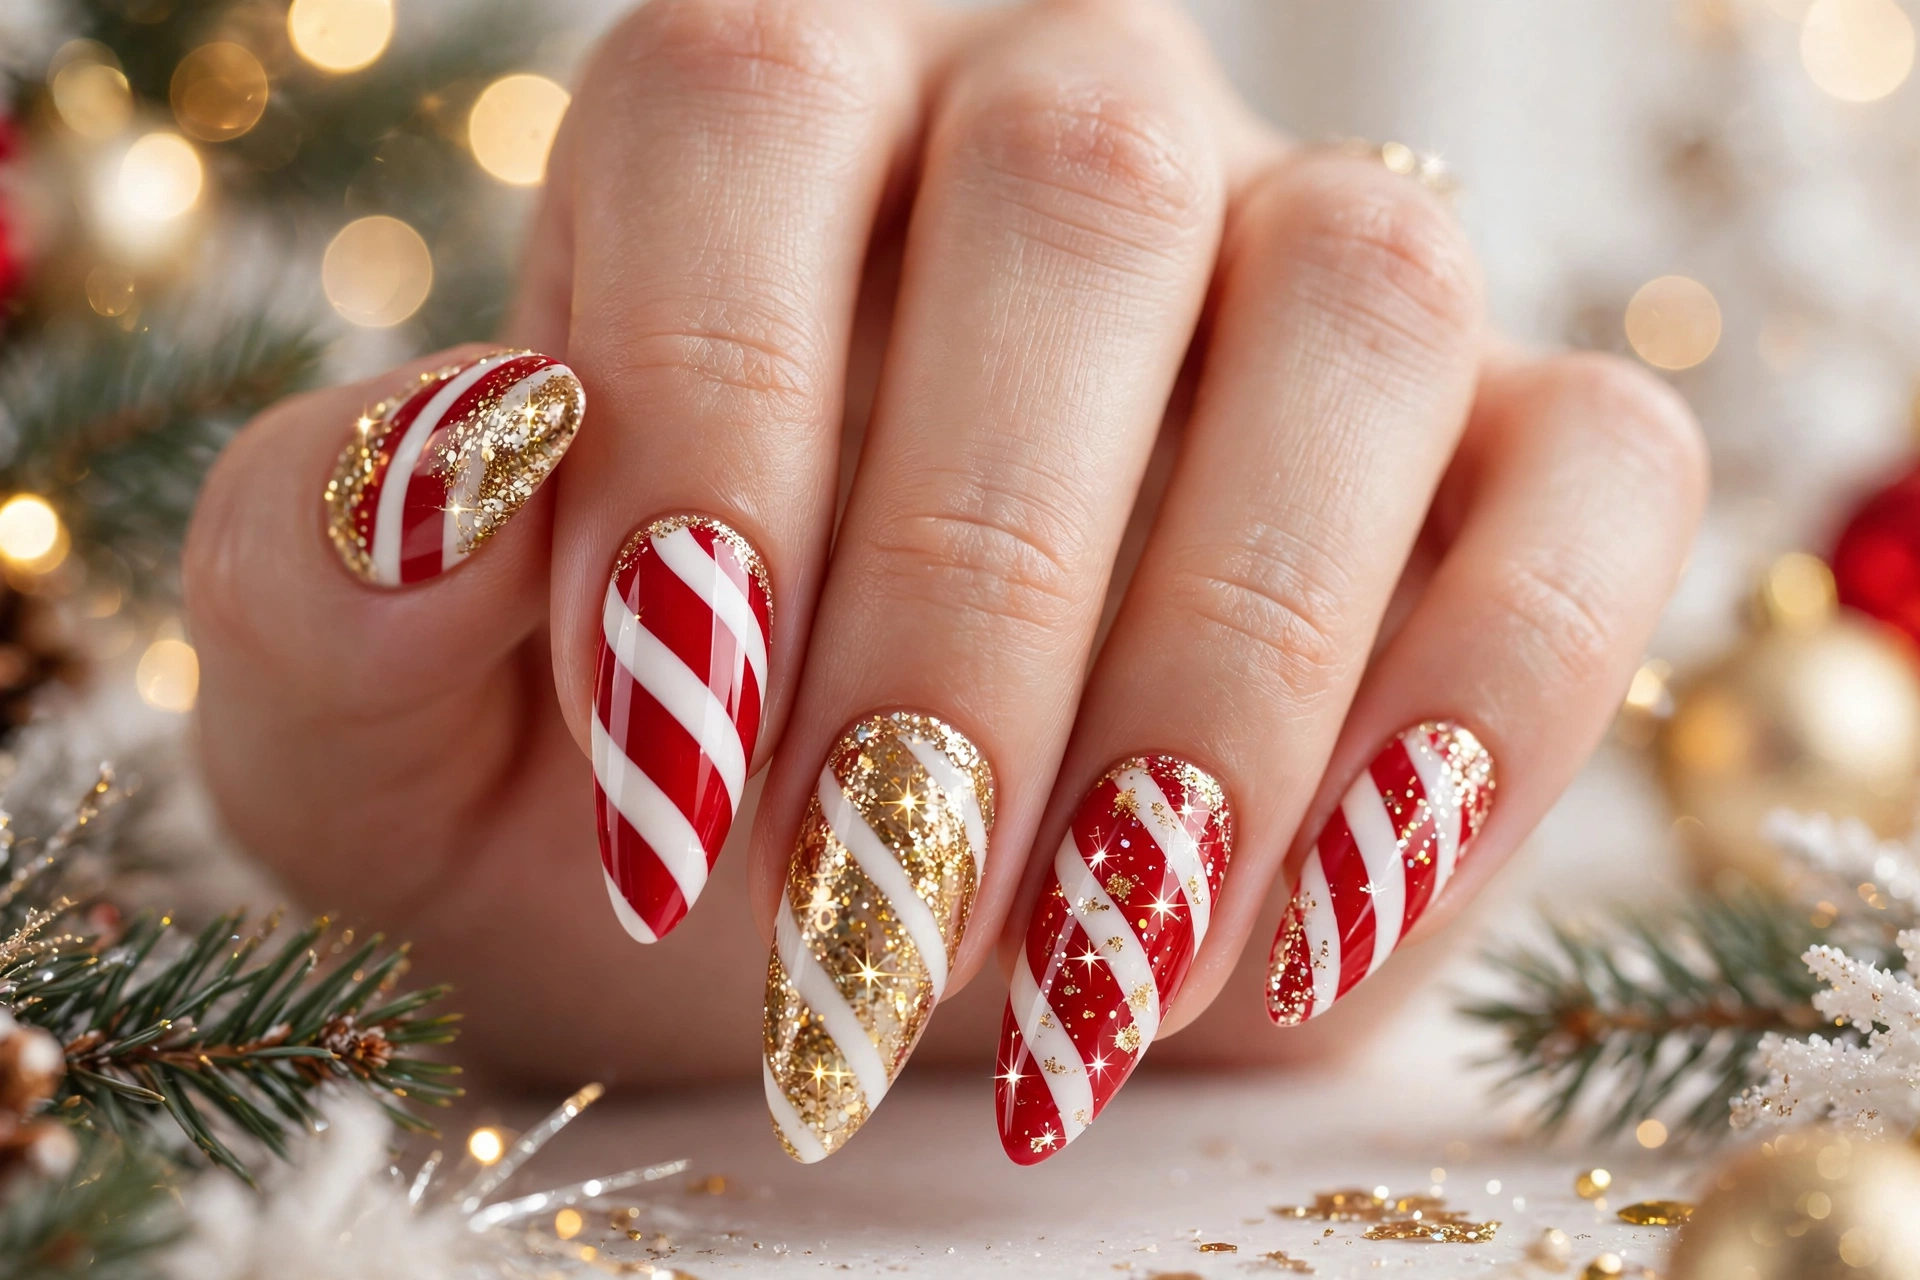
DO: Use a deep red, crisp white, and one gold accent for a rich party finish.
DO: Add gems only on accent nails so the stripes stay the star.
DON’T: Overload every nail with glitter, gems, and thick stripes at once.
DON’T: Skip base coat, since red pigment can stain natural nails.
I find this regal set works best with a simple black dress and gold jewellery, because the nails already carry plenty of detail. Keep makeup soft and hair smooth so the manicure stands out, then touch up the top coat before the party for a polished finish.
Conclusion
These 23 designs prove that a classic striped theme can still feel fresh, glamorous, and completely personal, from soft blush tips to regal crown details and starlit midnight sets. Pick the look that matches your mood, gather your red, white, and gold polishes, and try one set for your next holiday party. If you love a design, save it on Pinterest so you can find it again, share it with a friend who loves festive nails, and make this season your most polished one yet with candy cane christmas nails that sparkle in every photo.