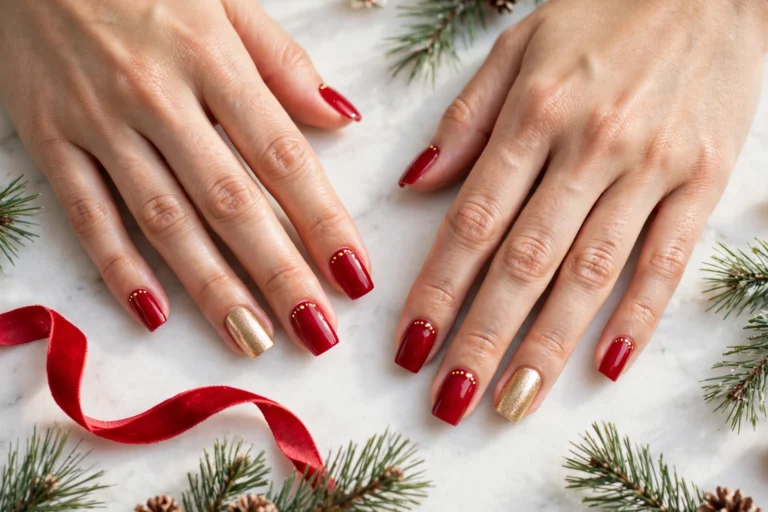
Winter mornings feel softer when your hands look ready for snow, and snowflake christmas nails bring that quiet magic to every sweater sleeve and warm mug. If plain polish feels too simple for holiday parties yet bold glitter feels like too much, delicate snowflake designs solve the problem with charm that suits both cozy days and dressy nights. This collection gathers sparkling ideas that range from crisp white tips to deep velvet shades, so you can pick a look that matches your coat, your mood, and your plans. Each design is easy to adapt at home or show to your nail artist, with simple color pairings and placement tips that keep the flakes neat, balanced, and flattering. Let these snowy styles inspire a manicure that feels festive, fresh, and made for winter light.
Classic White Snowflake Tips
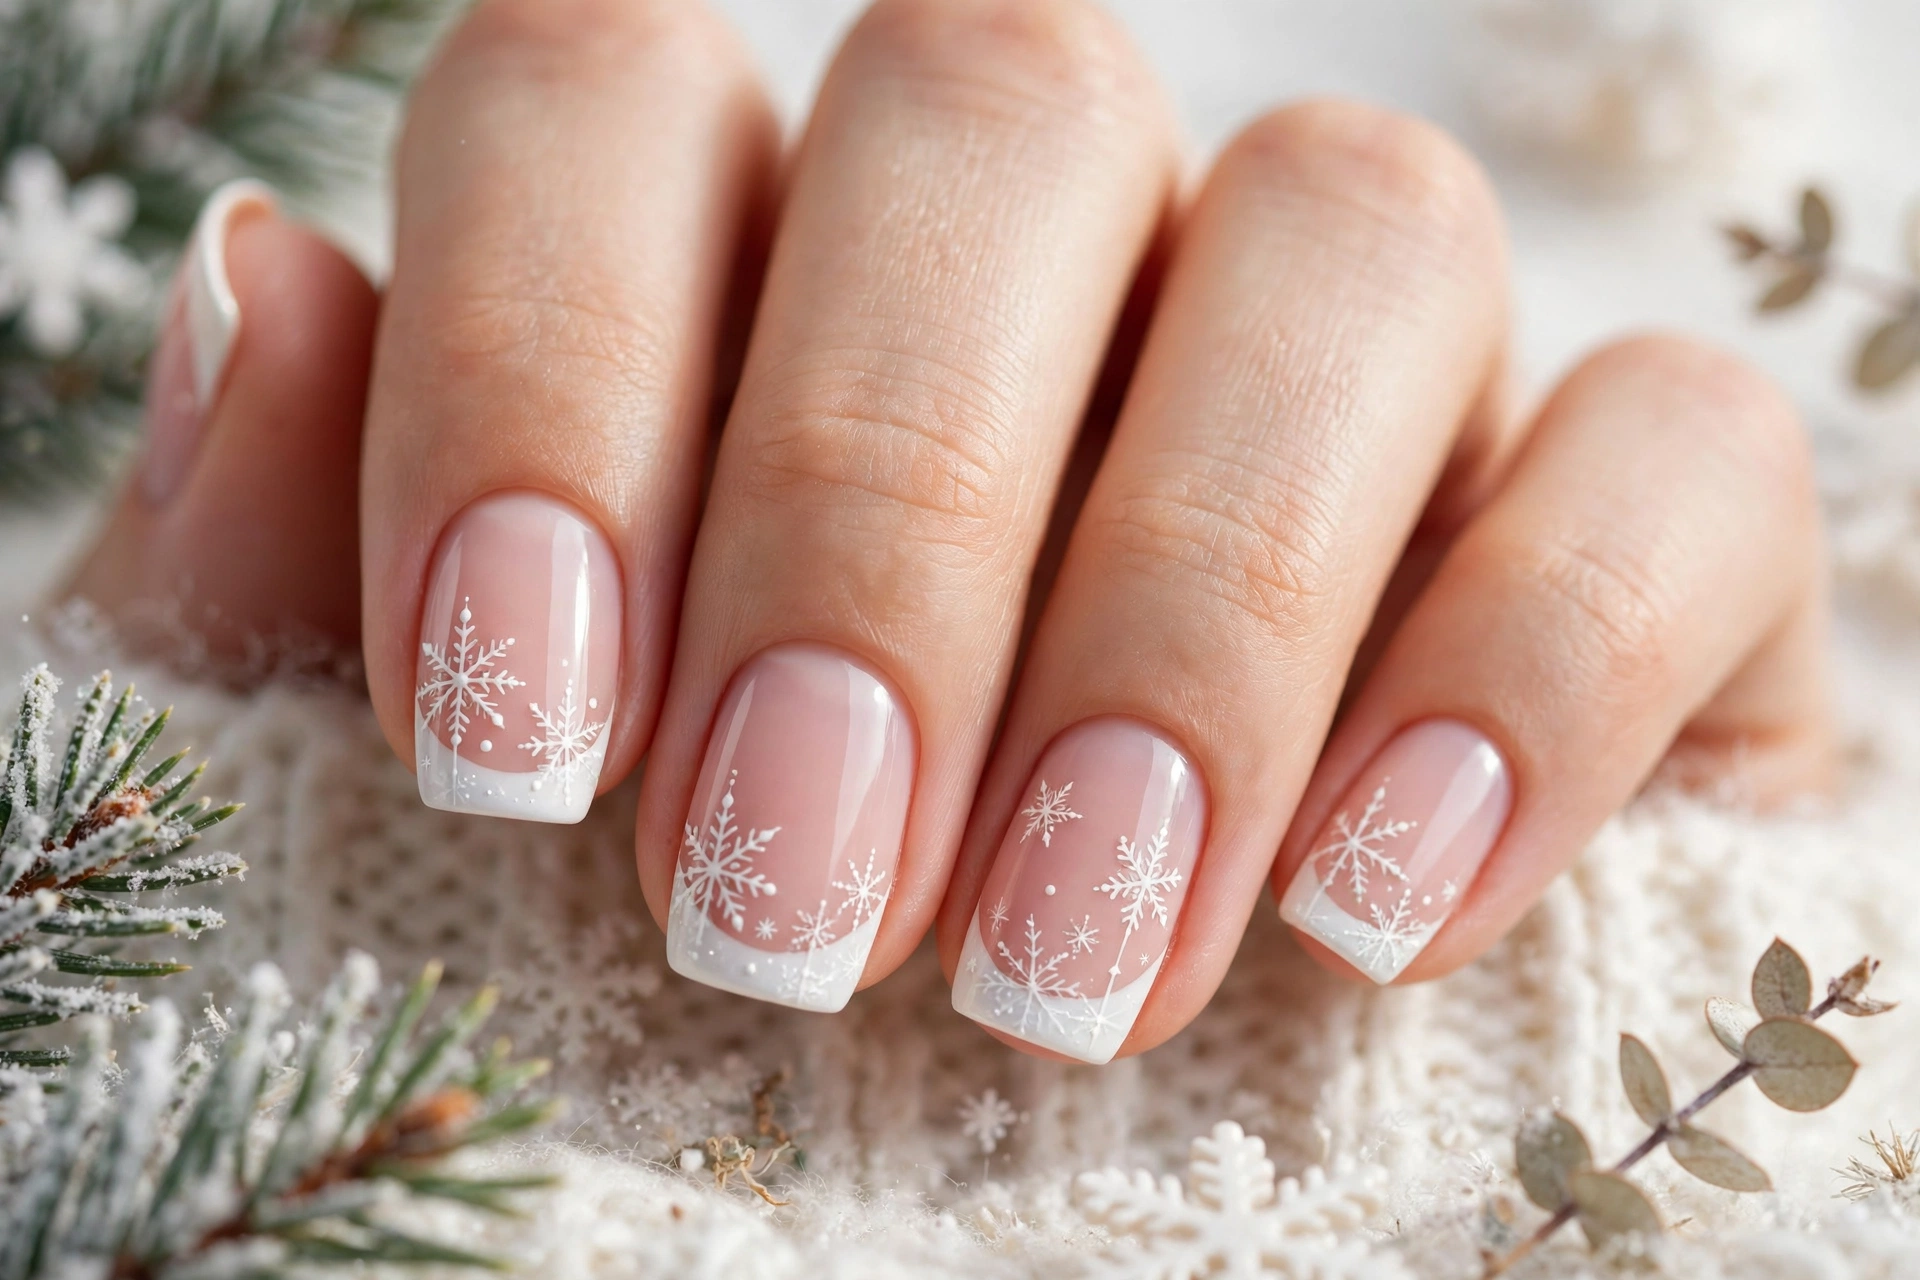
Start with a sheer pink or milky white base so the design stays clean and wearable for work, school runs, and holiday dinners alike. Paint two accent nails with larger flakes near the cuticle, then add one small flake on each remaining nail for balance. Use a thin detail brush and white polish, drawing six short lines from a center dot, then add tiny branches to each line. Keep the flakes slightly different in size so the set looks hand painted rather than stamped.
Finish with a glossy top coat to seal the art and add a fresh winter shine.
Silver Glitter Snowflake Tips
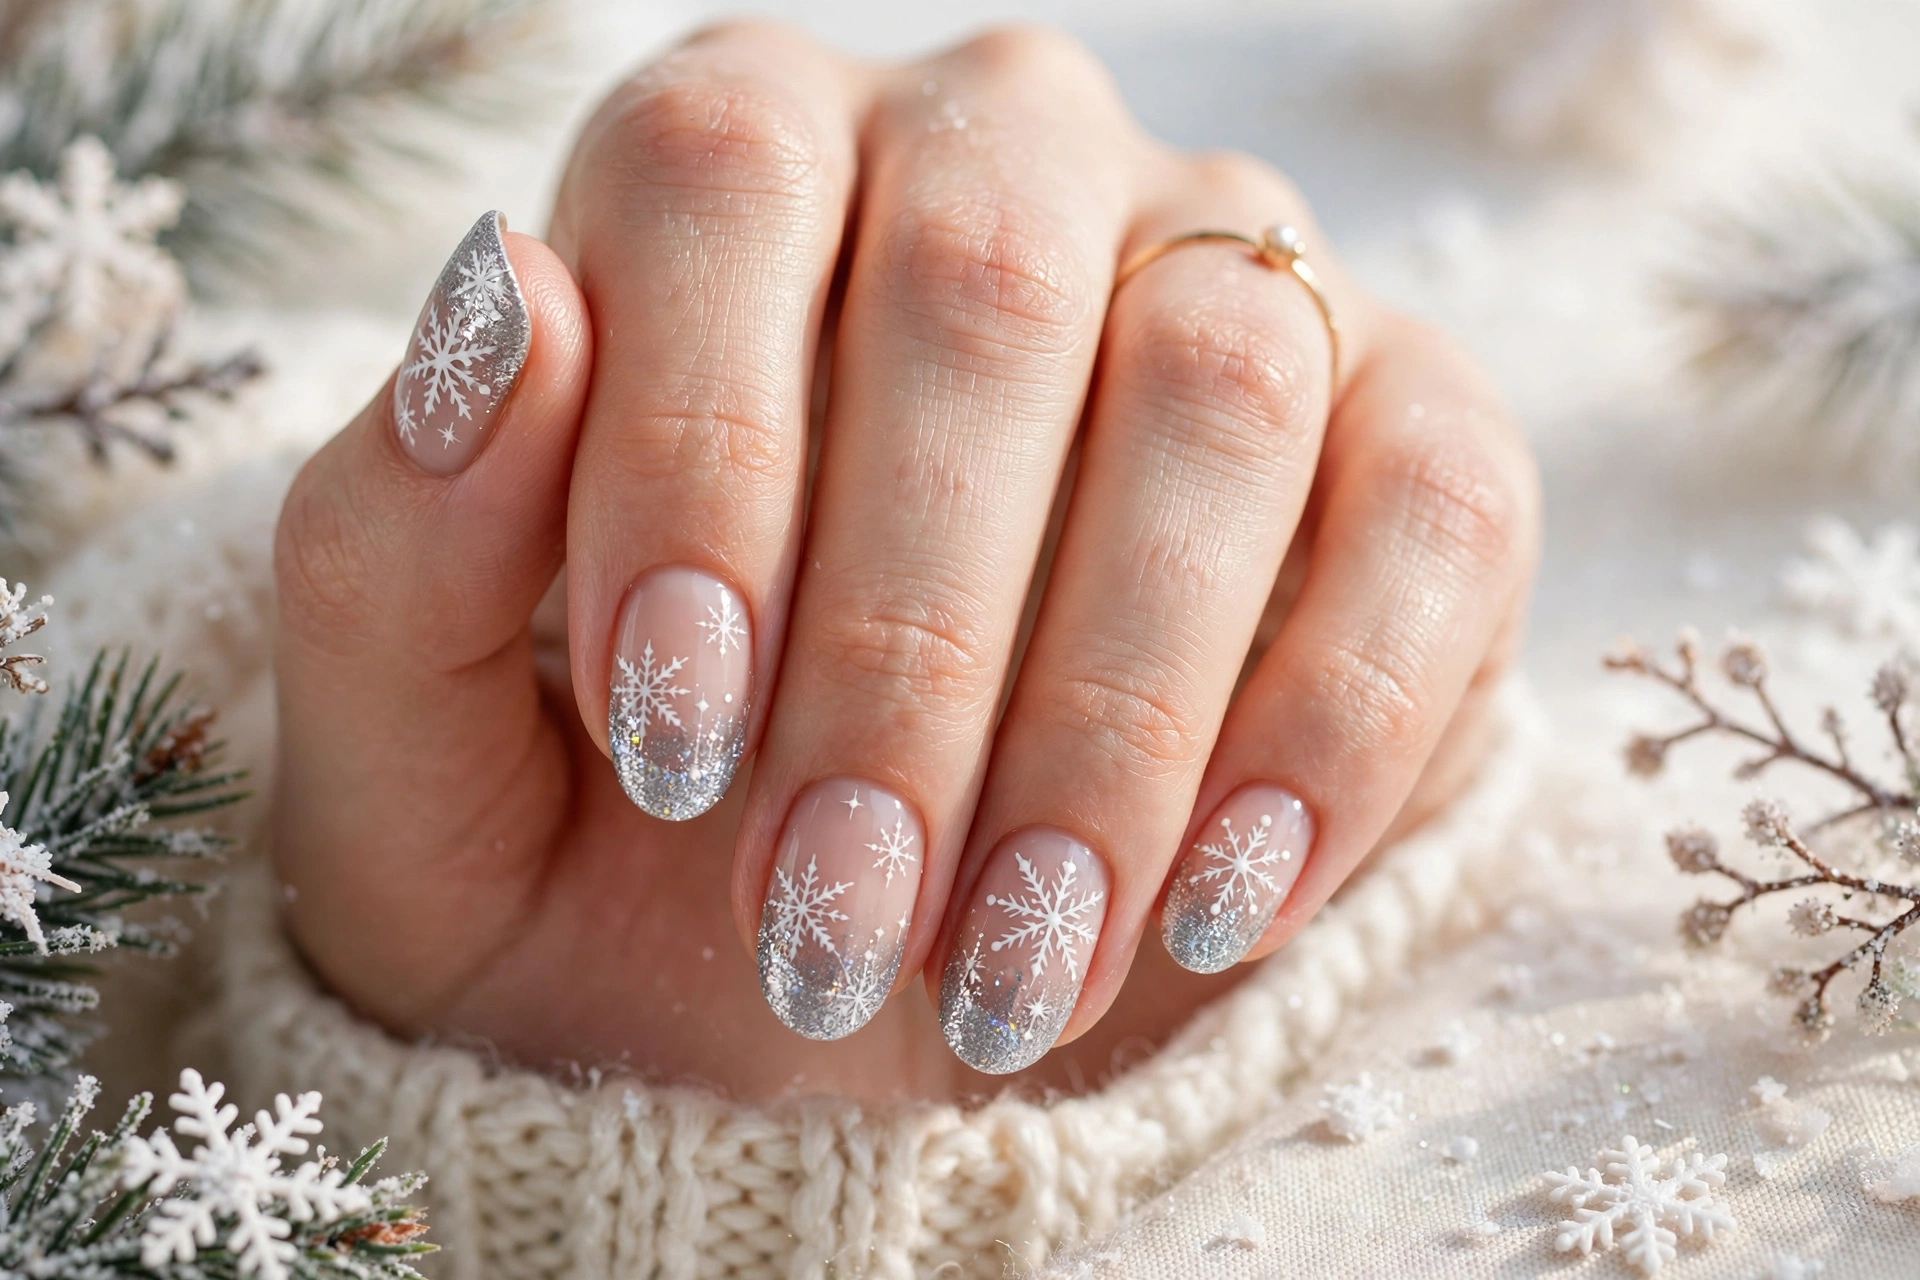
- Paint a soft nude or pale grey base for a clean backdrop.
- Add silver glitter polish to the tips for a frosty sparkle.
- Stamp or paint small snowflakes on two accent nails.
- Seal with two thin top coats to keep glitter smooth.
This look works for evening parties because silver catches light without overpowering your outfit. Keep glitter focused near the tips so flakes stay visible, and choose one ring finger accent for a quieter finish. Pair it with silver rings, a grey sweater, or a white coat for a polished winter outfit.
Icy Blue Snowflake Nails
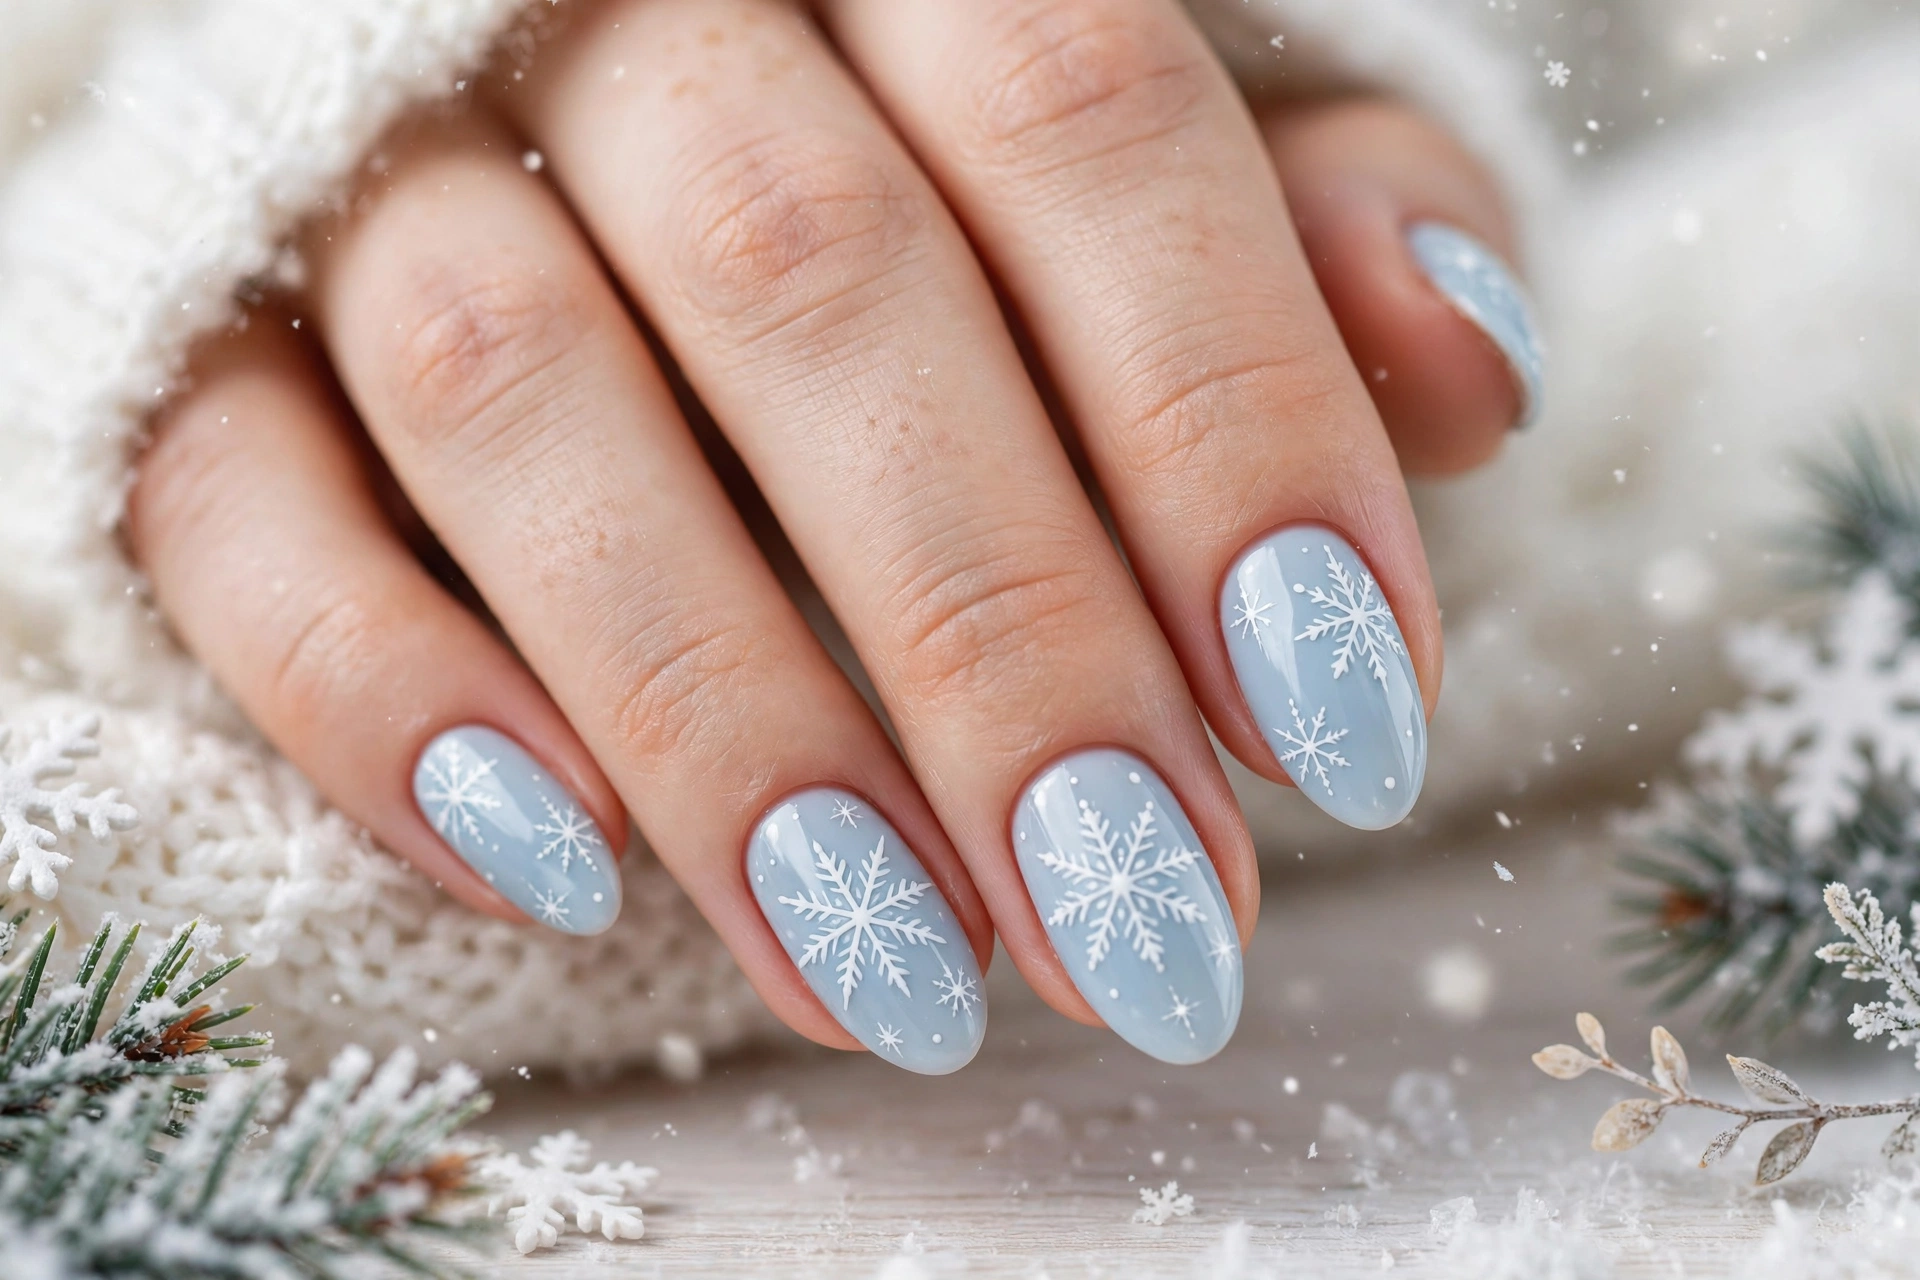
Quick Tip: Layer a pale blue base under a deeper blue tip to give white flakes extra depth.
Start with two coats of icy blue, letting each coat dry before adding snowflake art. Place one large flake on the thumb and middle finger, then scatter smaller flakes across other nails for a falling snow effect. Add a tiny silver dot at each center, then seal with a shiny top coat.
Gold Snowflake French Tips
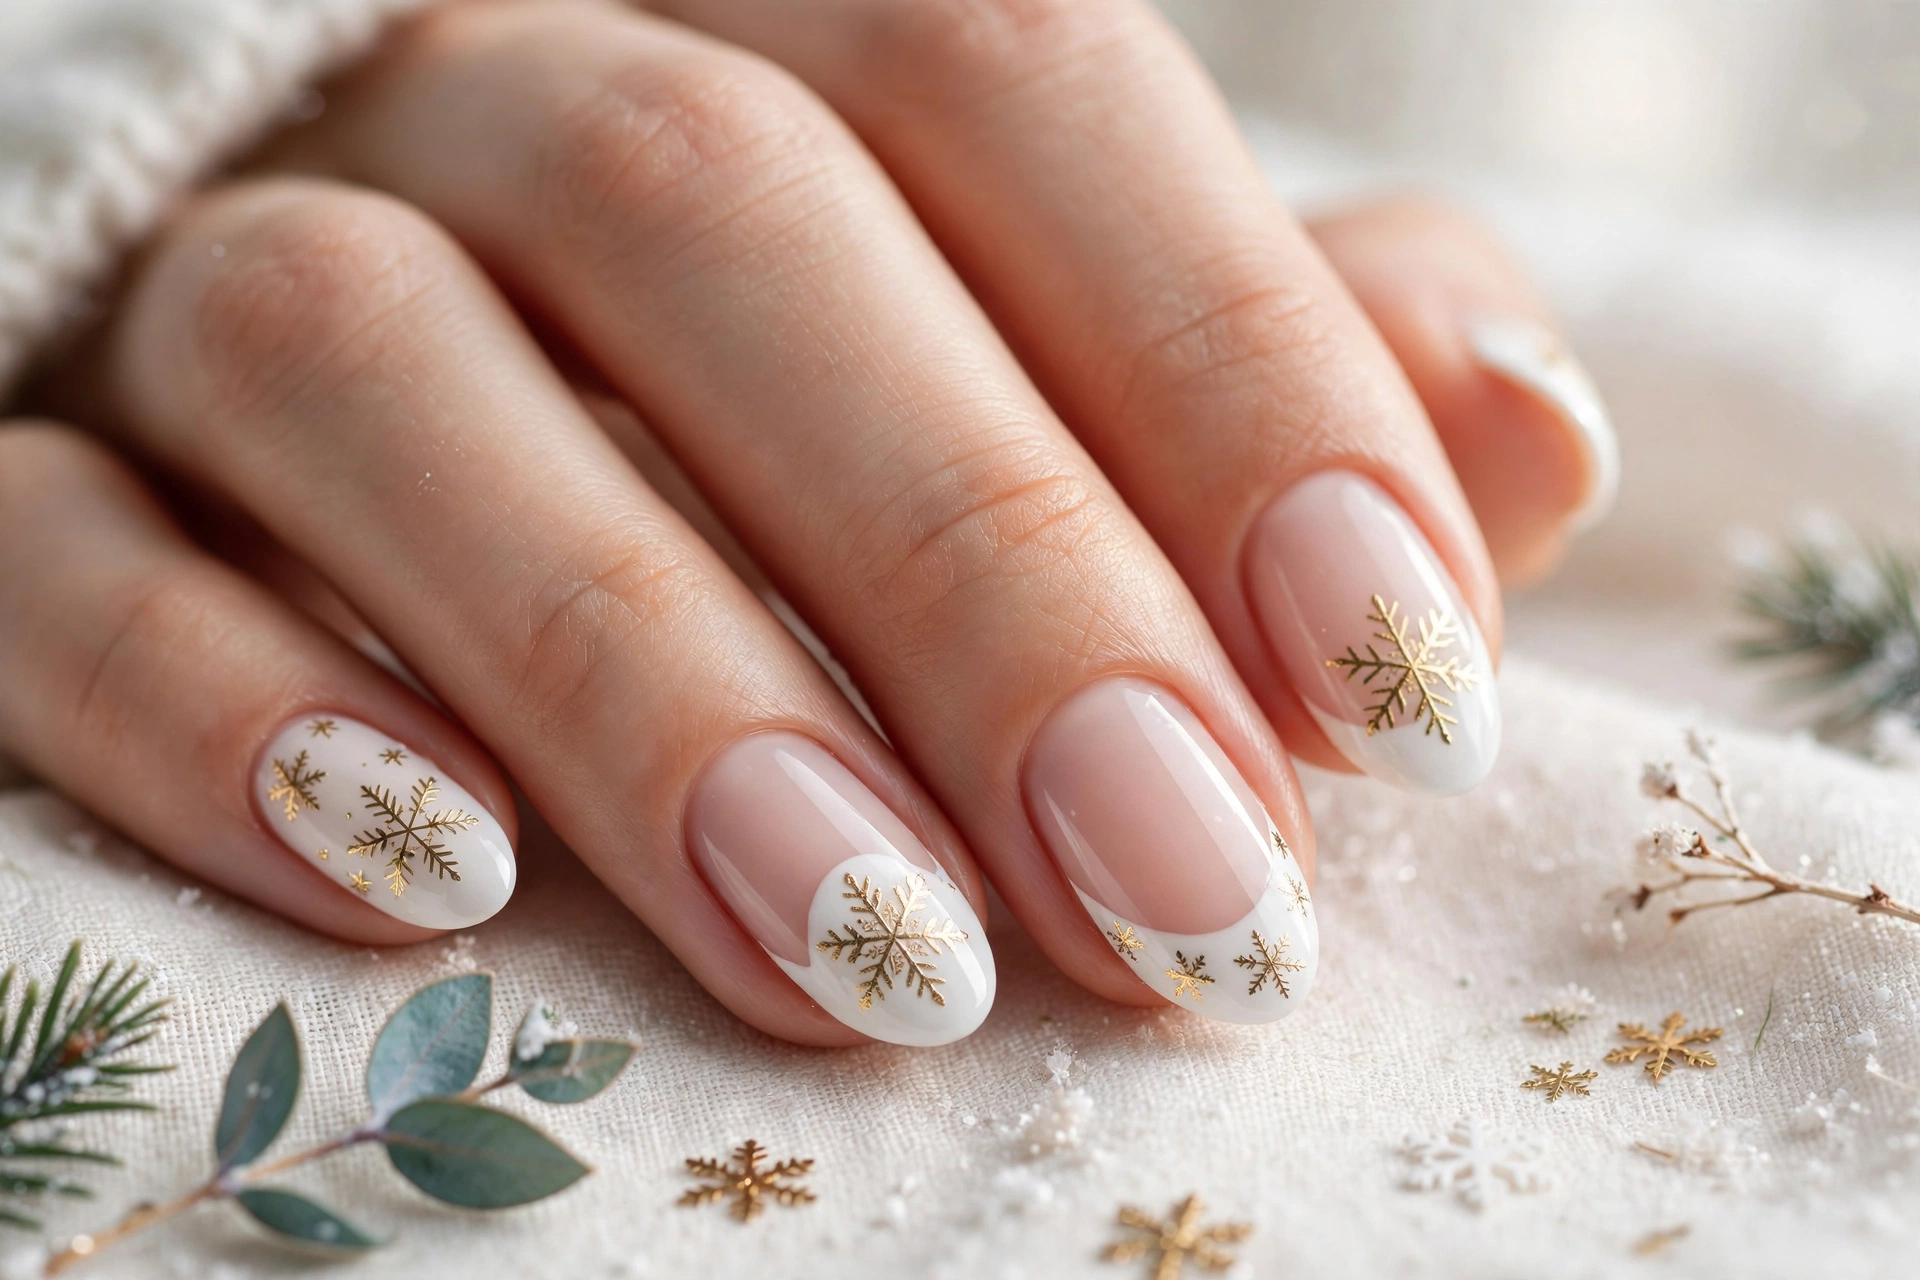
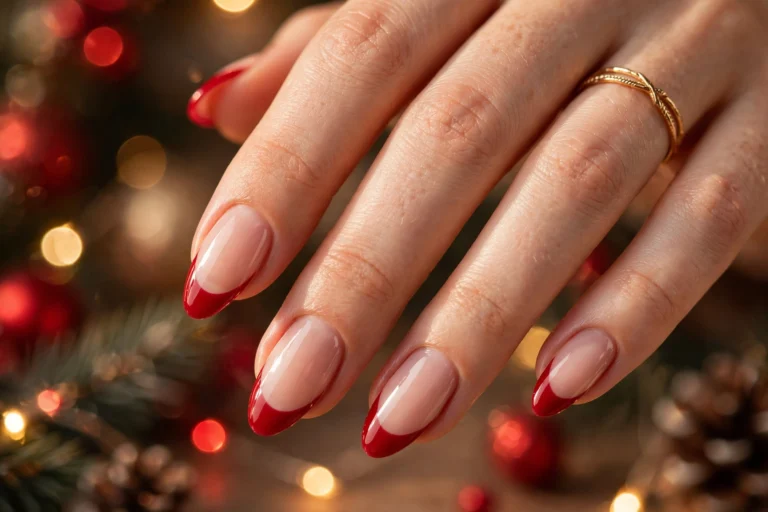
Before: A plain nude French manicure can look lovely but plain for a holiday party.
After: Gold tips with white and gold flakes turn the same classic shape into a festive, elegant set.
In my experience, gold works best when it stays warm and soft rather than bright and brassy. Keep the French smile line thin, add one small flake near the tip on each nail, and let the gold shimmer do the talking. This balance keeps the manicure elegant for dinners, weddings, and New Year gatherings alike.
Frosted Winter Snowflake Glow
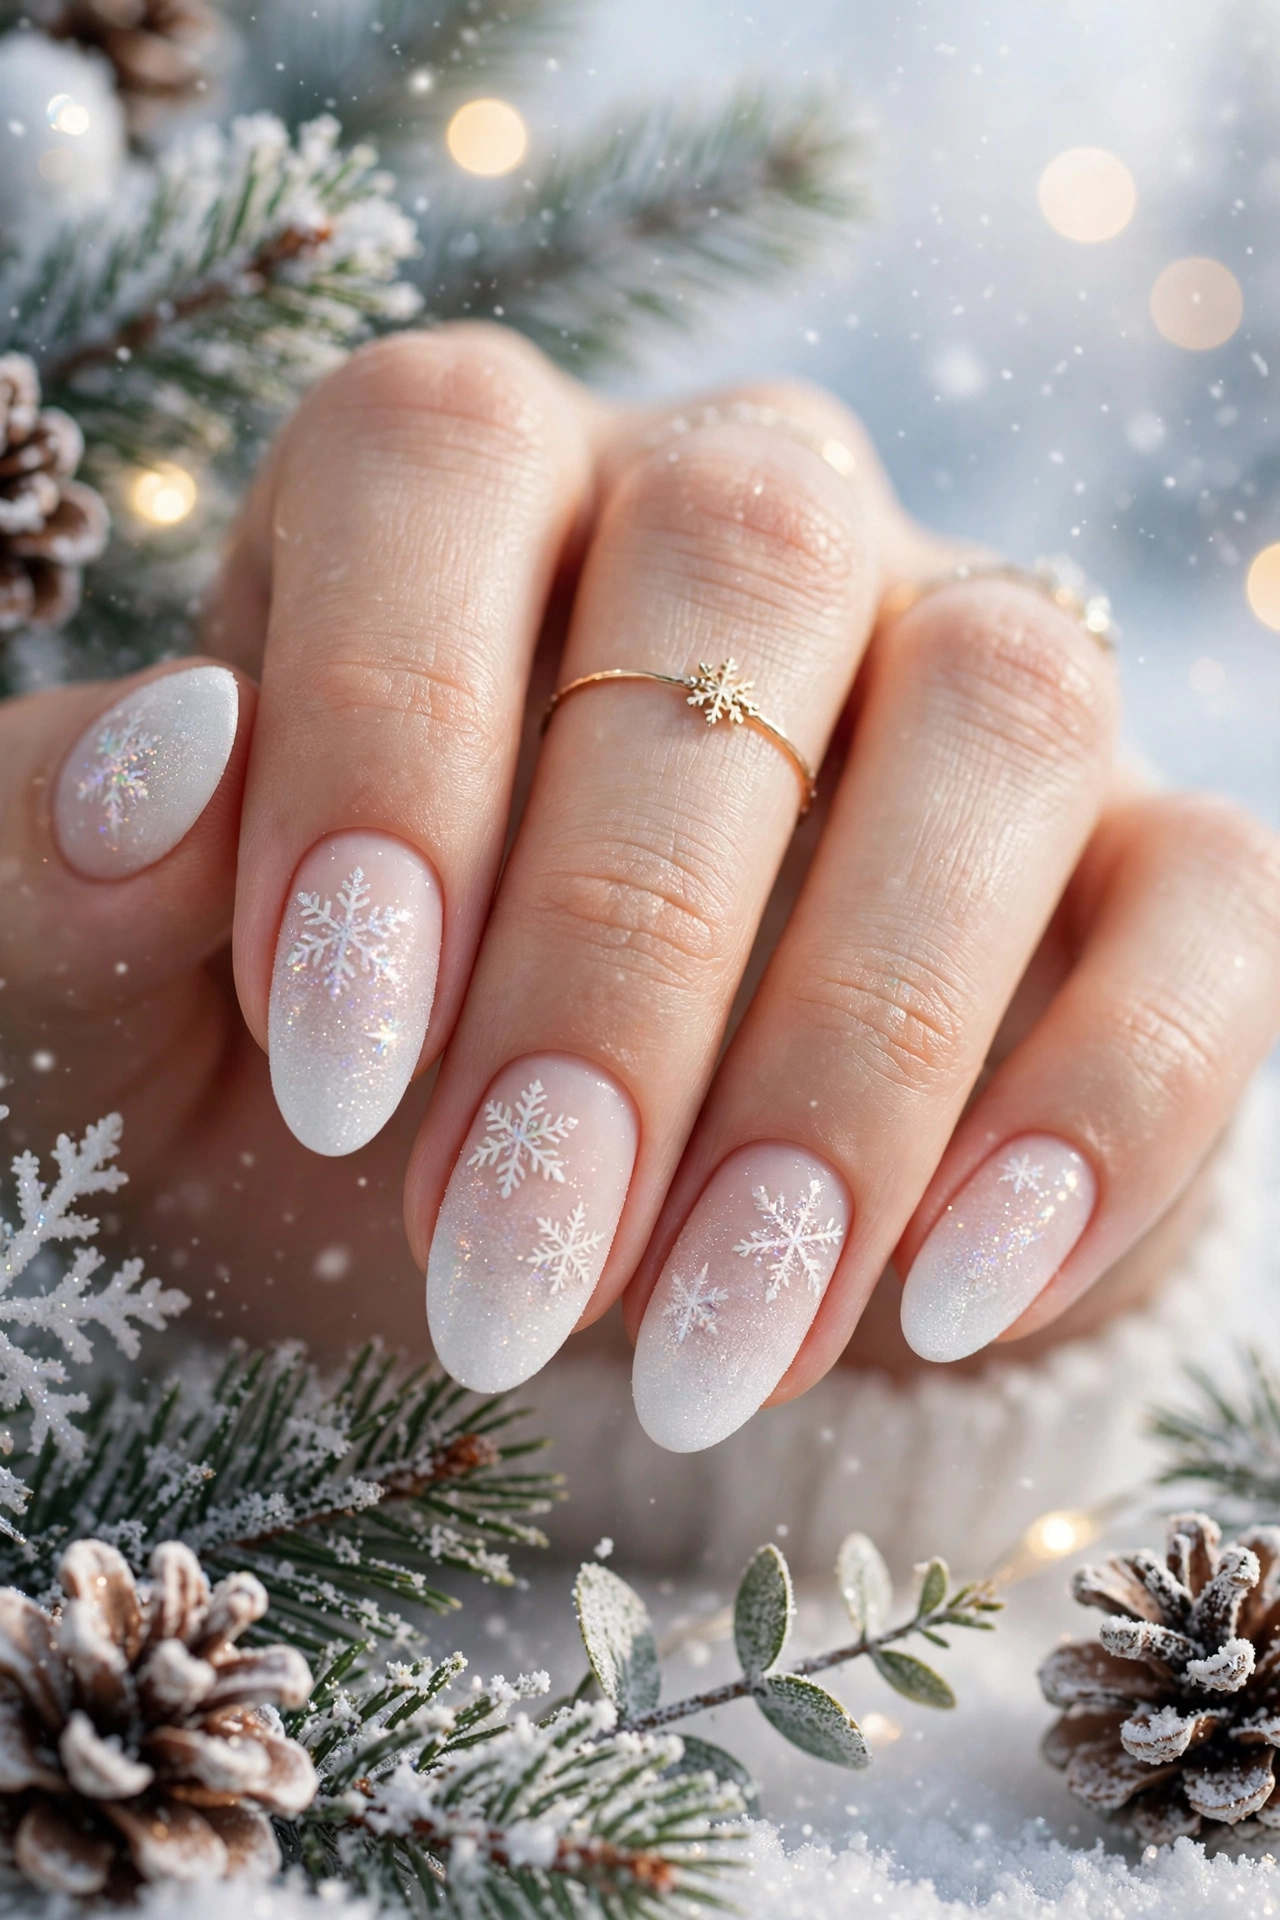
- Apply a sheer frosted base and cure or dry it fully.
- Sponge a soft white gradient near the tips for a frosted glow.
- Paint small white flakes on accent nails with a detail brush.
- Add matte top coat for a soft, snowy finish.
Matte polish changes the mood completely, giving the flakes a soft, snow covered look instead of a shiny party shine. Keep the base sheer so your natural nail shows through slightly, and avoid heavy glitter here so the frosted texture stays the star. This gentle style suits cozy sweaters, winter weddings, and quiet family celebrations.
Burgundy Snowflake Velvet Tips
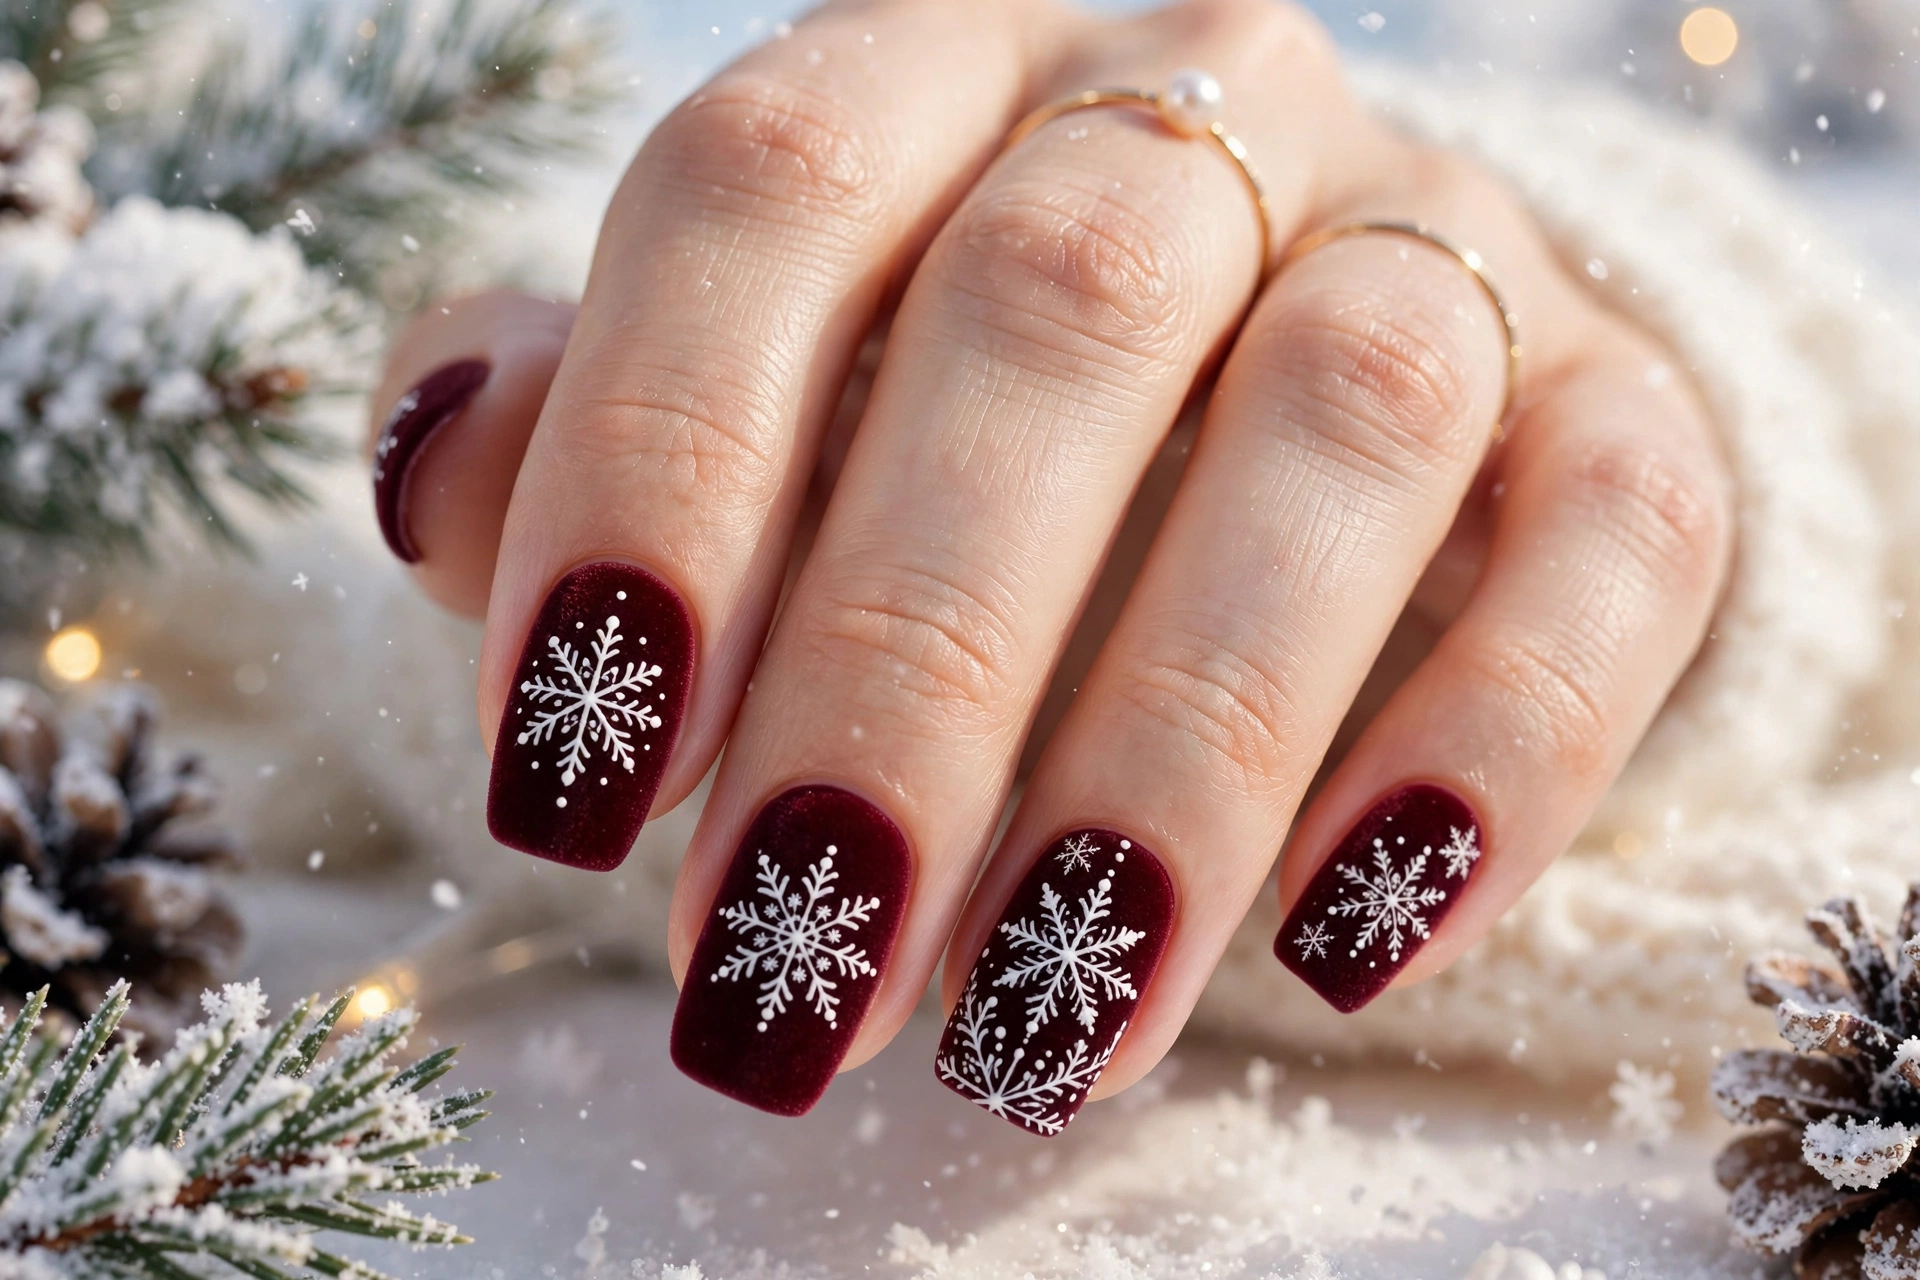
| Style | Best for | Finish |
|---|---|---|
| Deep burgundy with white flakes | Evening dinners | Glossy |
| Burgundy velvet with gold flakes | Festive parties | Matte velvet |
| Burgundy ombre with silver flakes | Winter weddings | Soft shimmer |
Burgundy gives snowflake art a rich, warm base that flatters most skin tones and pairs well with gold jewelry. Keep flakes white for the crispest contrast, or choose gold for a warmer glow on deeper burgundy shades. A glossy top coat will brighten the color, while matte polish creates a velvet effect that feels seasonal.
Pink Blush Snowflake Tips
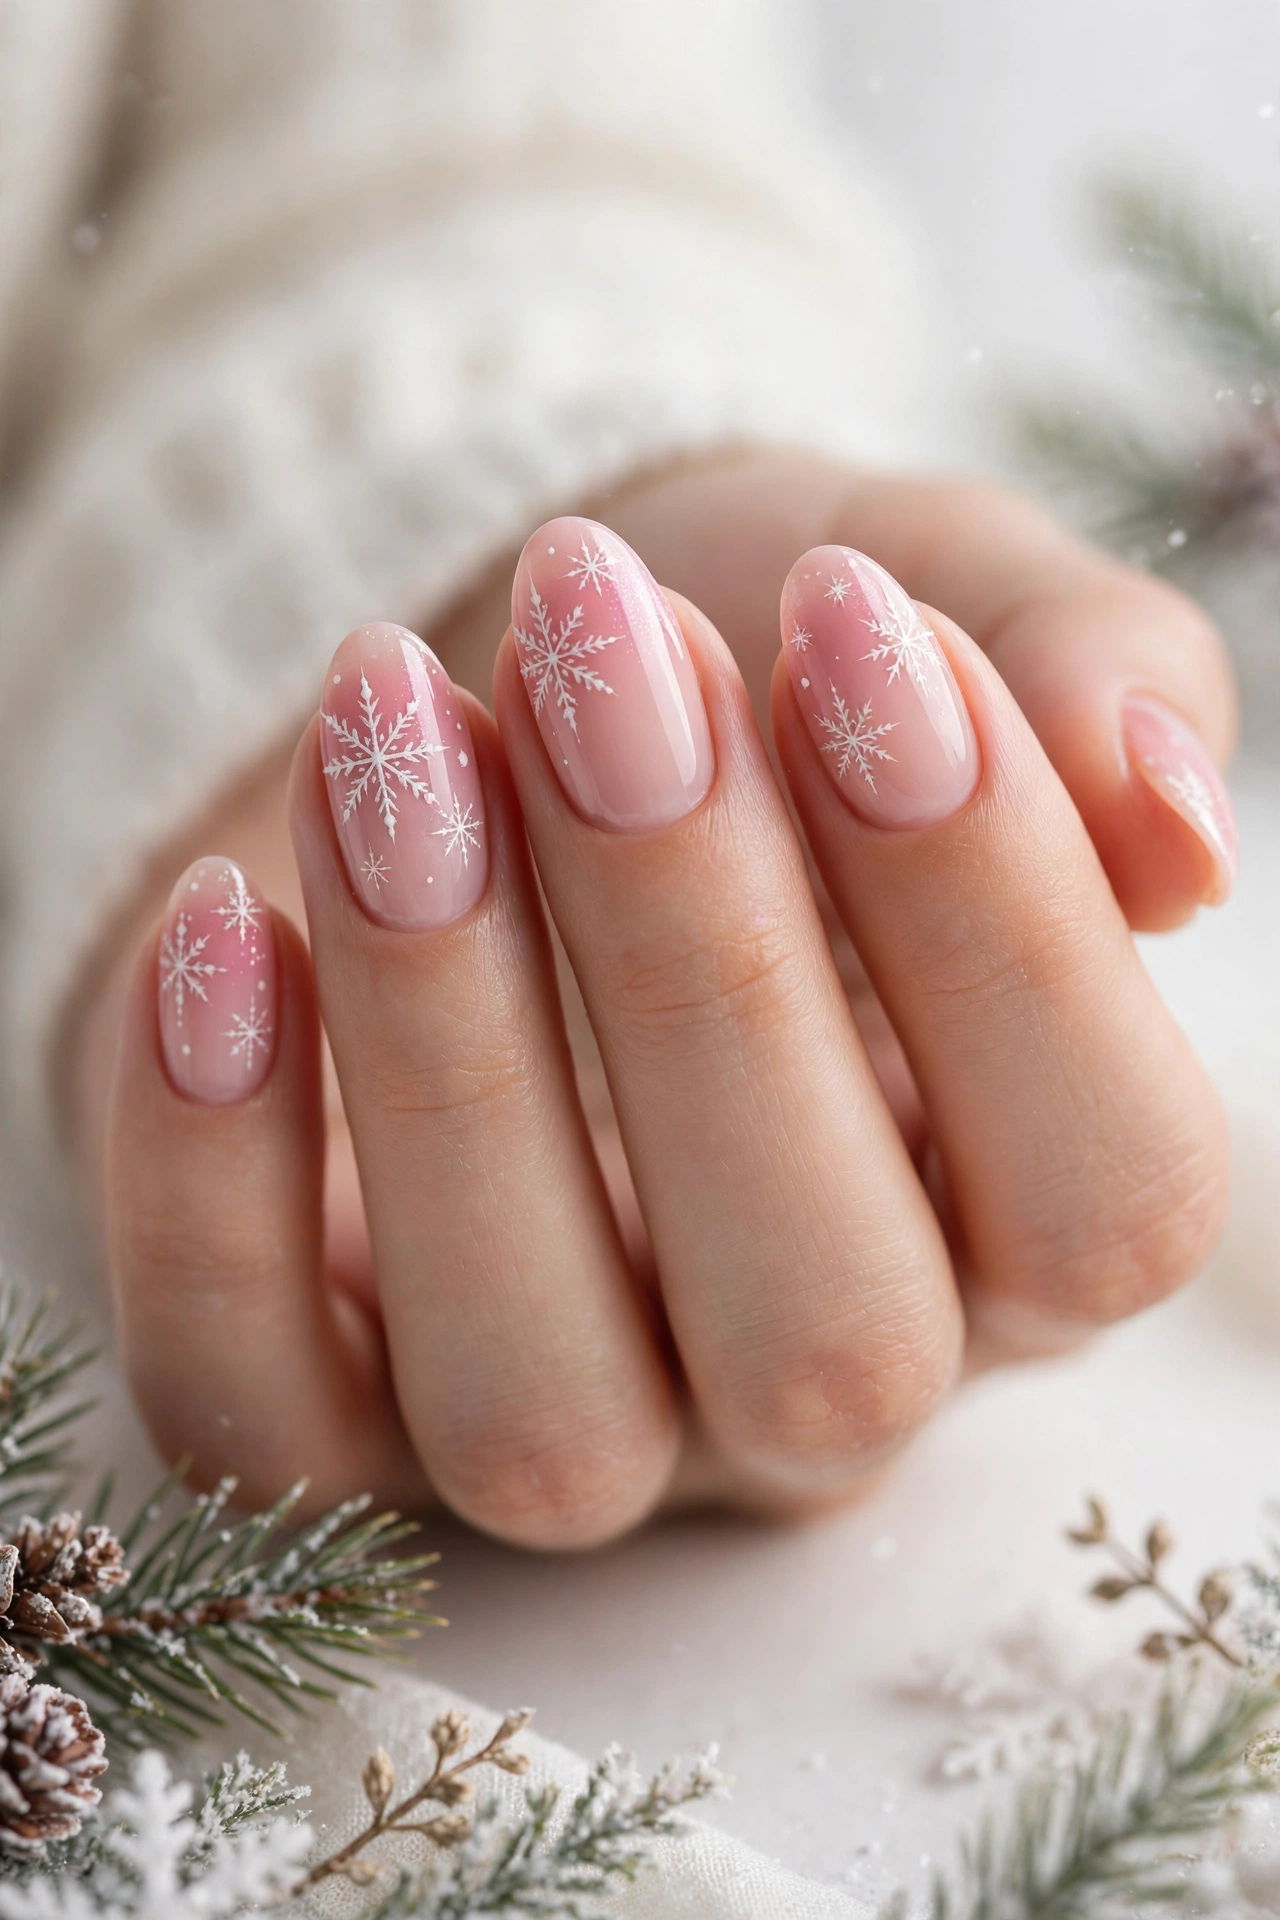
DO: Use a sheer pink base and white snowflake stickers for a soft, clean finish.
DO: Add glitter to one accent nail to keep the look balanced and festive.
DON’T: Layer thick polish over the flakes, or the design will look bulky and uneven.
DON’T: Skip top coat, since bare art chips faster in cold, dry weather.
Keep the blush base sheer so the white snowflakes stay crisp and visible, and add one glitter accent nail for balance. Seal the design with two thin top coat layers to stop chipping during cold weather. This soft look works well for parties, family photos, and quiet evenings at home too.
Emerald Snowflake Sparkle Tips
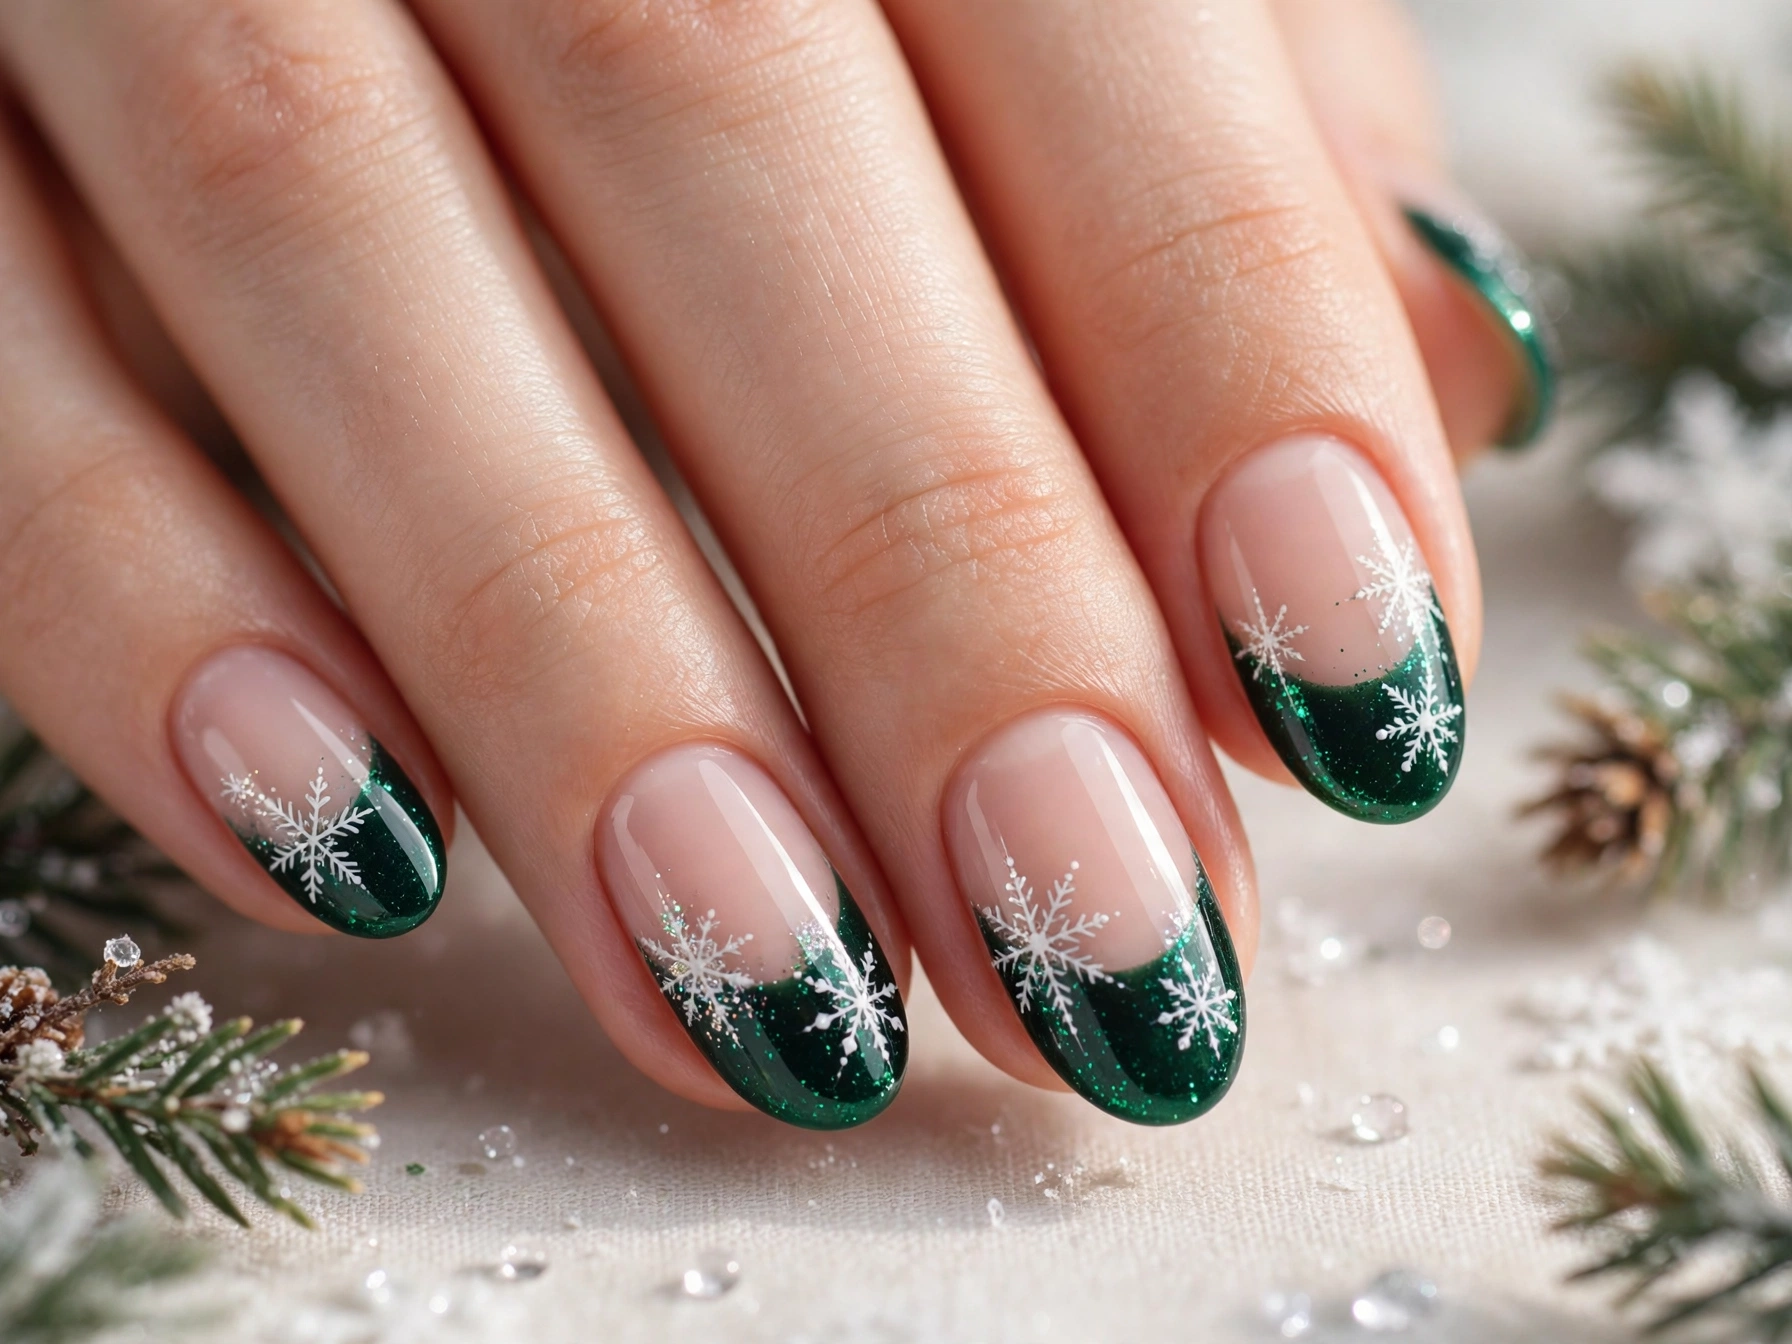
Base: Deep emerald polish with a glossy finish.
Accent: Silver and white snowflakes on the ring finger and middle finger.
Finish: High shine top coat to protect the sparkle.
Best for: Evening parties, holiday dinners, and festive photos.
Pair the deep green base with silver flakes and a glossy top coat for a rich winter finish. Keep the other nails plain so the snowflake accent stands out clearly. This style suits evening events, holiday dinners, and festive photos, and it still looks polished after several days of wear.
Midnight Navy Snowflake Stars
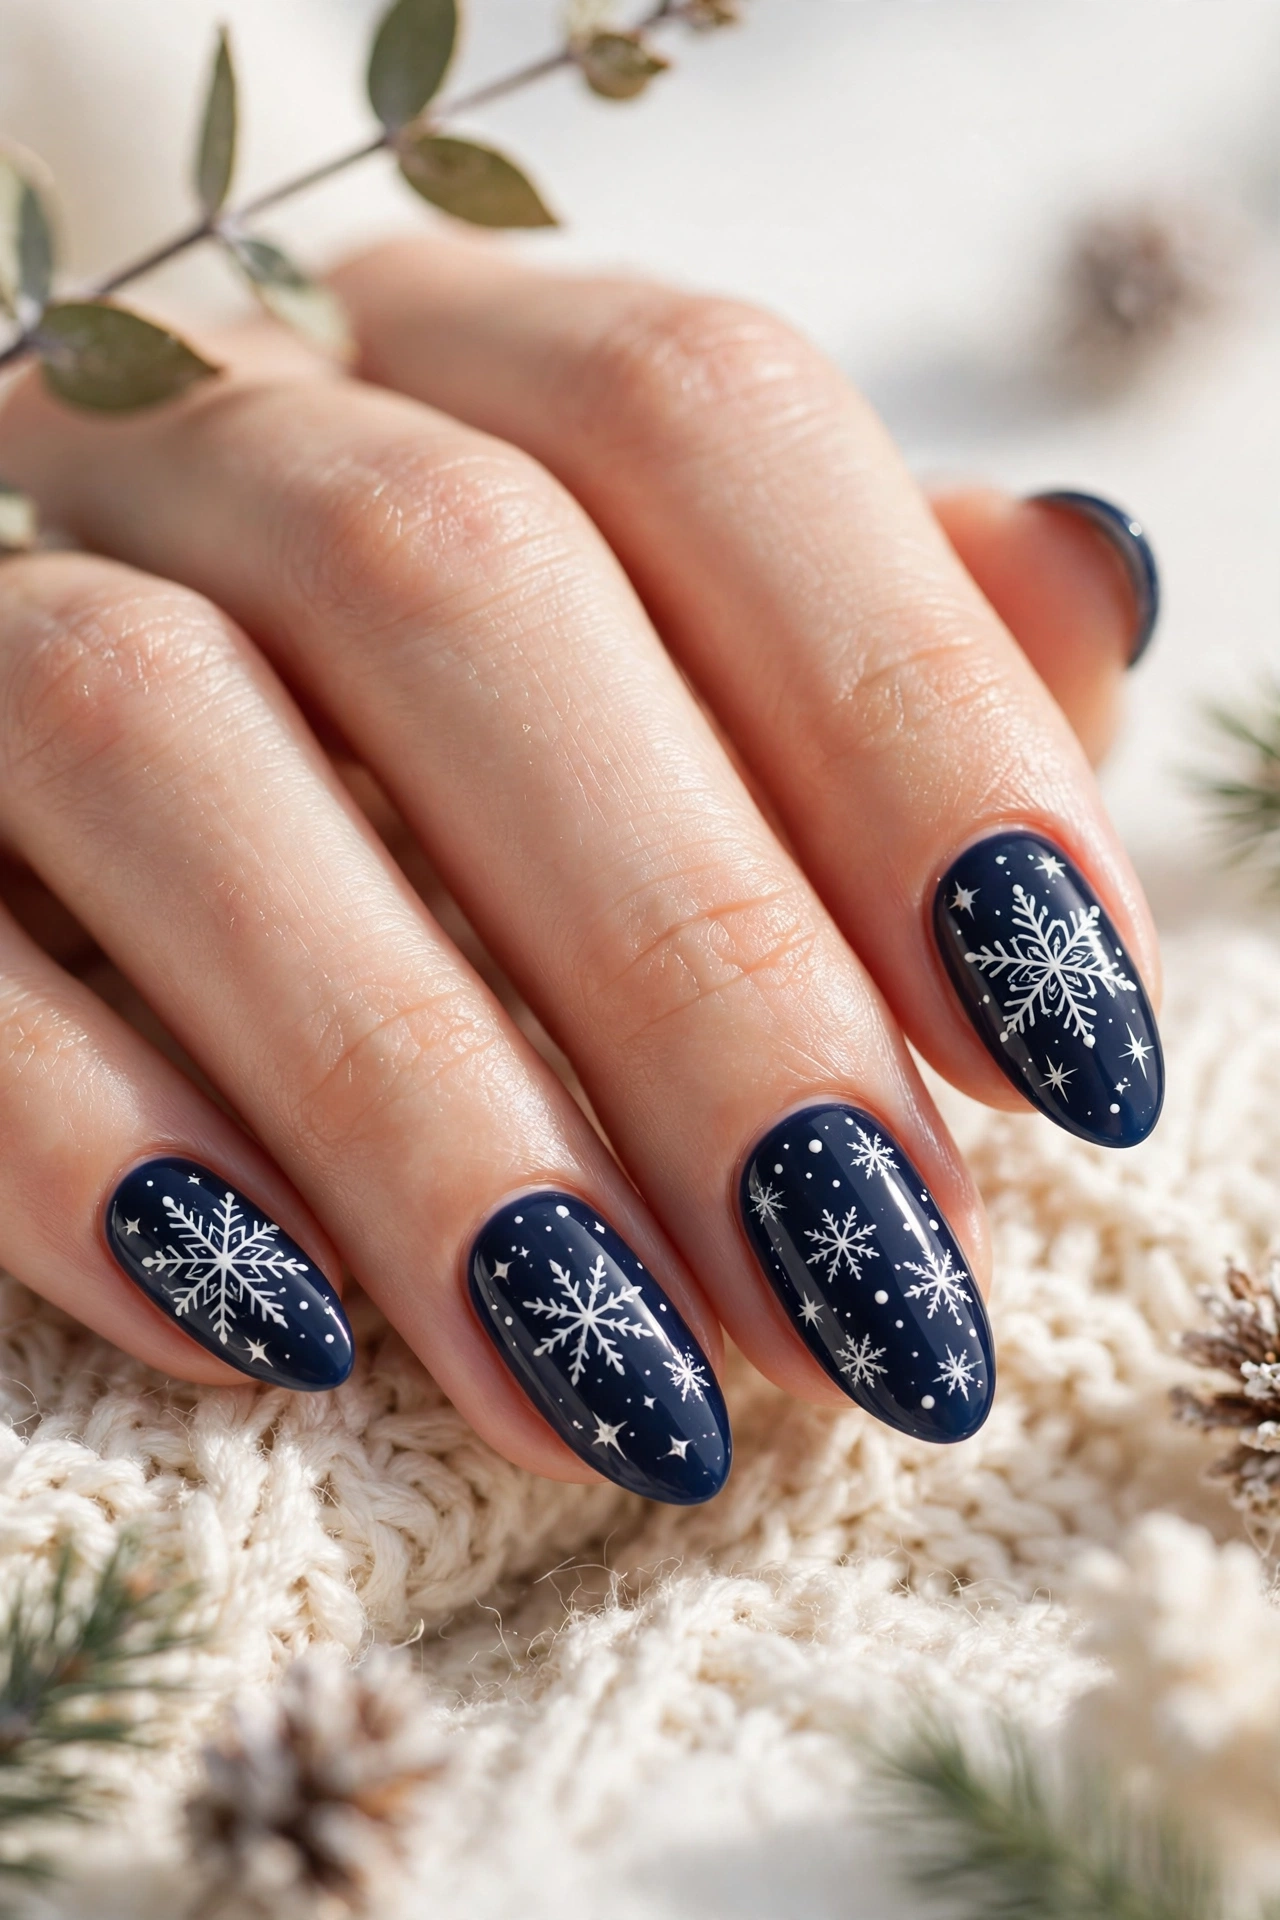
A midnight navy base gives snowflake art a striking night sky effect that feels both elegant and festive. Paint two thin coats for full coverage, then place white star shaped flakes near the cuticle or tips for balance. A fine brush helps you draw tiny dots and lines that look like falling snow.
Finish with silver glitter on one accent nail and a glossy top coat to lock in the design. This look pairs well with dark sweaters, silver jewelry, and evening outfits, and it holds up nicely through busy holiday weeks.
Rose Gold Snowflake Accents
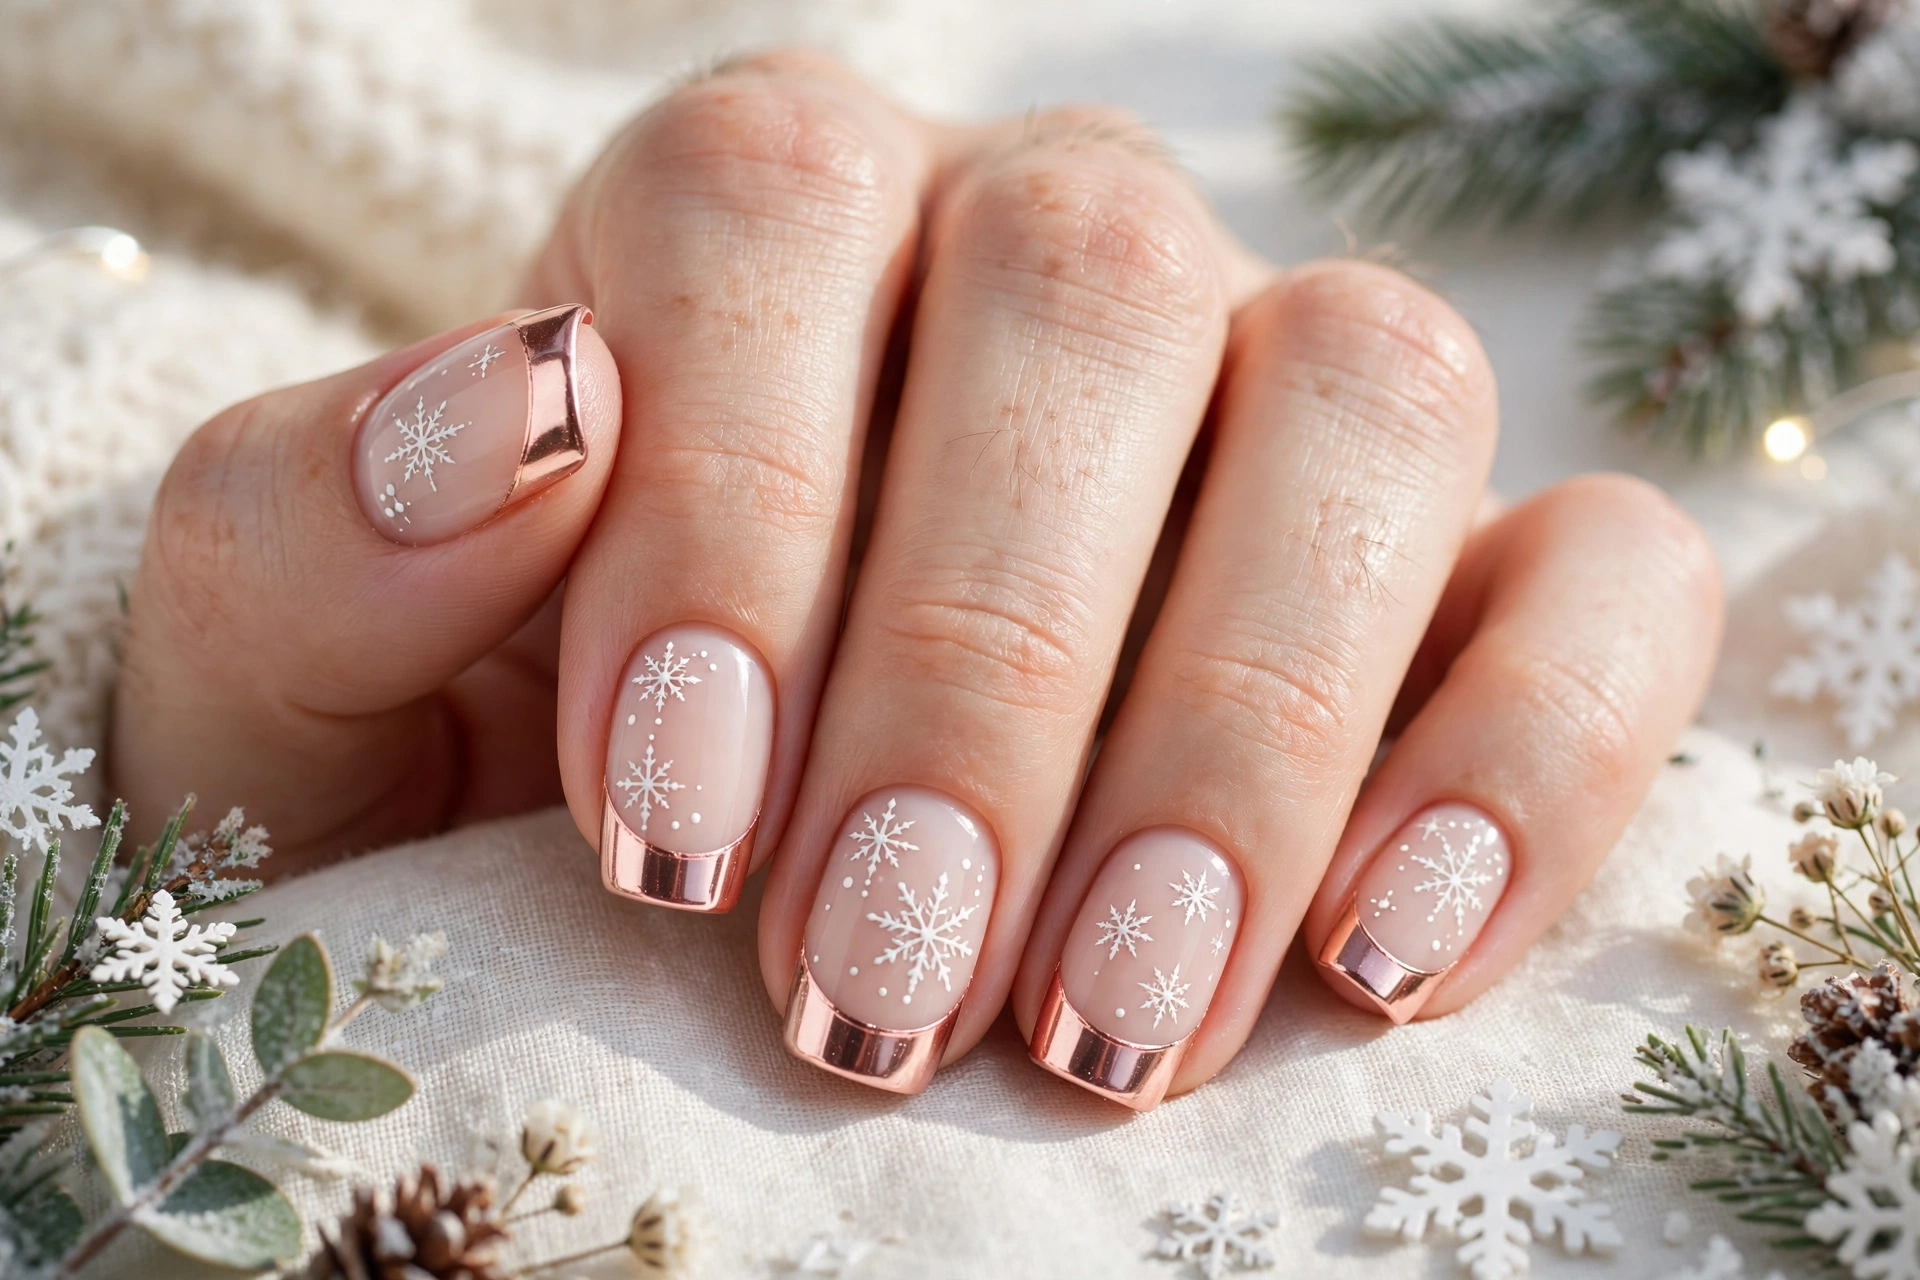
- Start with a nude base and let it dry fully before adding any foil.
- Place small rose gold foil pieces near the tips and sides of two accent nails.
- Add tiny white snowflakes over the foil so both details stay visible.
- Seal the design with two thin top coat layers for a smooth, lasting shine.
Use rose gold foil sparingly so the snowflakes remain the main focus of the design. Place foil flakes near the tips and seal them well to prevent lifting. This warm metallic style looks beautiful with soft knitwear, gold jewelry, and gentle party makeup for winter celebrations.
Champagne Snowflake Shine Tips
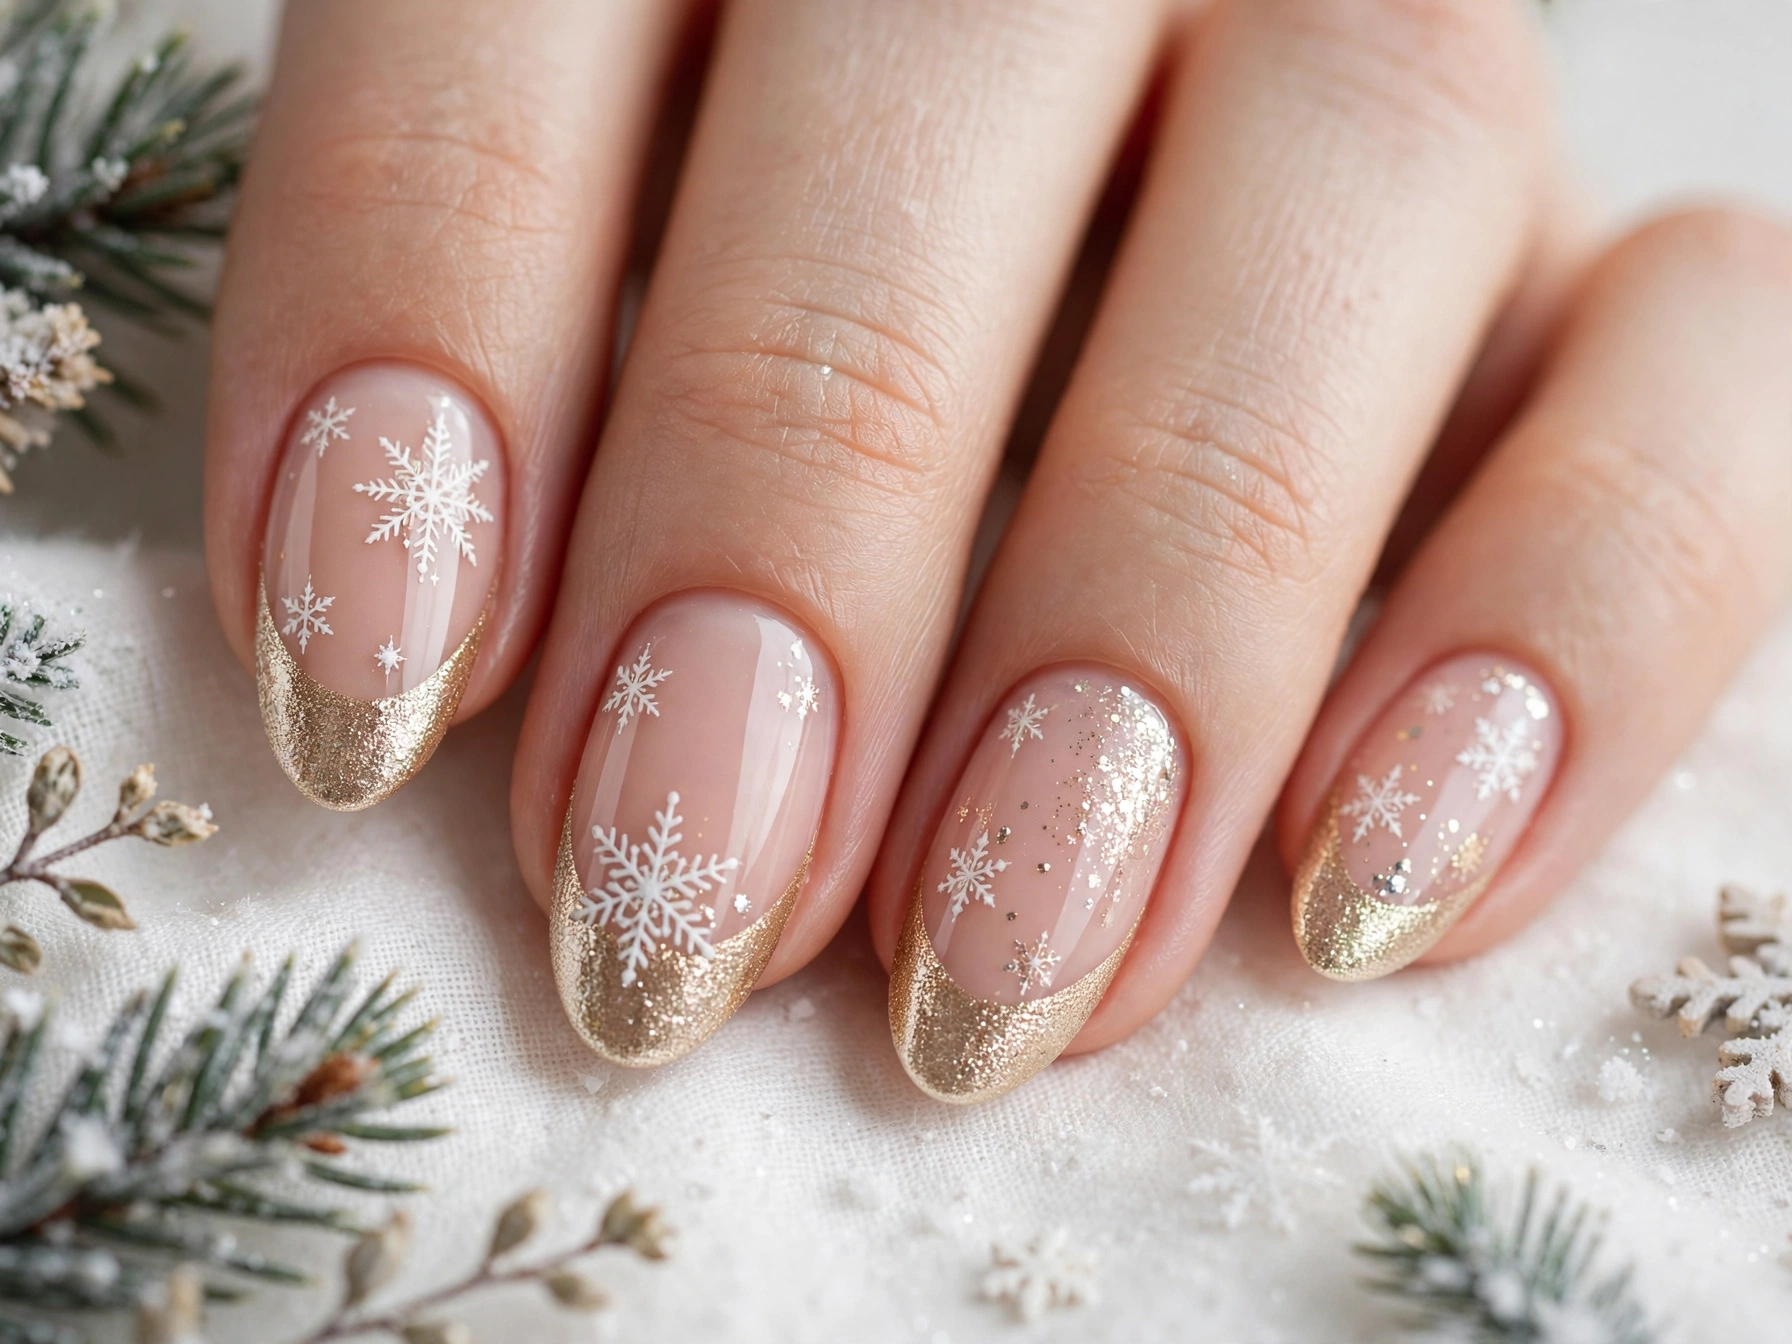
Quick Tip: Apply champagne polish in two thin coats, then add white flakes while the second coat is still slightly tacky so they grip well without smudging.
Start with a pale champagne base and add white snowflakes on the ring finger and thumb for a balanced look. Add fine gold glitter along the tips for warmth without overpowering the design. Seal with a glossy top coat, and this soft shine will suit both daytime gatherings and evening parties.
Cozy Plaid Snowflake Tips
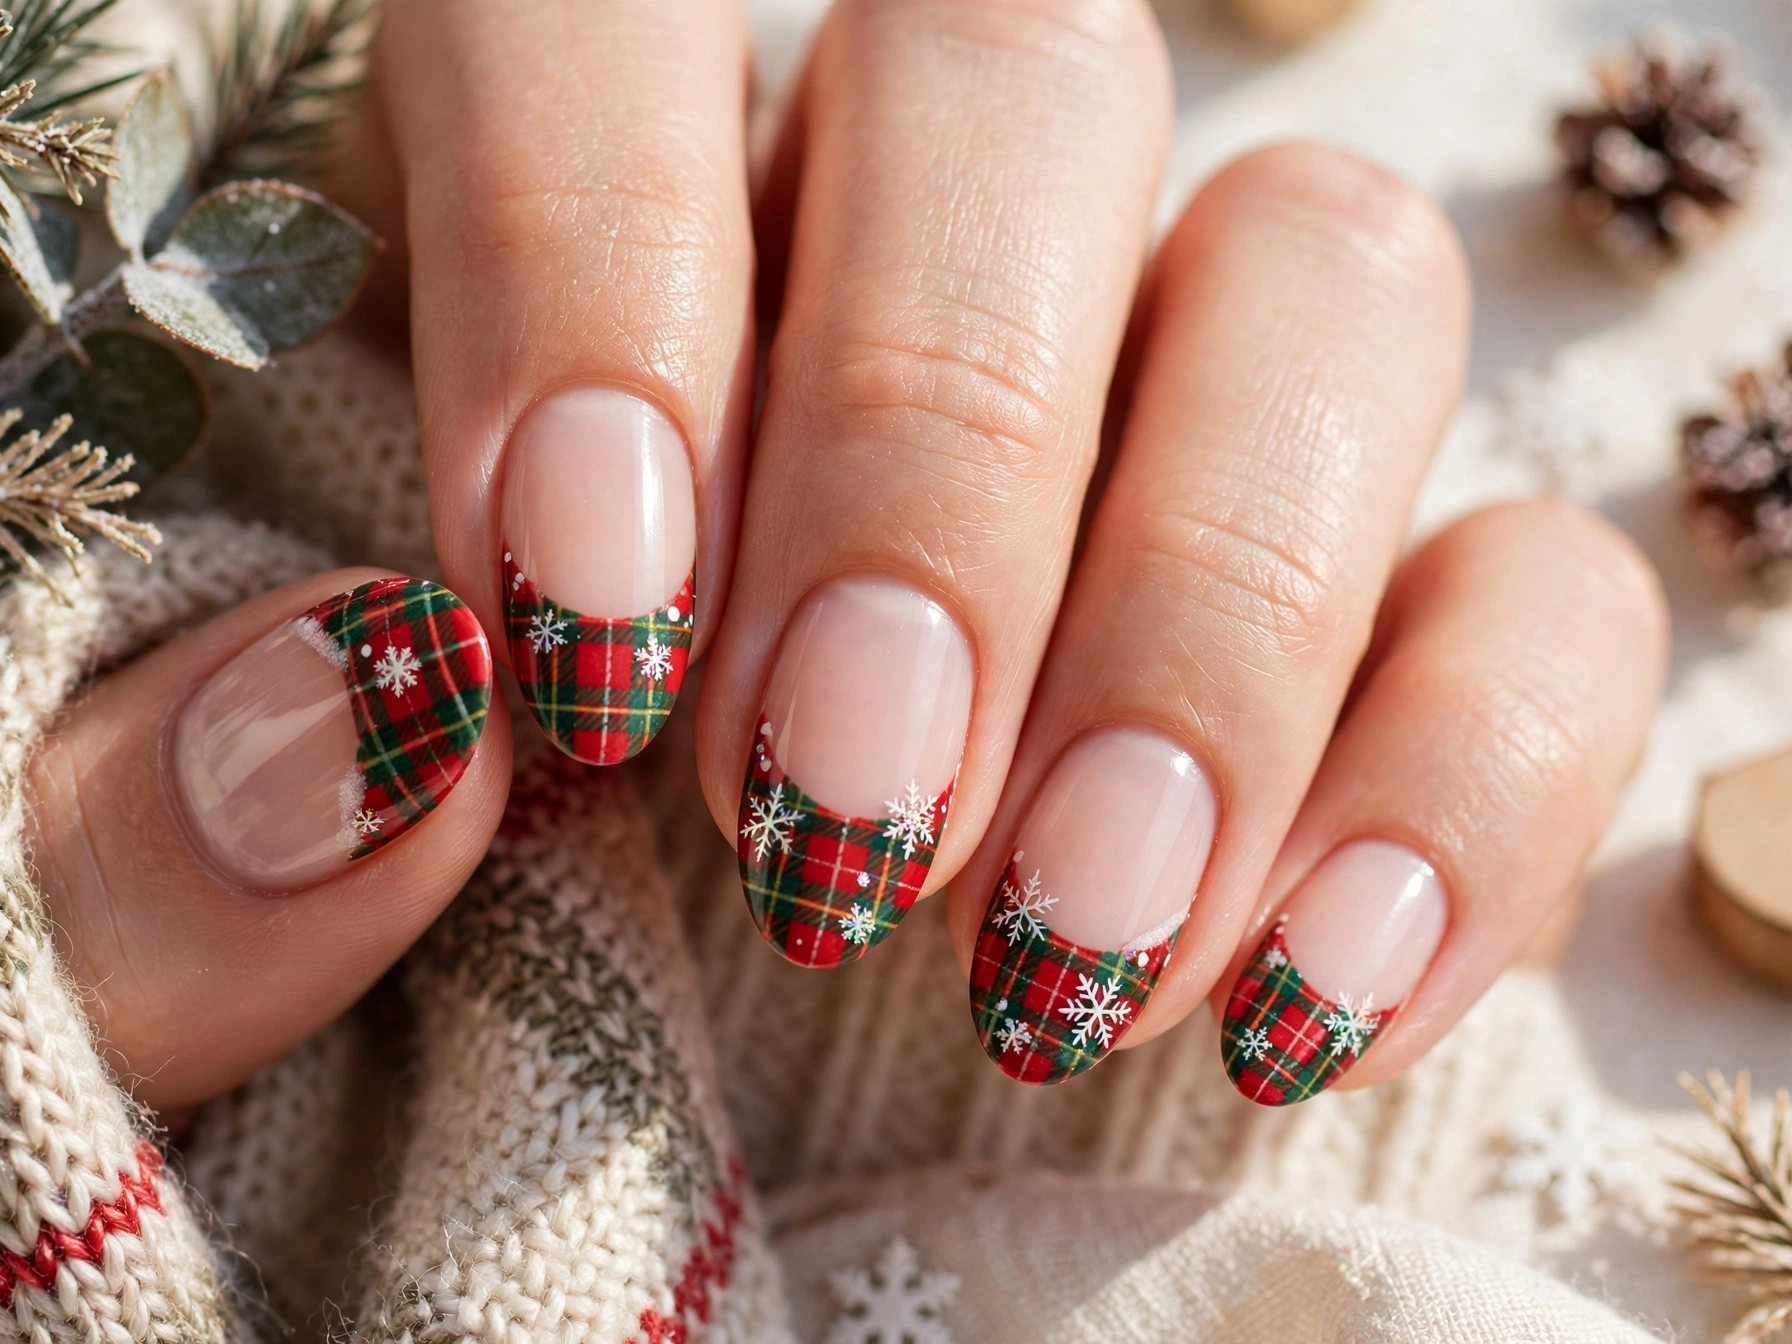
Before: Plain red and white plaid nails without any snowflake art.
After: The same plaid base with small white snowflakes and a glossy top coat for a festive finish.
Choose thin plaid lines so the snowflakes stay easy to see on each nail. Use a striping brush for straight lines and let each layer dry before adding the next one. This cozy design pairs well with flannel shirts, warm scarves, and relaxed winter weekends at home.
Pearl Snowflake Elegance
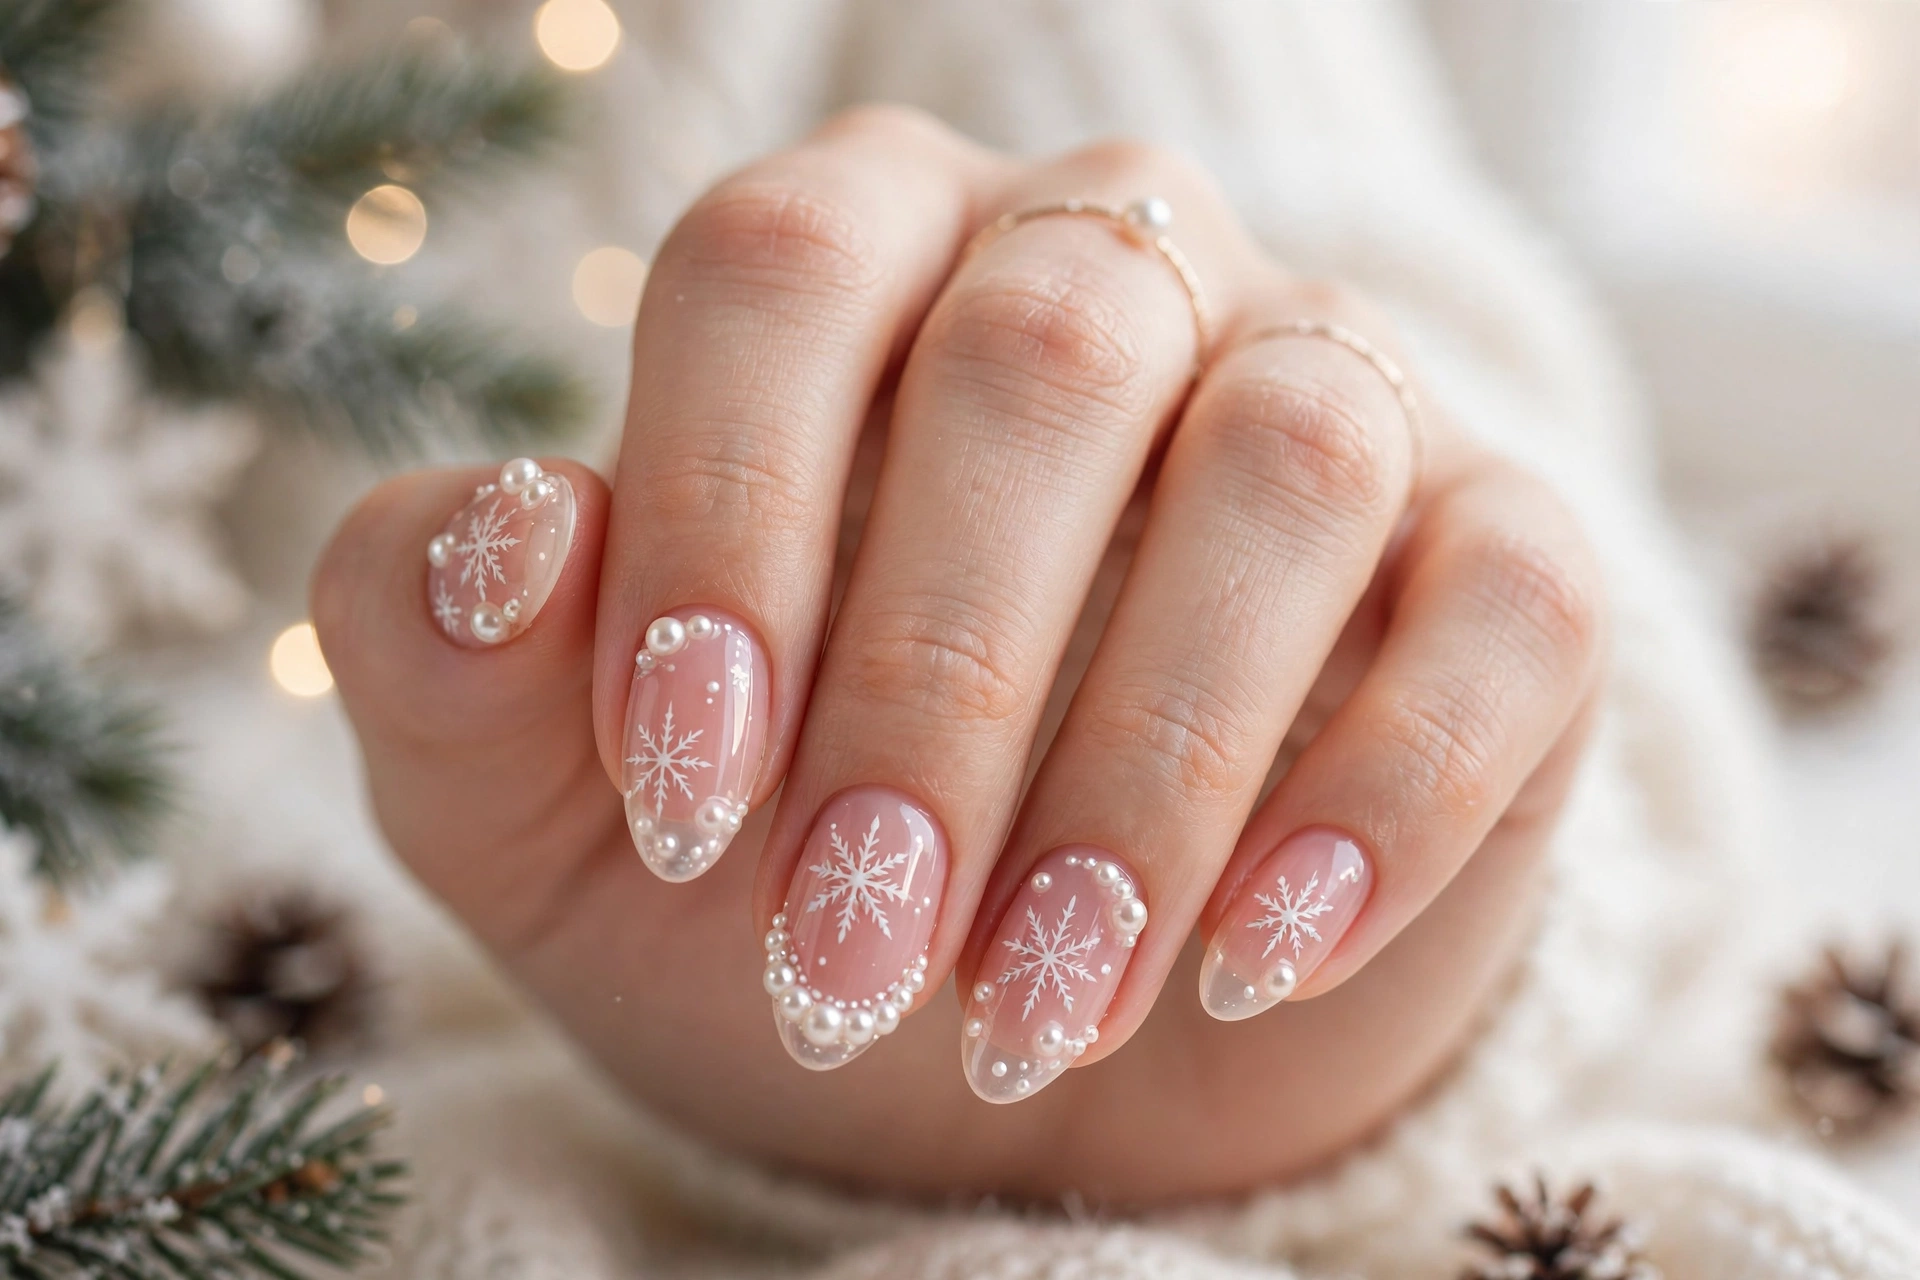
- Paint two thin coats of soft pearl white polish and let each coat dry fully before adding detail.
- Stamp or hand paint one delicate snowflake near the cuticle on each accent nail using silver polish.
- Add a tiny pearl dot at the center of each snowflake and seal everything with a glossy top coat.
Keep the remaining nails simple so the pearl snowflakes stay the focus. A matte top coat on the plain nails adds soft contrast, while the glossy accents catch light beautifully. This look works well for dinners and parties, and it pairs easily with silver jewelry and cozy winter outfits.
Candy Cane Snowflake Tips
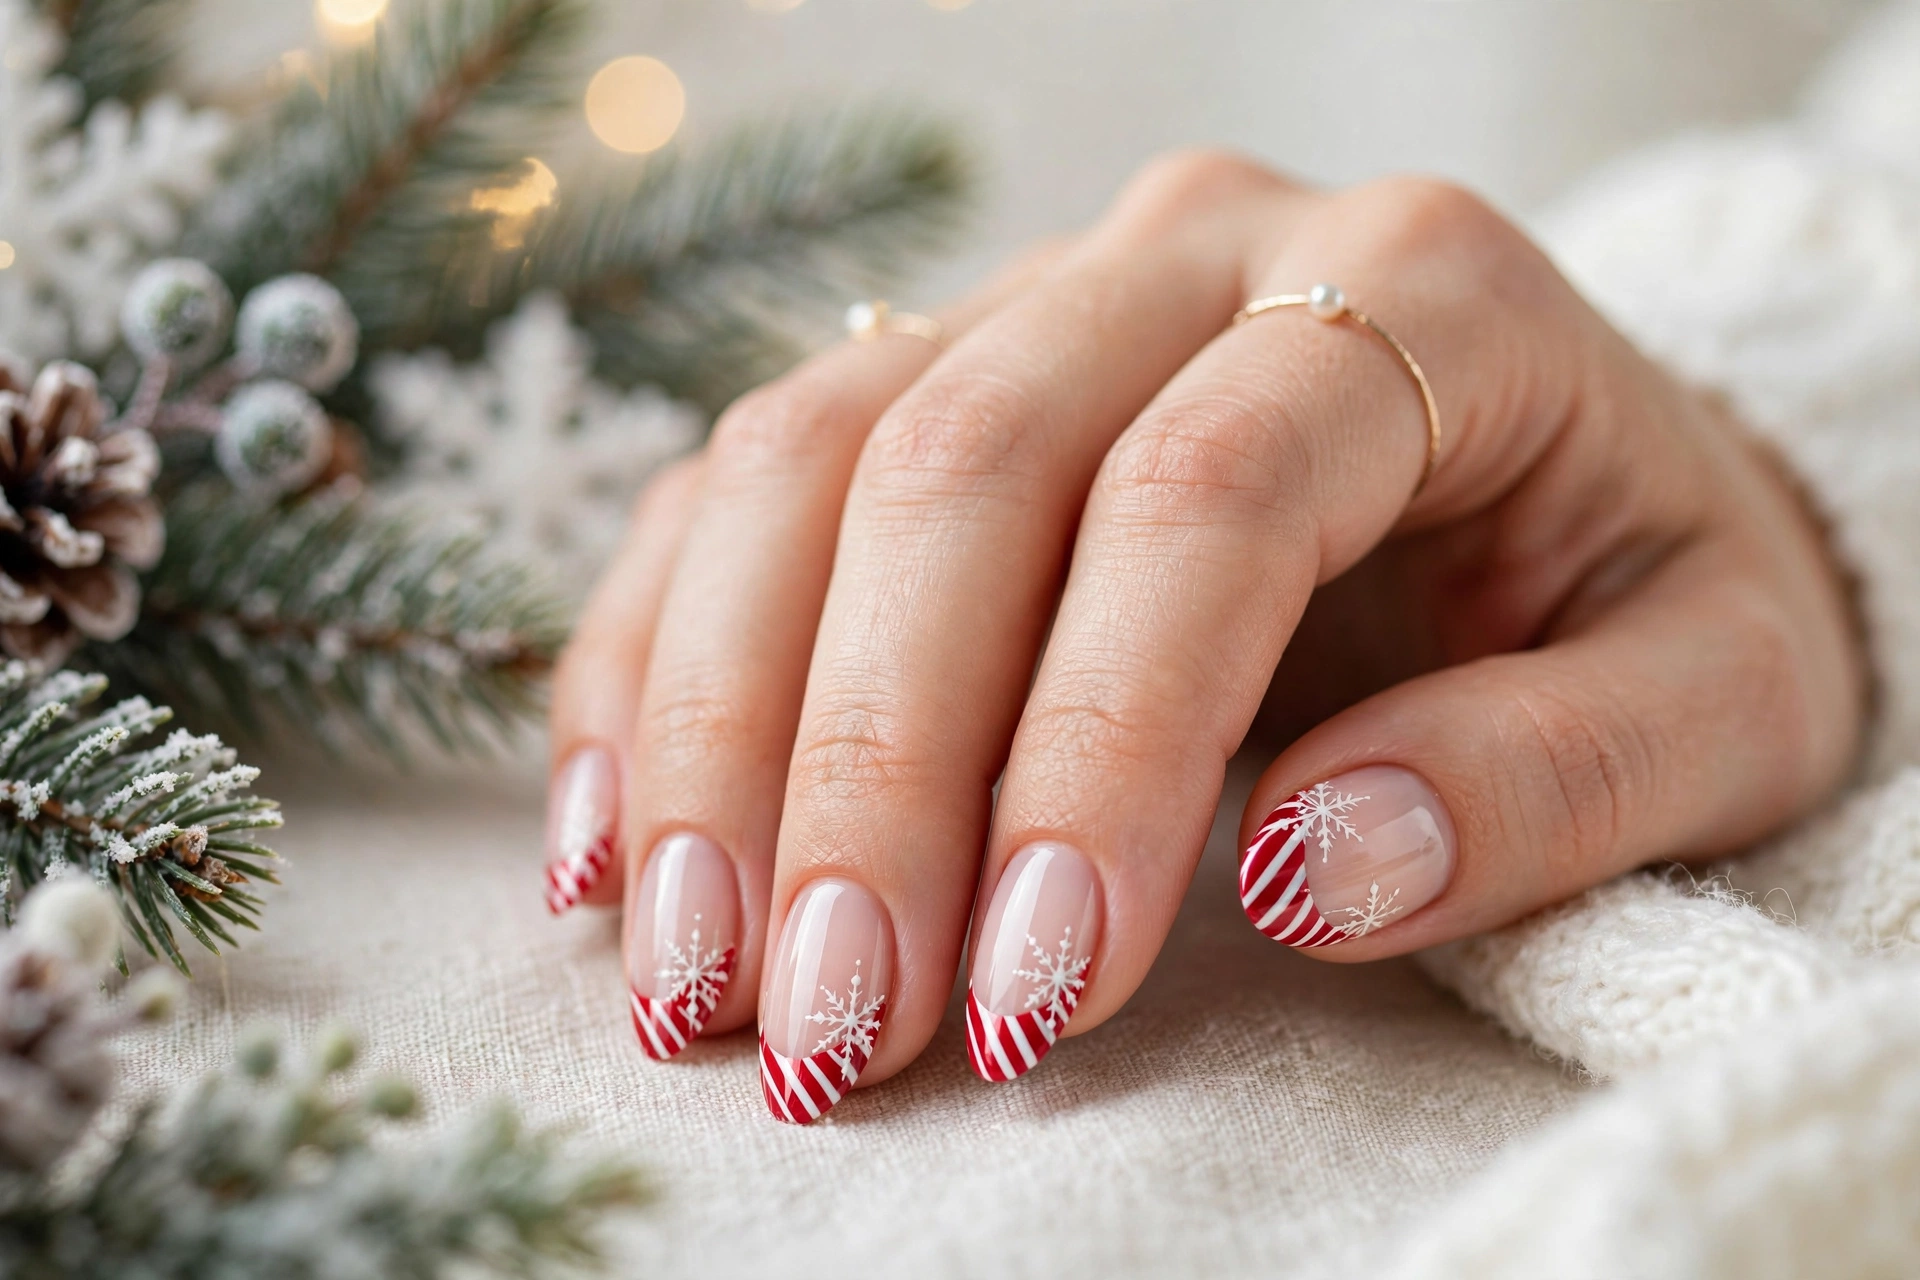
| Feature | Classic Red Tips | Snowflake Version |
|---|---|---|
| Base color | Sheer pink | Sheer pink with soft shimmer |
| Tip style | Solid red stripe | Red stripe with white snowflake detail |
| Finish | High gloss | Gloss with subtle glitter accent |
| Best occasion | Casual holiday outings | Parties and festive dinners |
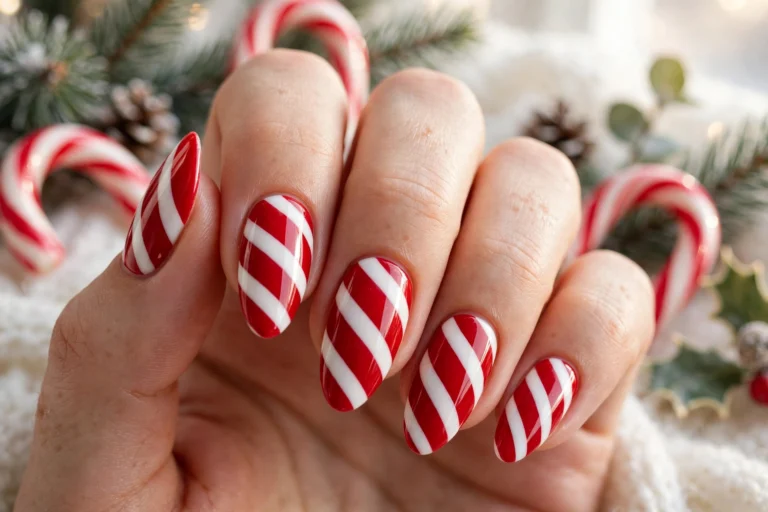
Choose the snowflake version when you want a playful twist on a familiar classic. The red tips keep the look bold, while the white details add a winter feel without making the design busy. Shorter nails suit this style well, since the tips stay neat and the snowflakes remain clear and easy to see.
Gingerbread Snowflake Cream Tips
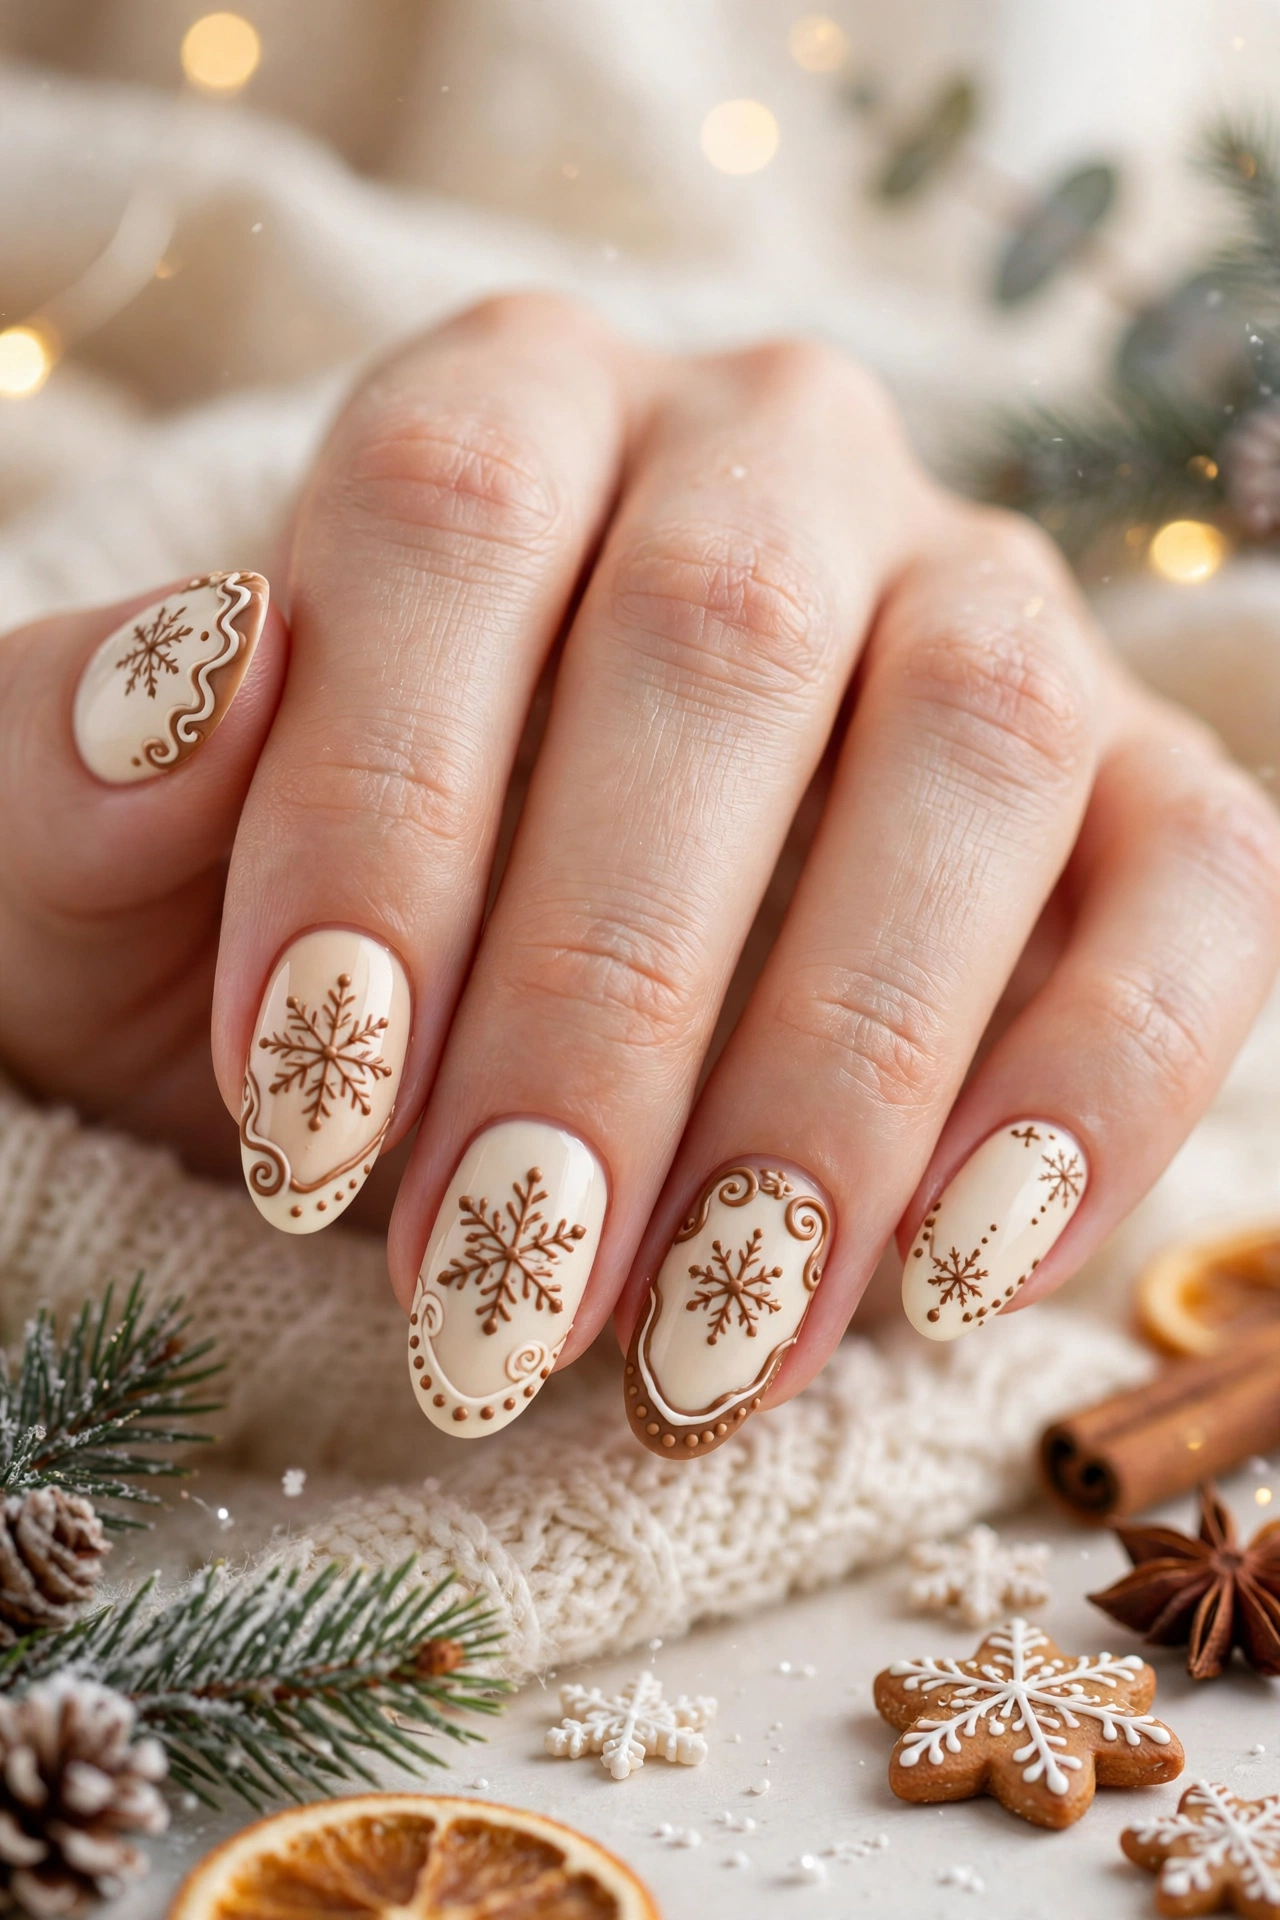
DO: Pair gingerbread brown snowflakes with a creamy nude base for a soft, bakery-inspired finish.
DO: Add tiny gold dots around each snowflake for warmth and sparkle.
DON’T: Overload every nail with large designs, since the look can turn heavy quickly.
DON’T: Skip top coat, because cream shades chip faster without protection.
This cozy design feels sweet without looking childish, especially when the gingerbread tones stay muted. Keep one or two accent nails detailed and leave the rest clean for balance. It matches knit sweaters, brown boots, and gold jewelry, making it a lovely choice for relaxed holiday gatherings at home.
Winter White Snowflake Tips
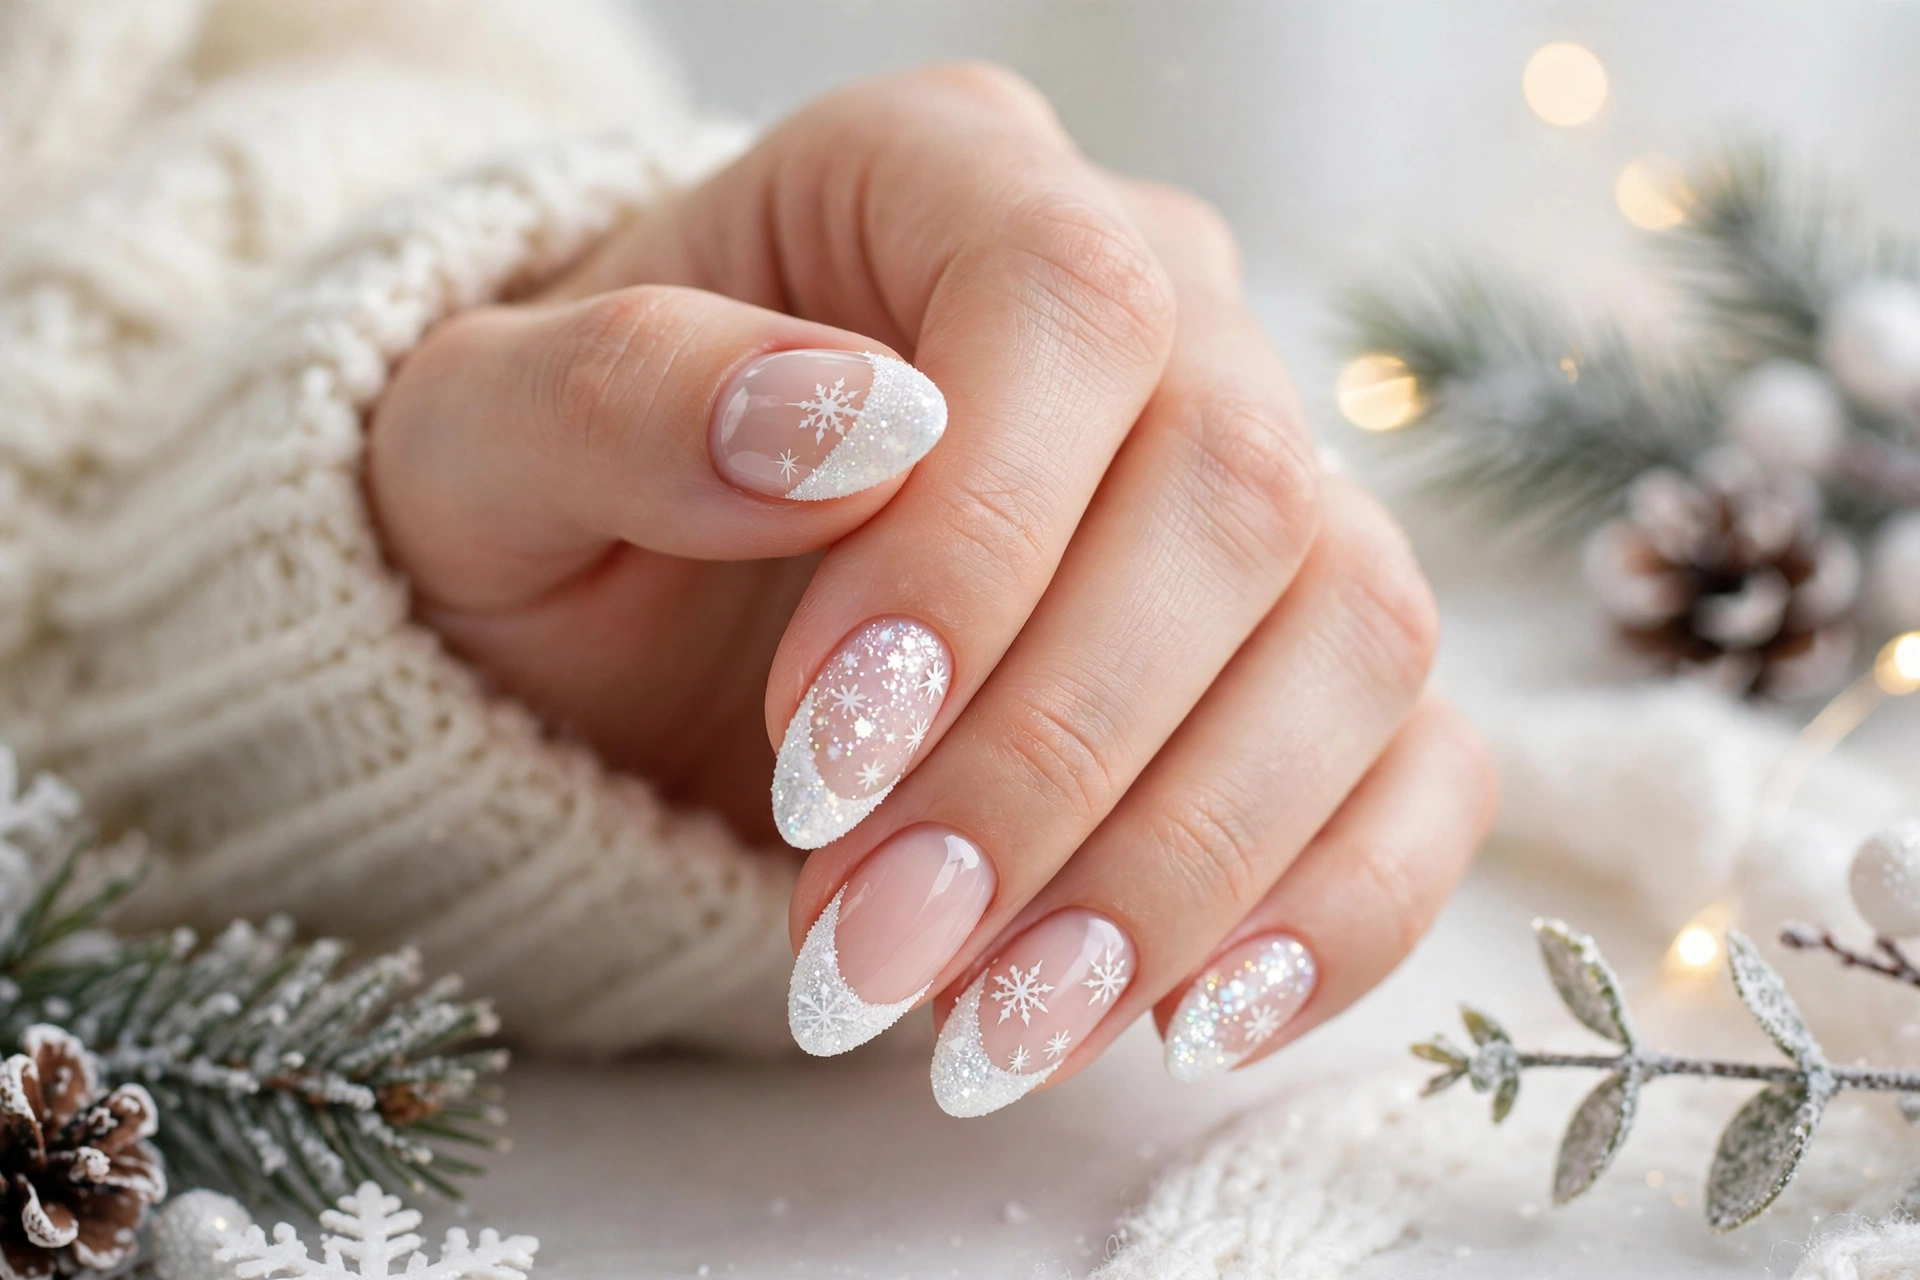
Best base: Sheer white or pale blue polish.
Snowflake shade: Bright white with silver glitter.
Finish: Glossy top coat for a frosty shine.
Wear time: Up to two weeks with proper base and top coats.
Winter white snowflake tips look fresh on every nail length, from short squares to long almonds. Keep the tips crisp with careful polish removal around the edges, and refresh the top coat after a few days. The clean palette suits office parties, winter weddings, and quiet snow days equally well.
Cranberry Gold Snowflake Tips
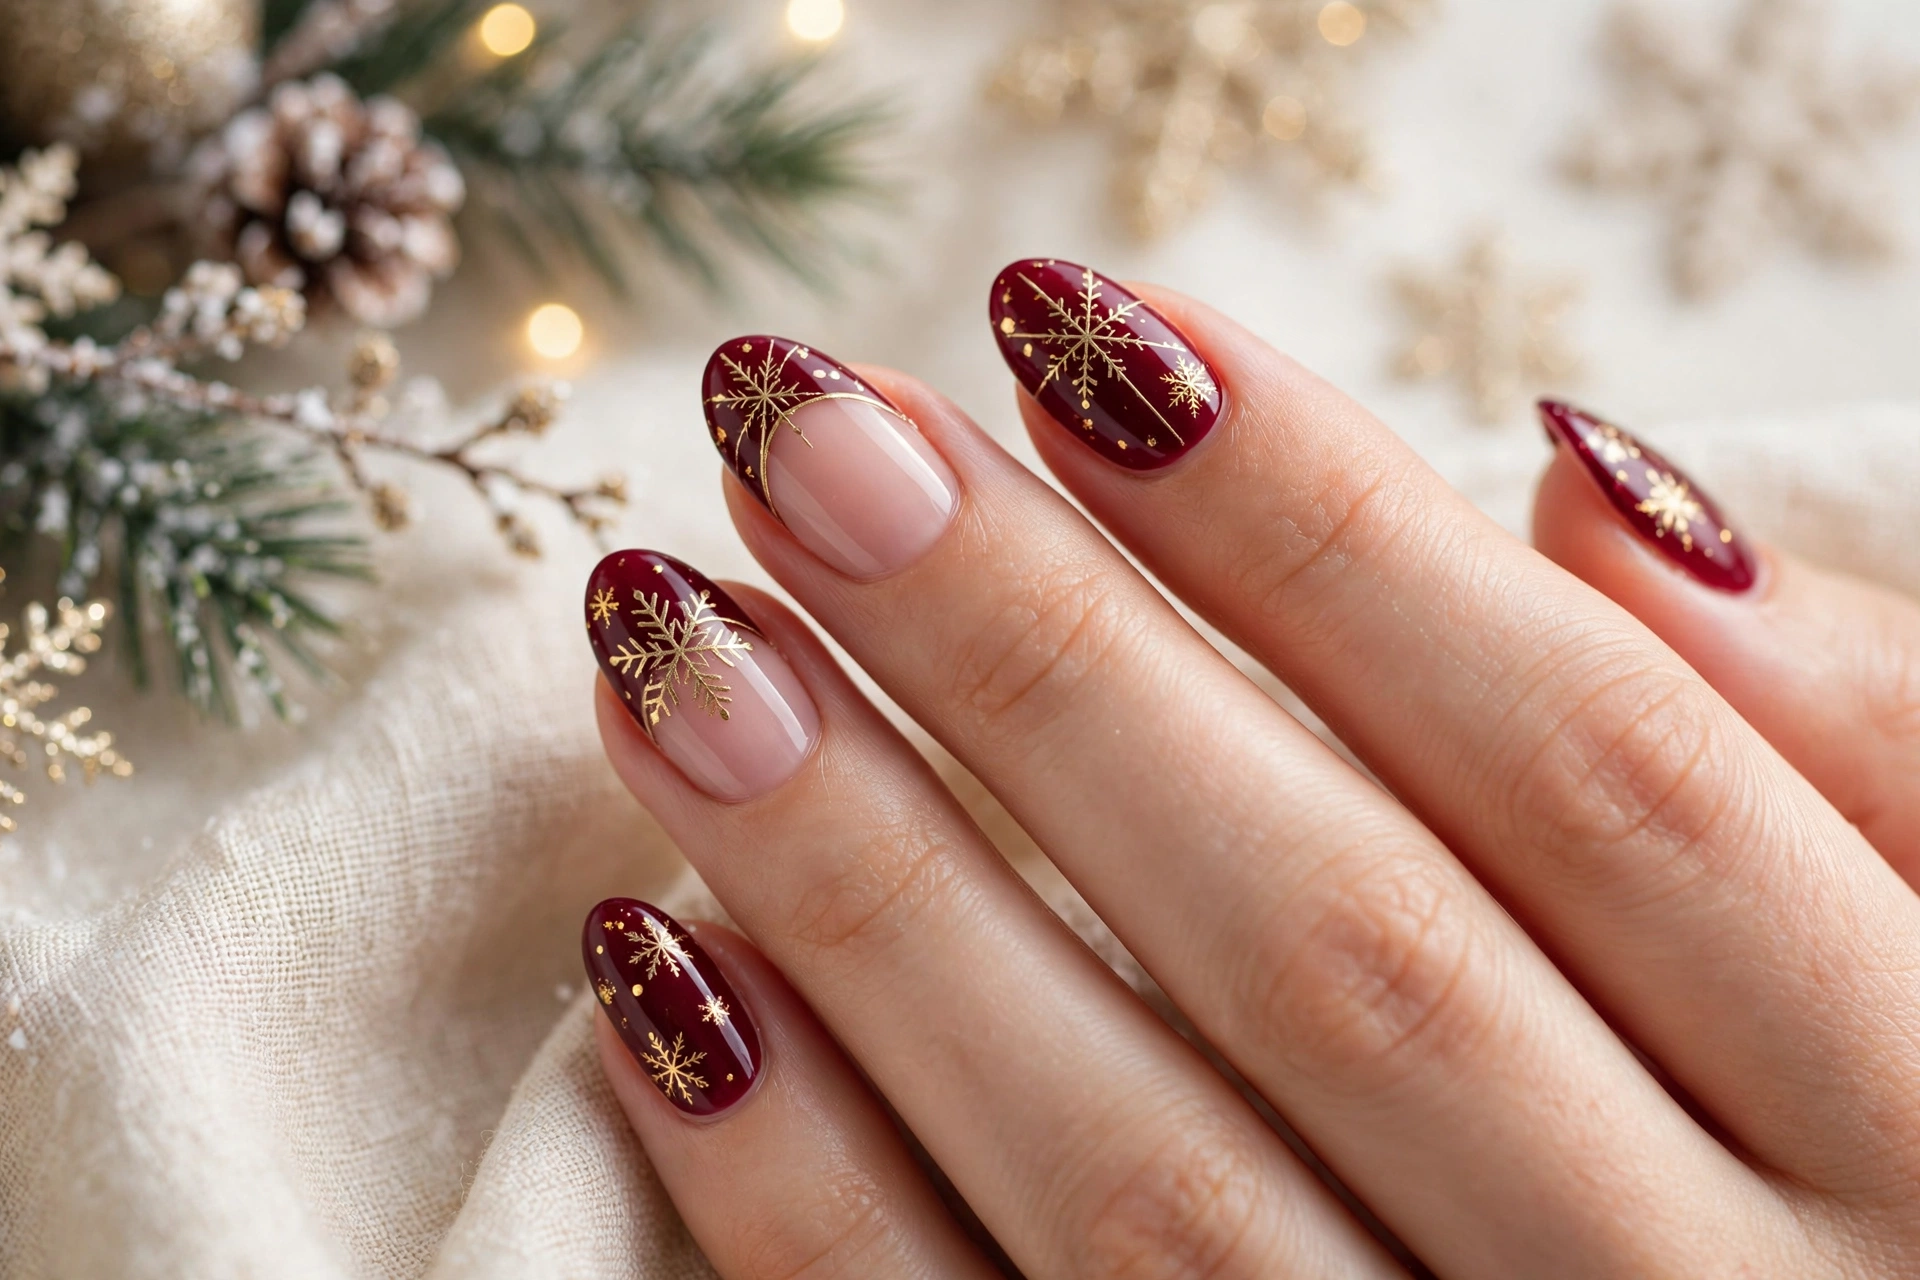
Cranberry polish gives snowflake nails a rich, festive depth that feels perfect for holiday evenings. Paint a deep cranberry base, then add white snowflakes on two accent nails for contrast. Small gold dots at the center of each flake add warmth and keep the design elegant rather than busy.
In my experience, this shade looks best with a glossy finish, since shine deepens the cranberry tone. Pair it with gold rings and a dark green or black outfit for a polished look. The design works well on shorter nails, where one neat snowflake per accent nail keeps everything balanced.
Pine Green Snowflake Accents
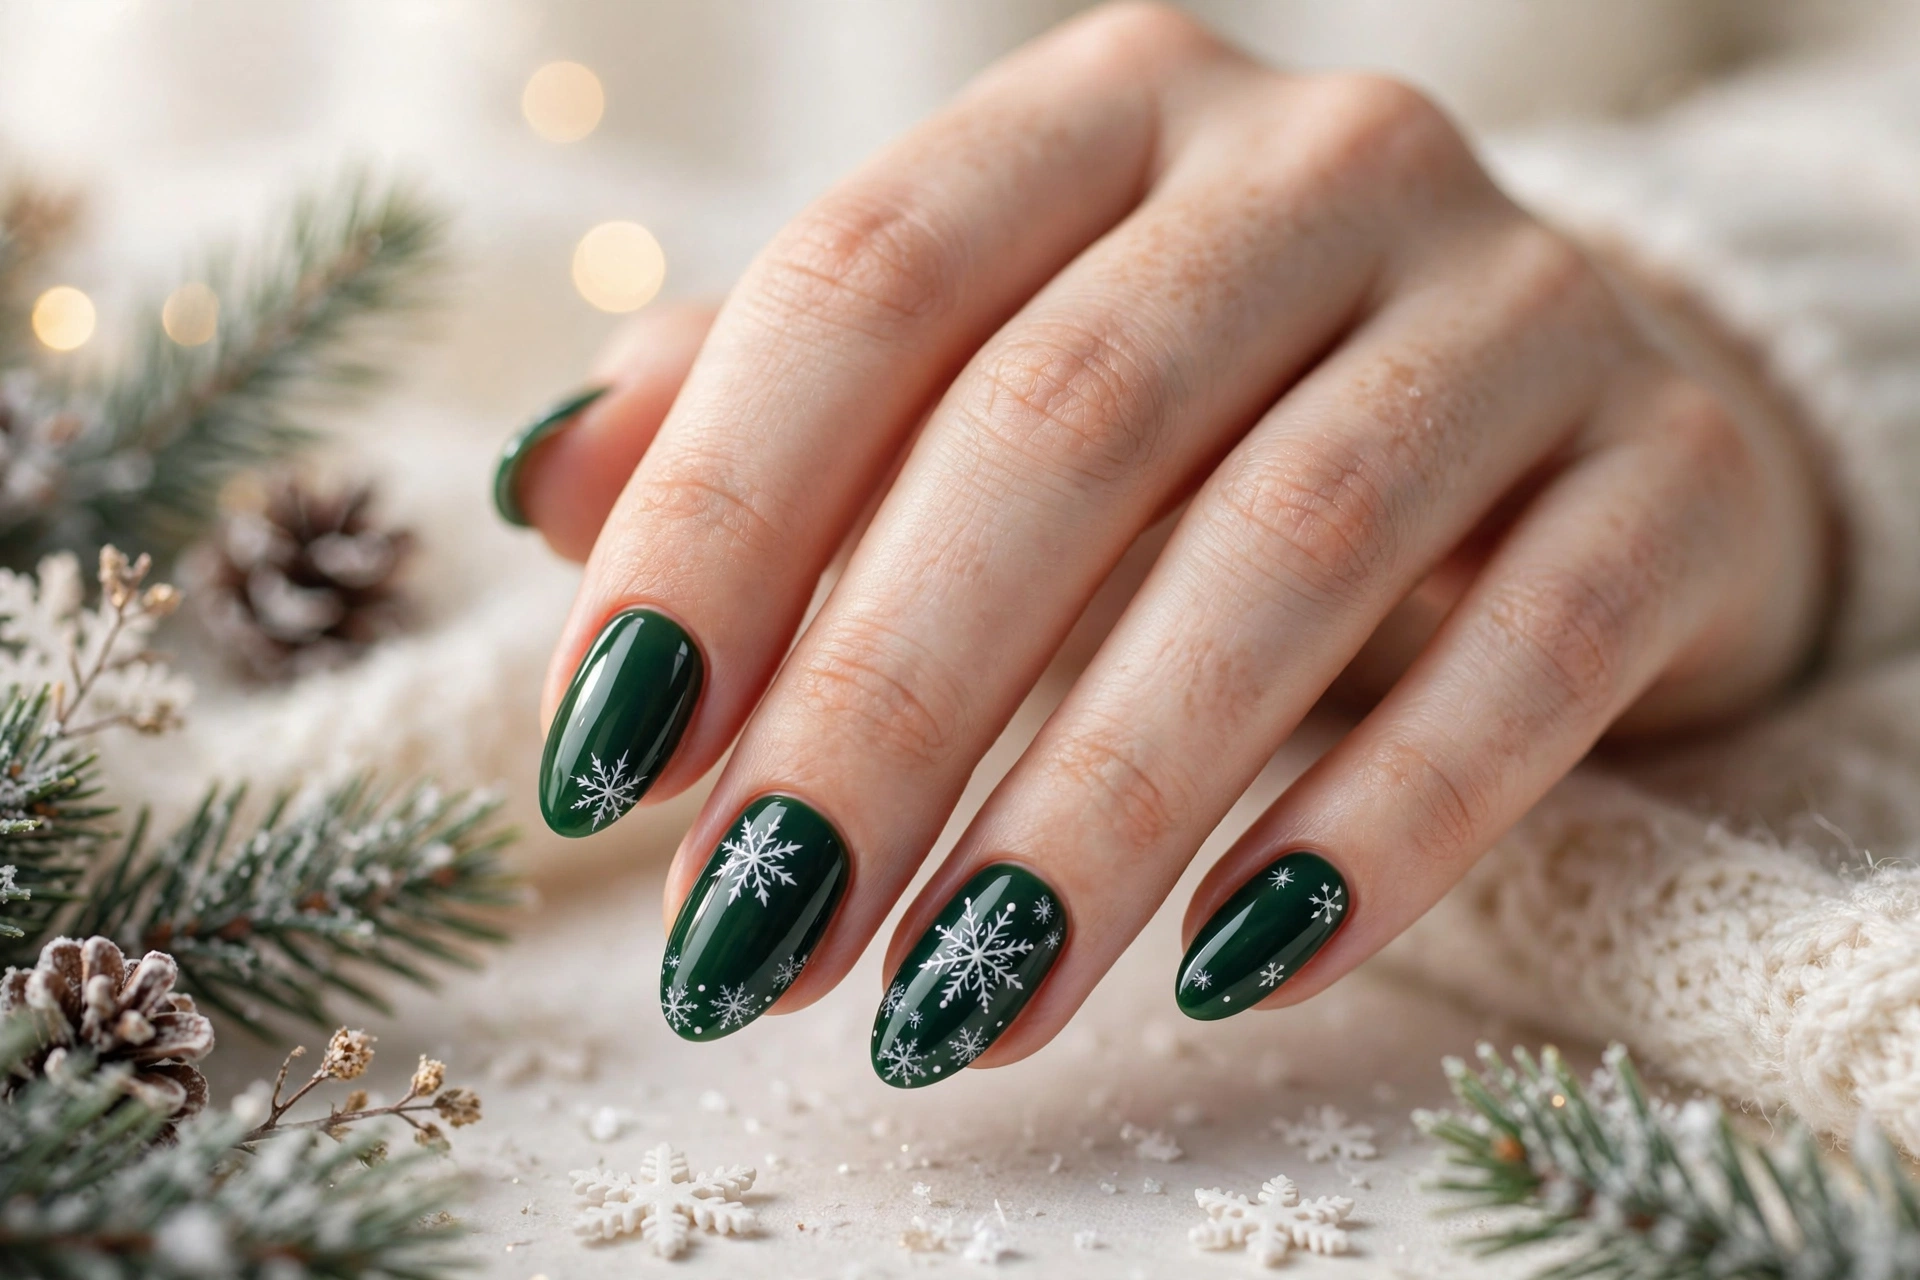
- Use pine green on two accent nails and keep the rest nude for balance.
- Add small white snowflakes near the tips of the green nails.
- Outline one snowflake in gold for a subtle festive touch.
- Seal with glossy top coat to keep the green rich and smooth.
Pine green snowflake accents feel calm and woodsy, making them ideal for family gatherings and outdoor winter events. The green pairs beautifully with cream sweaters, brown leather, and gold jewelry. Keep the snowflakes small and neat so the deep green stays the star of the design.
Soft Nude Snowflake Glow
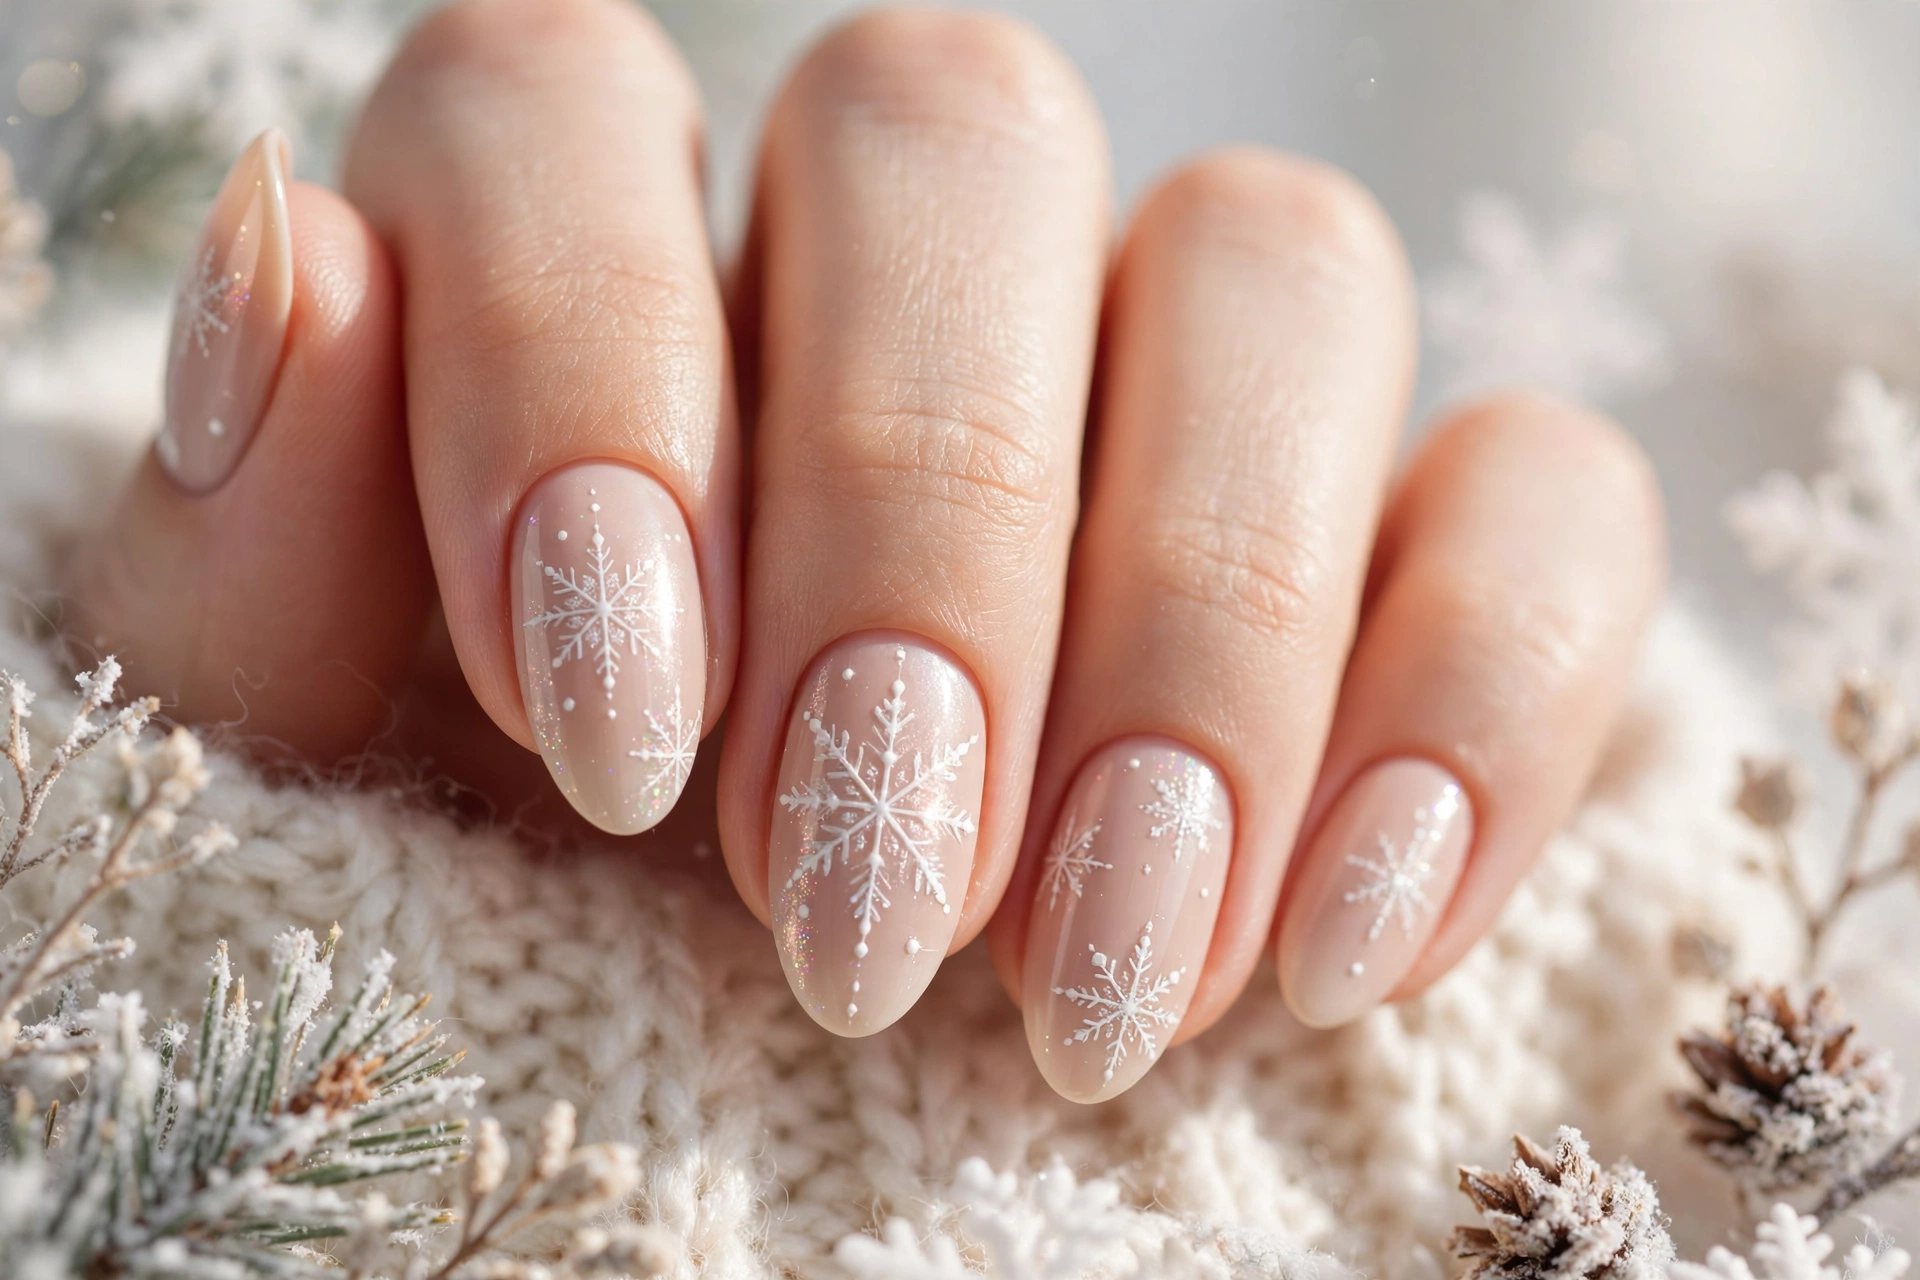
Quick Tip: Choose a pink toned nude if your skin is cool, and a peach toned nude if your skin is warm, so the white flakes stand out clearly.
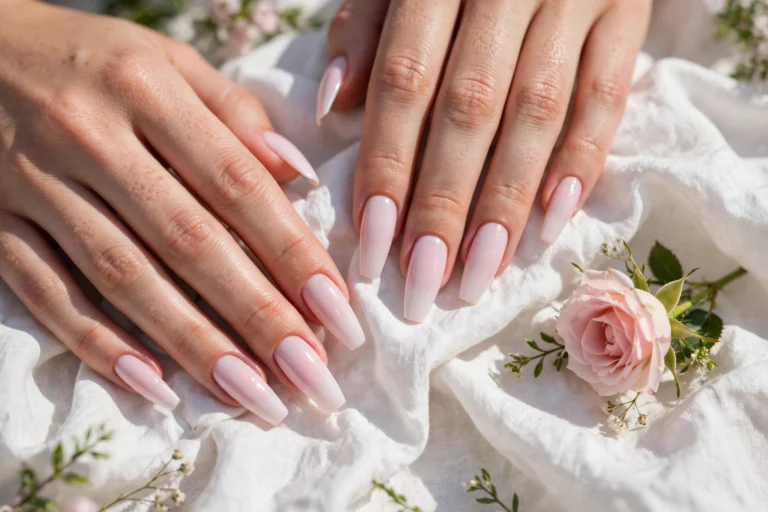
A nude base keeps this look calm and wearable for work and quiet evenings. Paint two thin coats, let each layer dry, then stamp one small white flake near the cuticle on two accent nails. Add a tiny silver dot at the centre for light, then seal with a glossy top coat for a glow.
Silver Star Snowflake Tips
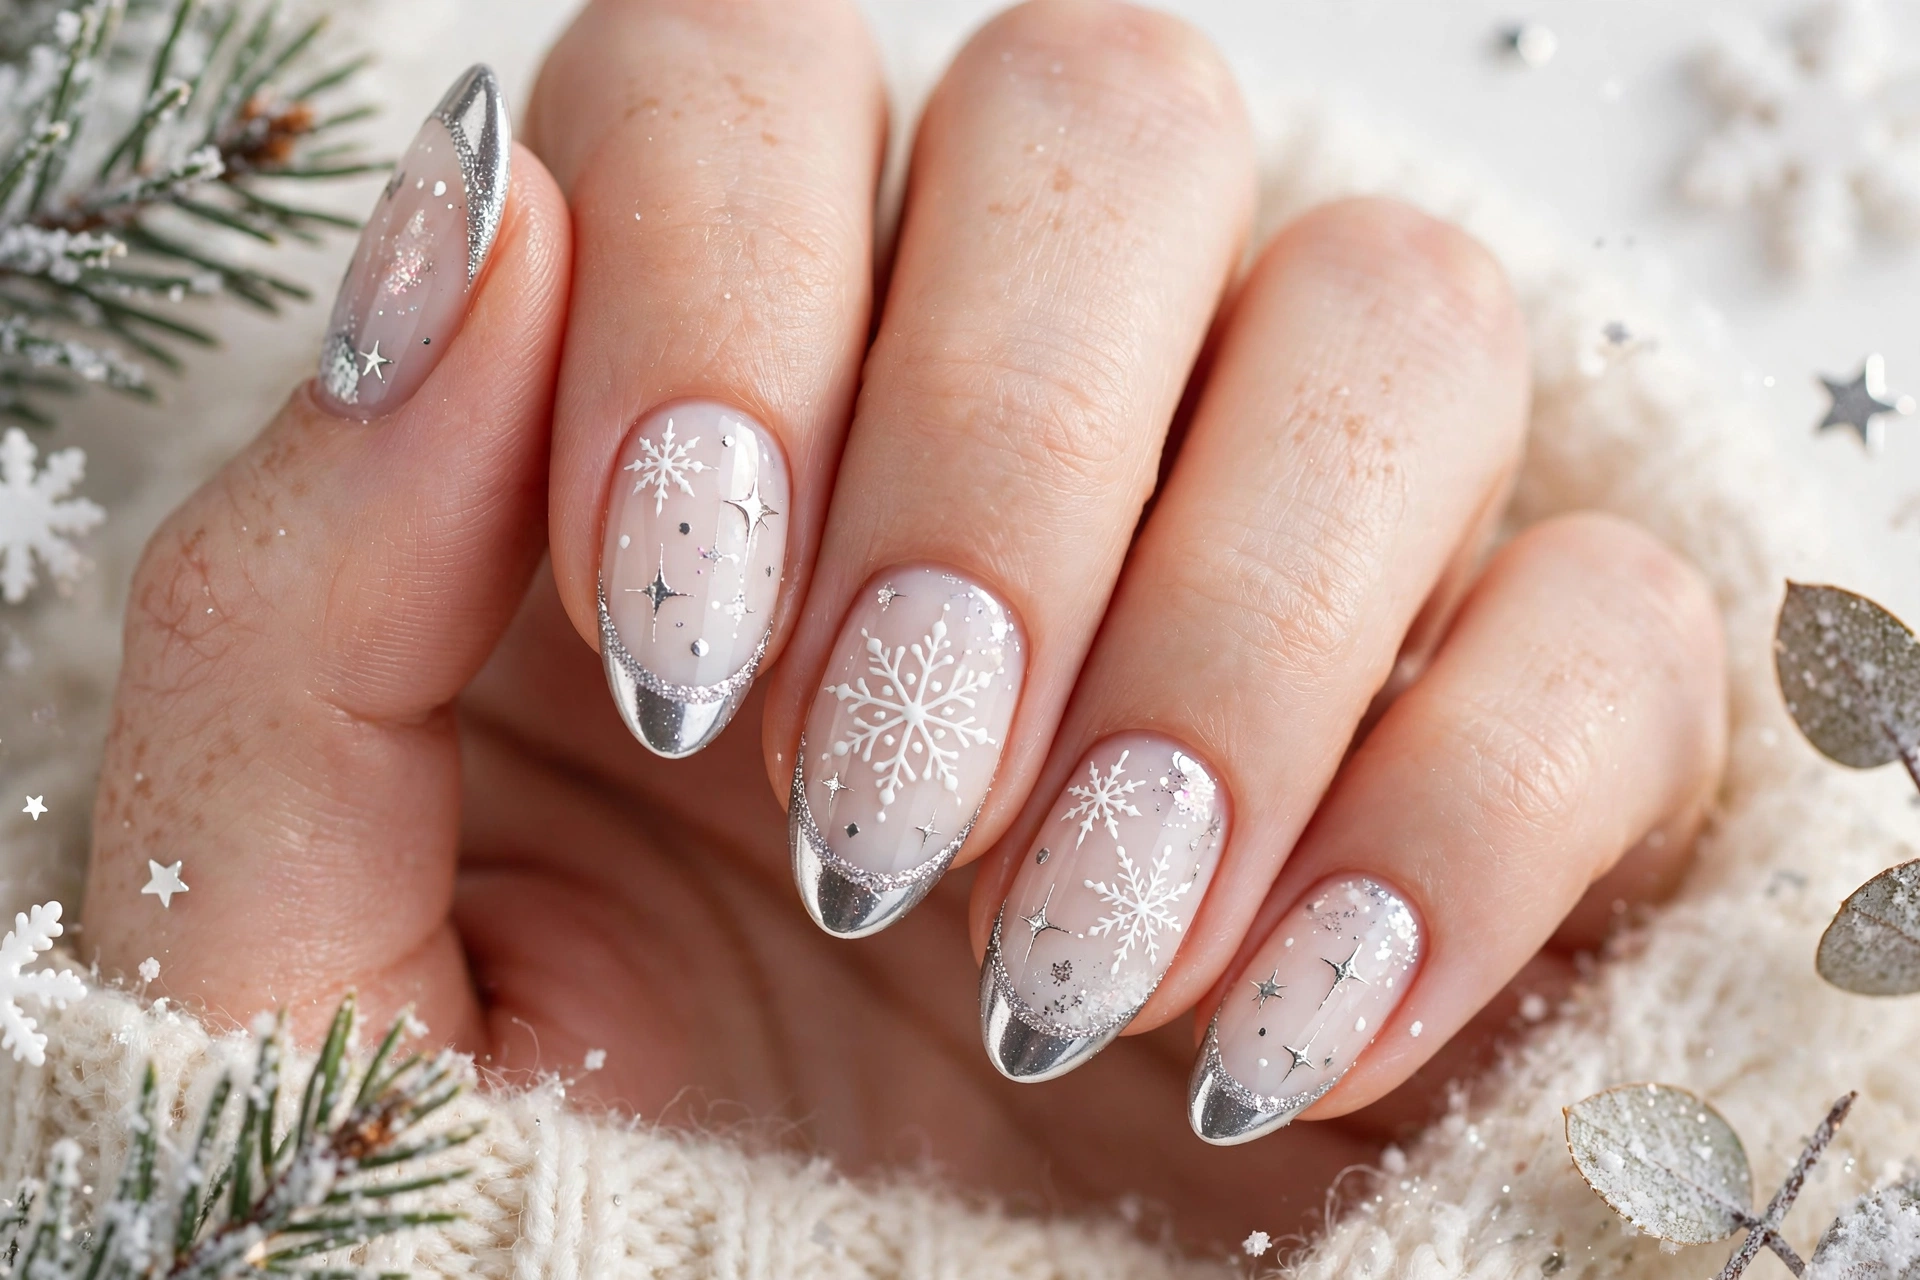
Before: Plain silver tips can look flat and cold, with little detail to catch the eye.
After: Fine white flakes over silver tips add sparkle, depth, and a frosty winter finish.
Start with a sheer silver polish on the tips only, keeping the rest of the nail bare or softly tinted. Paint one delicate flake on each tip, using a thin brush and white polish, then add a silver glitter centre. A matte top coat softens the shine, while a glossy coat makes the design brighter.
Holly Berry Snowflake Tips
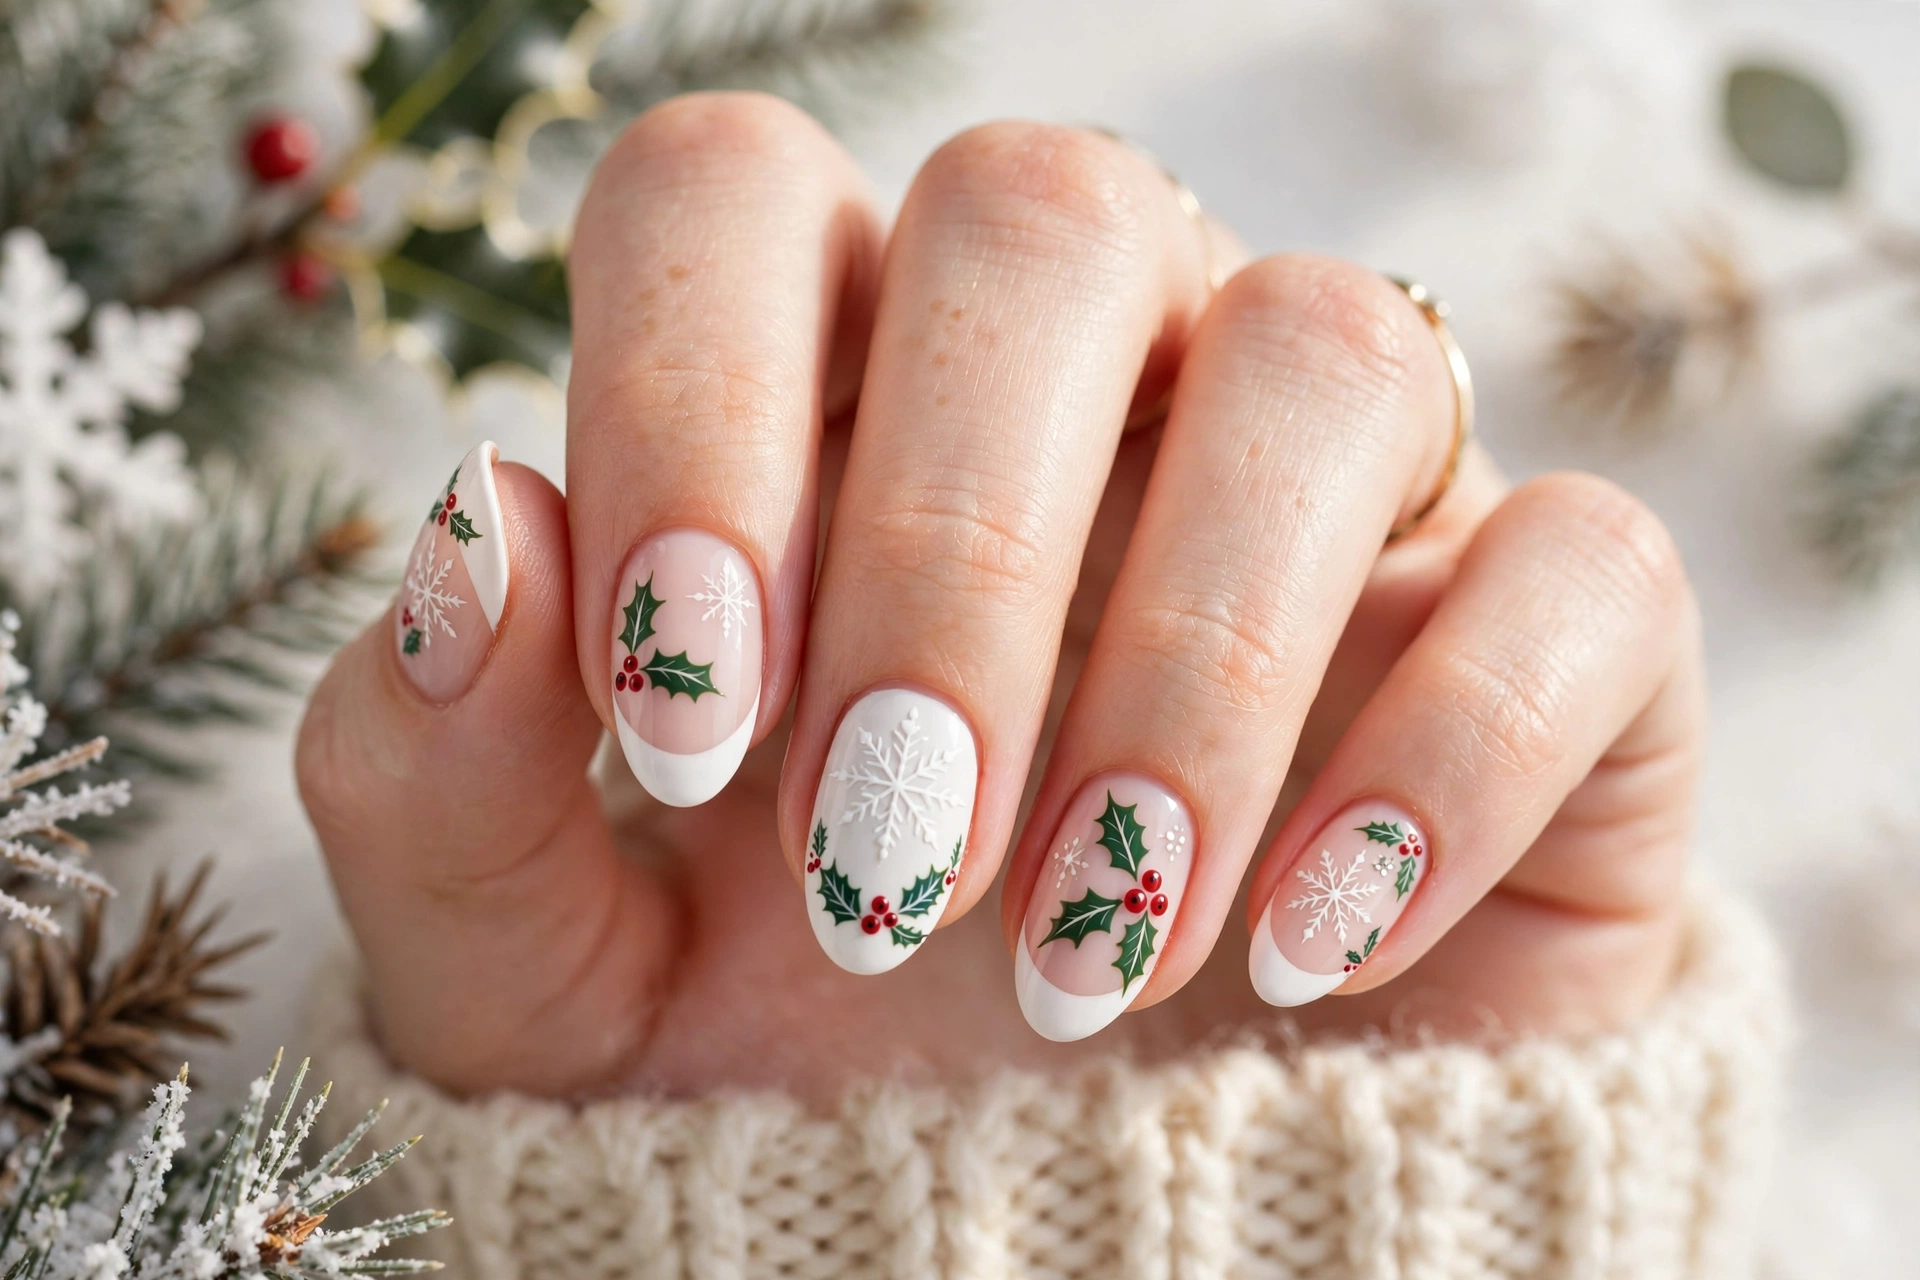
- Paint a deep red base and let it dry completely.
- Stamp a white flake on the ring finger and thumb.
- Dot tiny green leaves beside one flake for a holly accent.
- Add small red dots as berries near the cuticle.
- Seal with a fast drying top coat.
Red and green details work best when the flakes stay small and spaced apart, so the nails do not look crowded. Keep berries to three dots per nail, place leaves at one side only, and leave at least one nail plain for balance. This pairing suits dinners, photos, and gift exchanges without feeling bold.
Elegant Snowflake Crown Tips
| Style | Best for | Finish |
|---|---|---|
| Classic white flakes | Everyday winter wear | Soft gloss |
| Silver glitter flakes | Evening parties | High shine |
| Gold outlined flakes | Festive celebrations | Warm metallic |
| Blue frost flakes | Snow day outfits | Cool shimmer |
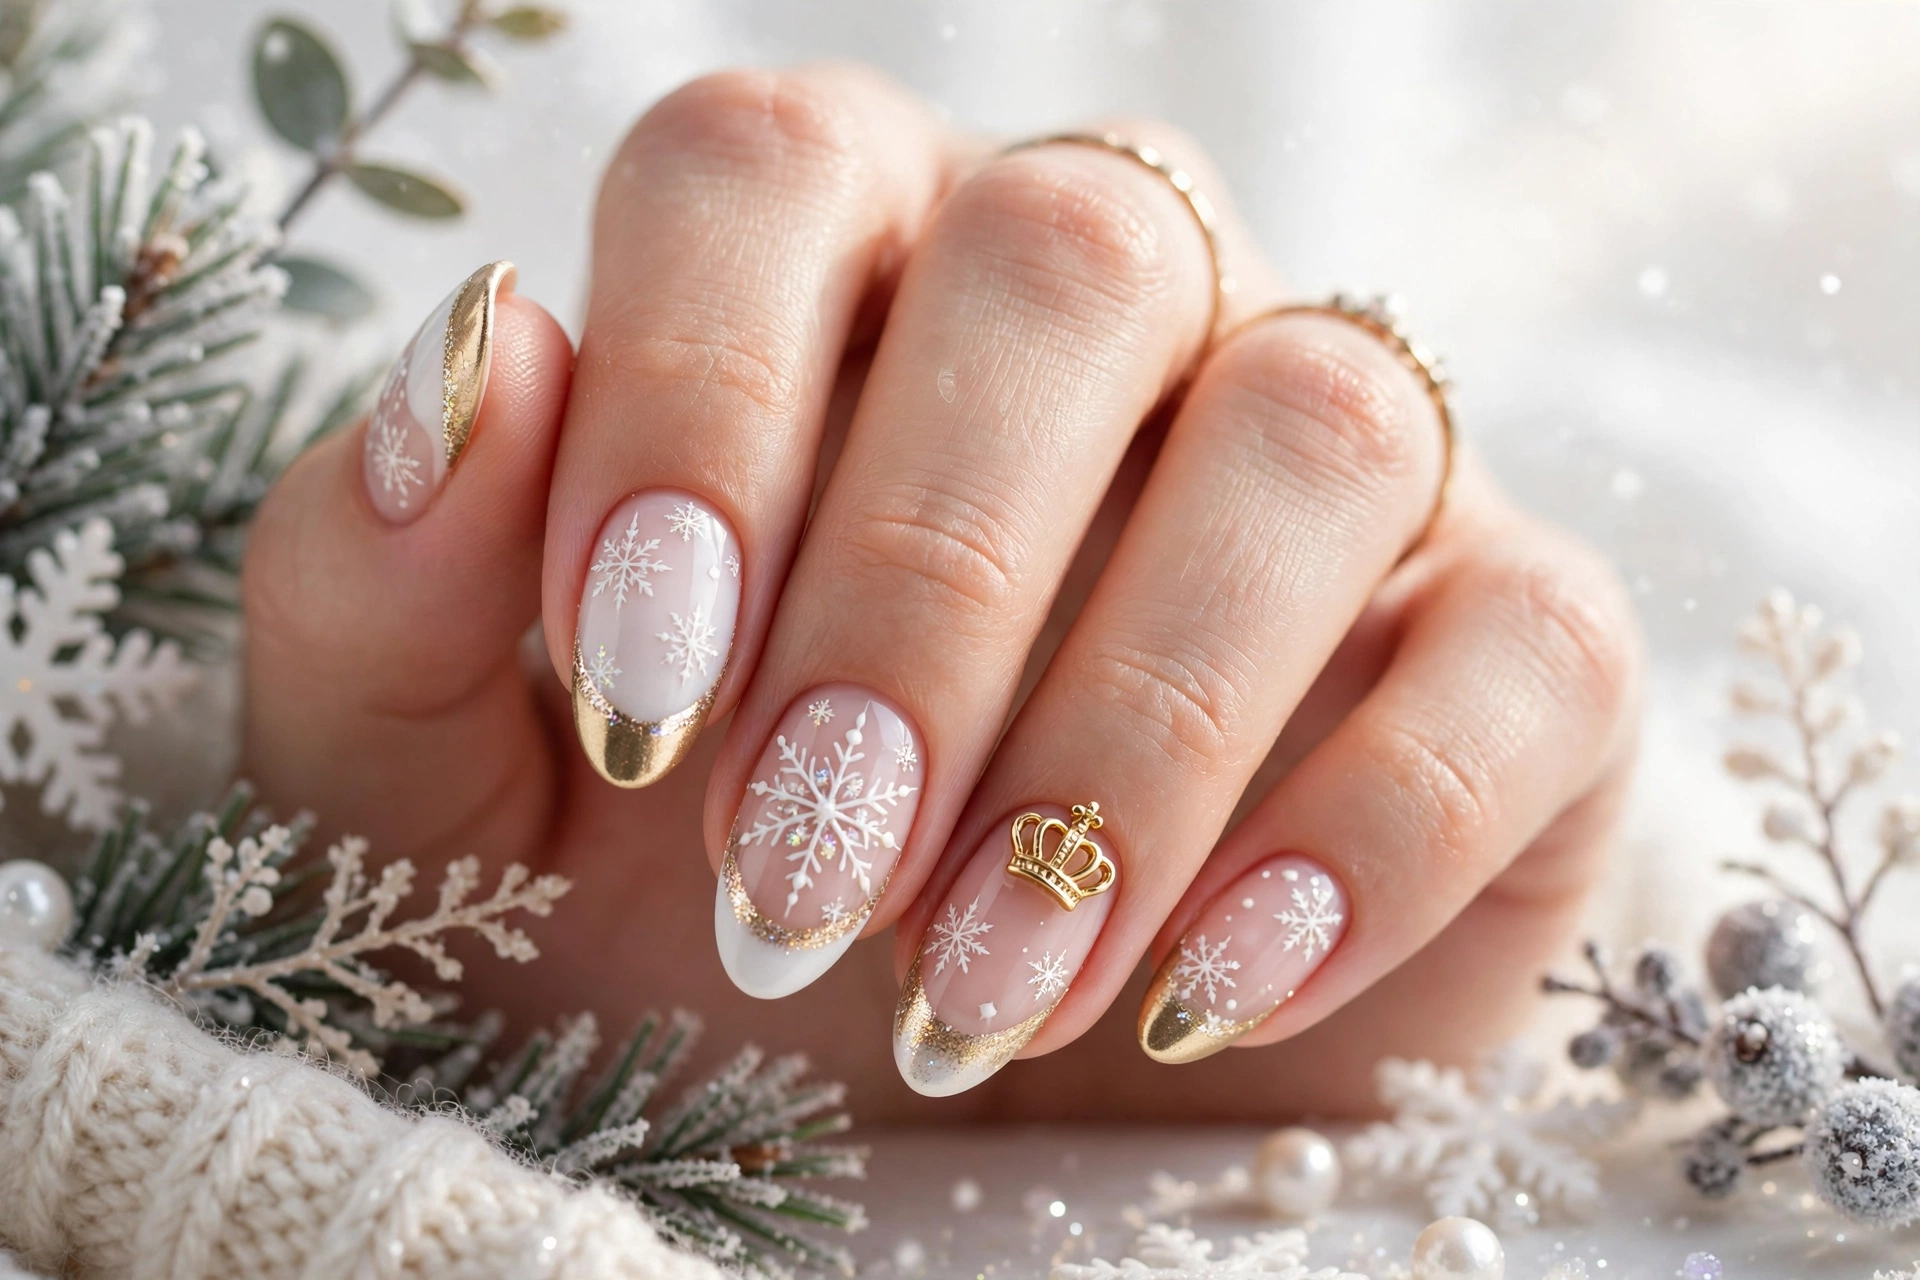
Classic white flakes suit most outfits and skin tones, while silver adds evening sparkle without extra colour. Gold outlines feel warmer and richer, and blue frost pairs well with denim, grey knits, and white coats. Pick one style for all nails, or mix two styles across accent nails for a balanced look.
Cozy Sweater Snowflake Tips
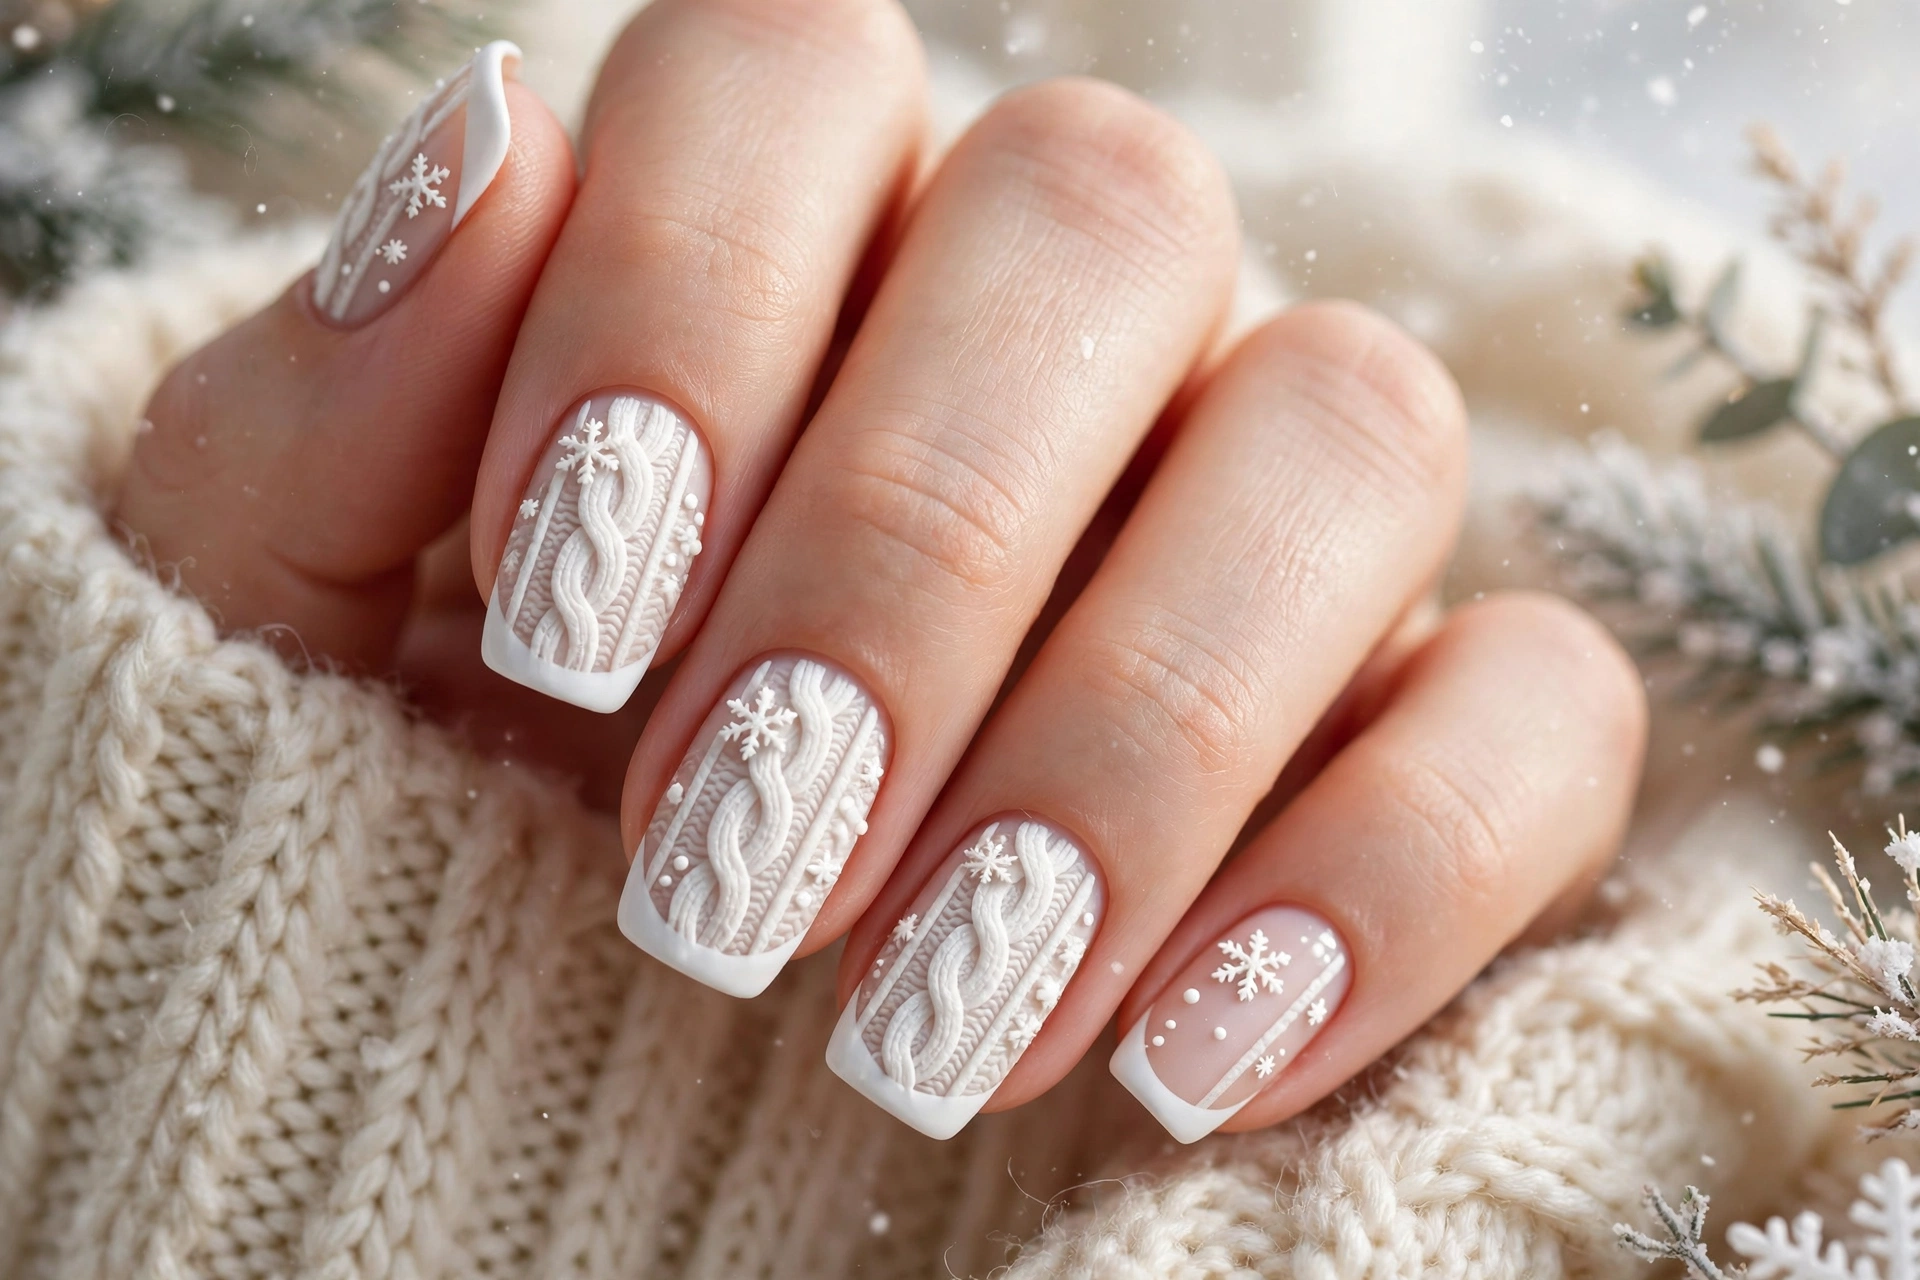
DO: Keep flakes small, use a thin brush, and seal with a top coat.
DON’T: Overload every nail, use thick polish, or skip a base coat.
In my experience, a sweater texture looks best on two accent nails, with smooth polish on the rest for contrast. Use a dotting tool for knit lines, keep the pattern light, and add one small flake near the tip. Cream, grey, and dusty pink bases keep the cozy effect soft and wearable.
Regal Gold Snowflake Party
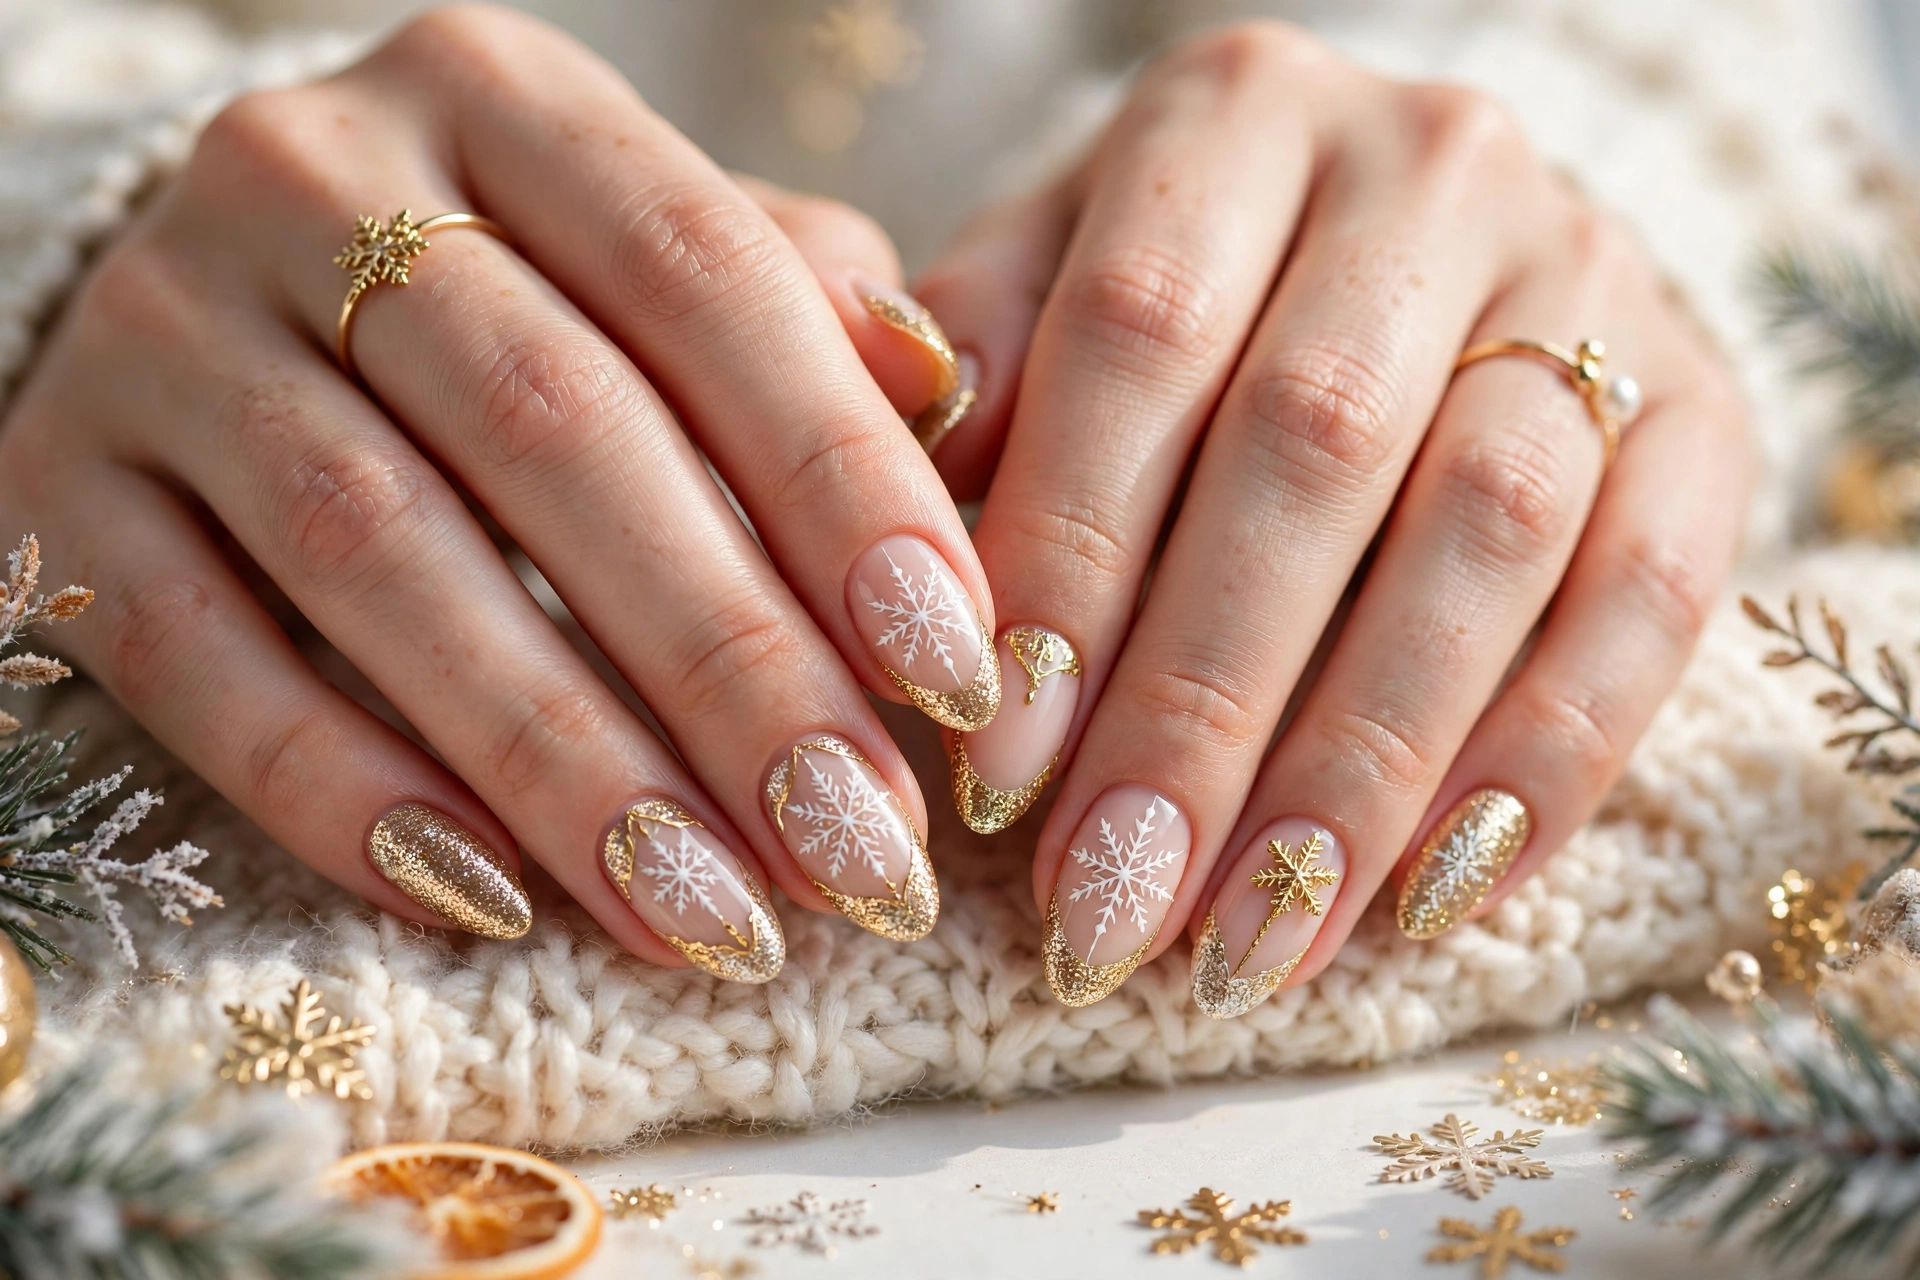
Base: Soft white or pale blue
Flake size: Small to medium
Best top coat: High gloss
Wear time: Up to two weeks with careful sealing
Gold flakes suit evening parties, holiday dinners, and New Year gatherings, especially with black or deep green outfits. Keep the gold fine and the flakes centred, so the design reads rich rather than heavy. Add one gold stud at the flake centre, seal well, and let nails dry fully before dressing.
Conclusion
Save these sparkling ideas on Pinterest, try the one that feels most like you, and share your favourite look with friends who love winter style. Whether you choose soft nude flakes, silver tips, or regal gold for a party, snowflake christmas nails can turn a cold day into a bright, joyful moment. Pick your colours tonight, gather your polishes and tools, and enjoy the calm pleasure of painting each tiny flake by hand. Your next snow day could start with nails that shine, lift your mood, and inspire someone else to try a festive design too.