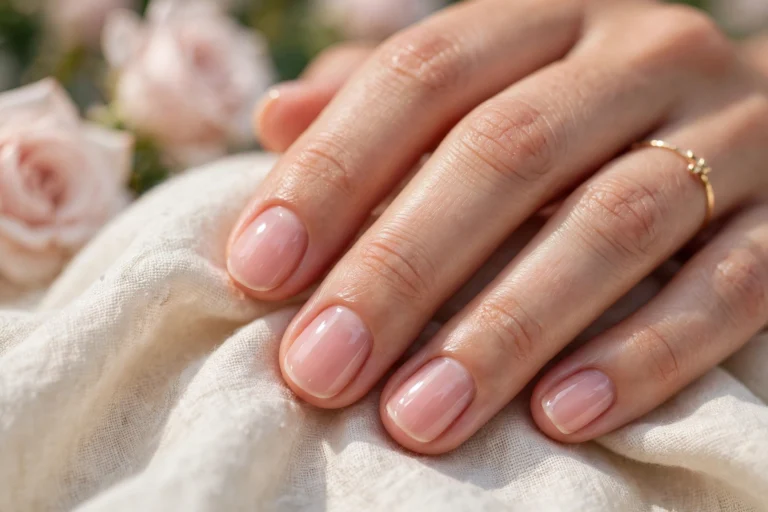
Party season calls for nails that shine in every photo, and christmas nails red and gold are the easiest way to look festive without trying too hard. Deep red brings warmth and confidence, gold adds light and celebration, and together they suit almost every party outfit, from a simple black dress to a sparkling evening gown.
This guide gathers twenty party ready ideas that work for beginners and busy schedules alike. You will find classic tips, glitter fades, velvet finishes and playful details, each with simple steps you can follow at home or take to your nail artist. Choose one look for the night, or save several for the whole festive season ahead.
Classic Crimson Gold Tips
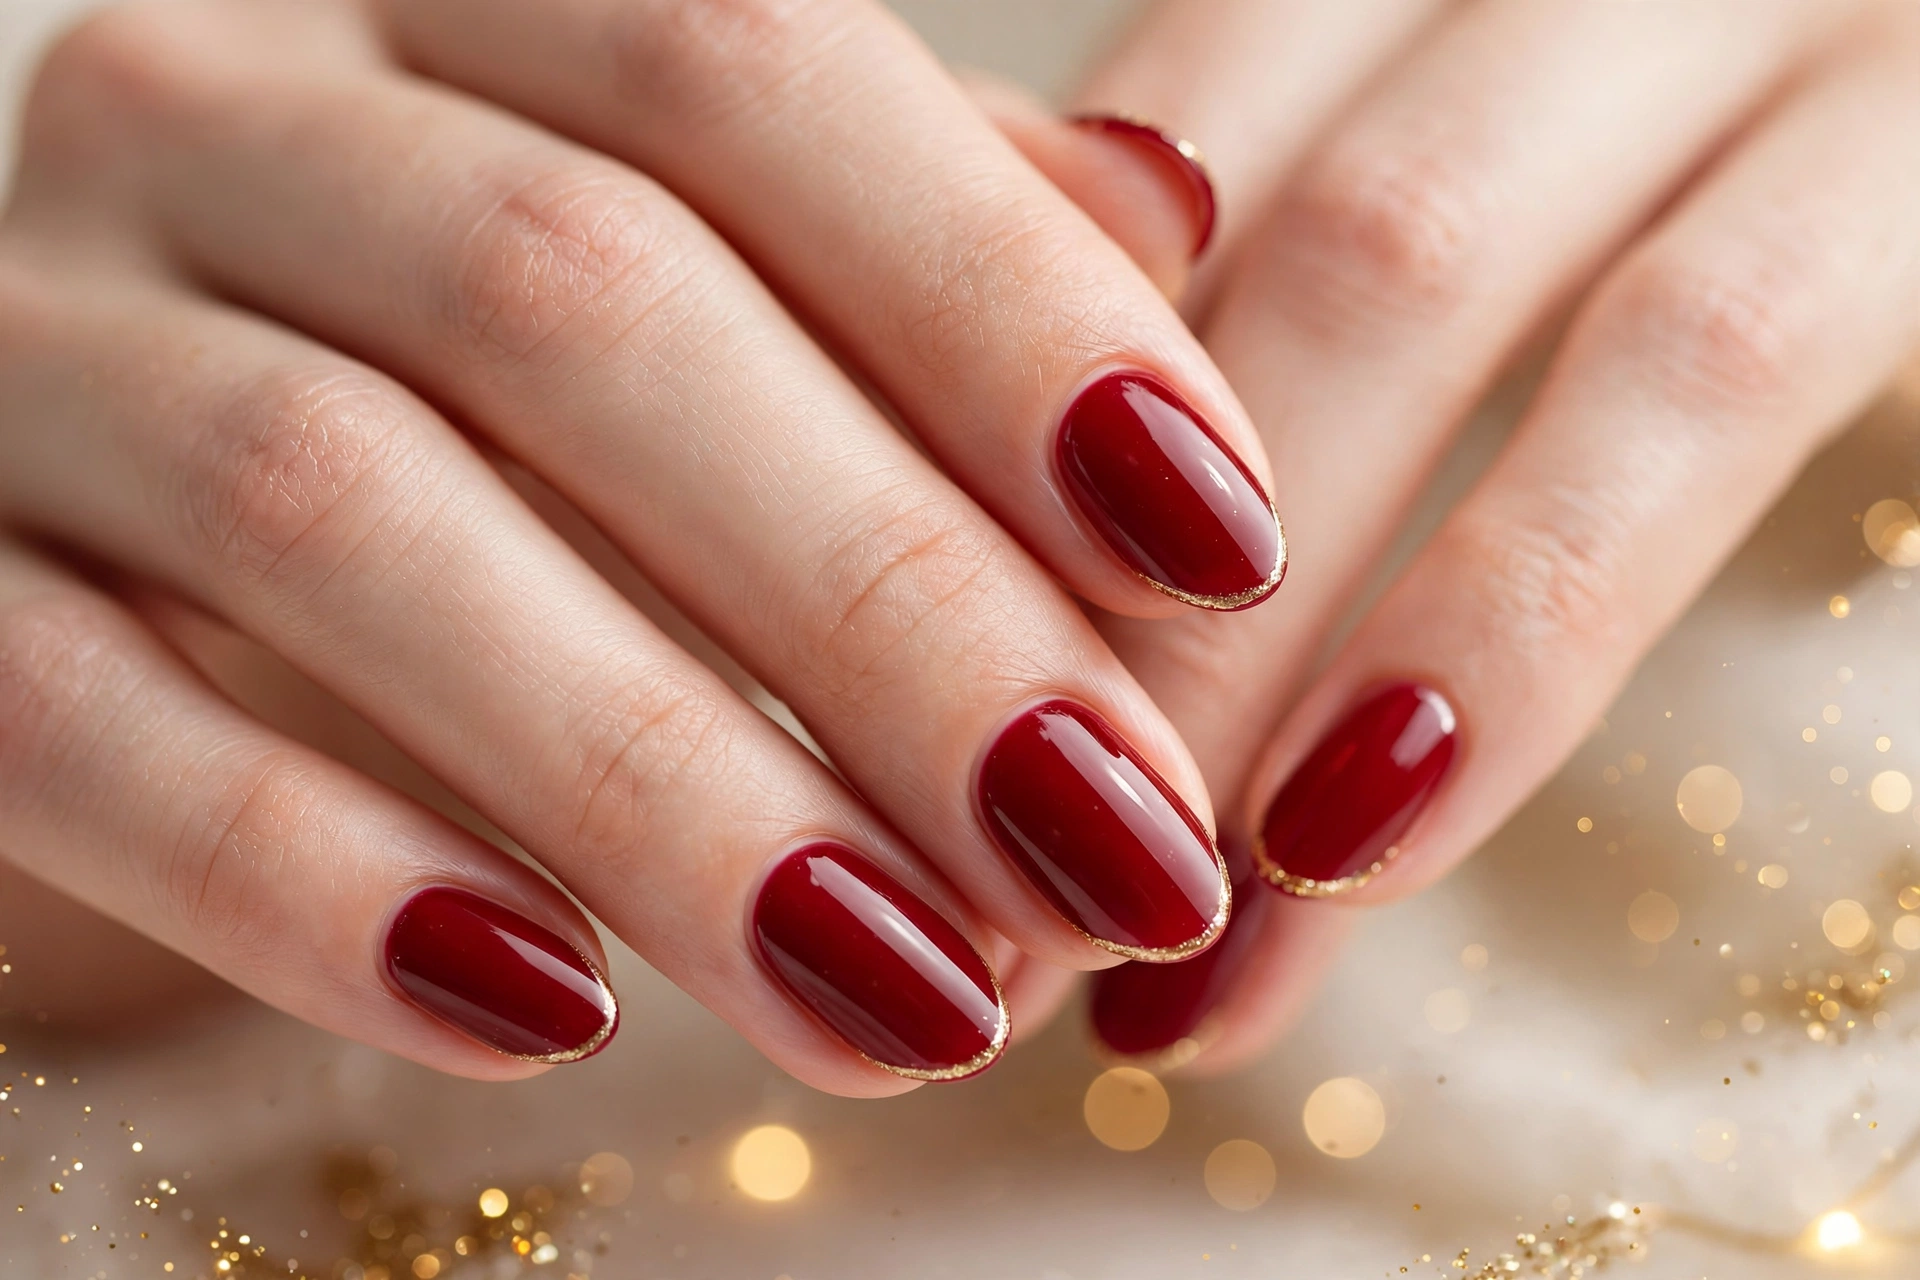
Deep crimson polish paired with fine gold tips gives a classic party look that feels rich without feeling heavy. Keep the base glossy and smooth, then paint a thin gold line along each tip for a clean edge. Short or medium nails both suit this style, and warm gold catches light in evening photos.
In my experience, two thin coats of crimson build better depth than one thick coat, and a clear top coat keeps gold crisp for days. Add one gold accent nail for extra sparkle, but keep the rest simple so tips stay the star.
Sparkling Gold Foil Accents
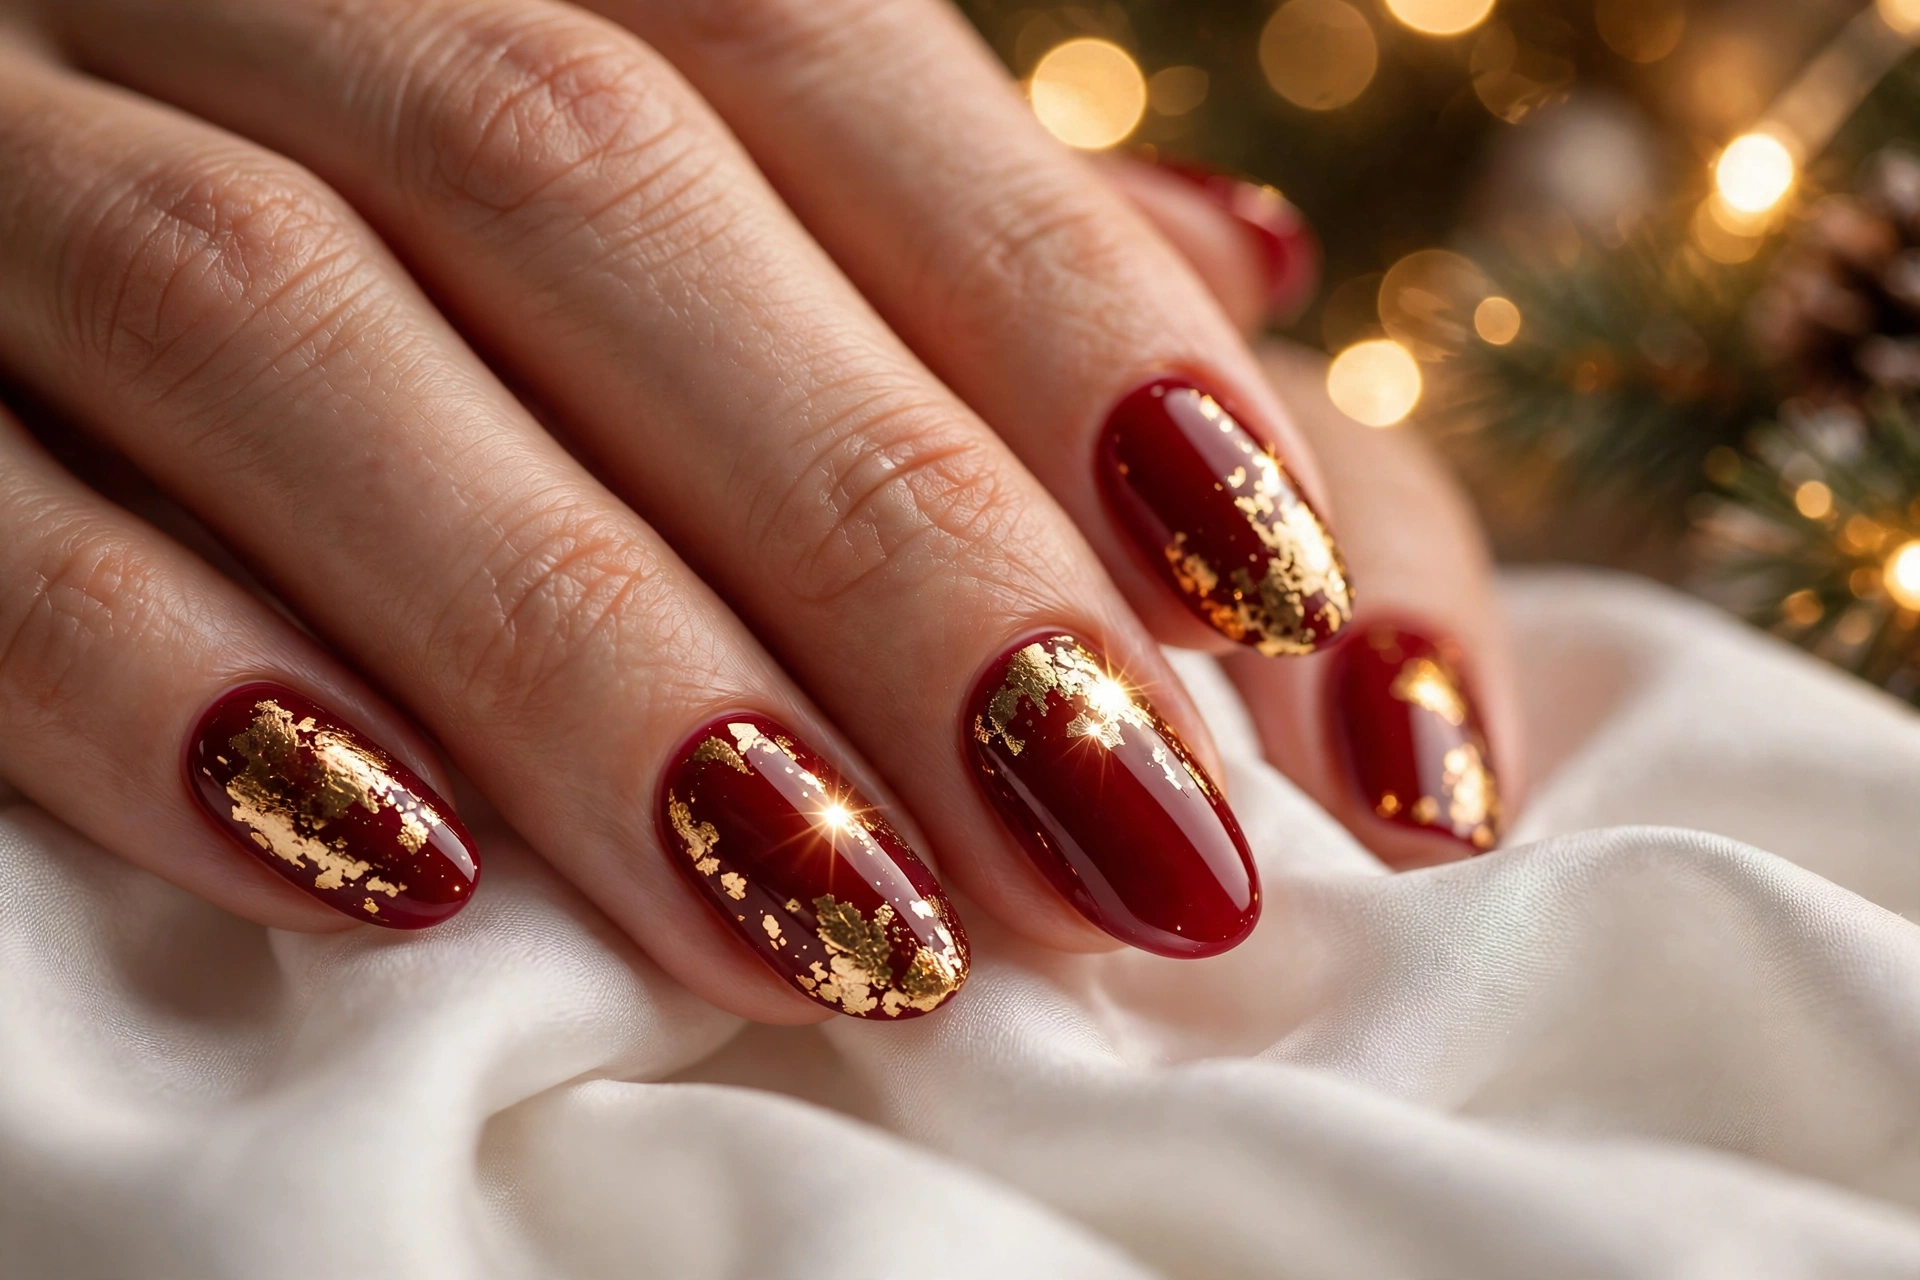
- Paint nails deep red, then press small pieces of gold foil onto the tips or near the cuticle for instant shimmer.
- Use tweezers to place foil precisely, and seal it with a clear top coat so edges stay smooth.
- Keep foil on one or two nails per hand for a balanced look that still feels festive.
- Pair foil accents with plain gold polish on the ring finger for extra party polish.
This style works well for beginners because foil hides small polish mistakes and still looks intentional. Choose warm gold foil over cool silver tones to match the red base, and finish with two top coat layers for shine that lasts through a long evening of celebrating with friends and family.
Delicate Gold Snowflakes
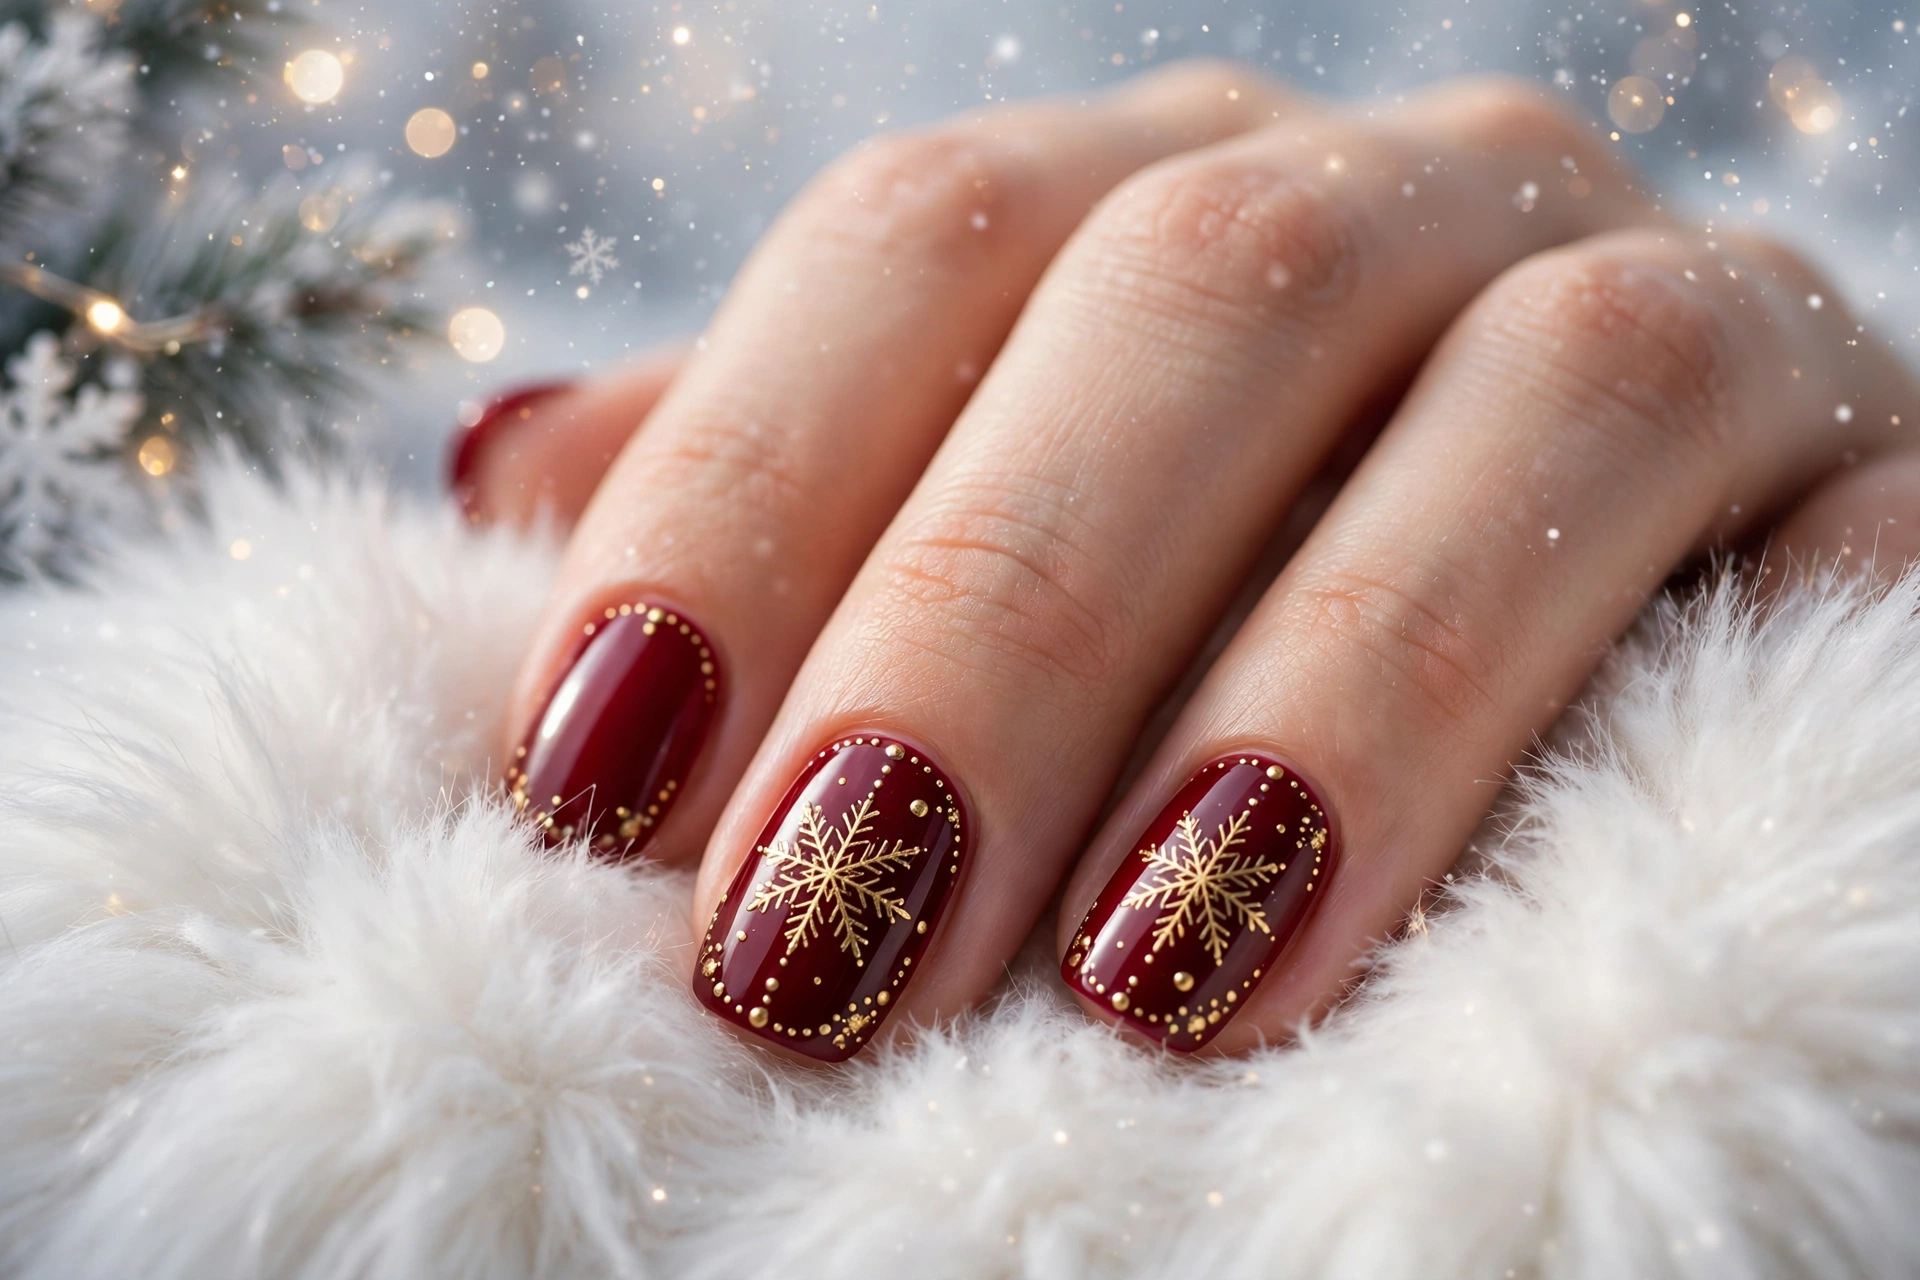
Quick Tip: Stamp snowflakes in gold on dry red nails, then add a tiny gold dot at the center.
Snowflake designs look best when you keep them small and place only one or two per hand. Use a thin brush or a stamping plate for crisp lines, and let each layer dry before adding gold dots or glitter. A matte top coat softens the finish, and gloss makes gold shine brighter at parties.
Ruby French Tip Elegance
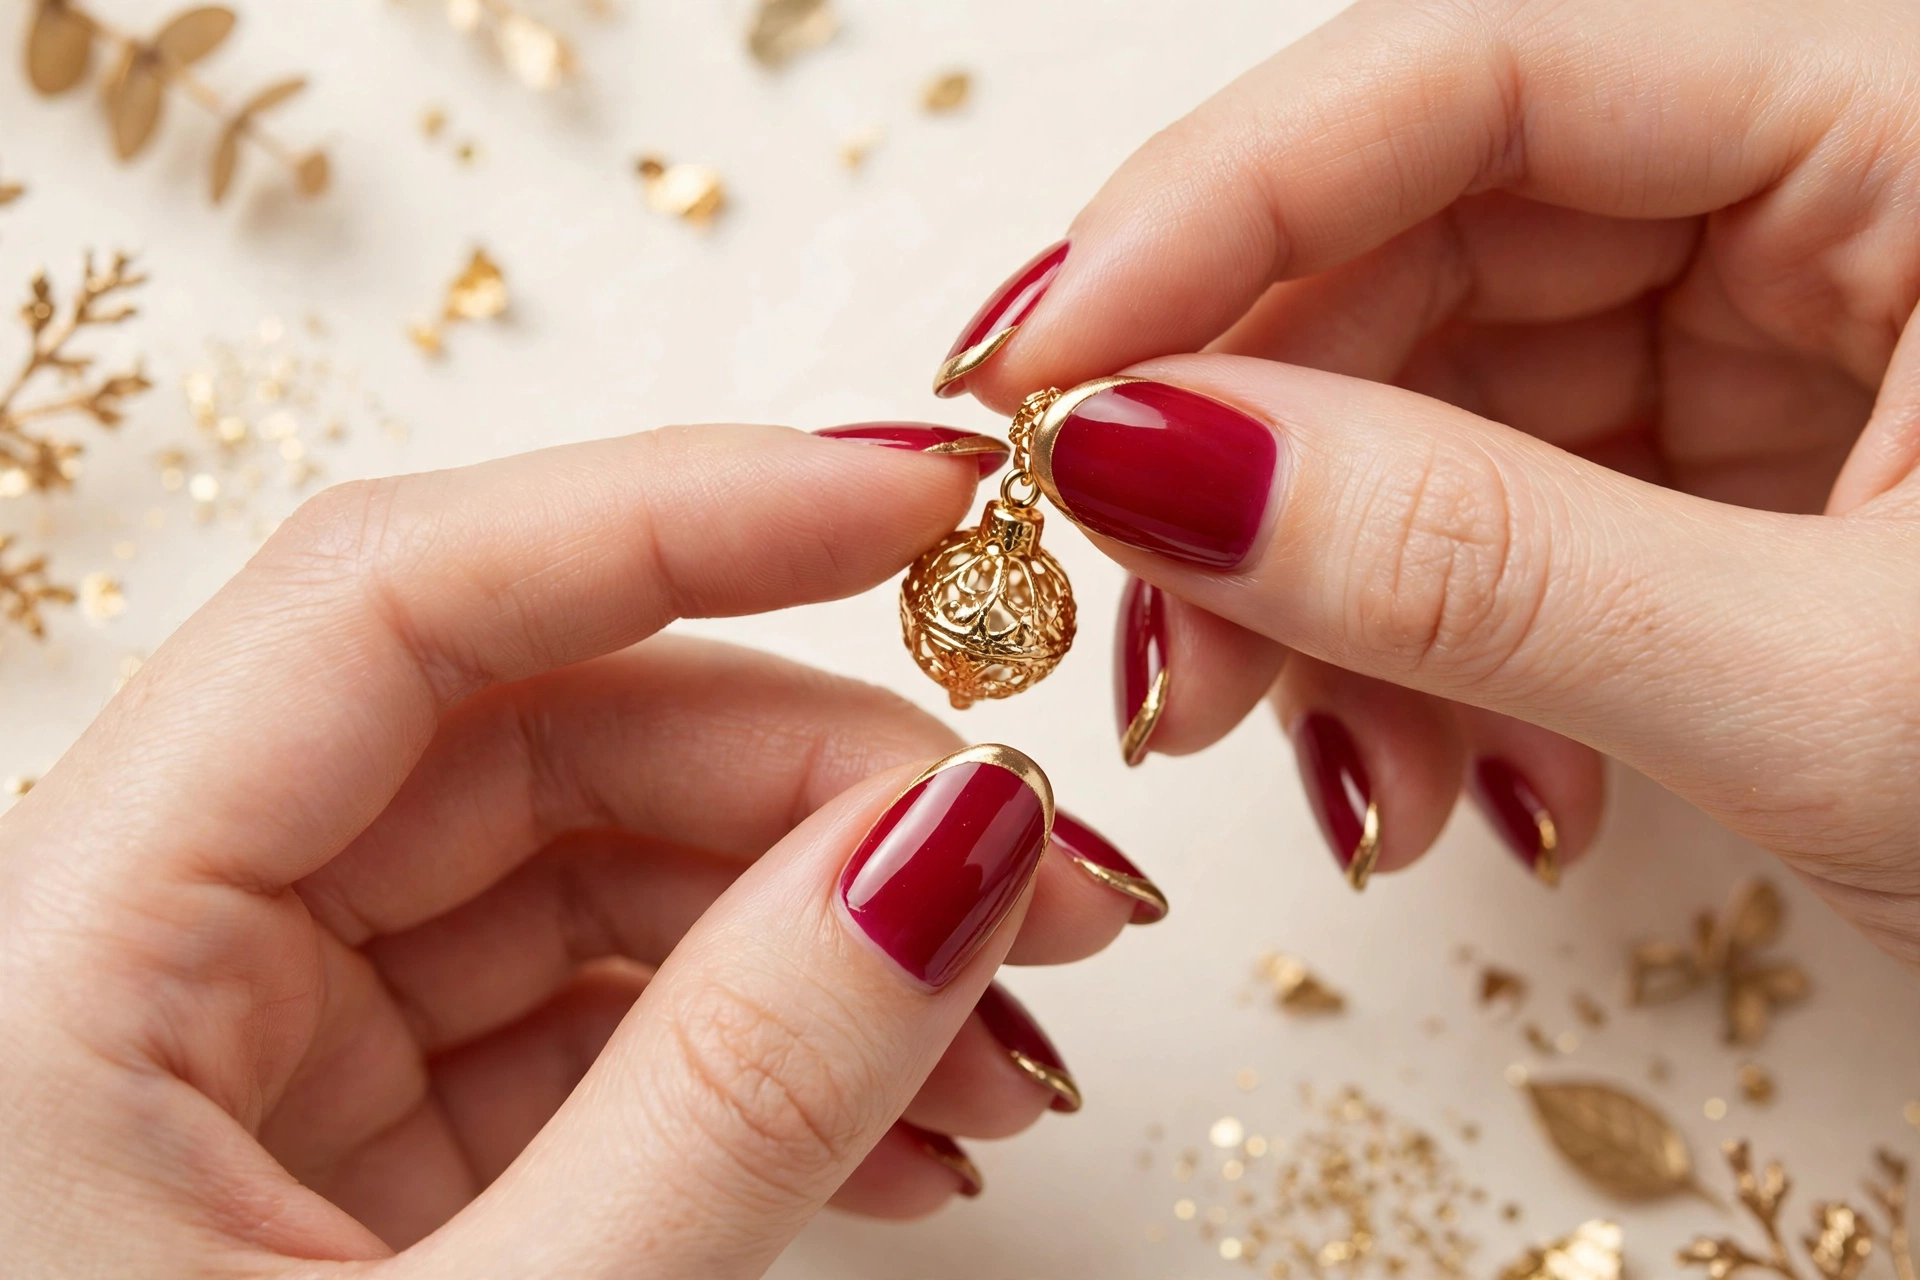
Before: Plain red nails with a bare tip line and no contrast.
After: A ruby base with a crisp gold French tip, plus a thin gold smile line for a refined party finish.
This elegant twist suits short nails and formal outfits because the gold edge adds polish without extra decoration. Paint the tip with steady, short strokes, clean the smile line with a flat brush dipped in polish remover, and seal everything with a glossy top coat for a smooth, salon style result.
Deep Red Velvet Finish
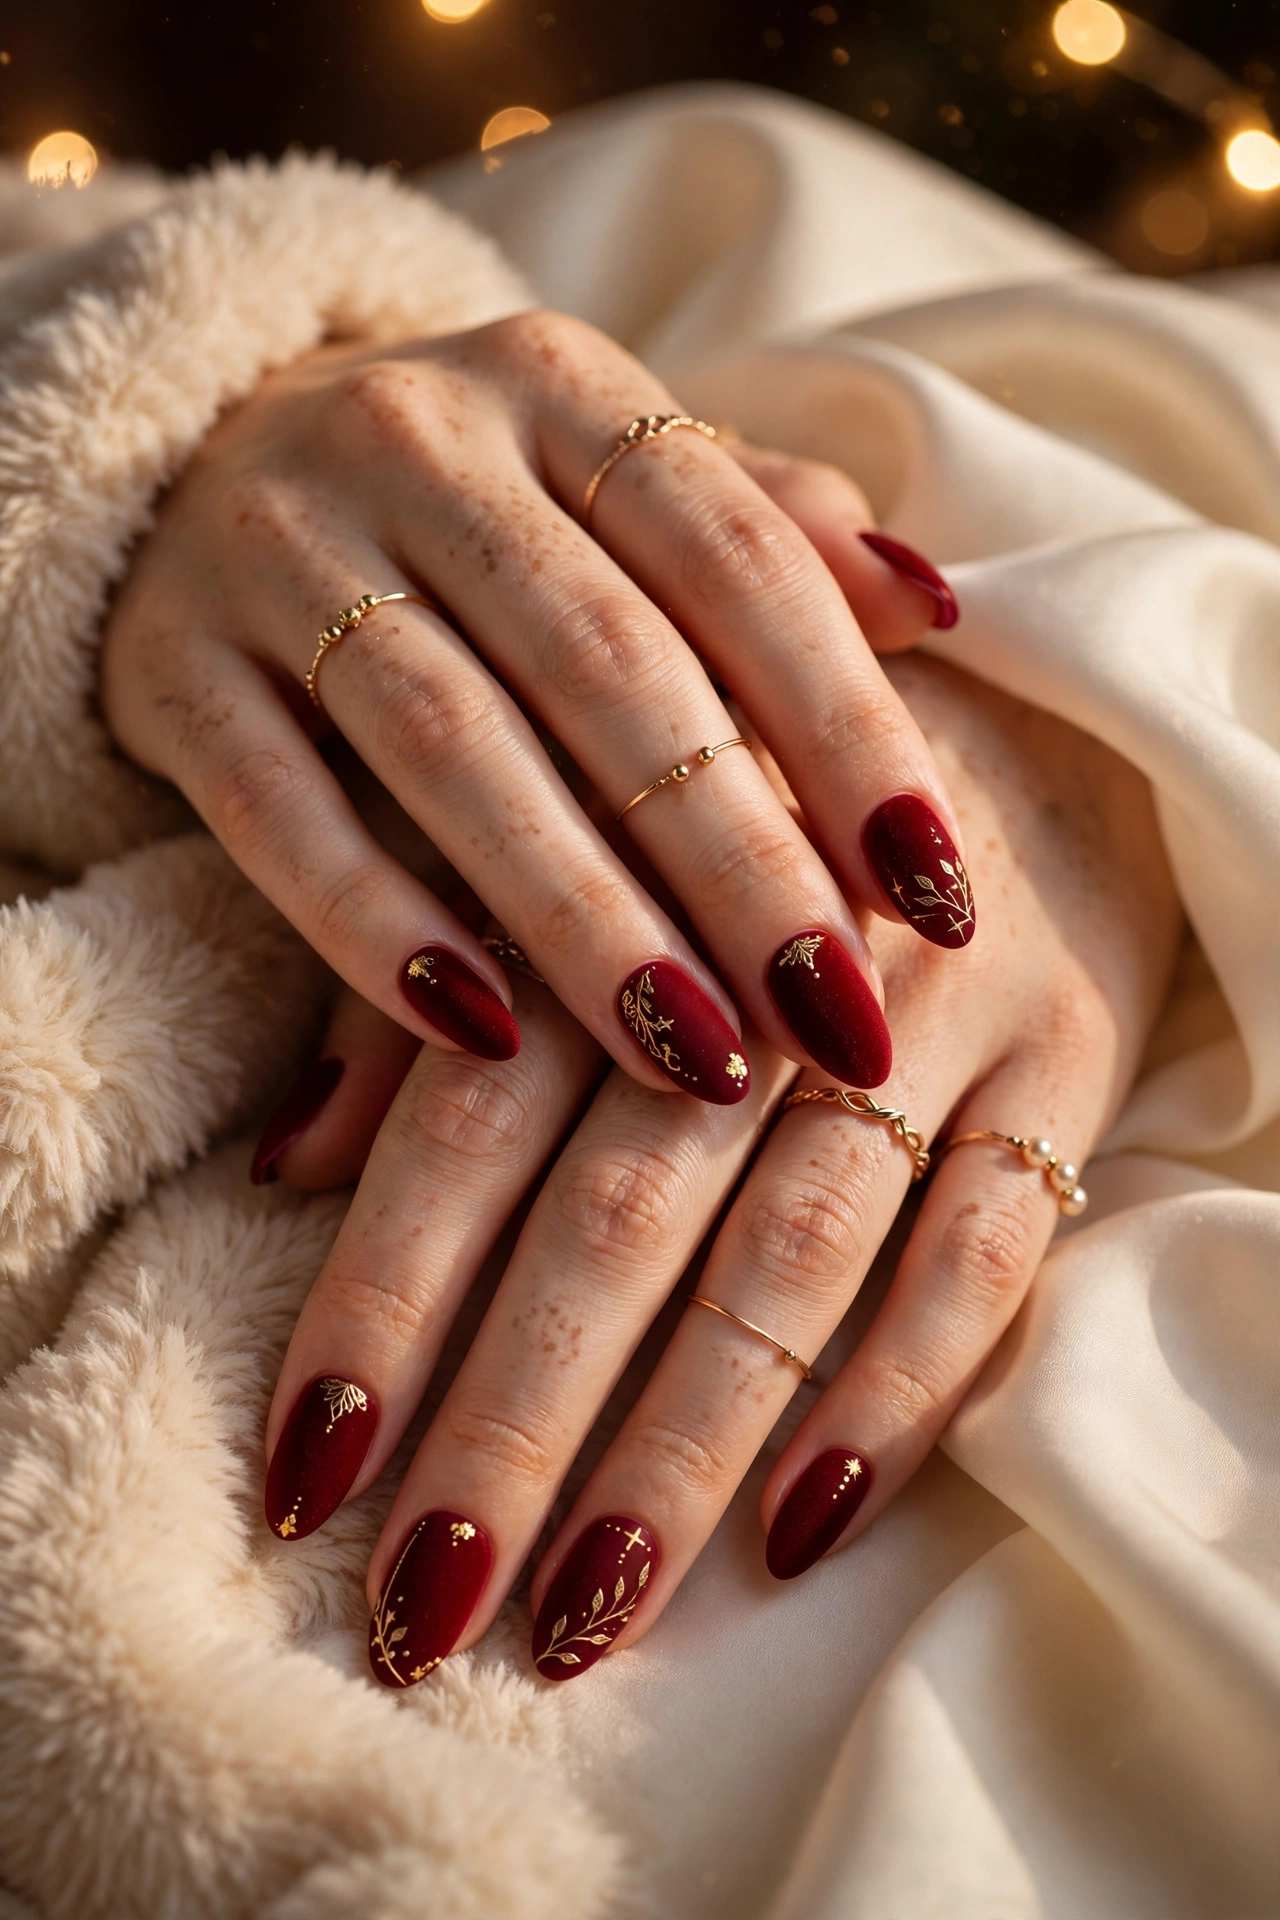
- Start with clean, shaped nails and apply a ridge filling base coat to create a smooth surface for the velvet effect.
- Apply two thin coats of deep red matte polish, letting each coat dry fully before adding the next one.
- Press a small amount of velvet flocking powder gently onto the wet second coat, then tap away any loose powder.
- Seal the edges lightly with a matte top coat, avoiding heavy strokes that could flatten the soft texture.
Velvet red looks best when the finish stays soft and even, so take your time with thin coats and gentle pressure. A matte top coat protects the plush effect and keeps the colour rich through a long evening. In my experience, this style pairs beautifully with simple gold jewellery and a classic party dress.
Gold Glitter Gradient Fade
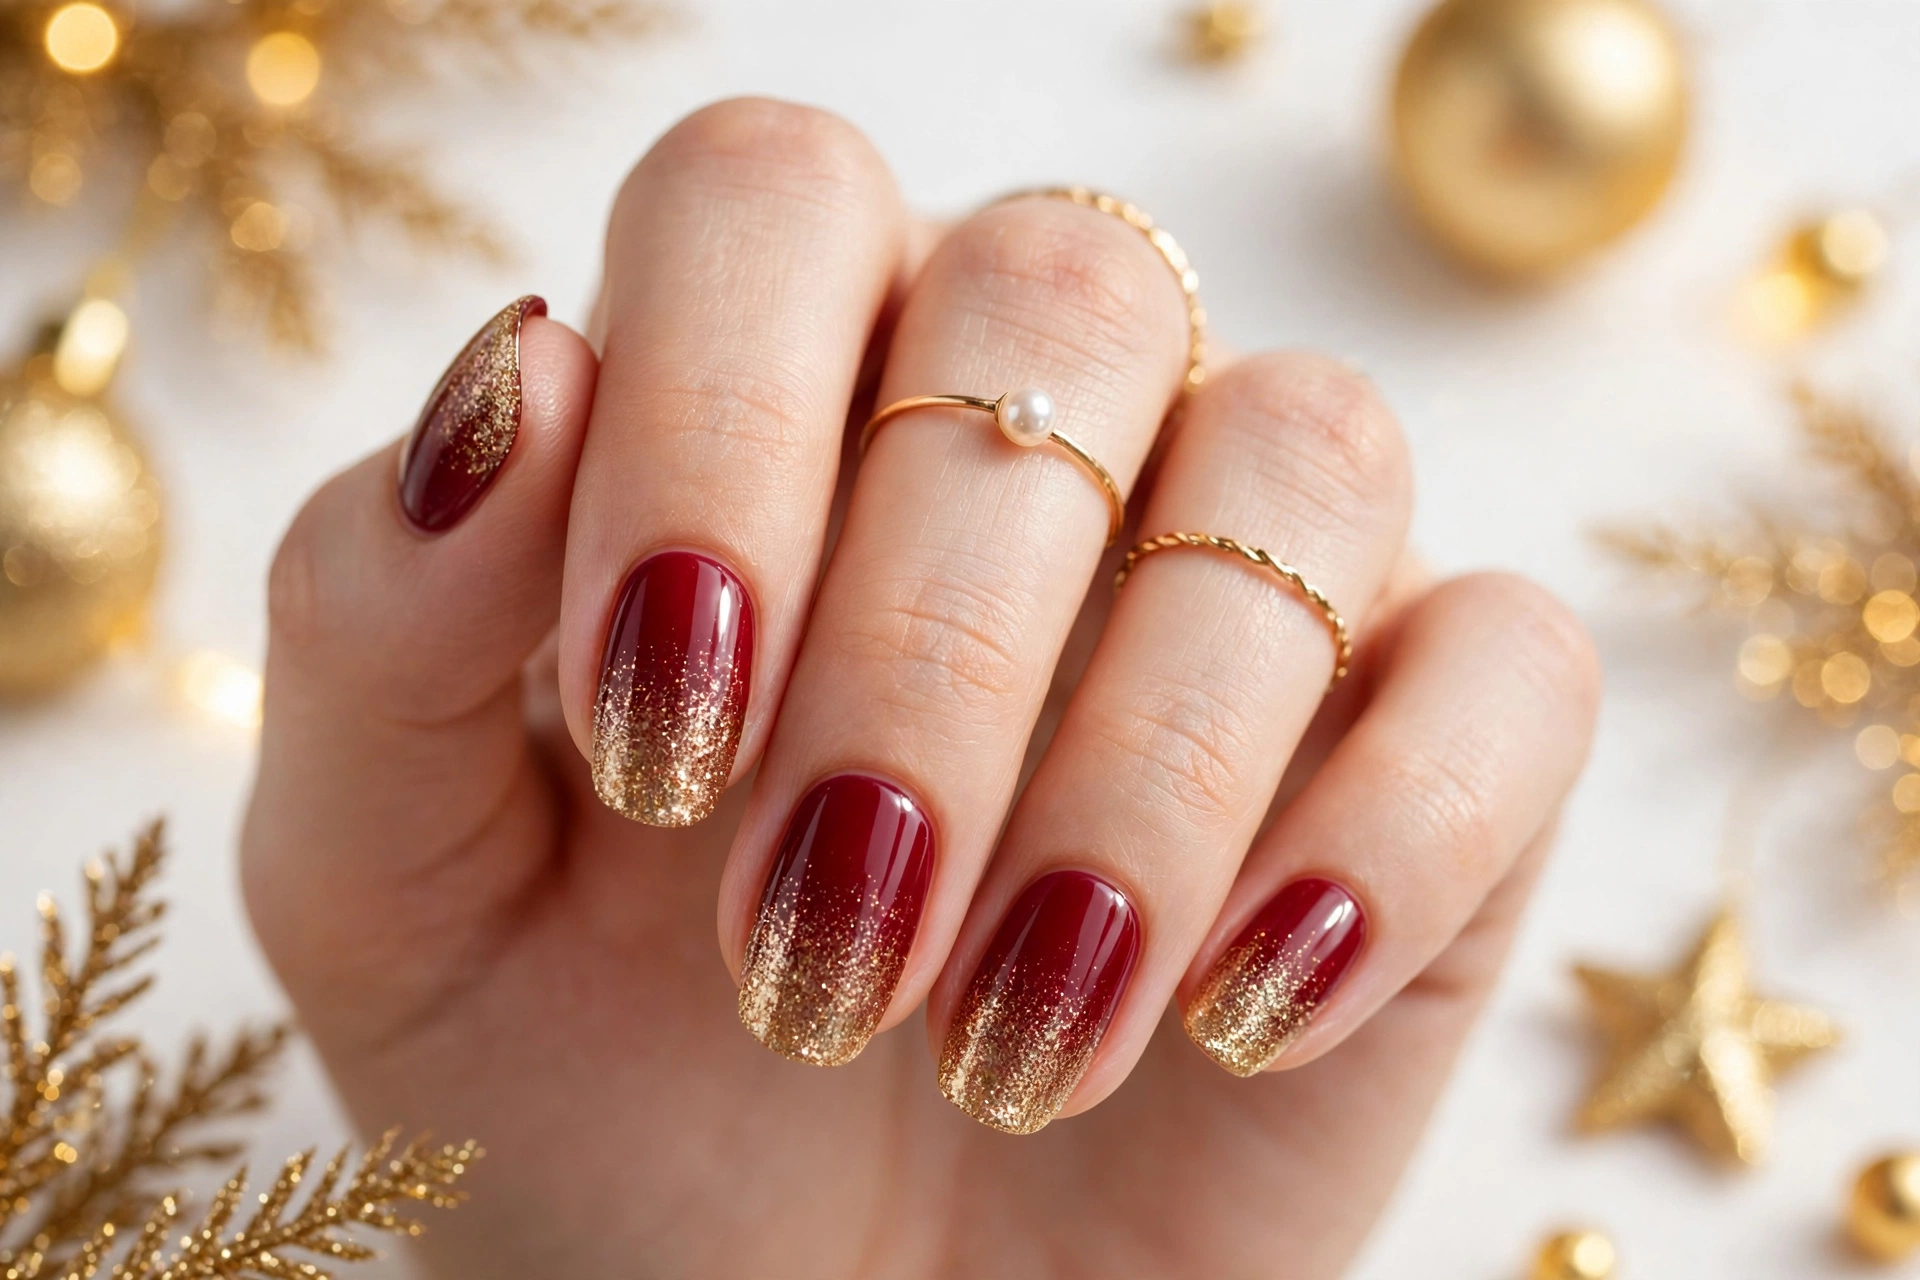
| Fade style | Look | Best for |
| Soft fade | Light gold sparkle near the tips only | Everyday parties and office celebrations |
| Medium fade | Gold glitter building from the middle to the tips | Dinner parties and festive photos |
| Bold fade | Dense gold glitter covering half the nail | Evening events and statement looks |
Glitter gradients work best when the sparkle builds slowly, so keep the base calm and let the gold grow toward the tips. A clear top coat smooths the glitter and adds shine without dulling the fade. This balanced finish suits many outfits and keeps your manicure festive, polished and ready for photos.
Bold Red Chrome Shine

Do:
- Smooth and buff each nail gently before polish so the chrome finish looks even.
- Apply a dark red base coat and let it dry fully before adding chrome powder.
- Seal the look with a glossy top coat to protect the mirror shine.
Don’t:
- Skip base coat, since uneven nails make chrome look patchy.
- Touch the nails while the chrome layer is still setting.
- Use a matte top coat over chrome, since it dulls the reflective effect.
Chrome shine rewards careful prep, so smooth the nail surface well and work in thin, even layers for a mirror finish. Protect the shine with a glossy top coat and gentle handling during the party. With simple care, this bold red look stays bright, smooth and striking from the first photo to the last dance.
Festive Gold Star Details

Base colour: Deep red polish with a glossy finish.
Star size: Tiny gold stars, smaller than a grain of rice, for a delicate look.
Placement: One star near the cuticle or two stars scattered toward the tip.
Wear time: Five to seven days with a strong top coat and gentle care.
Gold stars add instant party charm without making the design feel busy, especially when you keep the stars small and well spaced. Place one or two accents on each nail and let the deep red base do most of the talking. The result feels joyful, elegant and easy to wear for dinners and dances alike.
Rich Burgundy Gold Swirls
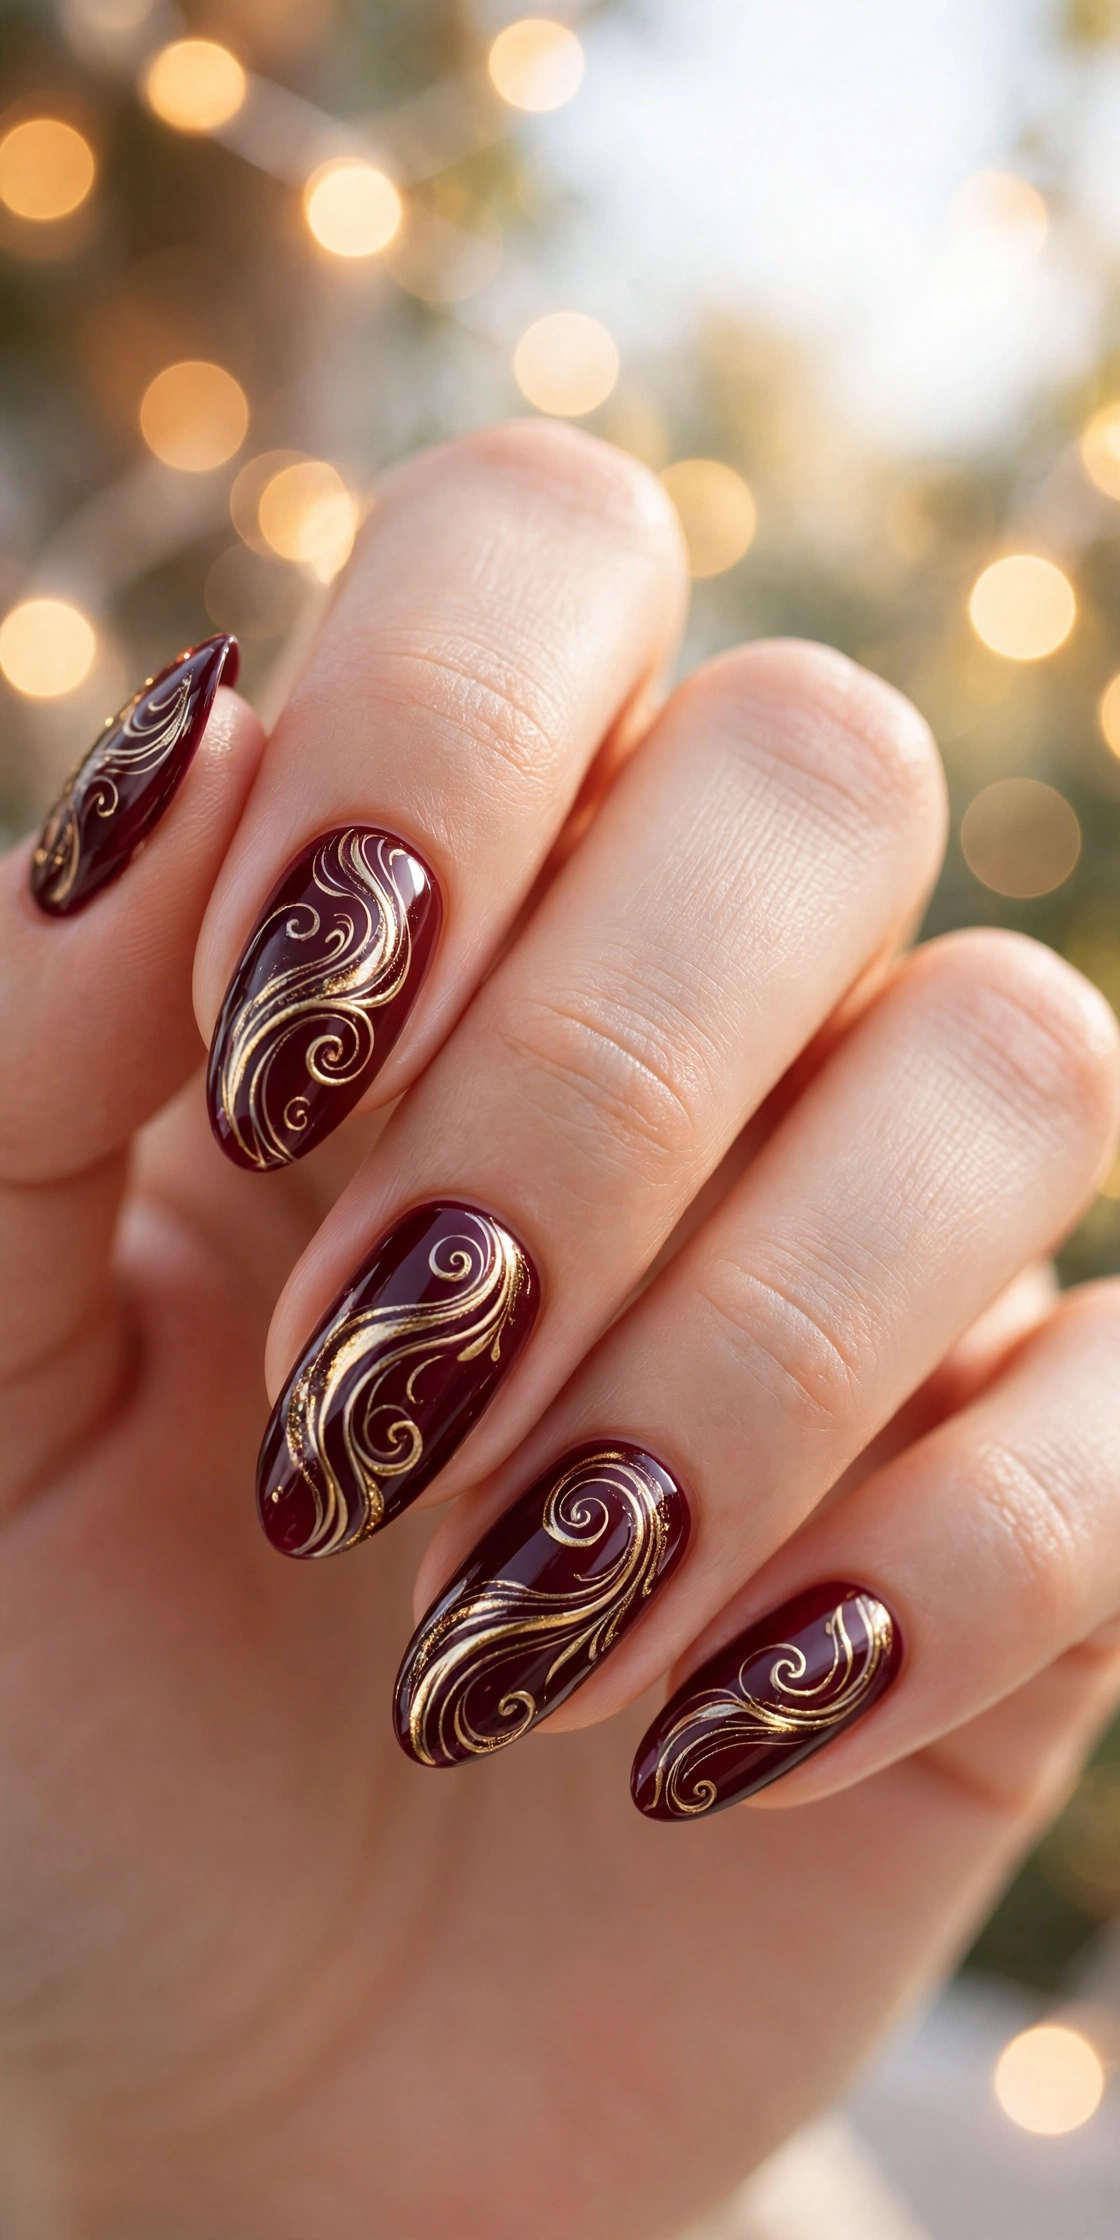
Deep burgundy feels rich and grown up at a party, and thin gold swirls keep it from looking heavy. Start with two coats of burgundy polish, letting each coat dry fully. Use a thin liner brush to draw soft curves across two accent nails, then leave the other nails plain for balance.
Add a glossy top coat to seal the swirls and give the manicure a polished shine. In my experience, loose and uneven swirls look more elegant than perfect spirals. Pair this look with a simple gold ring and let your nails carry the festive detail.
Glamorous Gold Leaf Nails
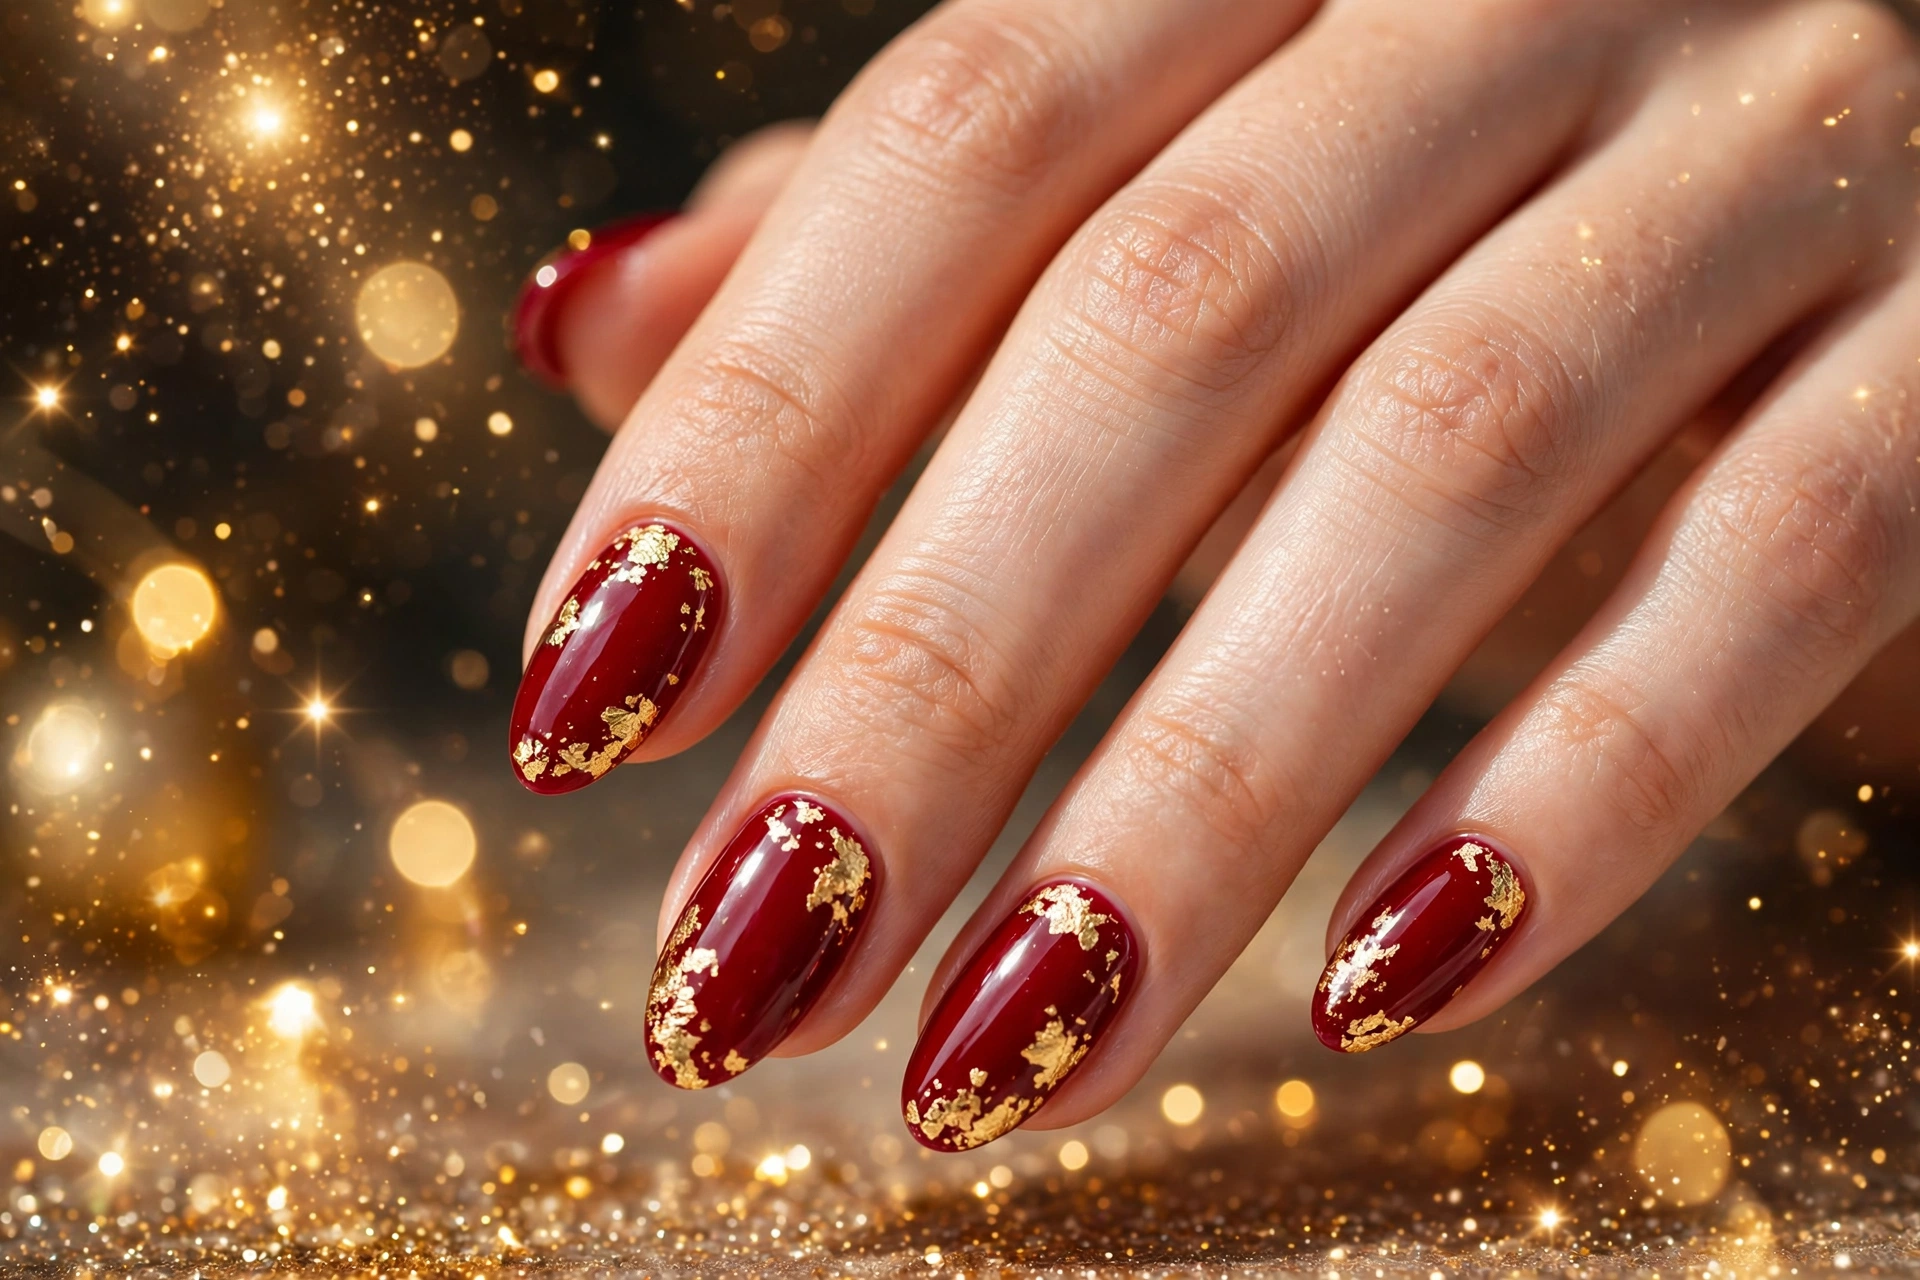
- Paint nails in a deep red shade and cure or dry fully before adding gold.
- Tear gold leaf into small pieces instead of using large sheets for a natural finish.
- Press flakes onto a tacky top coat with tweezers, focusing on tips and cuticle edges.
- Seal with two thin top coats so the leaf stays smooth and does not lift.
- Keep leaf on two accent nails if you want a softer party look.
Gold leaf adds instant luxury without tricky painting skills, so it suits beginners who want a salon style result at home. Work slowly, fix loose edges with a dot of top coat, and check the finish in bright light. This red and gold party nails idea pairs beautifully with classic festive outfits.
Cherry Red Party Sparkle
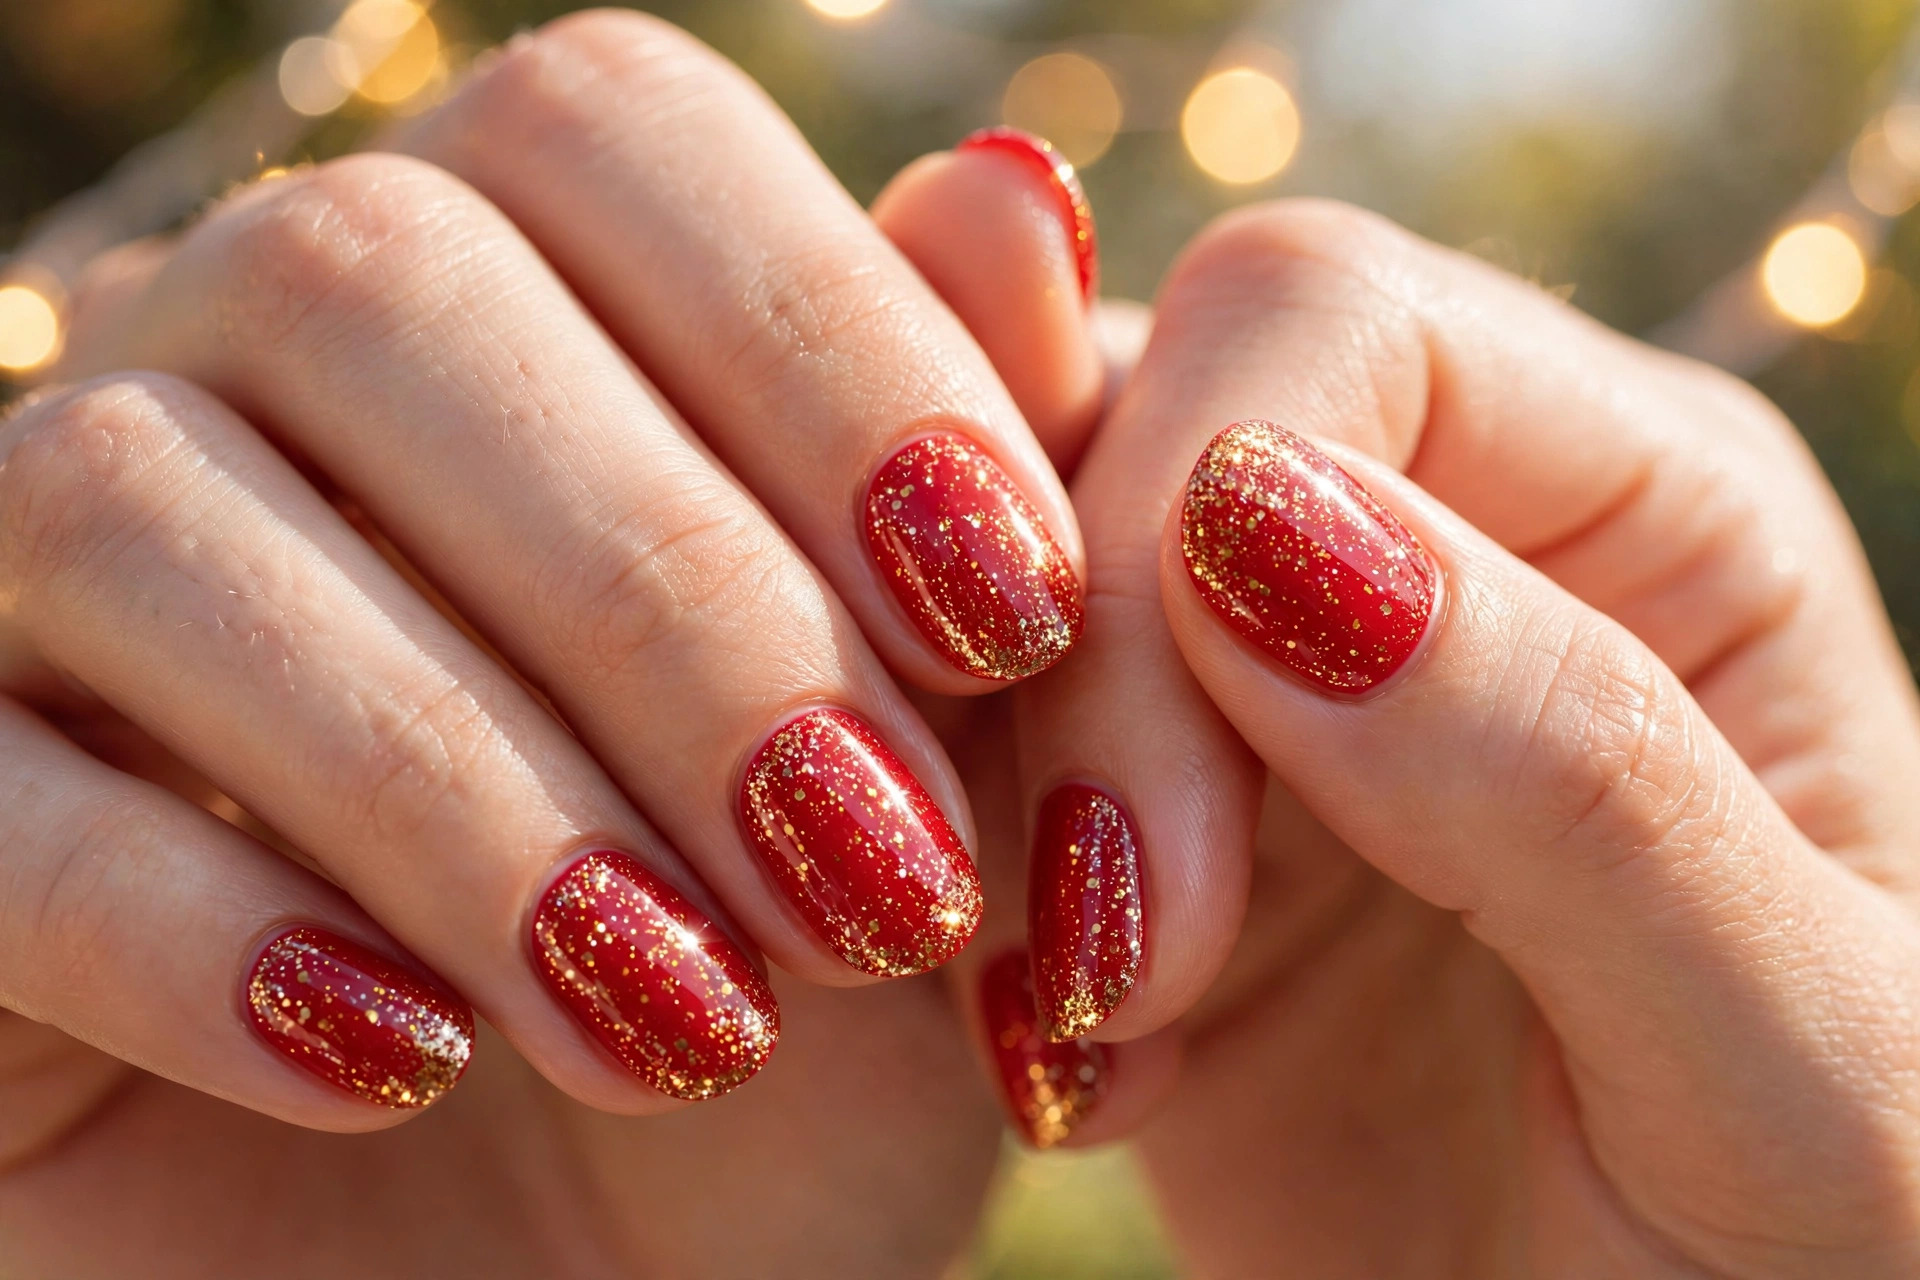
Quick Tip: Apply glitter over a still tacky red base so the sparkle grips well and stays even.
Cherry red polish already feels joyful, and fine gold glitter turns it into a true party manicure. Paint two thin coats of red, add glitter to the tips or across the whole nail, then seal with a glossy top coat. I’ve noticed glitter looks best when the rest of your outfit stays simple.
Matte Red Gold Duo
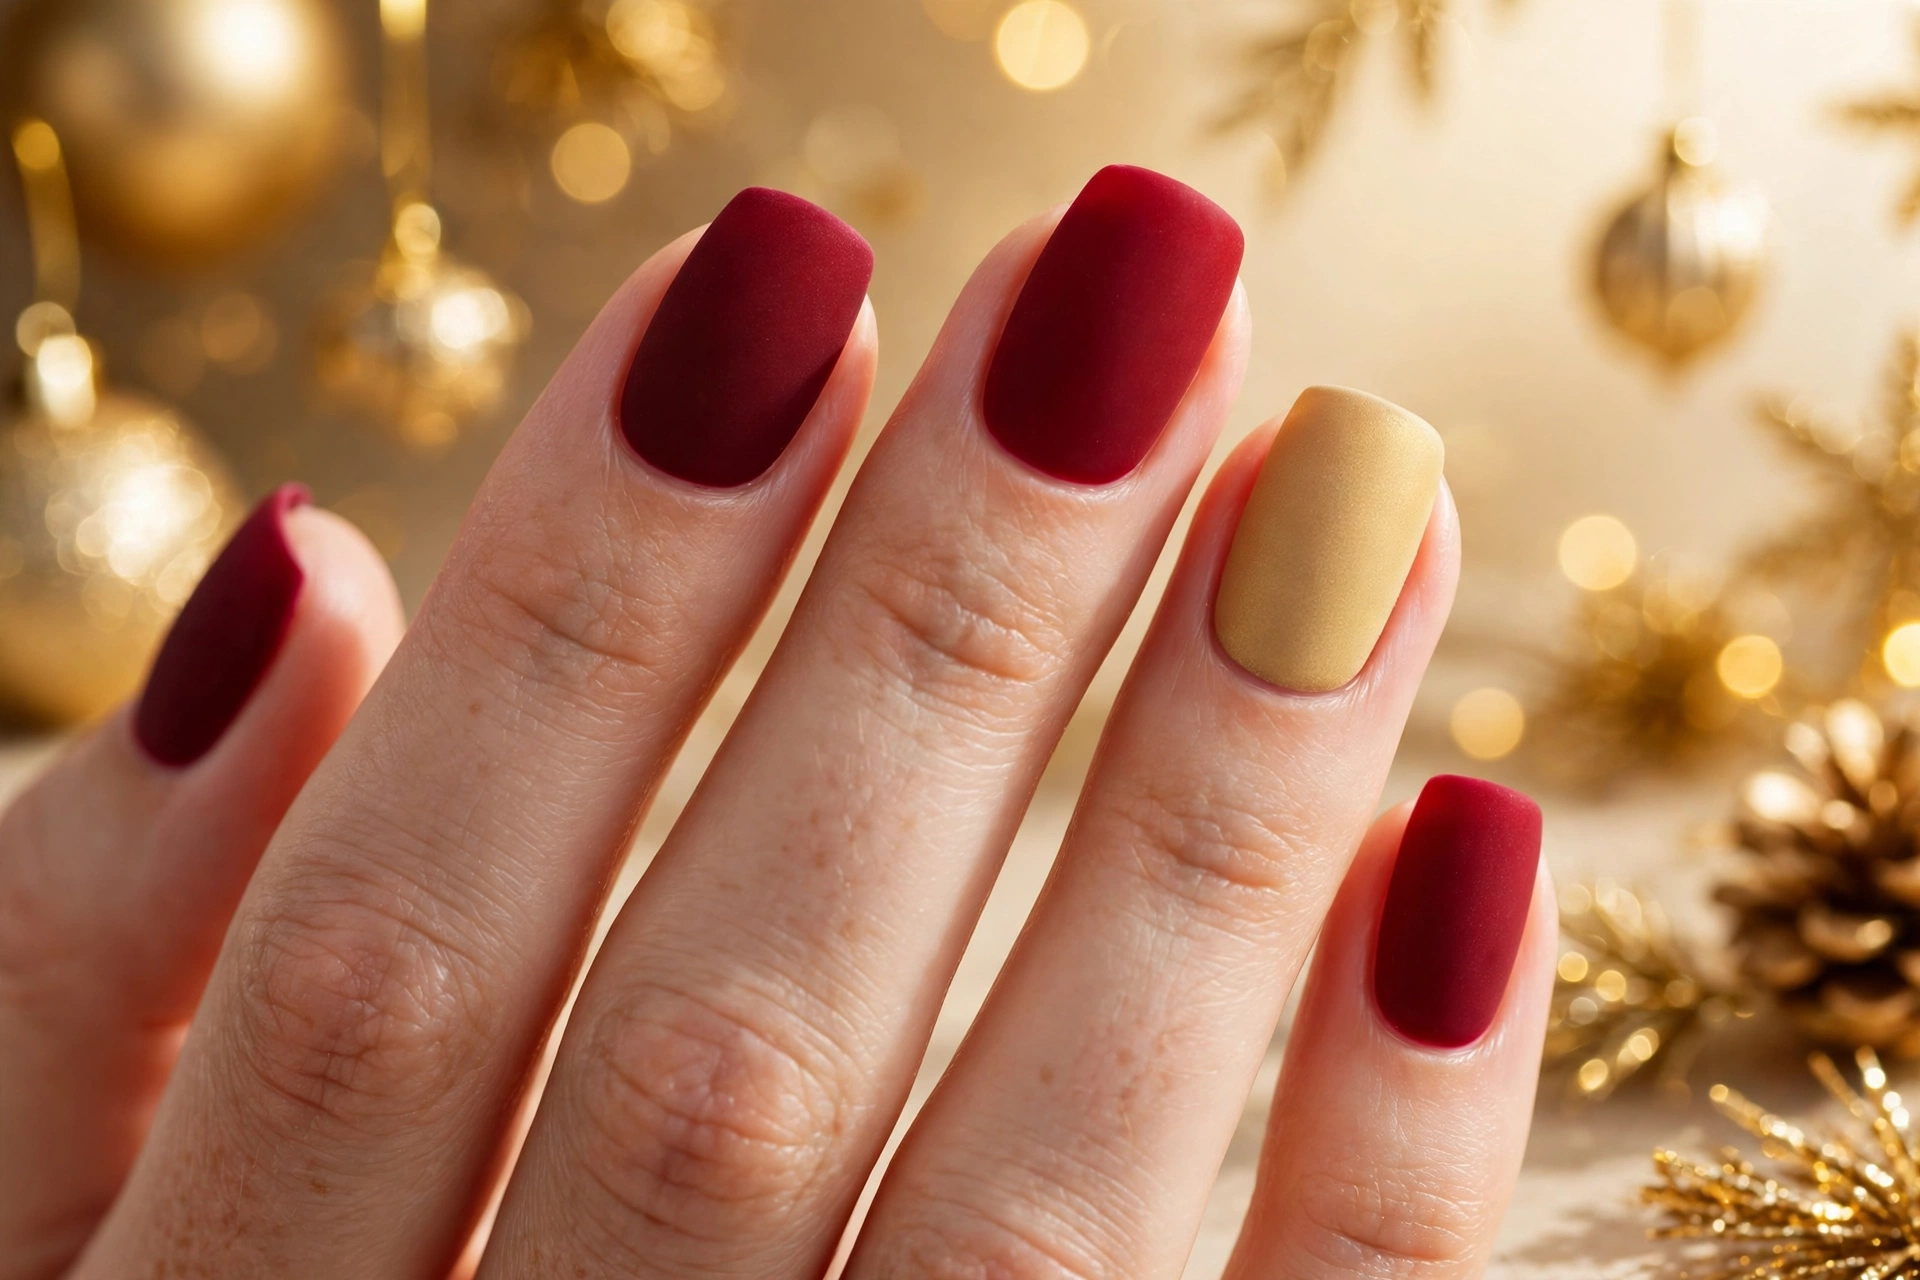
Before: Shiny red nails that feel bright but a little plain for an evening party.
After: Matte red nails paired with matte gold accents for a soft, modern and refined finish.
Matte polish changes the mood of red and gold nails, making the colours look calm, rich and expensive. Use a matte top coat over red, keep one or two nails in matte gold, and avoid extra glitter so the textures stand out. This festive red and gold manicure works well for dinner parties.
Golden Confetti Party Nails
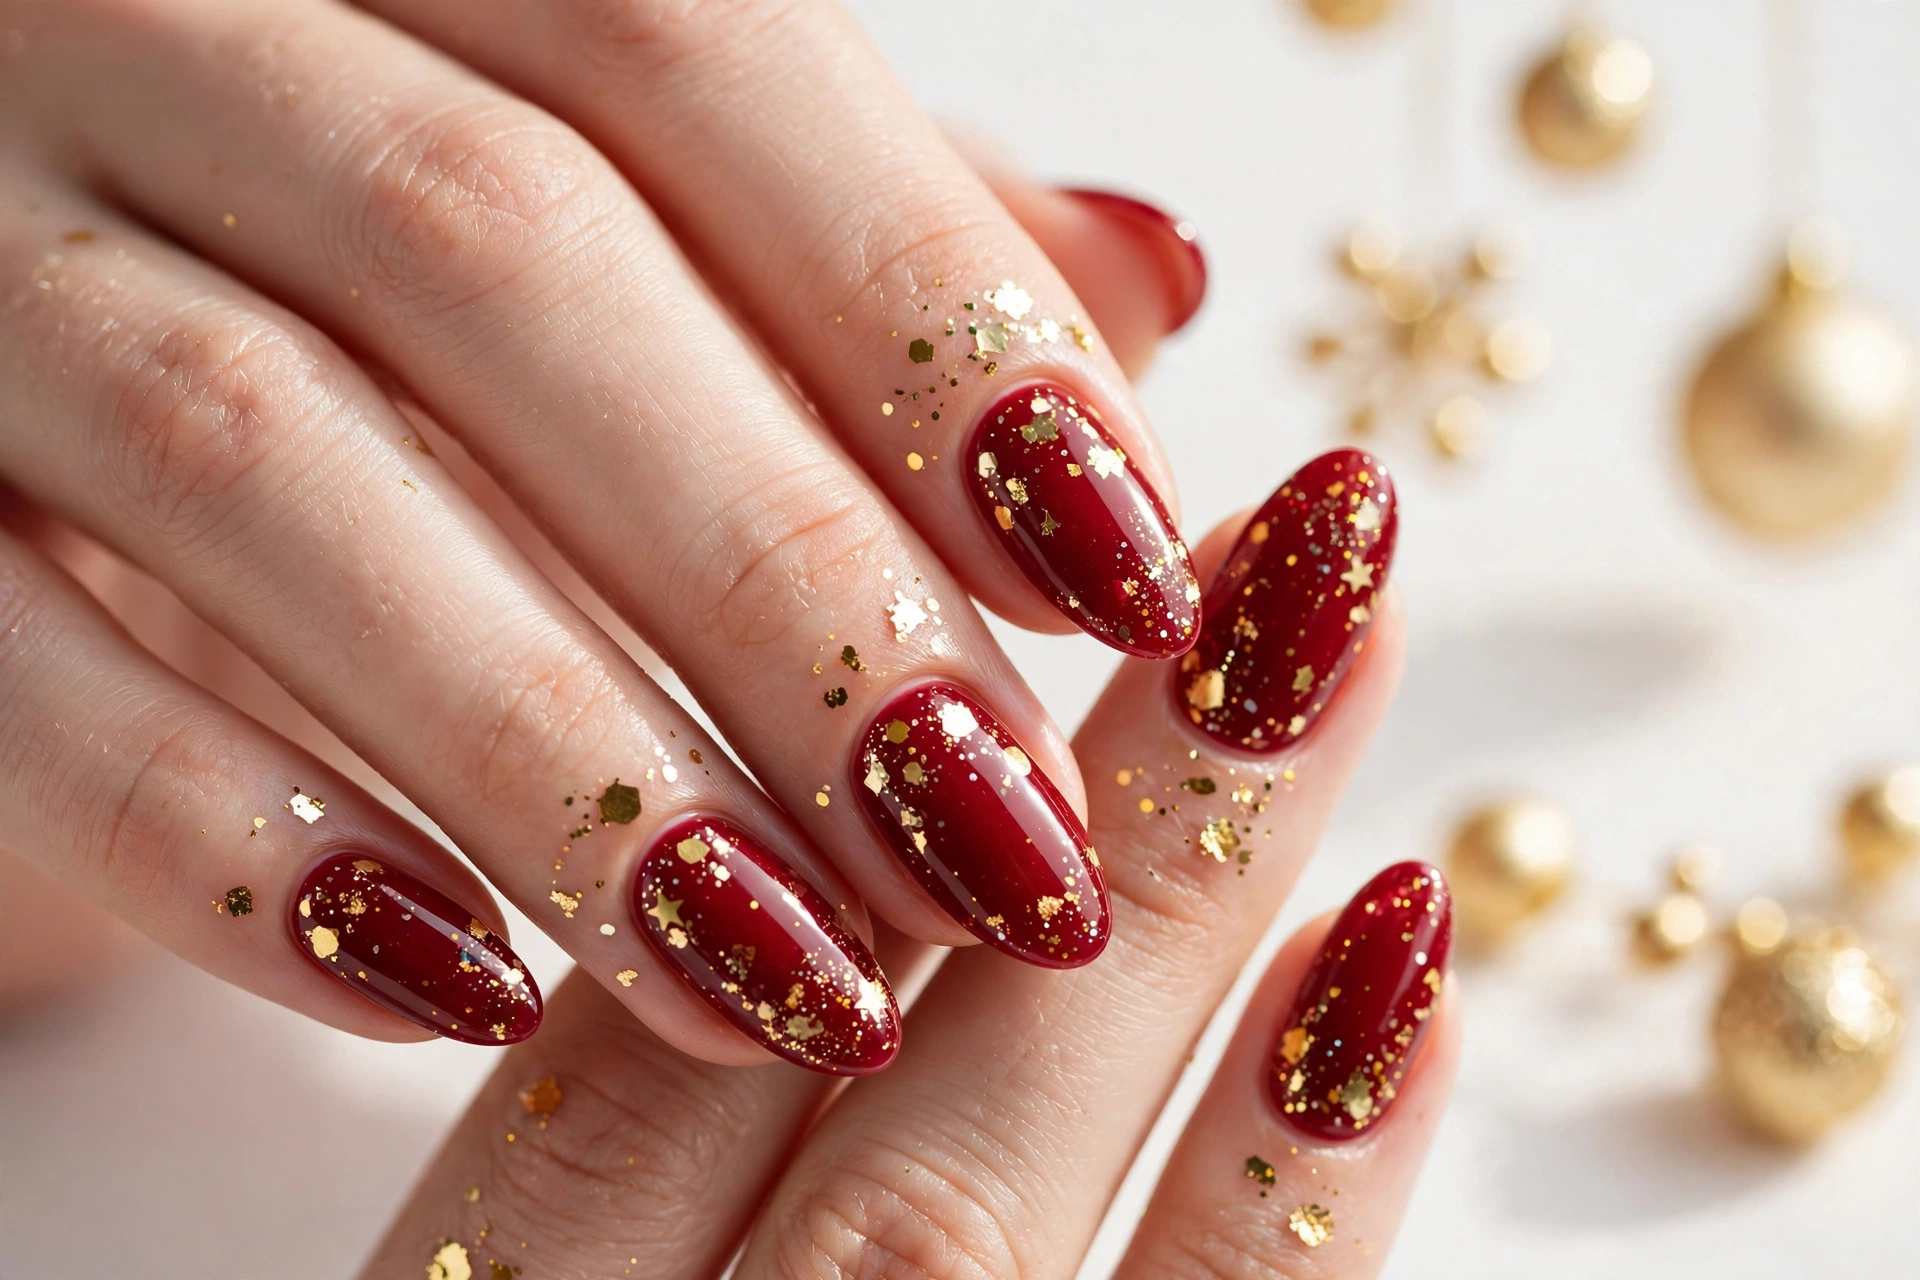
A sprinkle of gold confetti turns a classic red base into instant party nails. This look works beautifully for dinners, dances, and family photos, and it forgives small mistakes because the confetti hides uneven edges.
- Paint two thin coats of deep red polish, letting each coat dry fully before the next one.
- While the second coat is still slightly tacky, press tiny gold confetti pieces onto two accent nails with a wax pencil or damp toothpick.
- Scatter a few smaller flakes near the cuticle on the other nails for a balanced, joyful finish.
- Seal everything with a glossy top coat, wrapping the free edge to keep the confetti smooth and secure.
In my experience, less confetti looks more polished than covering every nail heavily. Keep the largest pieces near the centre of the nail, let the top coat dry completely, and carry a small bottle for quick touch ups before photos. This balance keeps your festive red and gold manicure bright and tidy all evening.
Timeless Red Gold Ombre
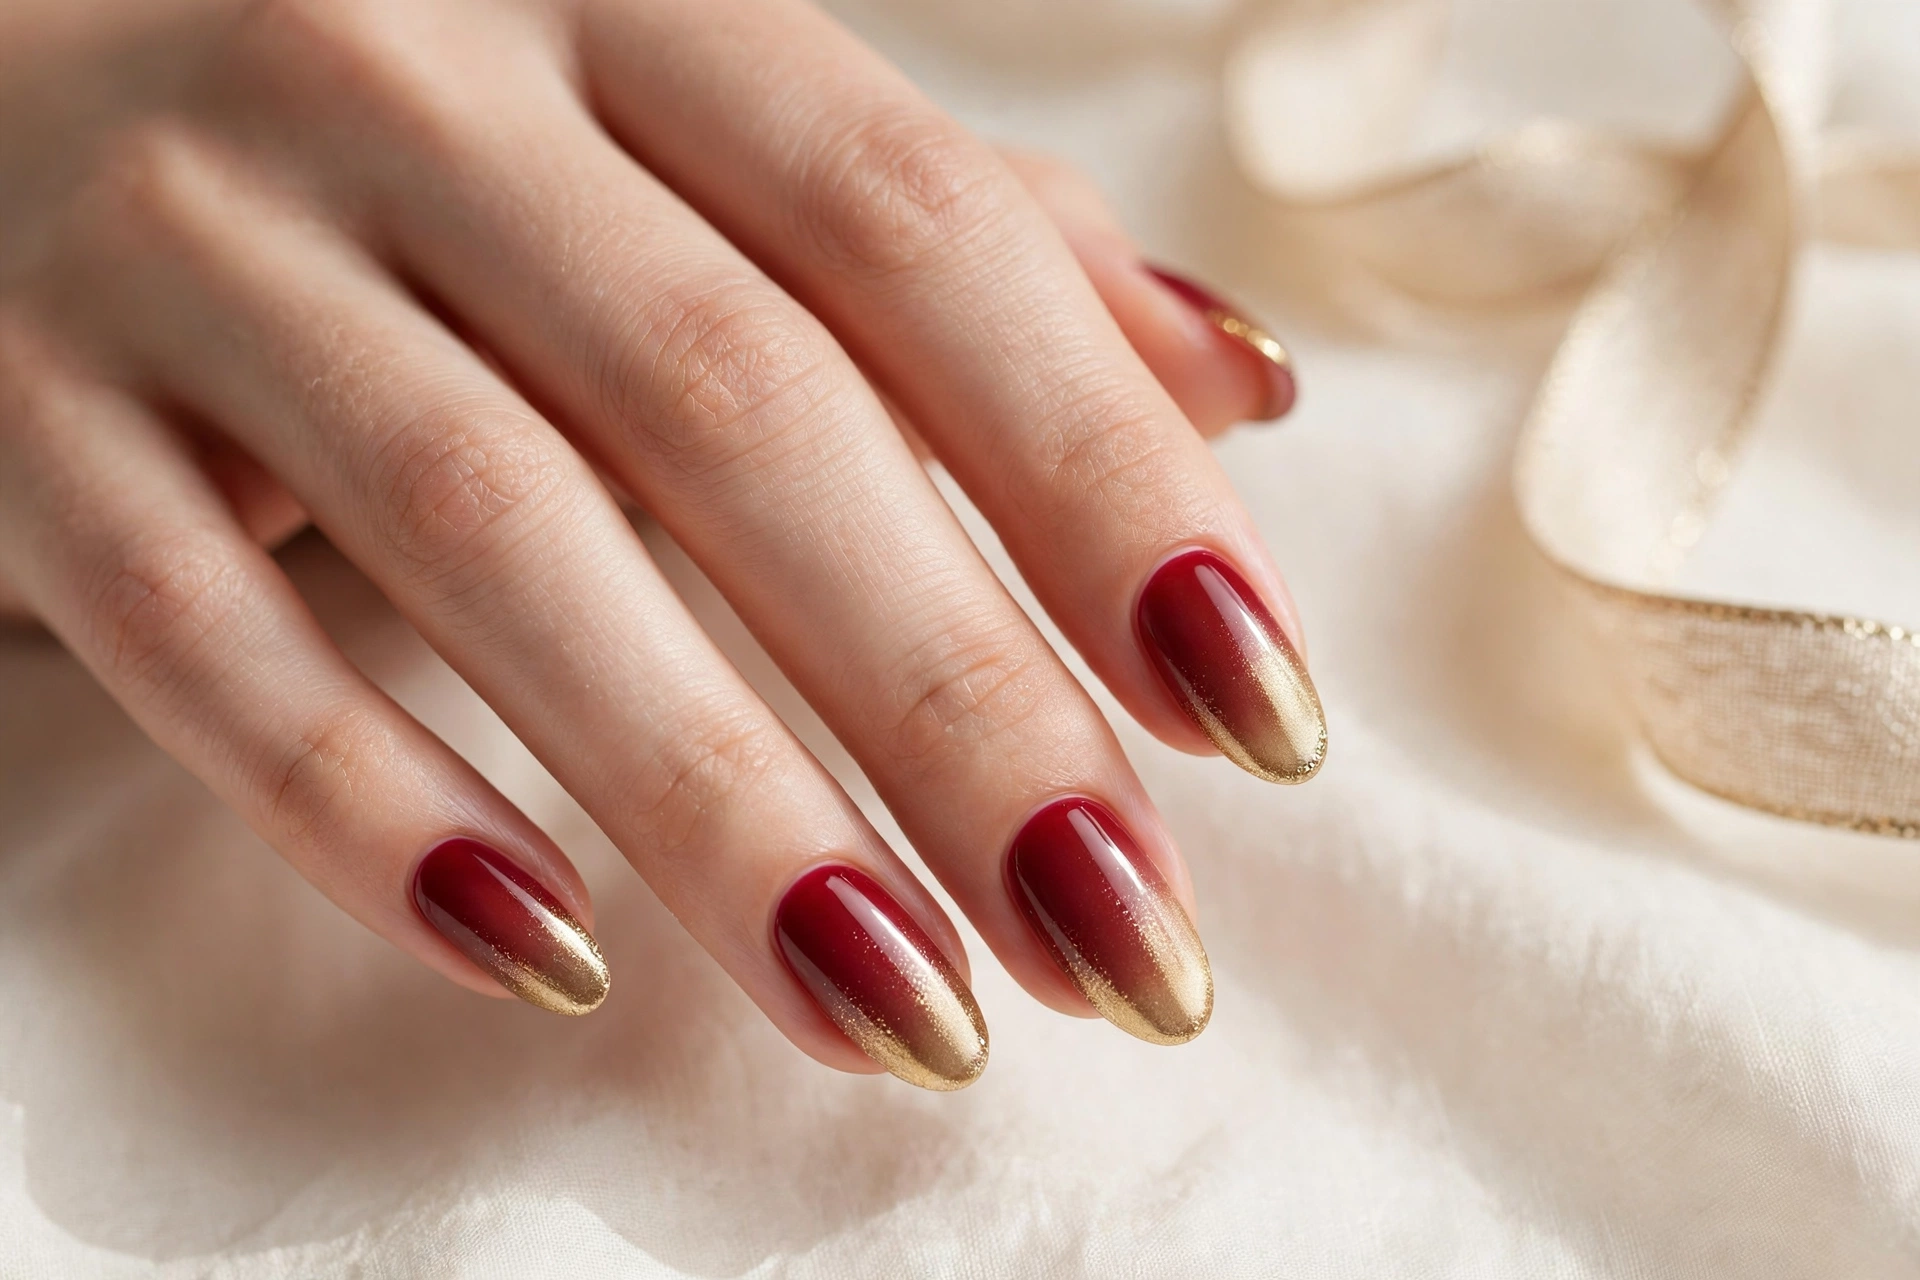
An ombre blend softens the contrast between red and gold, so it suits both quiet gatherings and bright party lights. The finish you choose changes the whole mood, so pick the version that matches your outfit and your comfort level.
| Style | Best For | How It Looks |
| Classic fade | Formal dinners | Deep red at the base melting into gold at the tips |
| Reverse fade | Bold party outfits | Gold near the cuticle softening into rich red ends |
| Soft shimmer fade | Everyday festive wear | Light gold shimmer brushed gently over a red base |
| Glitter tip fade | Dancing and photos | Fine gold glitter concentrated at the tips over red |
For a smooth result, blend with a makeup sponge and build colour in thin layers rather than one thick coat. Clean the edges with a flat brush dipped in remover, add a glossy top coat, and check the blend in daylight. That care gives your red and gold party nails a soft, professional finish.
Crystal Gold Stud Accents
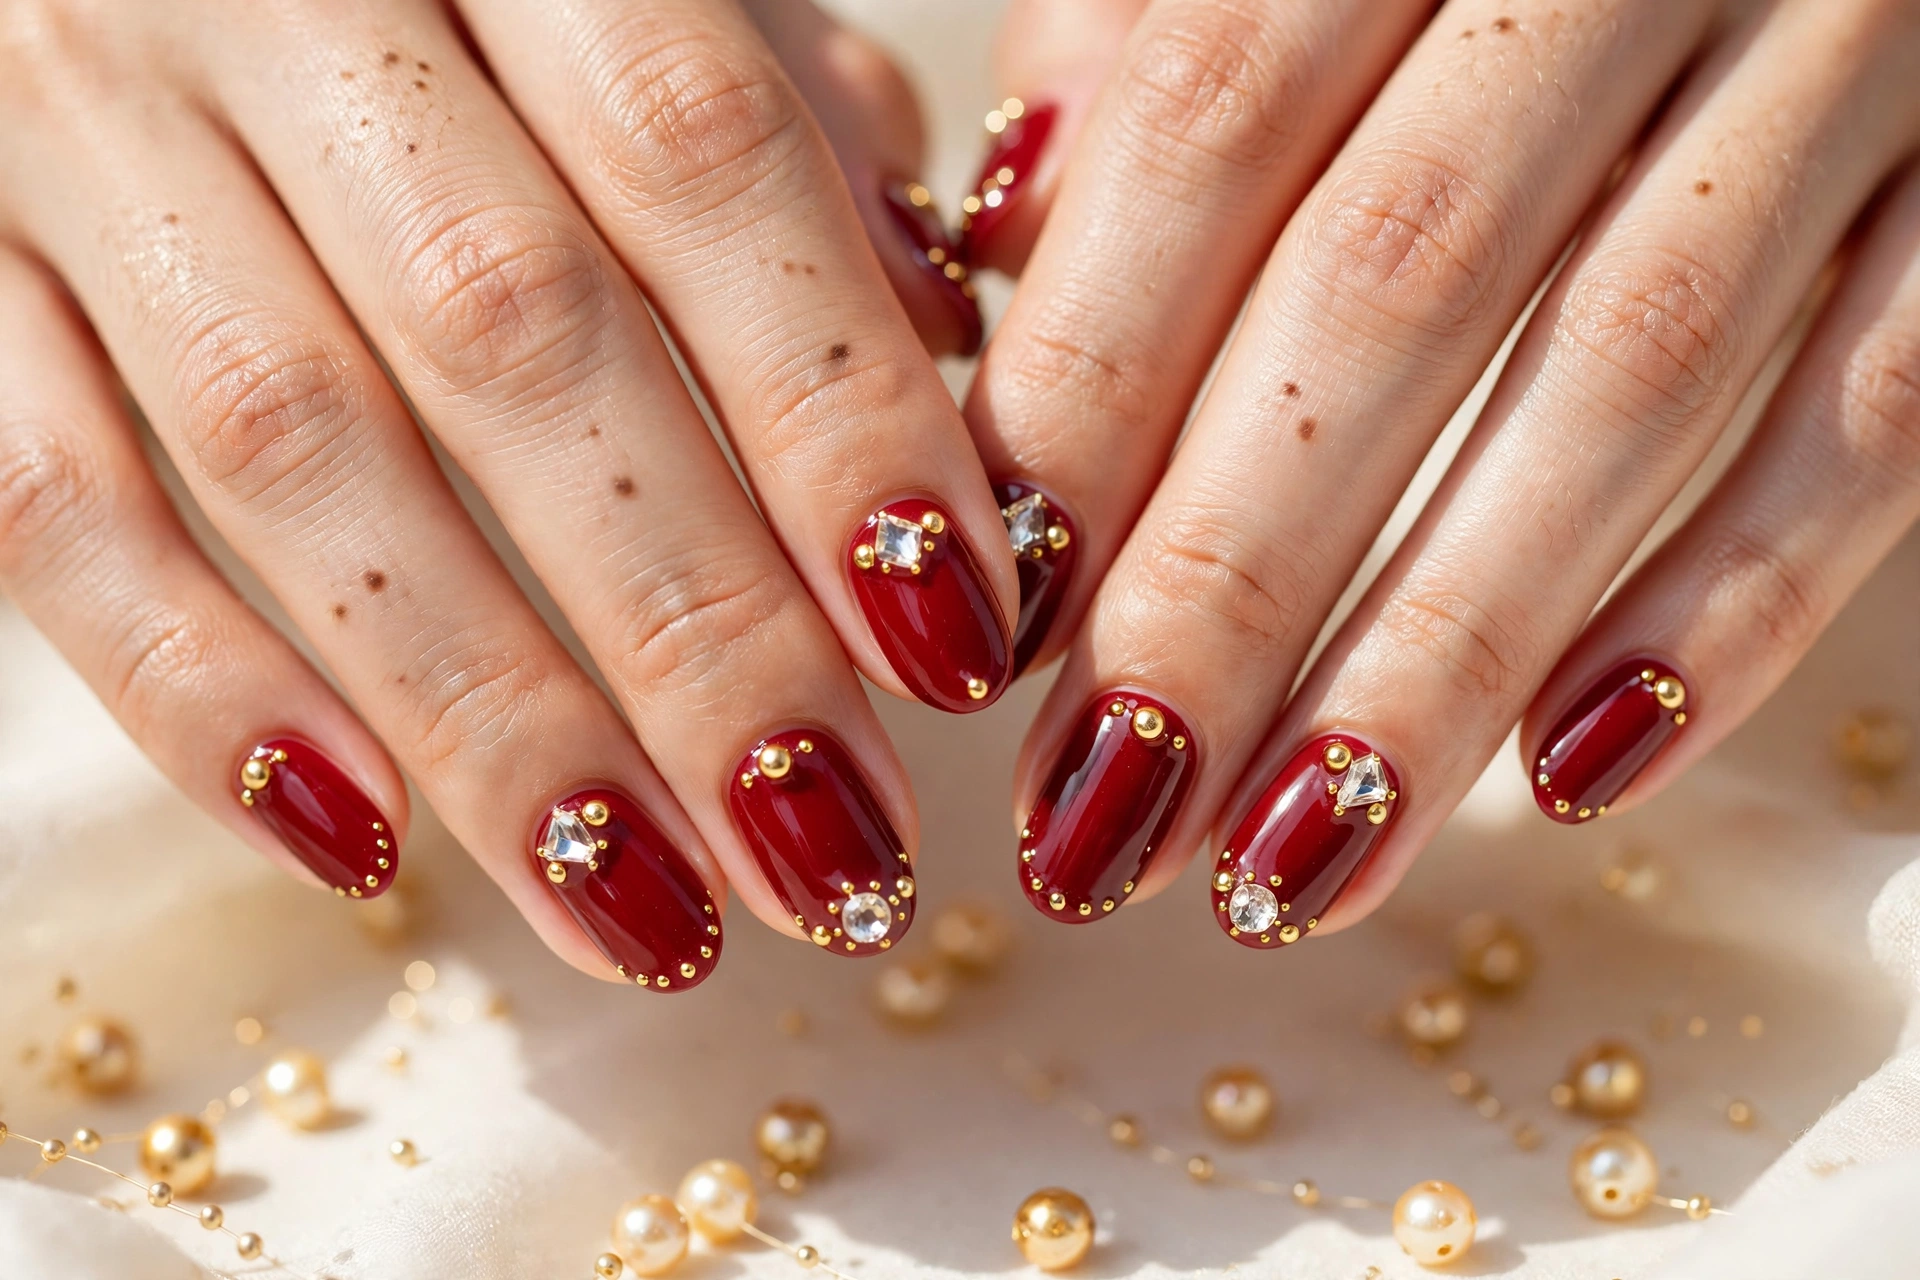
Small gold studs and crystals add sparkle without a full glitter manicure. Placement matters more than quantity, so a few well placed accents will look far more refined than a crowded nail.
Do:
- Do place one stud near the cuticle or at the centre of an accent nail for a clean focal point.
- Do use nail glue or a thick top coat to hold each stud firmly in place.
- Do mix one crystal size with smaller gold studs for balance and depth.
Don’t:
- Don’t cover every nail with studs, or the look can feel heavy and catch on fabric.
- Don’t press studs into wet polish, or they may slide and lose their shape.
- Don’t skip a final top coat around the edges, or the accents may lift quickly.
I have noticed that two accent nails carry this design best, while the other nails stay simple and glossy. Seal the sides of each stud, avoid hot water for the first few hours, and keep a stud kit in your bag. With that care, your festive red and gold manicure stays sparkling through the celebration.
Scarlet Satin Gold Lines
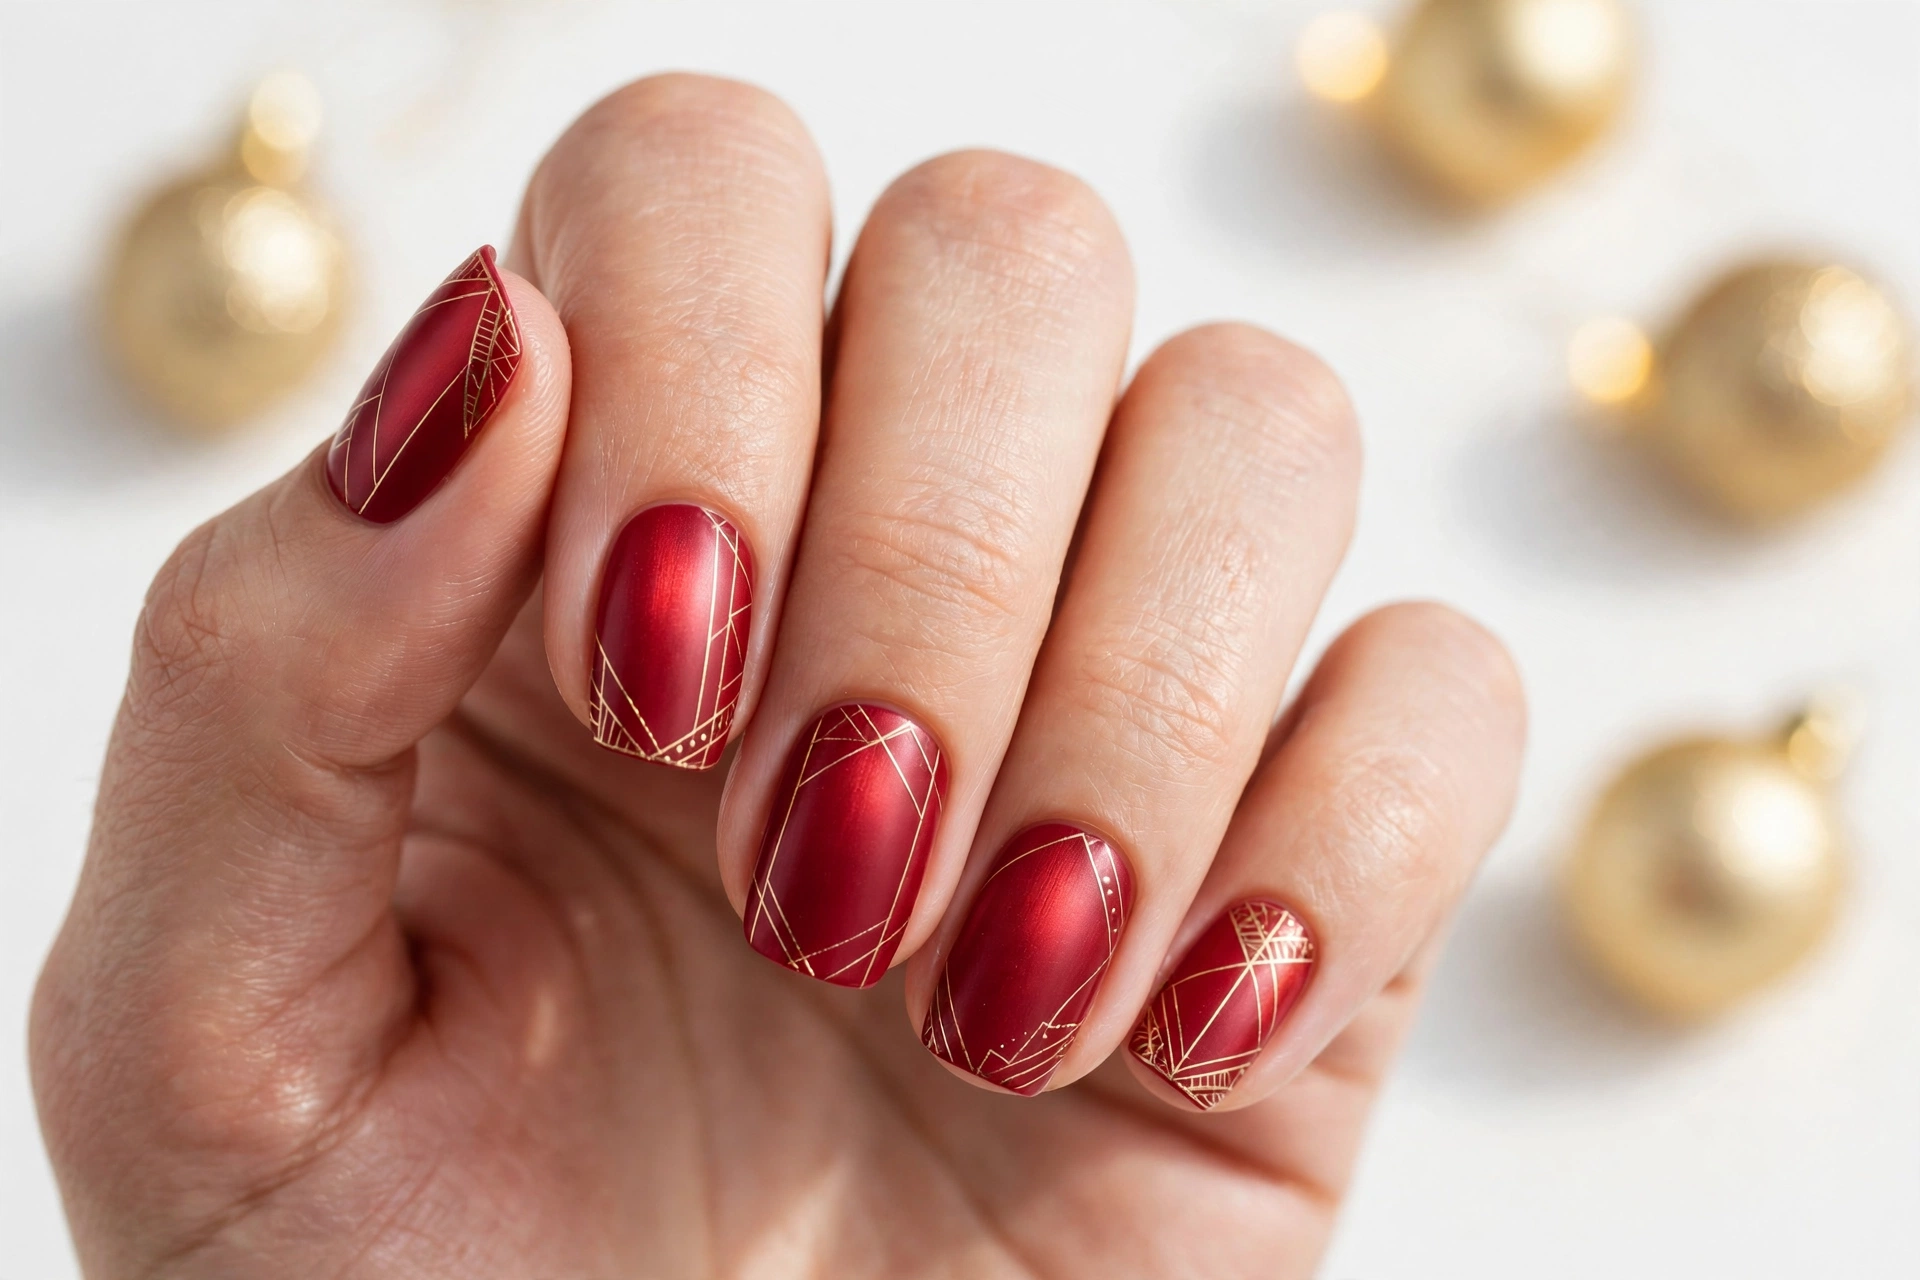
Satin red with fine gold lines feels calm, chic, and very party ready. The lines do most of the talking, so keep the base smooth and the spacing even.
Quick Facts:
- Best base: A deep scarlet polish with a satin finish, applied in two thin coats.
- Line tool: A long striping brush or thin nail art pen for steady, even gold lines.
- Placement idea: One vertical line near the centre, or two fine lines along one side.
- Finish: A satin top coat to protect the lines without adding heavy shine.
Practice the lines on a nail wheel first, then wipe the brush often so gold paint stays thin and even. Rest your painting hand on a flat surface, breathe out slowly, and correct a wobble with a clean brush before sealing. That steady approach gives your red and gold nails a neat, boutique finish.
Ornate Gold Filigree Art
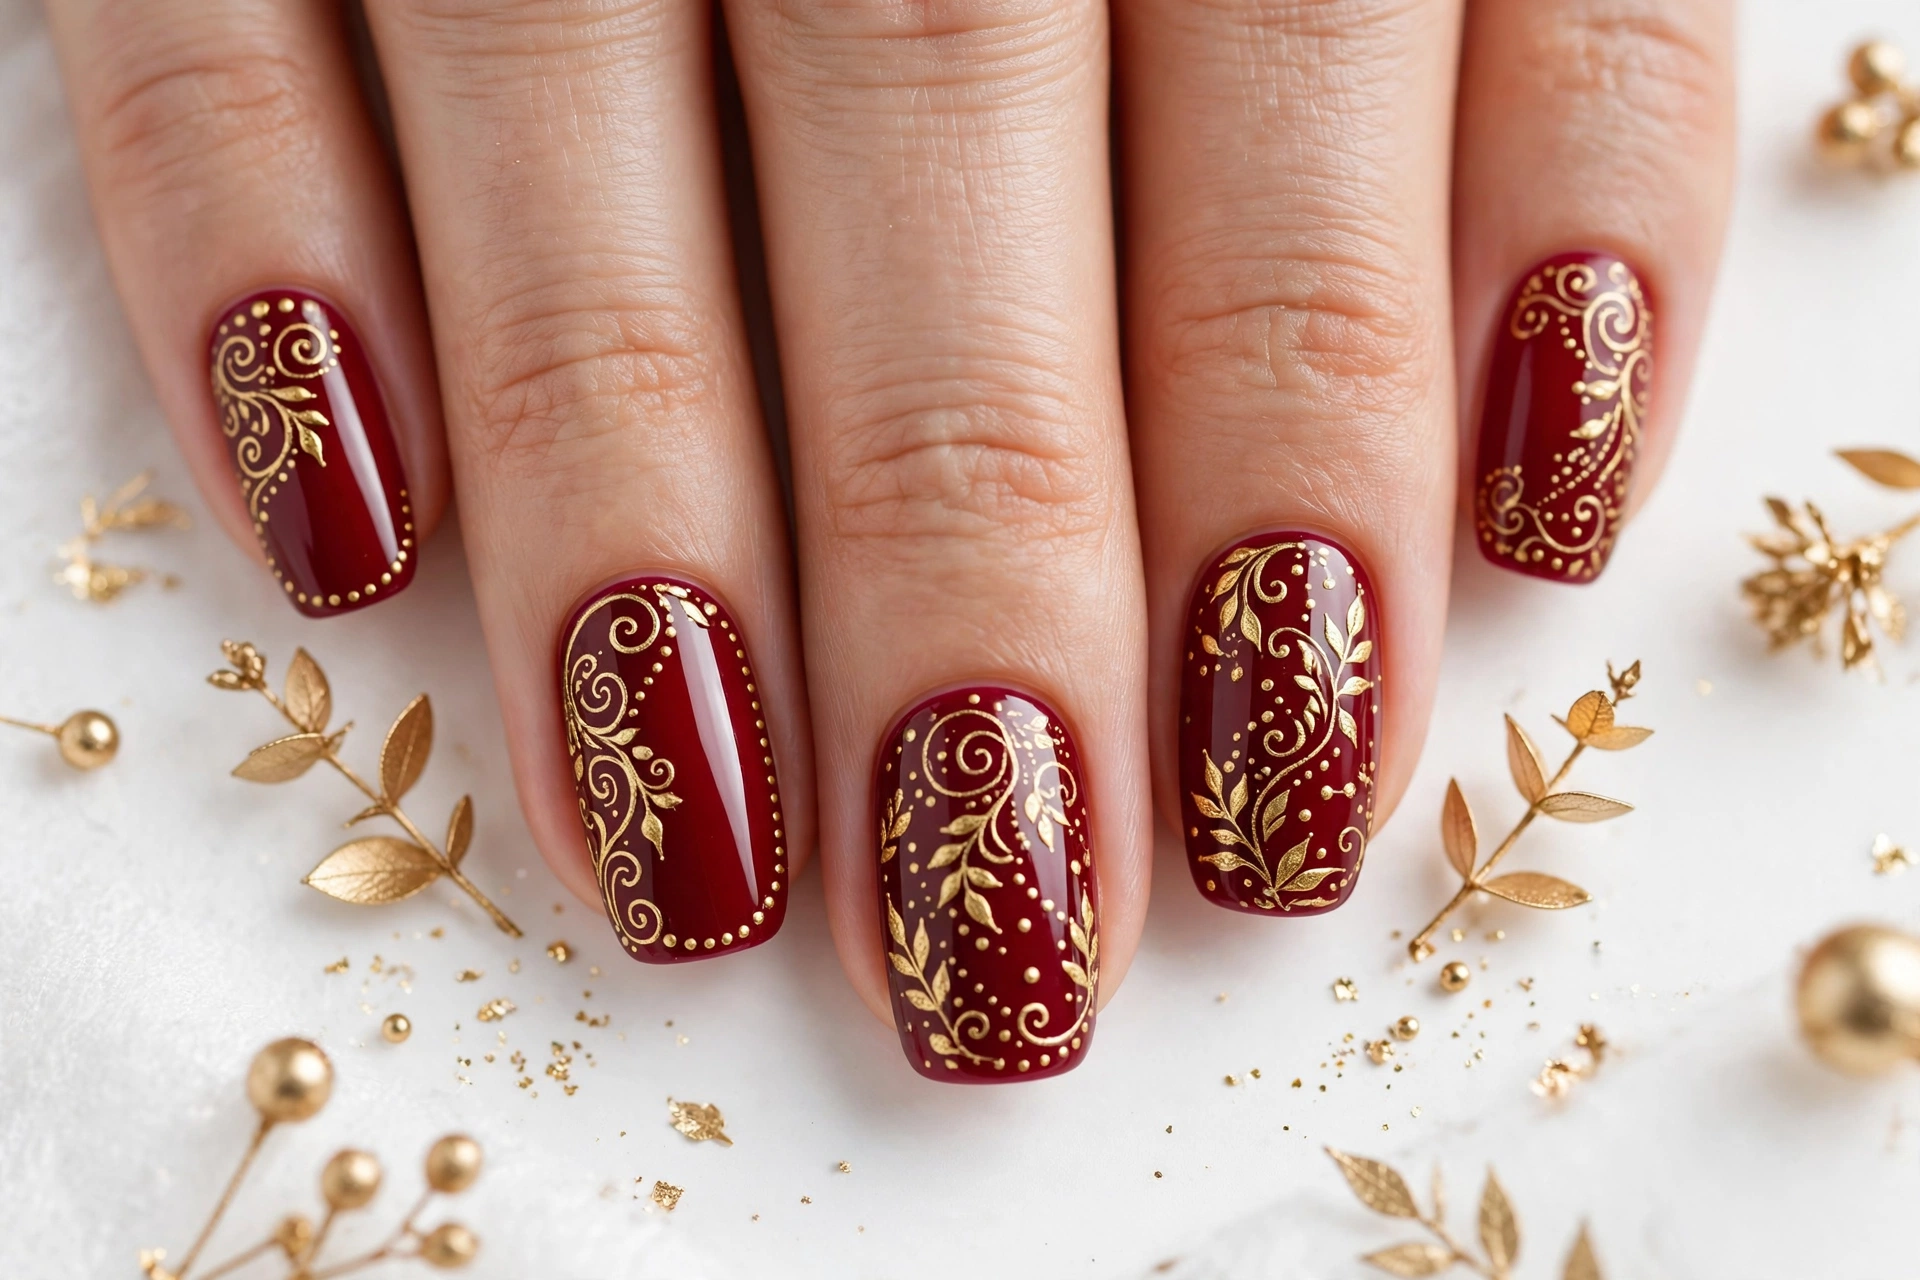
Delicate gold lines curl across a deep red base like fine jewellery drawn onto the nail. Tiny dots, swirls and leaf shapes add detail without crowding the design, so each nail feels rich yet balanced. Keep artwork on one accent nail for a softer party look.
Start with two thin coats of red polish and let them dry fully before adding gold. Use a fine liner brush with a small amount of metallic polish, then seal everything with a glossy top coat for shine and staying power. Resting your hand on a table keeps lines steadier.
Cozy Knit Gold Texture
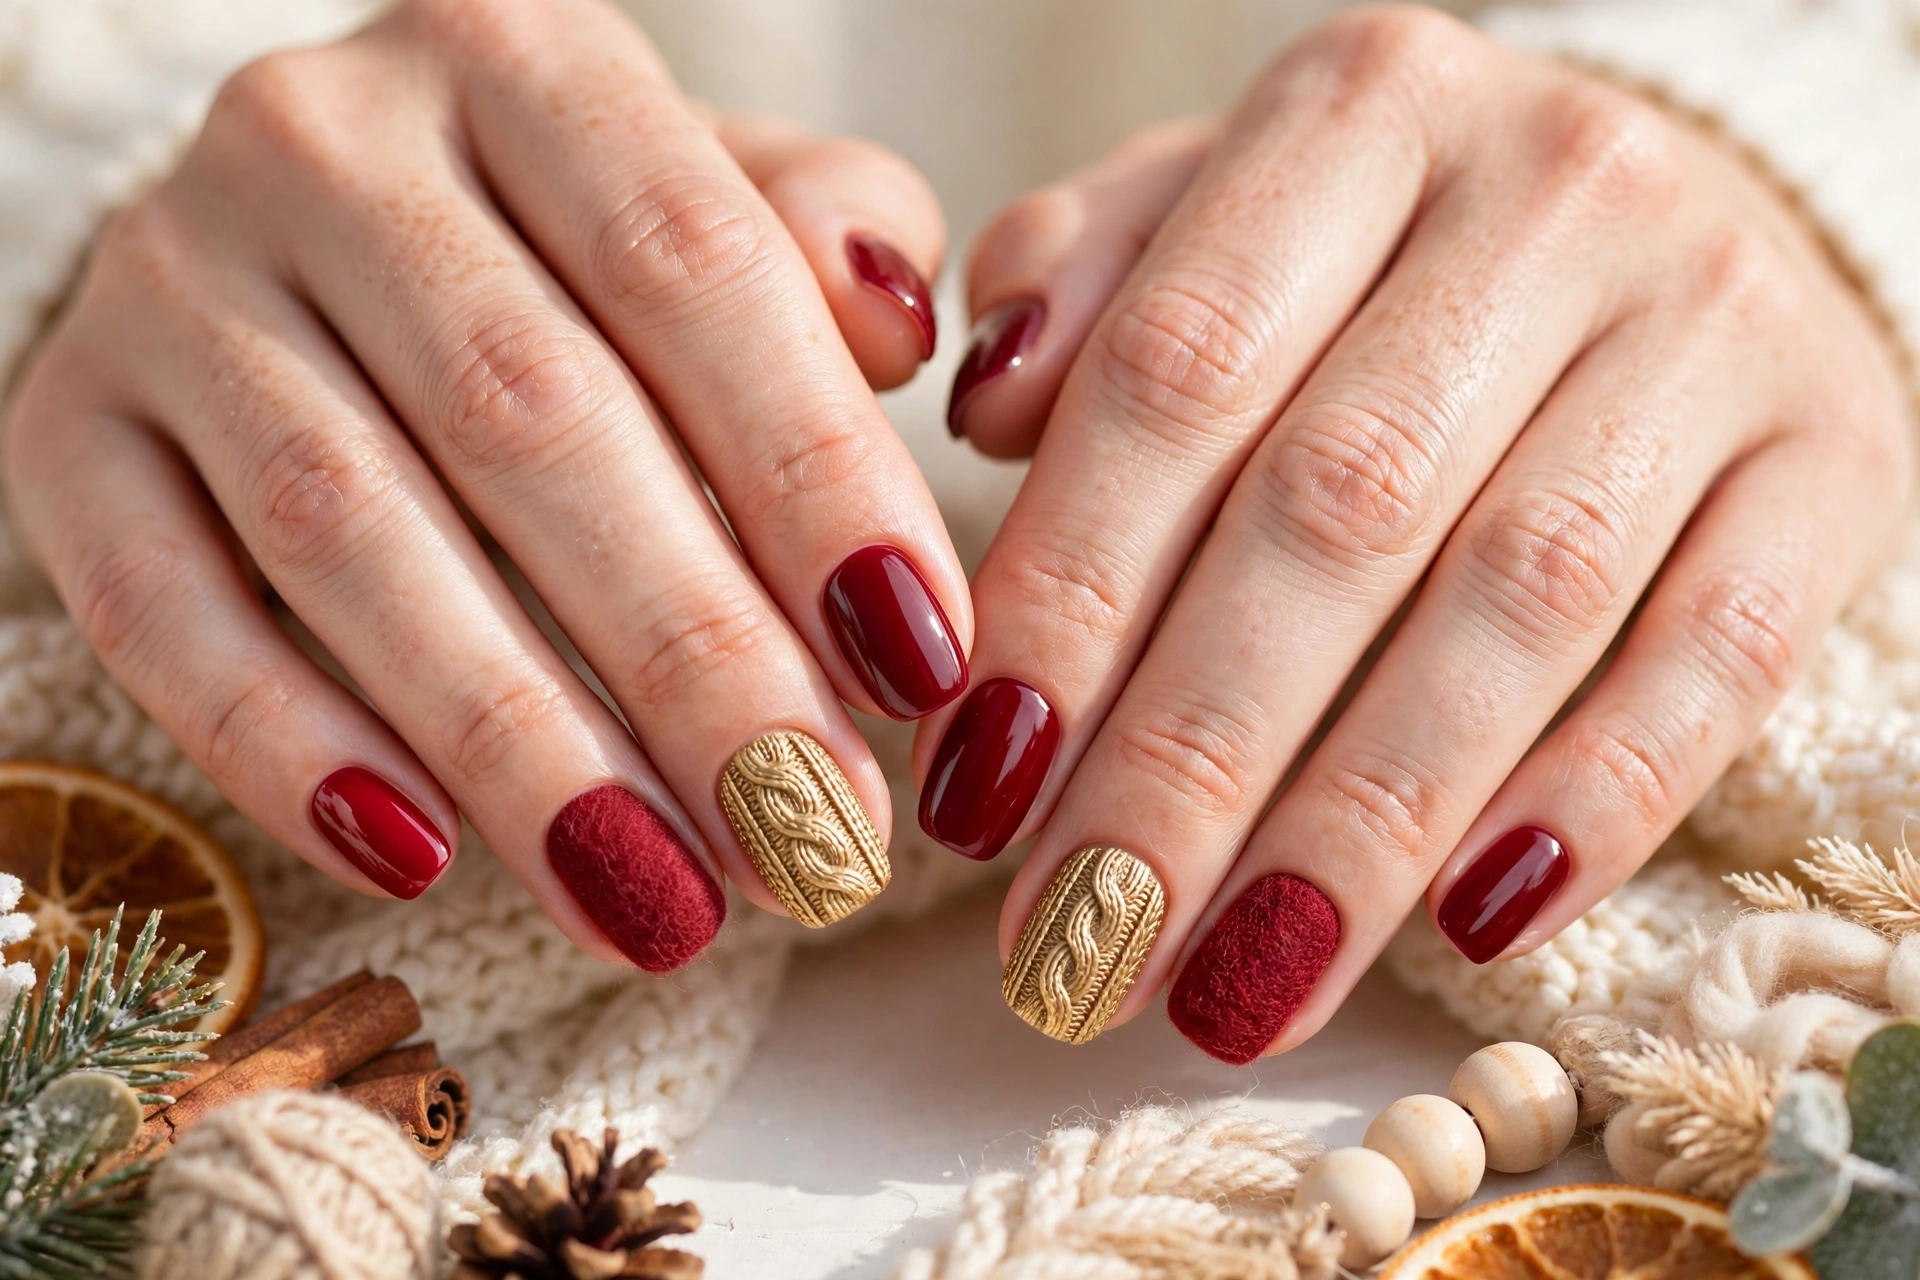
- Start with a deep red base and let it dry fully before adding texture.
- Draw small cable twists and cross stitches in soft gold using a fine liner brush.
- Add a matte top coat over the knit nails to mimic cosy wool, keeping accent nails glossy for contrast.
- Pair the look with gold rings and a simple party outfit so the texture stays the focus.
This texture feels warm and inviting at winter gatherings, and it photographs beautifully beside festive outfits and sparkling accessories. Keep the knit pattern neat rather than perfect, since slight variation makes it look handmade and charming. A little patience while each layer dries will reward you with a cosy manicure that lasts through the evening.
Dazzling Red Sequin Nails
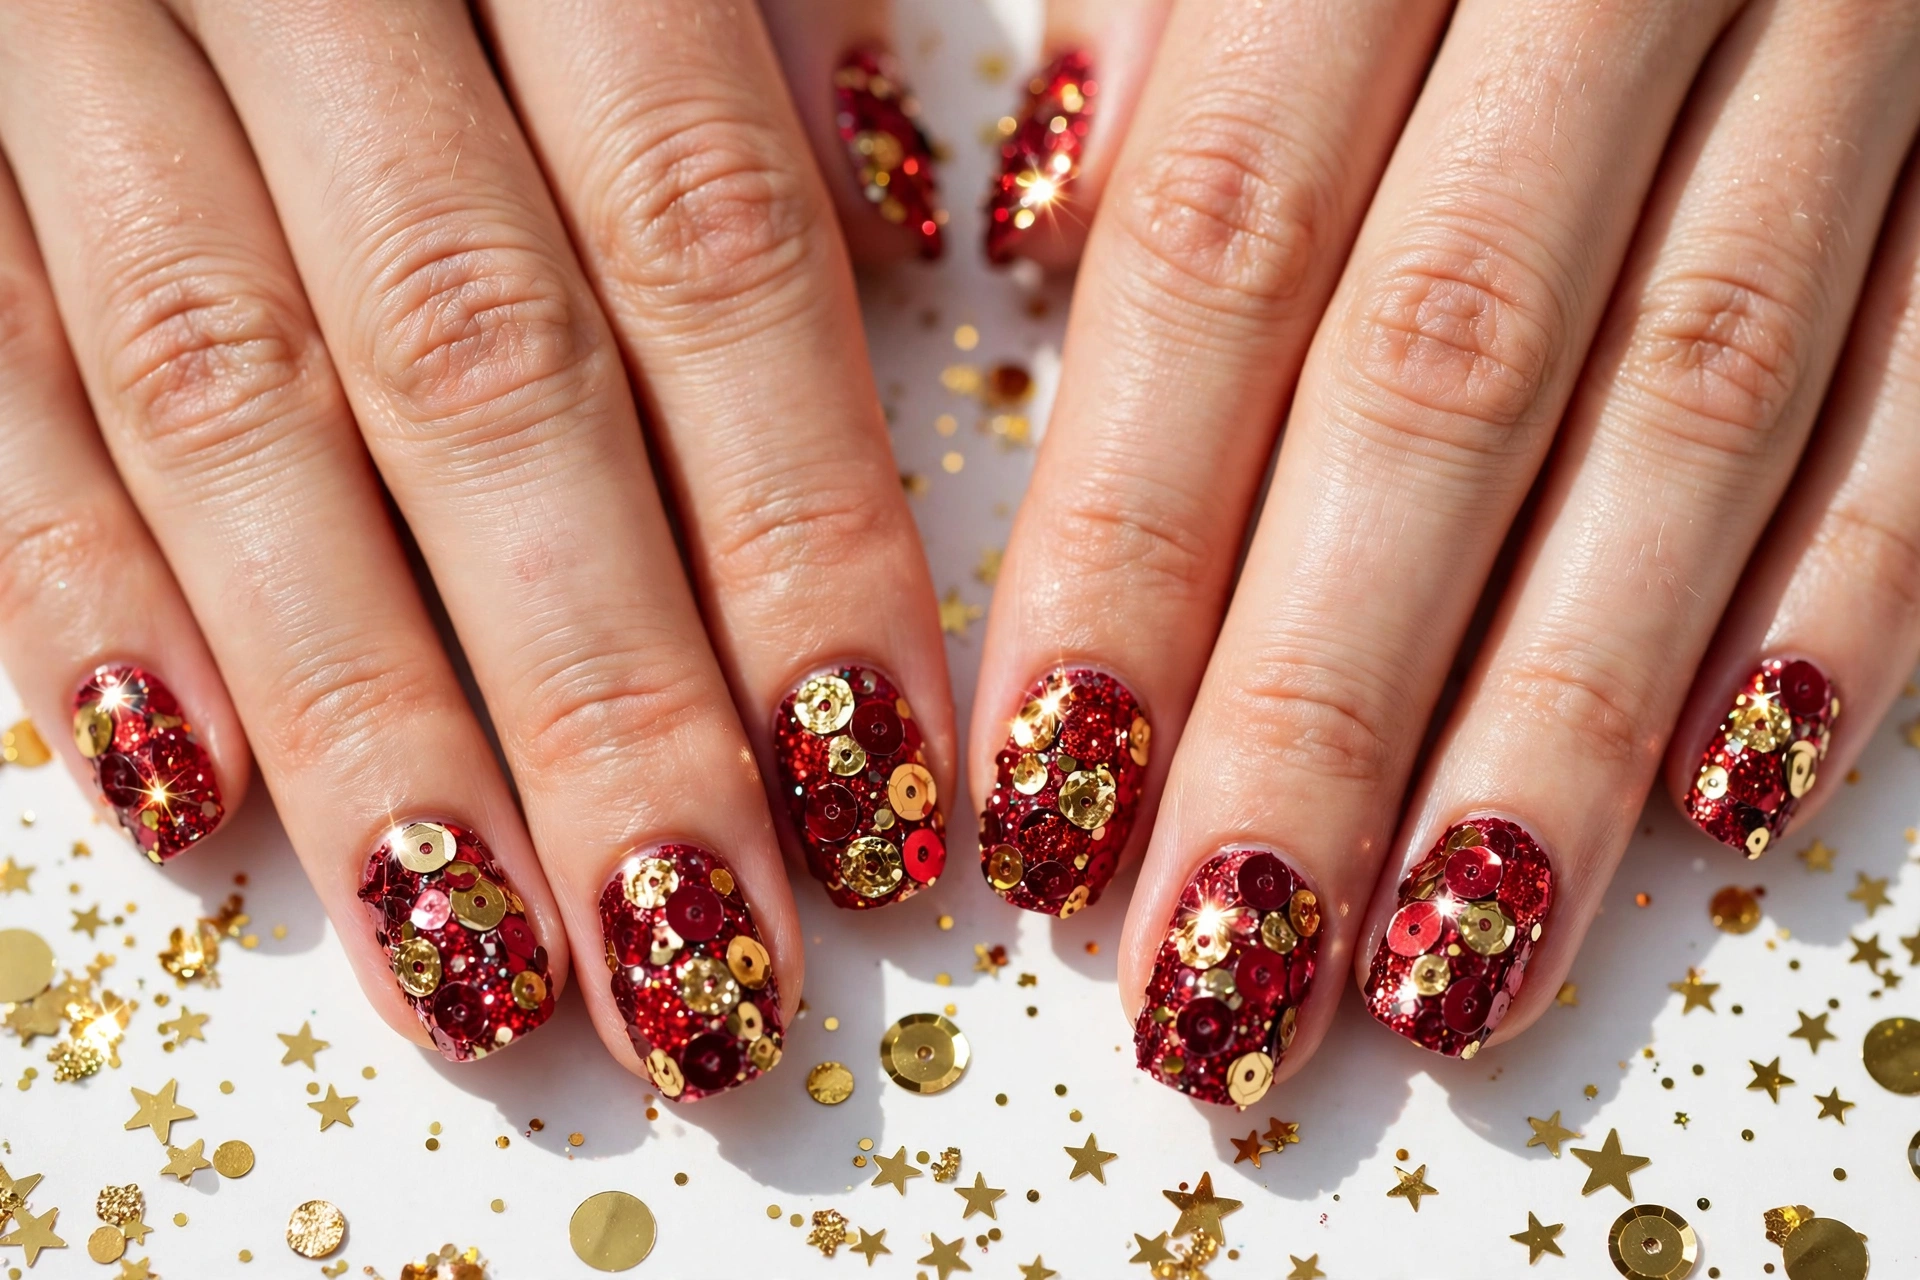
Quick Tip: Apply sequins while the polish is still tacky so each piece grips firmly and stays flat.
Red sequins catch candlelight and camera flashes beautifully, turning a simple manicure into party ready glamour. Scatter small sequins over a deep red base, then concentrate larger pieces near the tips or cuticles for depth. Seal with two layers of top coat to smooth the surface and stop snagging on fabric.
Regal Gold Crown Tips
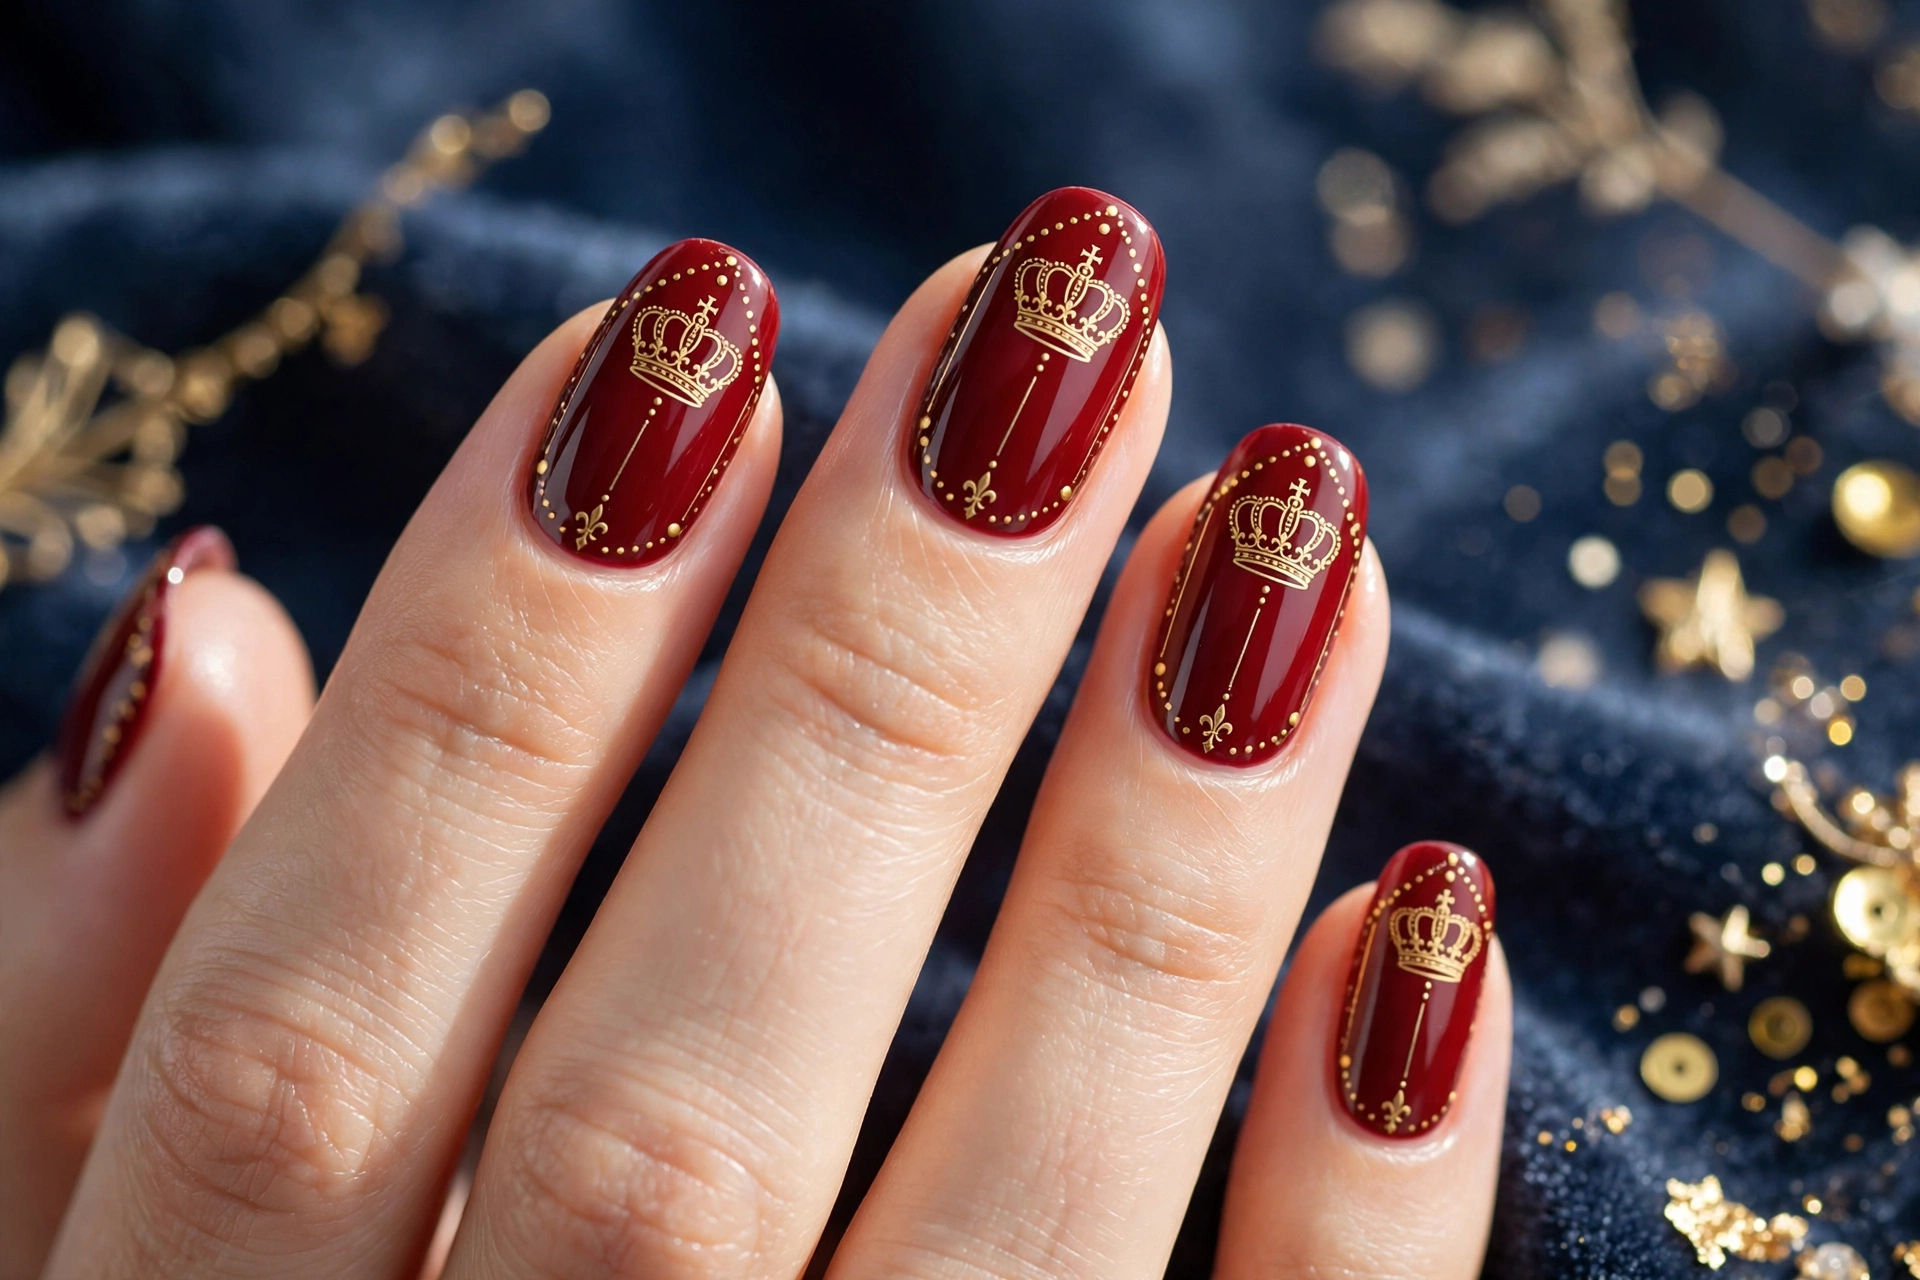
Before: Plain red nails with simple gold tips.
After: Regal gold crown shapes at the tips, framed by tiny dots and fine lines for a royal party finish.
Crown tips suit short and long nails alike, because the design sits neatly at the edge without overwhelming the nail. Paint the crown in metallic gold, add a small jewel accent on one nail, and keep the rest refined. This royal detail pairs beautifully with evening dresses and sparkling jewellery for celebrations.
Conclusion
Your party nails are ready to steal the spotlight, and christmas nails red and gold make that easy. Pick the look that made you smile first, try it this week, and let the colour and shine do the talking at your next celebration. Save this guide on Pinterest so your favourite ideas are easy to find again, share it with a friend who loves festive nails, and enjoy every compliment. With a little care and a glossy top coat, your manicure will stay bright from the first toast to the last dance, and you will feel confident and party ready.