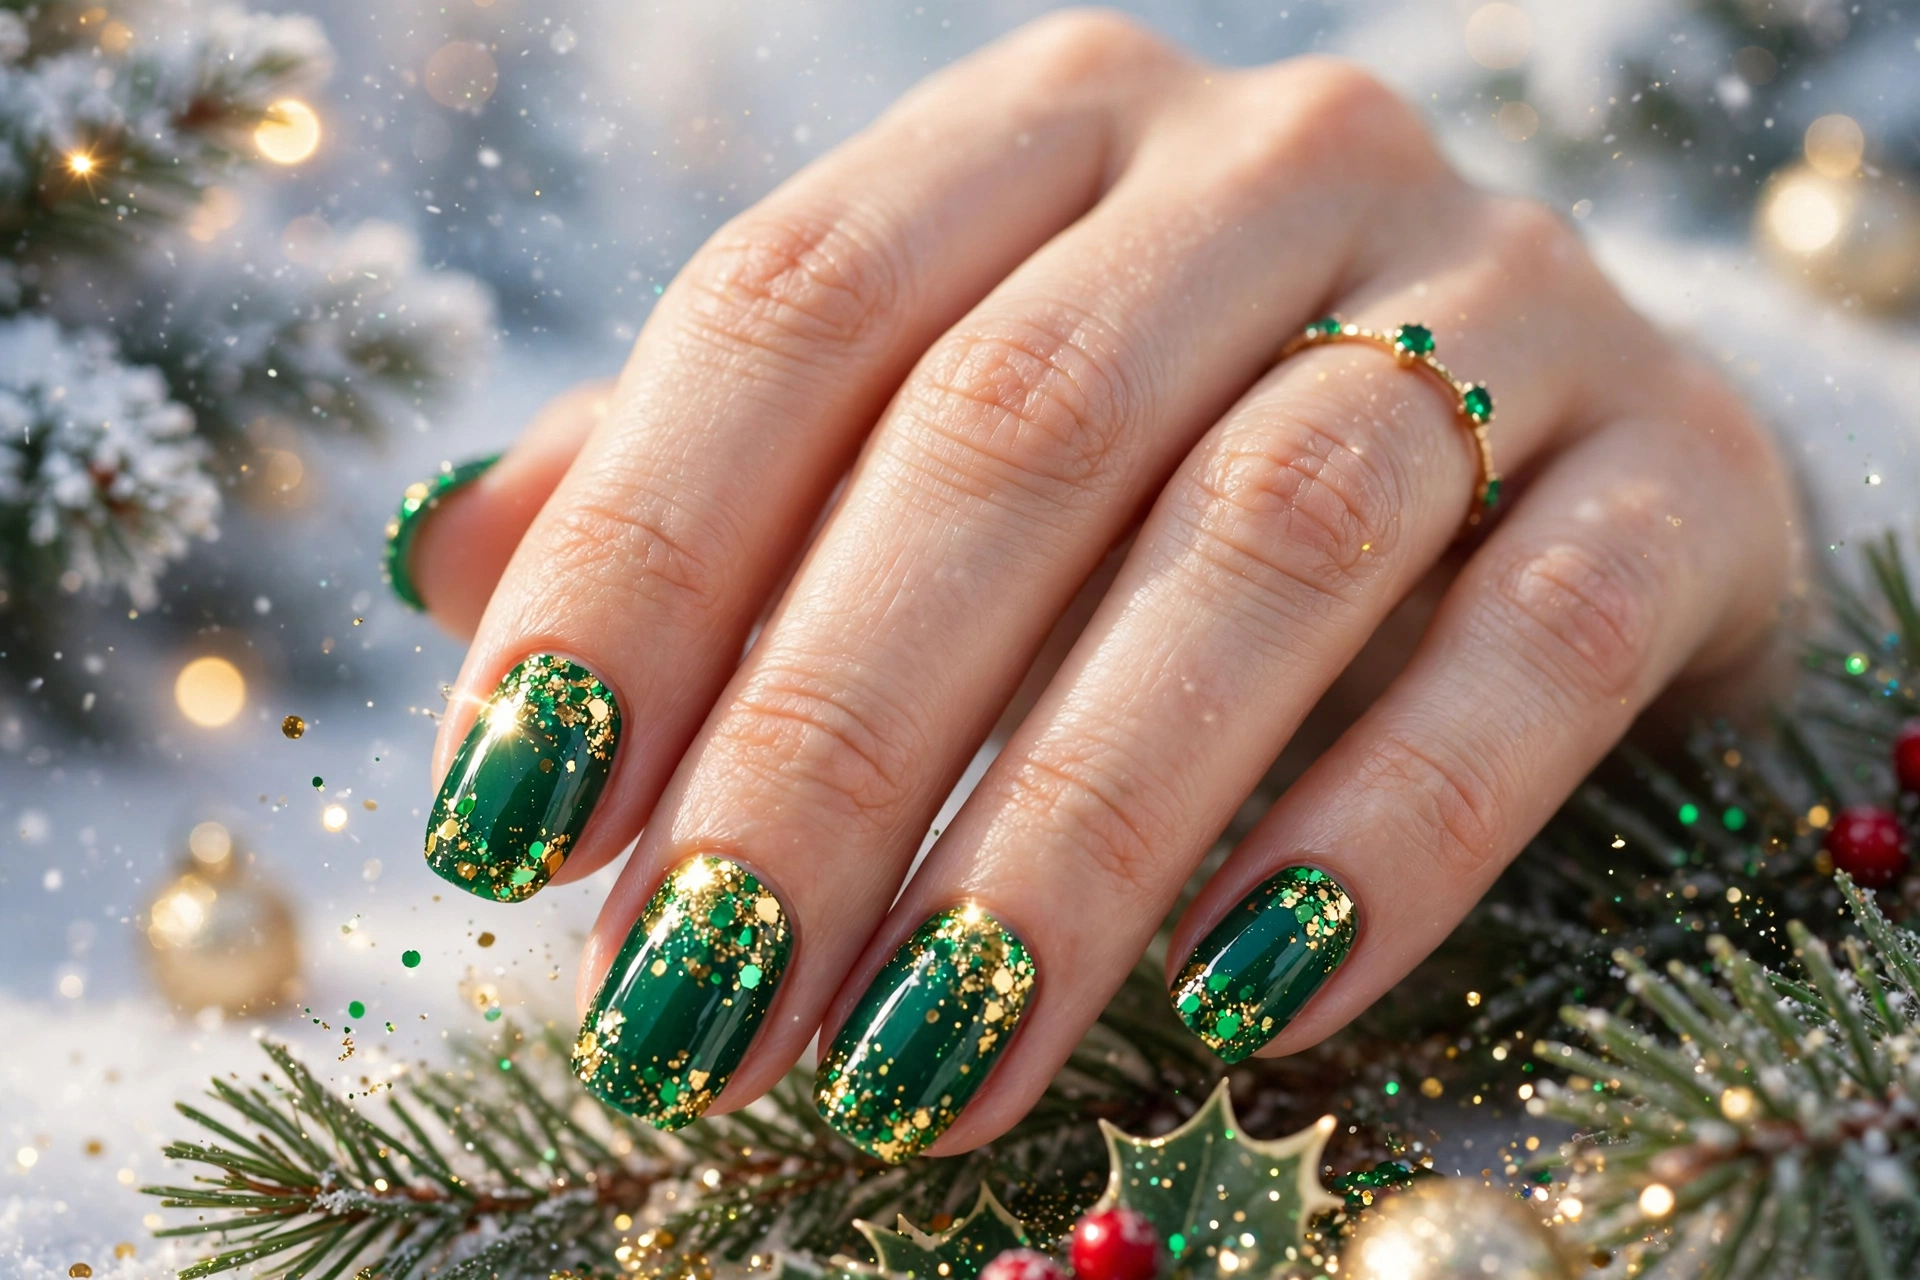
Festive nails should feel joyful, not stressful, and green christmas nails give you a fresh way to stand out at every holiday party this season. Deep emerald, soft sage, and sparkling mint can suit a cozy family dinner, a glamorous office party, or a quiet evening at home, and each shade pairs beautifully with gold, red, or crisp white details.
This guide gathers twenty one bright ideas that are easy to follow, even if you are new to nail art, with simple steps, clever shortcuts, and looks that work on short, medium, and long nails alike. Choose one favourite for tonight, or save several for the whole festive season ahead, and enjoy nails that shine in every photo.
Emerald Glitter Party Tips
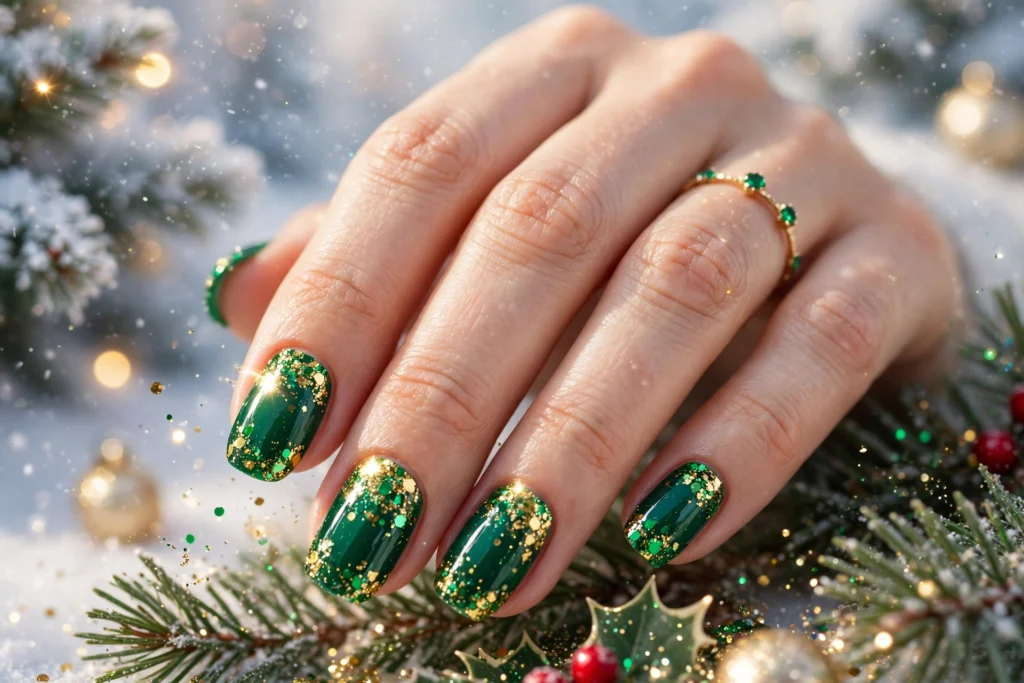
Glitter catches the light at every holiday gathering, and emerald tips turn a simple manicure into a party-ready statement. Gold flecks scattered over a deep jewel base create sparkle without hiding the rich colour underneath. Pair this look with a dark dress or a velvet clutch for instant festive polish.
Start with two thin coats of emerald polish and let each coat dry before adding glitter. Press fine gold glitter onto the tips with a sponge, then seal everything with a glossy top coat. Keep the rest of your nails simple so the sparkle stays the star of the evening.
Deep Forest Velvet Finish
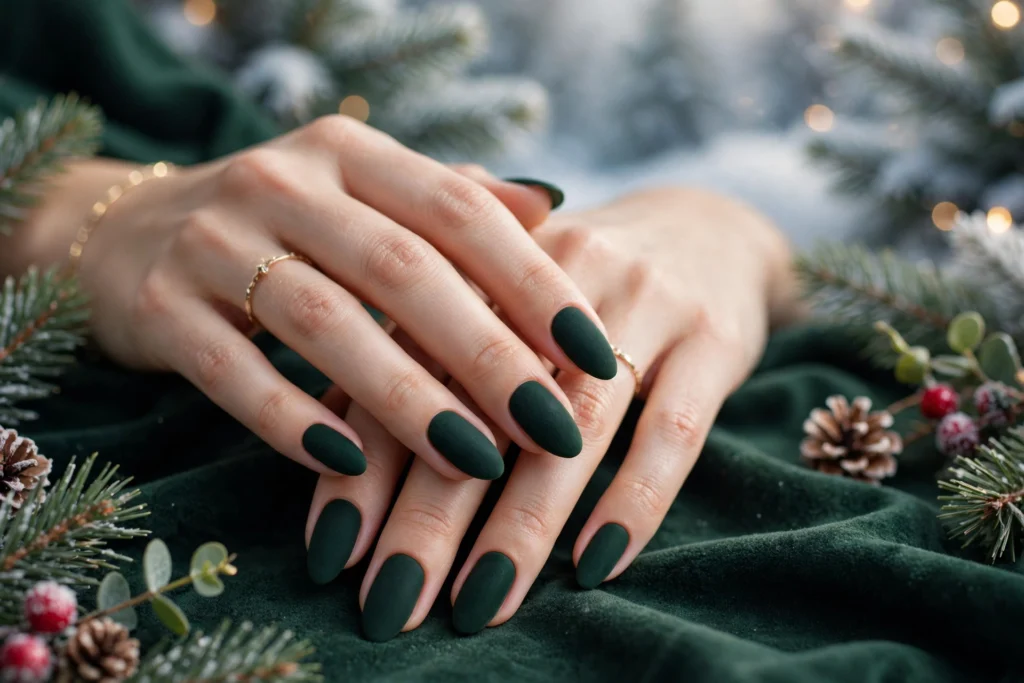
- Velvet texture turns a dark shade into something soft and quietly festive, perfect for December evenings.
- Keep nails short to medium so the matte finish looks neat and the colour stays the focus.
- Apply thin coats and let each layer dry, since thick matte polish can look patchy.
- Add one gold ring or a simple bracelet to warm up the dark shade without competing with it.
- Refresh the look with a fresh matte top coat after three days to keep the velvet effect smooth.
Velvet finishes feel quietly festive, like a forest walk on a cold December evening. The deep shade suits sweaters, plaid scarves and gold jewellery, and it works for office parties as well as family dinners. Matte texture hides tiny chips better than shine, which makes this a practical choice for a busy holiday week.
Sparkling Pine Tree Accents
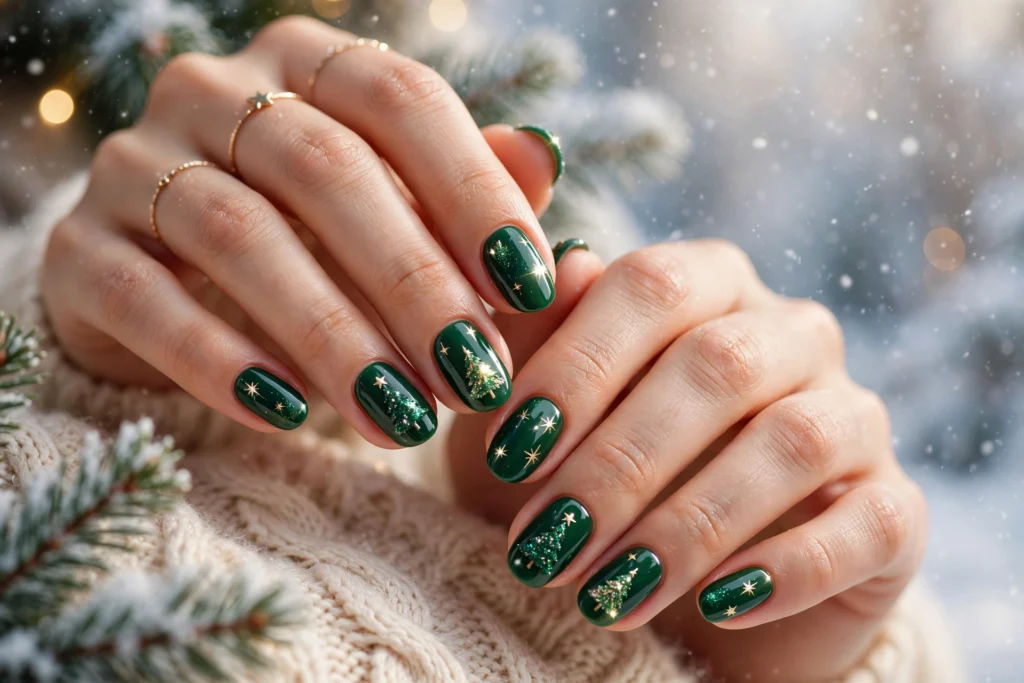
Quick Tip:
Tiny pine trees turn plain nails into a miniature winter forest in minutes. Paint them on accent nails only and keep other nails in a solid deep shade. Use a thin brush for branches and add one gold dot at the top for a star.
Sparkling trees bring instant holiday charm without needing advanced nail art skills. Small trees look best on ring fingers or thumbs, where there is enough space for detail. Pair them with glitter polish or tiny gold stars, and finish with a glossy top coat to protect the design through parties and gift wrapping.
Festive Holly Berry Details
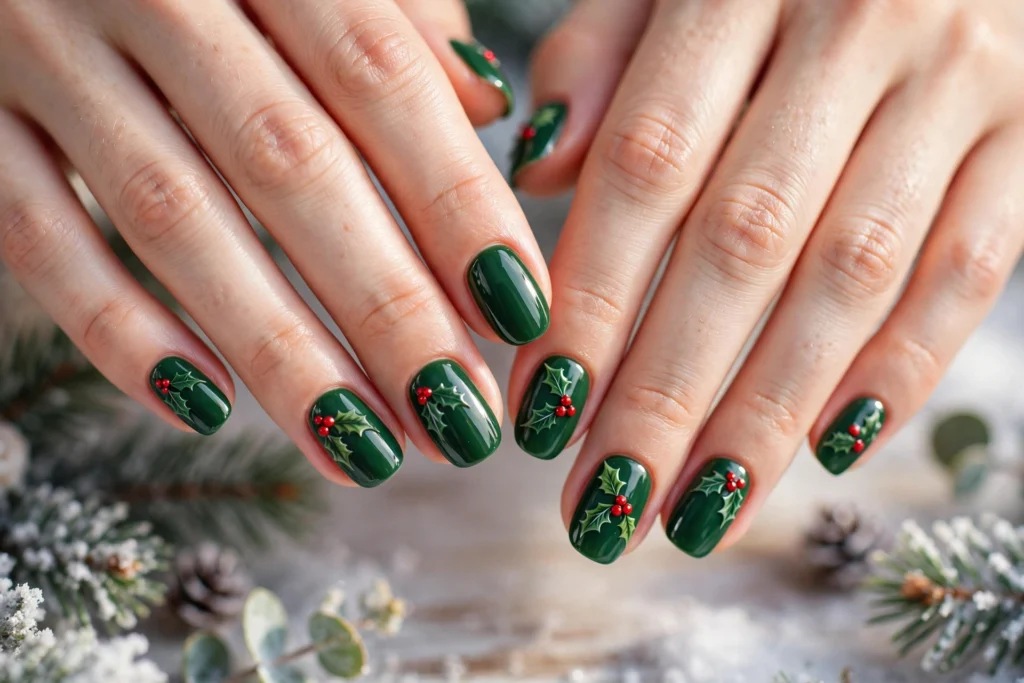
BEFORE: Plain nails can feel a little flat beside bright holiday outfits and sparkling decorations. Without a focal point, even a pretty shade can fade into the background at a party.
AFTER: Small holly leaves and red berries change the whole look in minutes. The tiny red dots draw the eye, while the leaves add a fresh, natural touch that feels made for the season.
Holly details work beautifully on short nails because they need very little space to shine. Place one sprig near the cuticle or tip, keep the berries small and neat, and seal with a glossy top coat. This design pairs well with red lipstick, gold earrings and a classic black dress for a polished holiday finish.
Sage Gold Leaf Duo
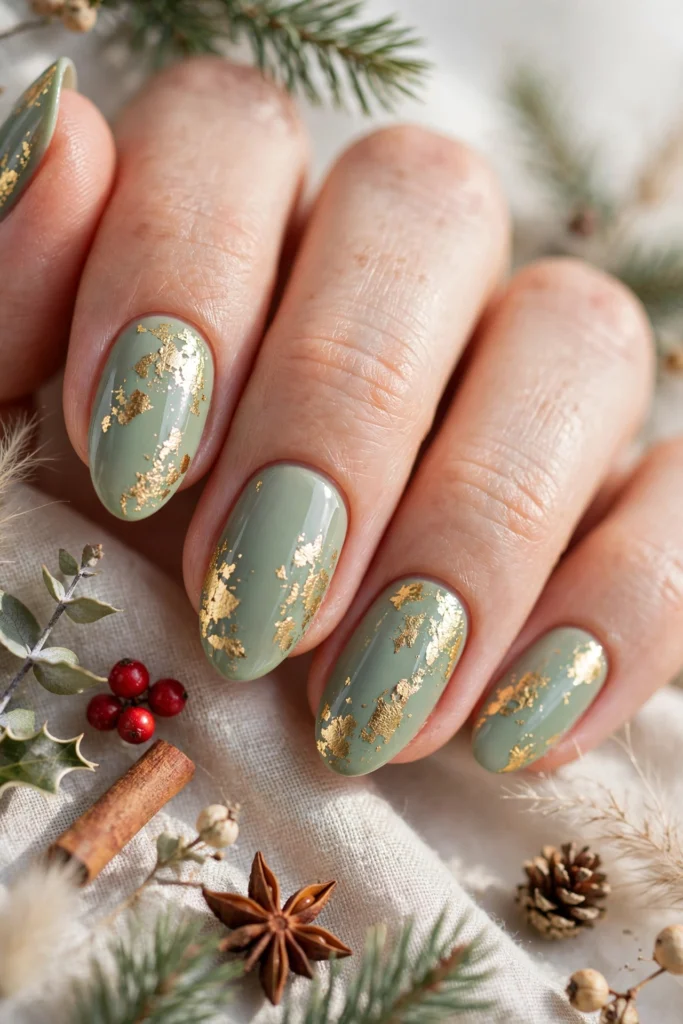
Soft sage paired with delicate gold leaf feels calm, expensive, and quietly festive all at once.
- Start with soft sage as your calm base, because its muted tone lets gold leaf glow without competing for attention. Apply two thin coats, letting each coat dry fully before adding the next layer.
- Press tiny gold leaf pieces onto one or two accent nails with a wax pencil or a slightly damp brush.
- Gently pat the leaf edges flat, then brush a clear top coat over every nail to lock the leaf in place.
- Add a second top coat the next day if the surface feels rough or catches on fabric.
Gold leaf turns a quiet sage base into a party ready manicure without bold glitter or heavy colour. Keep the flakes small, place them near the cuticle or tip, and seal well for a smooth finish. The result feels calm, rich, and ready for dinners, photos, and long evenings out.
Mint Snowflake Party Nails
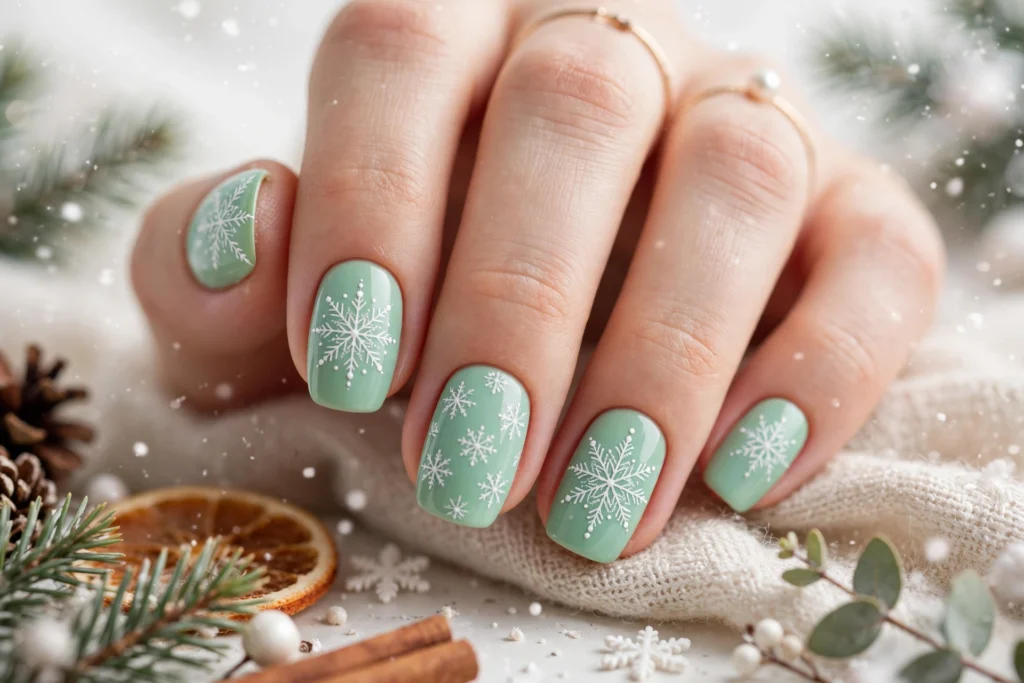
Cool mint and crisp white snowflakes bring a frosty, playful sparkle to holiday parties.
| Detail | Accent Nails | Full Set |
|---|---|---|
| Base colour | Soft mint on all nails, snowflakes on two | Soft mint on all nails, snowflakes on every nail |
| Time needed | About 45 minutes | About 75 minutes |
| Best for | Work parties and everyday wear | Bold party looks and photos |
| Skill level | Beginner friendly with stickers | Easier with stamping or decals |
Mint snowflakes suit almost any outfit, from cosy knit dresses to satin party looks, because the cool colour stays fresh and light. Keep the snowflakes small and spaced apart for a clean finish, and finish with a glossy top coat. The look feels frosty, cheerful, and easy to wear again and again.
Classic Evergreen French Tips
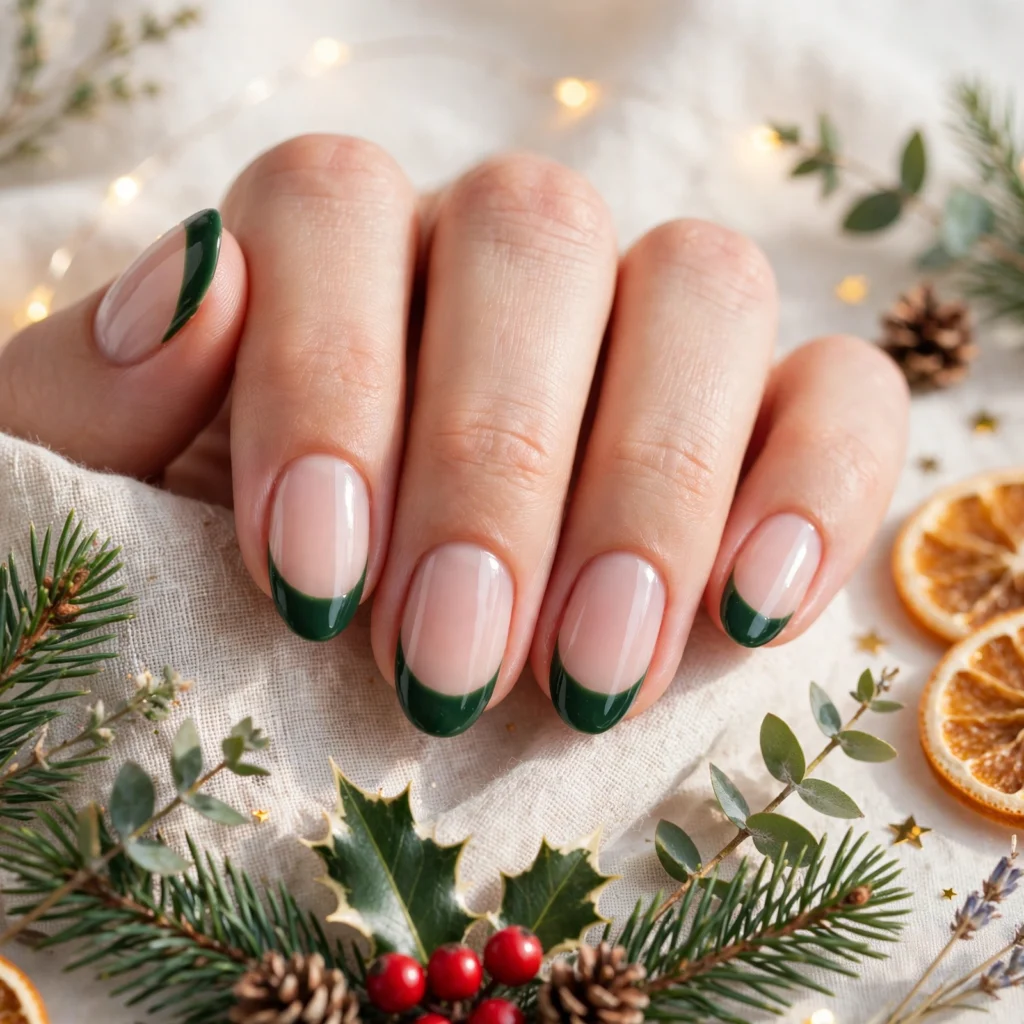
Deep evergreen tips give a classic French manicure a festive twist without losing its polished charm.
DO:
- Shape nails into a soft oval or square before painting for a neat tip line.
- Paint deep evergreen tips in two thin coats for rich, even colour.
- Seal the smile line with a clear top coat to stop chips at the edge.
- Add a tiny gold dot or star on one accent nail for a festive touch.
DON’T:
- Do not paint tips too thick, or the French line will look heavy and uneven.
- Do not skip base coat, because dark tips can stain the natural nail.
- Do not rush drying time between coats, or the tip edge may smudge.
- Do not use a wide brush for the tip line if a thin brush gives cleaner control.
Evergreen French tips work for office parties, family dinners, and New Year gatherings because the shape stays classic while the colour nods to the season. Pair them with gold jewellery, a red lip, or a simple black dress for a polished finish. Keep nails short to medium for the most elegant and practical result.
Glossy Jade Chrome Shine
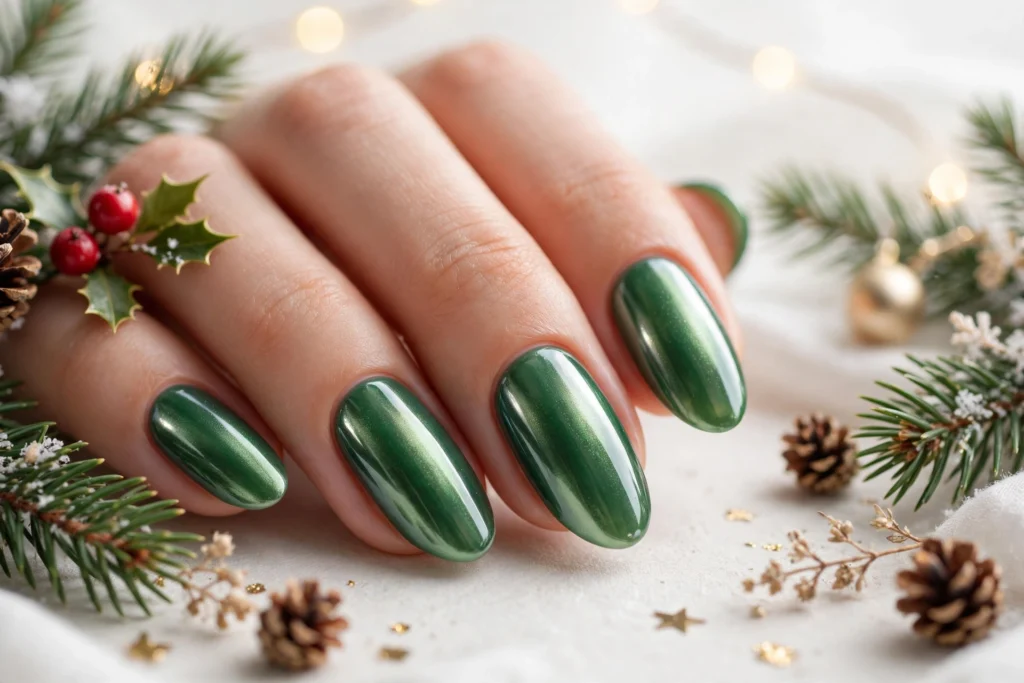
Mirror smooth jade chrome catches light from every angle and turns simple nails into a statement.
- Cost: Low to moderate, mainly chrome powder plus a gel top coat.
- Time: About 60 minutes for a full set at home.
- Skill Level: Intermediate, because chrome needs a smooth, fully cured base.
- Best For: Evening parties, photos, and festive outfits with simple jewellery.
Jade chrome looks best when the base is perfectly smooth, so buff gently and wipe away dust before applying powder. Rub the chrome in with a soft applicator, seal with a no wipe top coat, and cure fully for a mirror finish. The shine lasts longer when gloves protect nails during cleaning and cooking.
Cozy Sweater Knit Texture
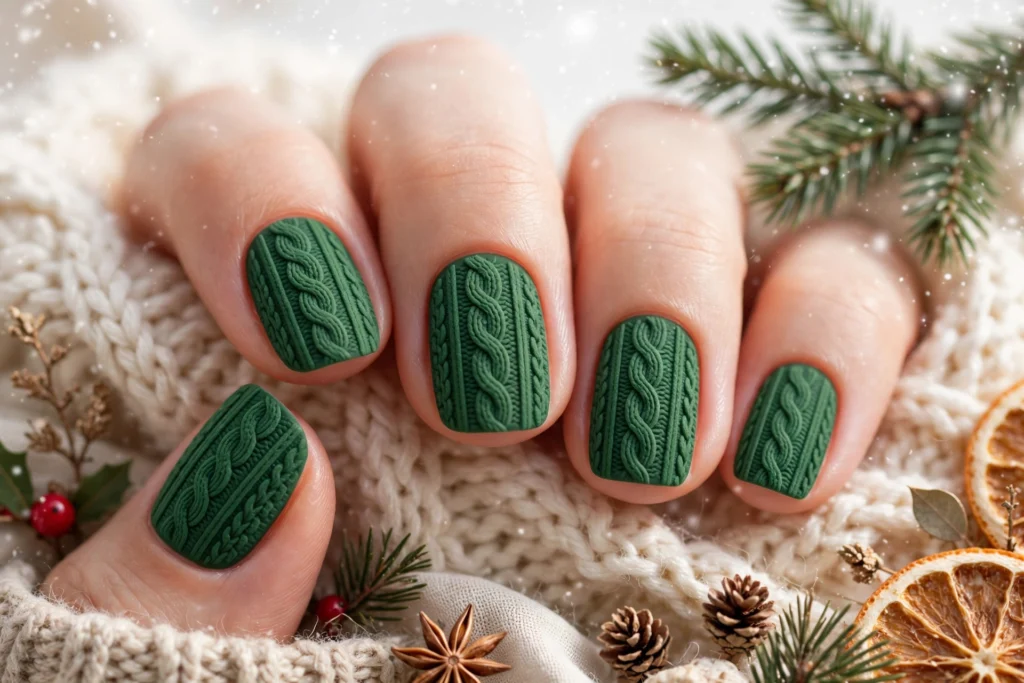
Nothing captures December comfort like cable knit stitches wrapped around each nail in rich forest tones. A deep green base sets a festive stage, while raised knit lines in a slightly lighter shade create soft depth. Keep the pattern neat, with one accent nail carrying the full knit detail.
Shorter nails suit this texture especially well, since the raised pattern stays tidy and resists chipping through busy holiday weeks. Pair the look with a chunky cream jumper and simple gold jewellery, and let the knit detail do the talking at parties, family dinners, and cosy evenings by the fire.
Golden Starlight Forest Nails
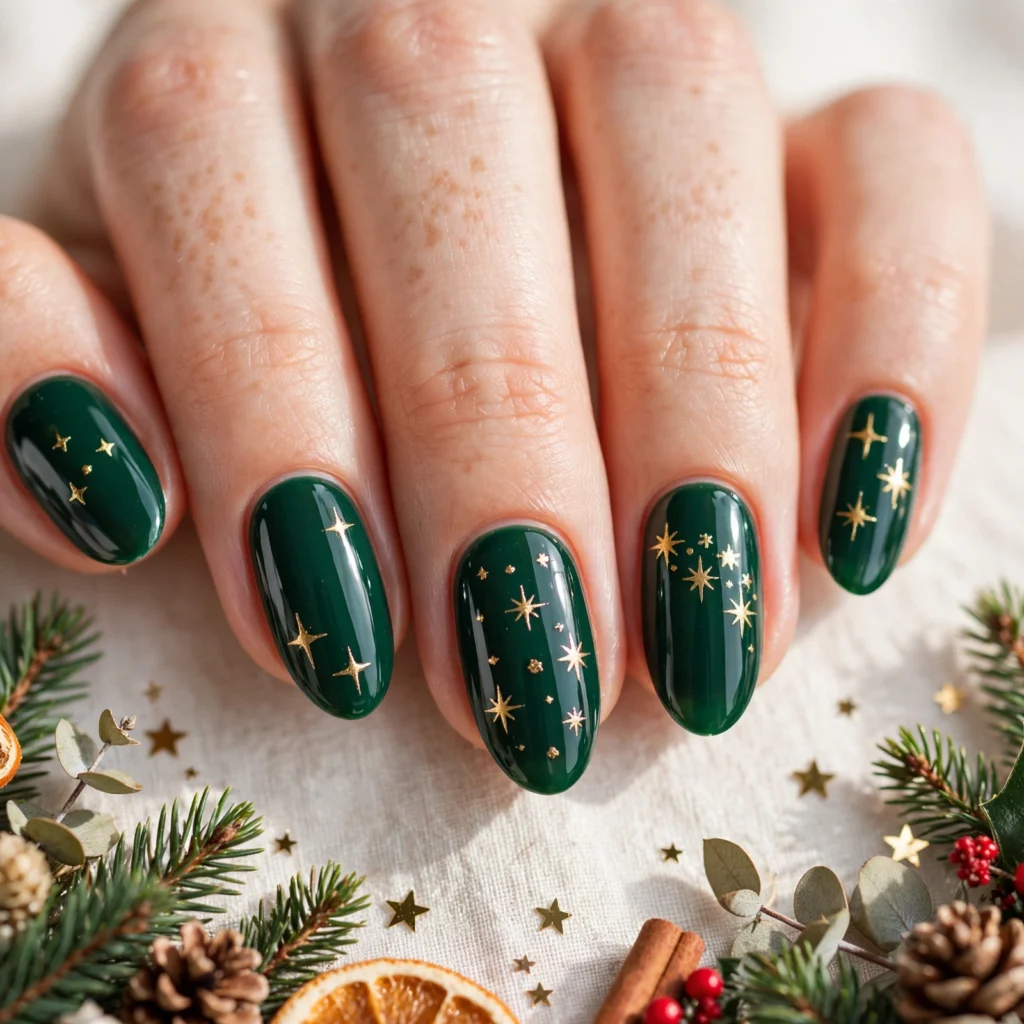
- Midnight forest shades set the perfect backdrop for tiny gold stars that twinkle with every hand movement.
- Paint two coats of deep emerald polish, then place small gold star decals or hand painted stars near the tips and cuticles.
- Scatter fine gold glitter sparingly between the stars so the design glows without looking crowded or heavy.
- Finish with a glossy top coat to seal the stars, deepen the colour, and add a smooth, party ready shine.
Golden accents work best when the base stays dark and even, so the stars stand out clearly against the rich shade. Keep the rest of your styling simple with gold rings or a slim bracelet, and this sparkling manicure will carry a whole festive outfit with ease.
Moss Matte Elegance
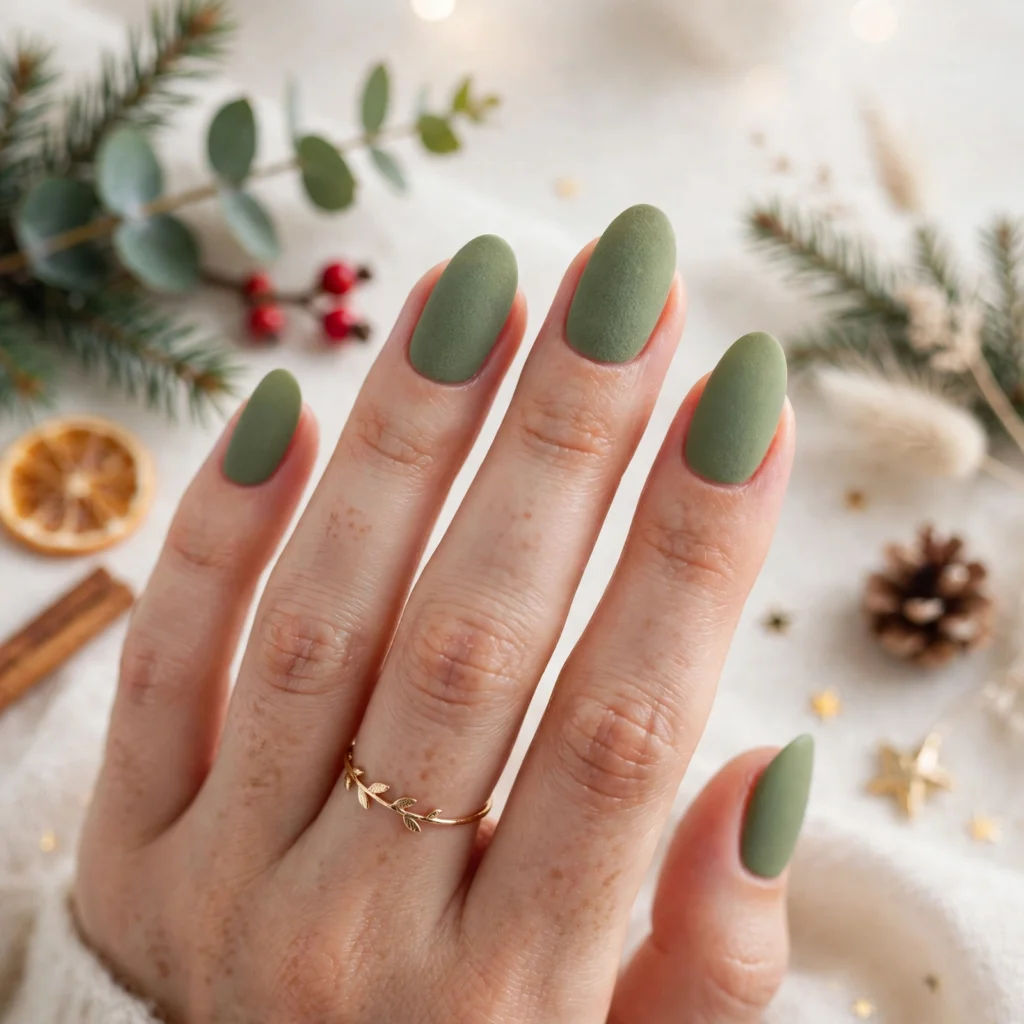
Quick Tip:
Matte polish rewards patience, since a single smudge shows far more clearly than it would under a glossy finish. Paint thin, even coats, let each layer dry fully, and finish with a dedicated matte top coat for a smooth, velvety result that lasts.
Soft moss tones bring a calm, woodland feel to festive styling, pairing beautifully with cream knitwear, camel coats, and delicate gold jewellery. Keep nail shapes neat and rounded for a refined finish, and this understated manicure will suit both quiet family evenings and elegant holiday dinners with equal charm.
Candy Mint Swirl Art
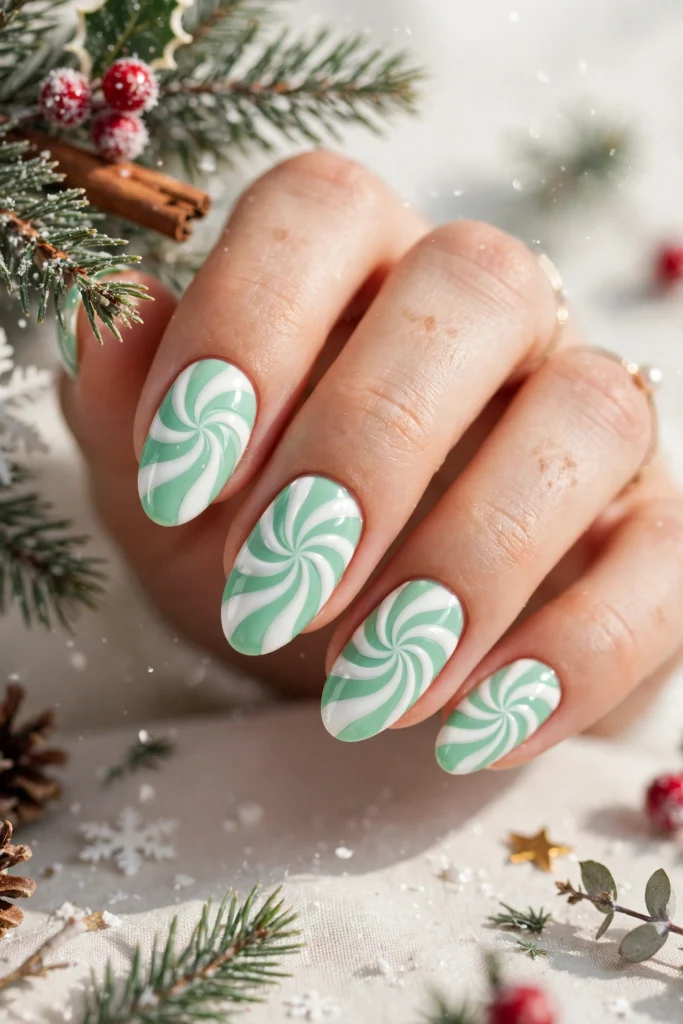
BEFORE: Plain pale polish can disappear in holiday photos, leaving hands looking unfinished beside bold seasonal outfits. Flat colour also shows chips quickly, and a single shade rarely adds the playful detail that festive gatherings call for.
AFTER: Swirling mint and white stripes turn each nail into a tiny peppermint treat, with crisp lines and a glossy finish that photographs beautifully. A small red bow accent on one nail adds a cheerful focal point, while the pale palette stays fresh, sweet, and easy to pair.
Fresh mint shades keep the design light and youthful, while white swirls add movement without overwhelming shorter nails. Seal the art with a glossy top coat, touch up the tips before big events, and this candy inspired manicure will stay bright through parties, photos, and gift exchanges.
Rich Olive Gold Ombre
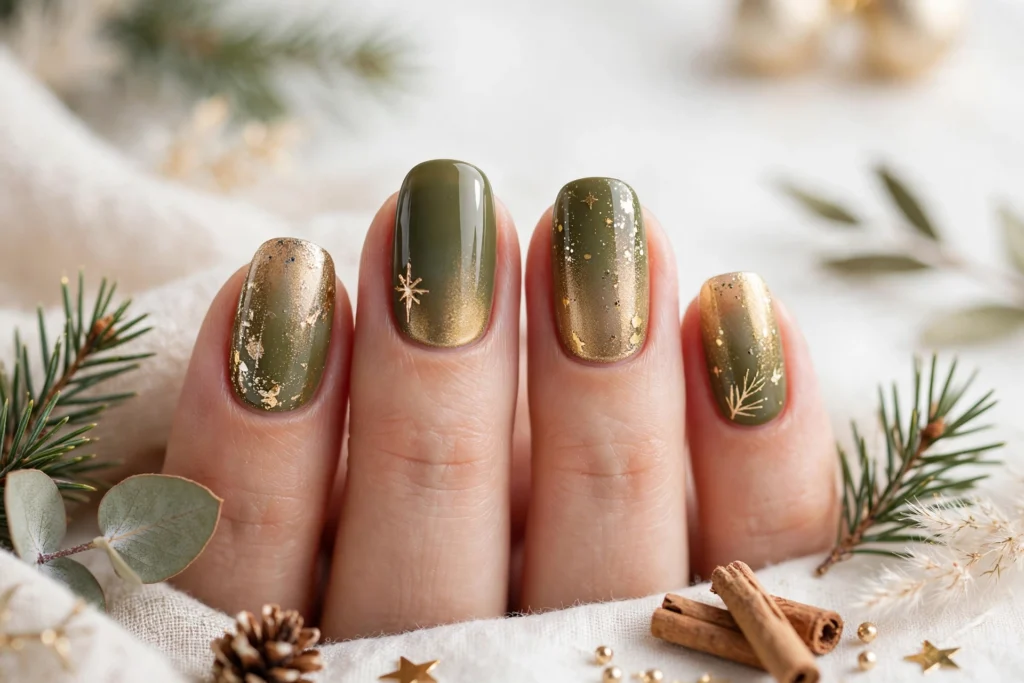
Golden light melting over deep olive creates a holiday gradient that feels rich, warm, and quietly luxurious.
- Paint two thin coats of deep olive polish and let each coat dry fully before blending.
- Sponge soft gold polish onto the tips, pressing lightly and building colour in thin layers.
- Blend the meeting point with a clean sponge so the olive fades gently into gold.
- Seal the gradient with a glossy top coat and add one tiny gold dot near each cuticle.
This gradient suits short and long nails alike, and it pairs well with gold rings, cozy knitwear, and simple party outfits. Keep the gold soft near the centre so the olive stays the star, and choose a fast drying top coat for a smooth, chip resistant shine that lasts through dinners, gifts, and evening celebrations.
Winter Pine Garland Lines
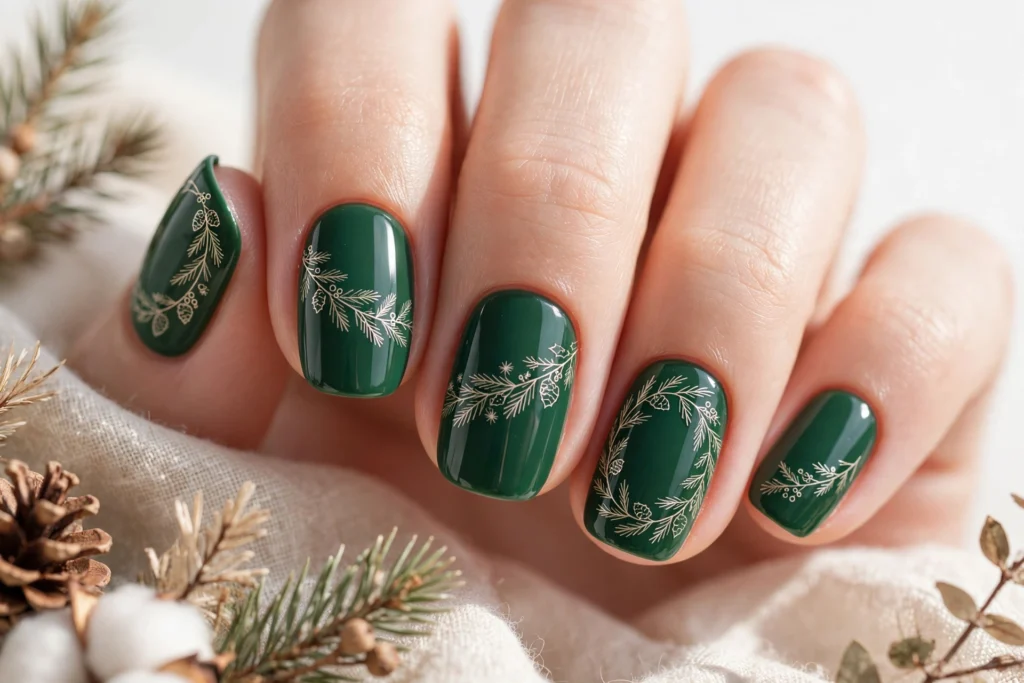
Delicate pine lines turn a simple festive manicure into a tiny winter woodland you can wear on every fingertip.
| Feature | Minimal Lines | Detailed Garland |
|---|---|---|
| Look | One fine pine line across each nail | Layered branches with tiny berries and dots |
| Tools needed | Thin brush and deep green polish | Thin brush, dotting tool, and two green shades |
| Time per nail | About two minutes | About five minutes |
| Best for | Everyday festive wear | Parties and holiday photos |
Minimal lines keep the design fresh and easy to fix, while detailed garland gives a fuller woodland effect for special nights. Start with your dominant hand last, work in good light, and seal every line with top coat so the fine branches stay crisp through washing, cooking, and busy holiday days.
Crystal Ice Green Sparkle
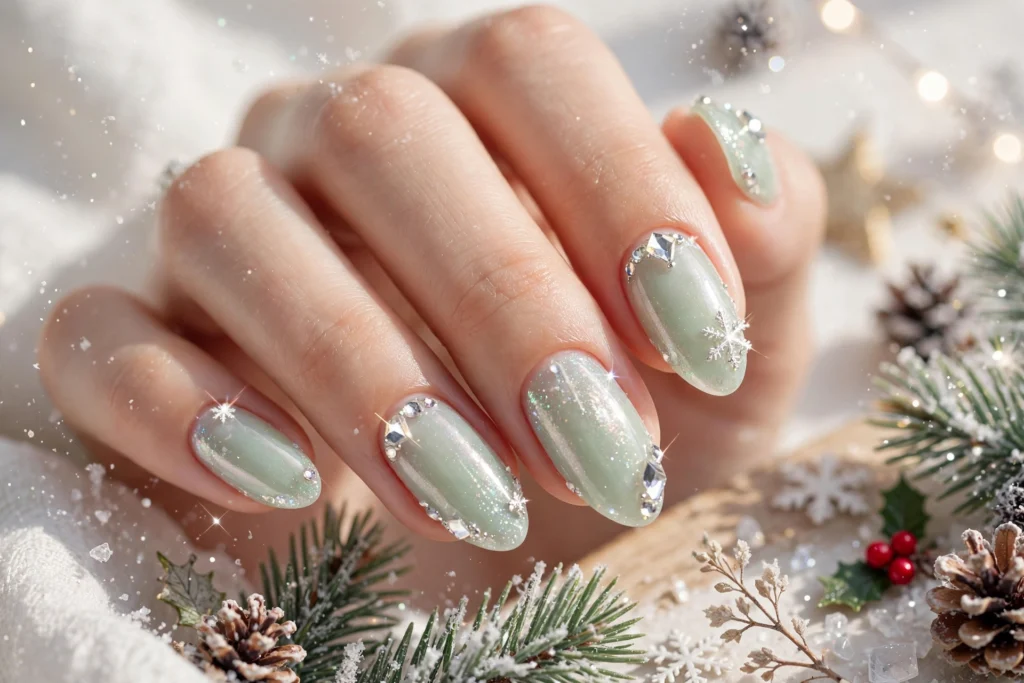
Frosty sparkle over pale mint gives winter nails a cool glow that catches light without feeling loud or heavy.
DO:
- Paint a smooth pale mint base and let it dry completely before adding sparkle.
- Press fine crystal glitter only near the tips for a soft frozen fade.
- Seal the glitter with two thin top coats for a glassy, durable finish.
DON’T:
- Flood the whole nail with chunky glitter, since it hides the icy colour underneath.
- Skip base coat, because pale shades can stain nails and chip sooner.
- Rush the drying time between layers, since smudged glitter loses its clean frosted look.
Pale mint and crystal glitter work well with silver jewellery, white knitwear, and cool toned party outfits. Keep the sparkle concentrated at the tips, check each nail in daylight before sealing, and carry a small top coat for quick touch ups during long festive evenings out.
Bold Emerald Party Sparkle
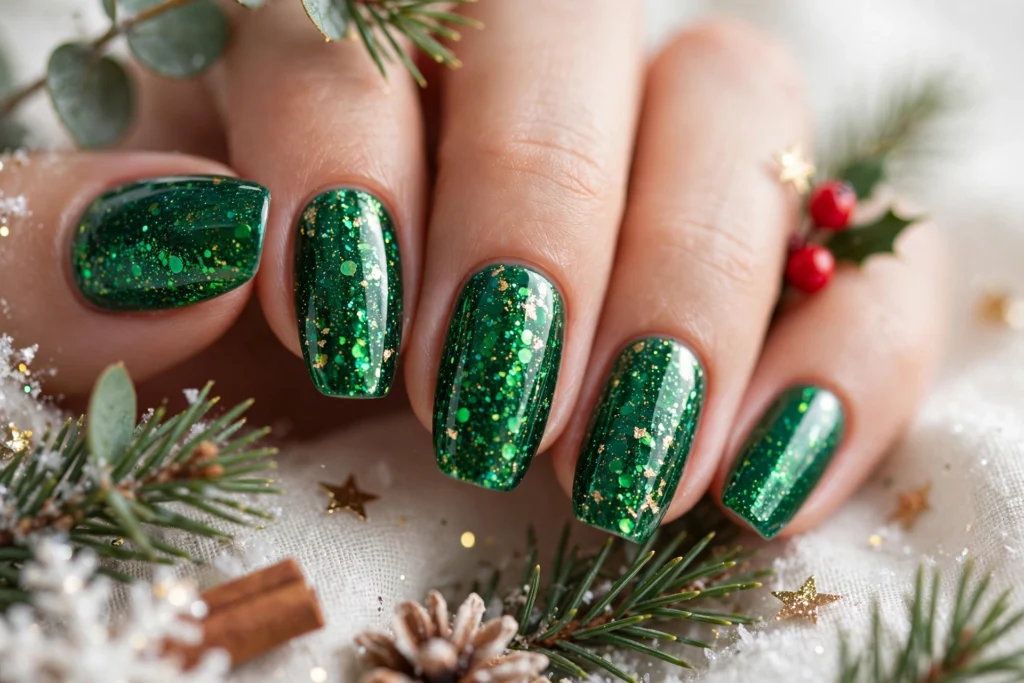
Deep emerald glitter delivers instant party energy, turning even the simplest outfit into a celebration ready look.
- Cost: Low, since one glitter polish and a clear top coat cover the full look.
- Time: About 30 minutes for two glitter coats, drying time, and a glossy seal.
- Skill Level: Beginner friendly, because glitter hides small brush marks and uneven edges.
- Best For: Holiday parties, dinners, dancing, and festive photos with friends.
Emerald glitter pairs well with black dresses, gold earrings, and simple hairstyles that let the nails shine. Apply glitter in thin coats rather than one thick layer, clean the skin around each nail before sealing, and finish with top coat so the sparkle stays bright all night long.
Delicate Mistletoe Accents
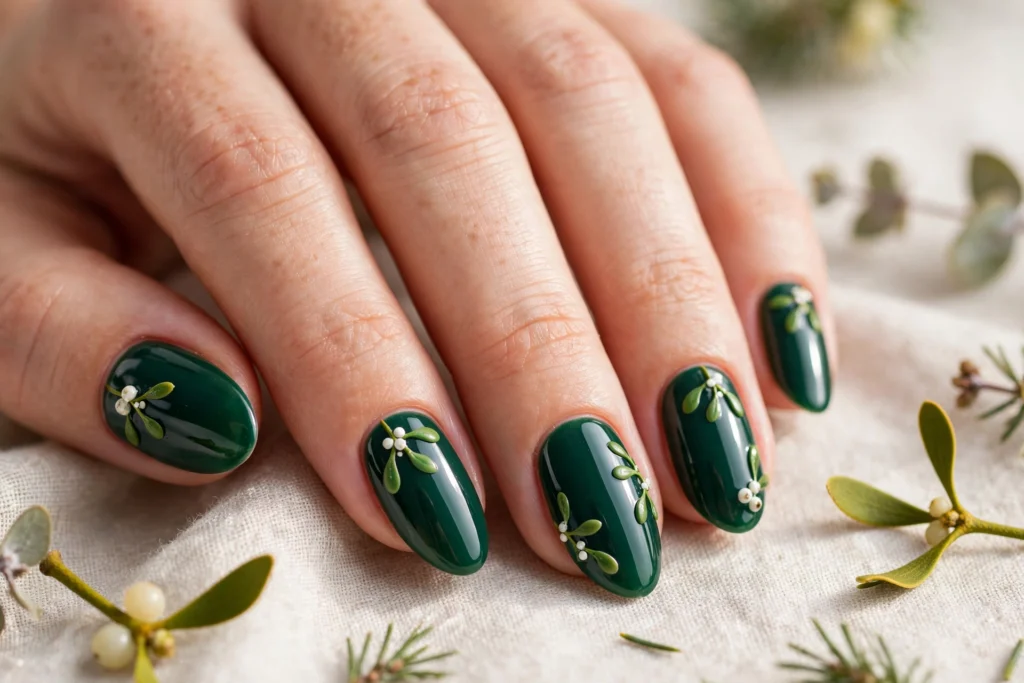
Tiny mistletoe sprigs turn a deep festive manicure into a whispered holiday secret, with glossy leaves and small red berries tucked near the cuticle like a miniature winter garden waiting to be noticed at a candlelit dinner, where soft light catches every painted vein and berry highlight.
Keep the base a rich forest shade, paint mistletoe on just two accent nails, and leave the rest plain so the tiny design stays elegant rather than busy. A glossy top coat seals the art, adds shine, and helps the berries stay bright through parties, photos, and evenings with friends.
Forest Glitter Gradient Fade
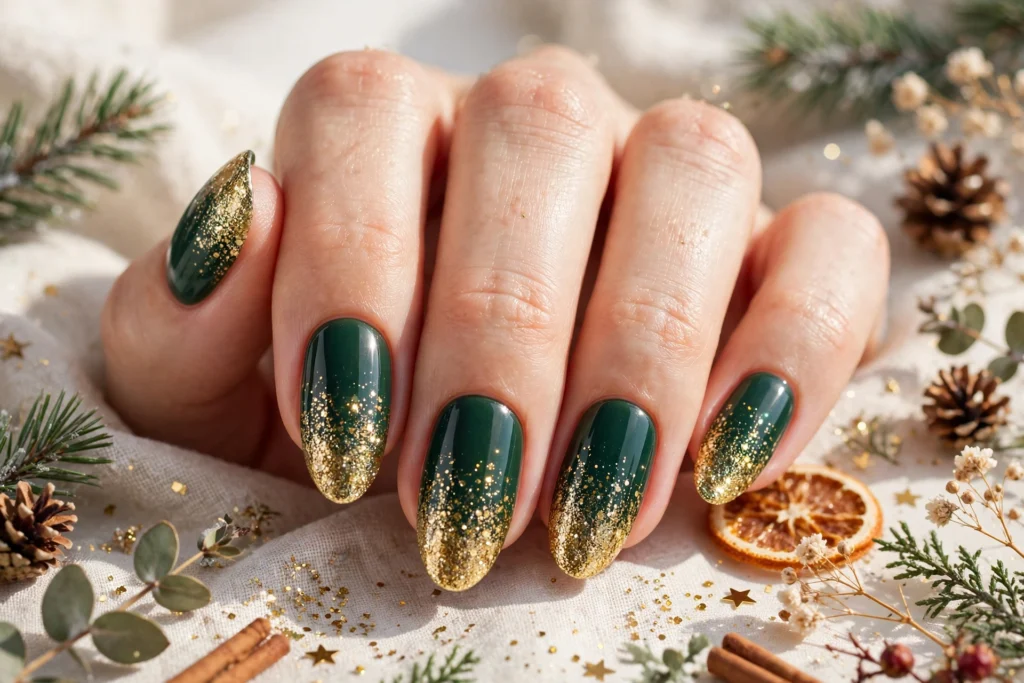
- Soft forest tones at the cuticle melt into sparkling gold at the tips, giving hands a candlelit glow that suits evening parties and family dinners alike.
- Blend the glitter while the base is still slightly tacky, using a sponge or a soft brush for a smooth fade with no harsh line.
- Keep glitter heaviest at the very tip and lightest in the middle, so the fade looks gradual and polished rather than patchy.
- Seal everything with two thin top coats to lock in sparkle, smooth the texture, and stop glitter from catching on knit sweaters.
Gold and forest tones pair well with simple rings, a dark velvet dress, or a cosy knit, because the nails already carry the sparkle. In my experience, a neat cuticle line matters most here, since a clean edge makes the fade look deliberate and salon finished, even at home.
Elegant Emerald Satin Finish
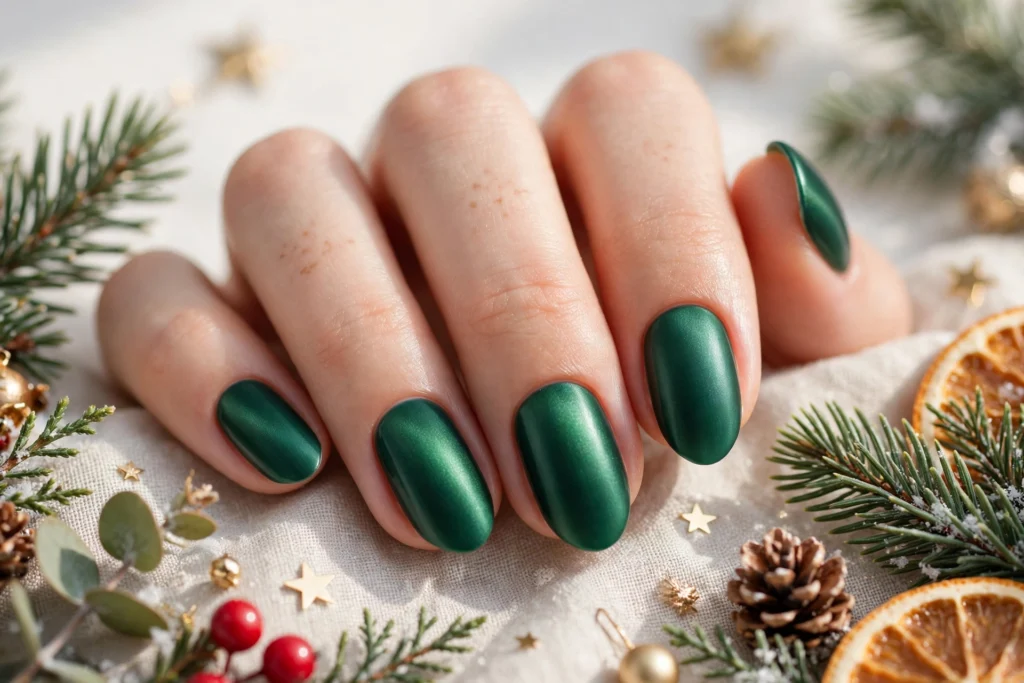
Quick Tip:
Choose a satin top coat instead of a high gloss finish for this look, because soft sheen reads more expensive than heavy shine. Apply two thin colour coats, let each layer dry fully, and finish with one satin coat to keep the surface smooth and even.
Deep emerald tones flatter short and long nails alike, and they pair beautifully with gold jewellery, dark red lipstick, or a simple black outfit for a refined holiday evening. Keep nail edges neat, moisturise cuticles before painting, and the finished look stays calm, polished, and quietly festive all night long.
Playful Lime Party Dots
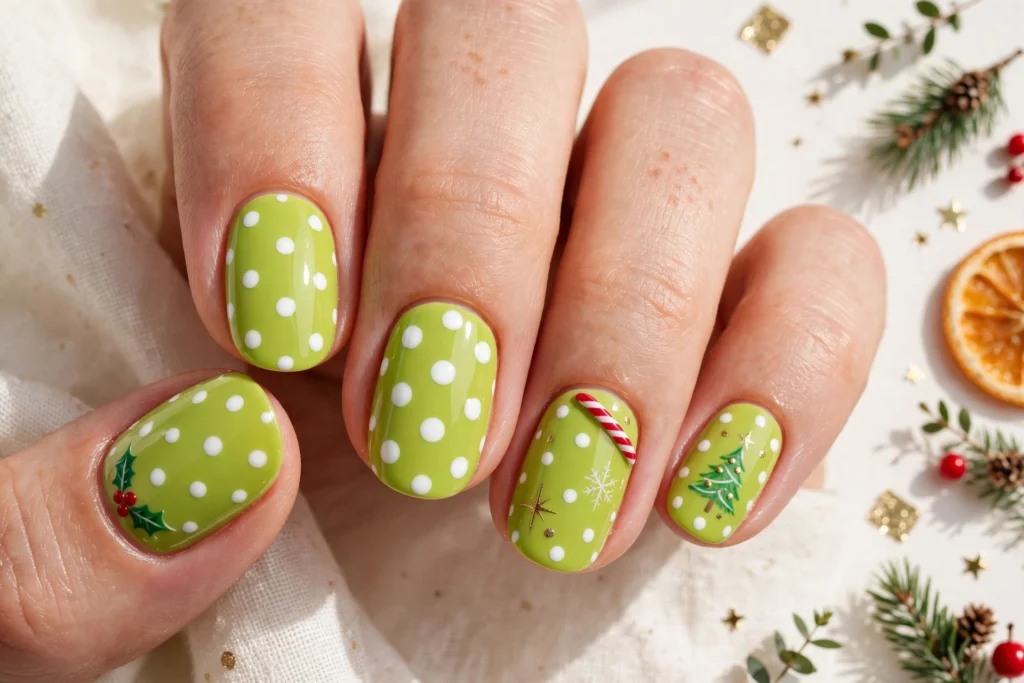
BEFORE: Plain bright nails often disappear in party photos, especially under warm lights and busy holiday outfits. The colour can feel flat, the finish can look unfinished, and the whole manicure fades into the background.
AFTER: Lively lime dots over a fresh base catch the eye at once, adding rhythm, playfulness, and a clear party mood. White and gold dots of different sizes keep the pattern lively without looking messy, and a glossy seal makes every dot pop.
Dot tools, a toothpick, or the rounded end of a bobby pin all work for this pattern, so beginners need no special kit to start. Space dots unevenly across each nail, vary their sizes slightly, and finish with top coat for a cheerful manicure that suits gift exchanges, dance floors, and cosy family gatherings.
Regal Emerald Crown Tips
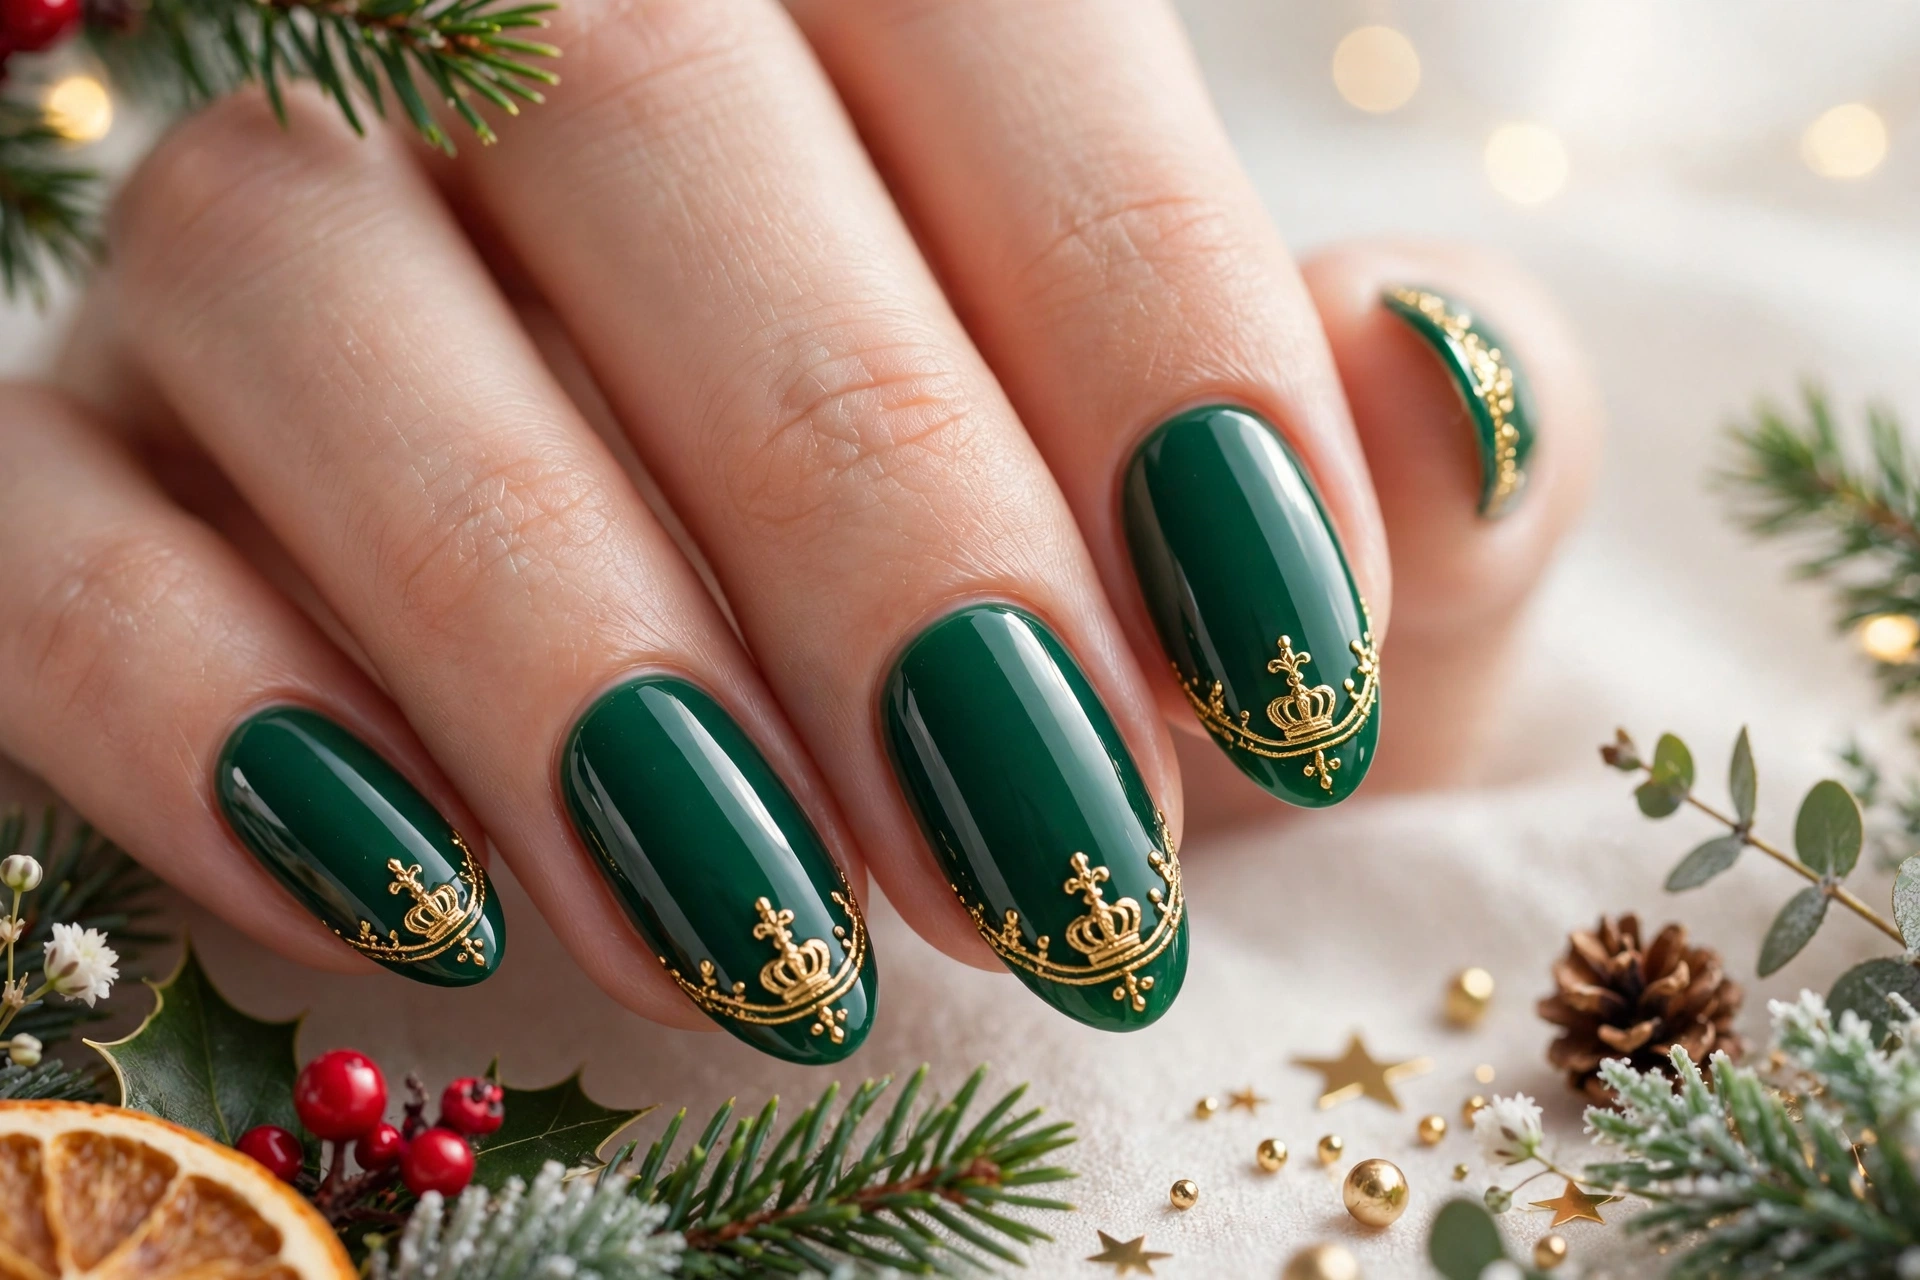
- Royal shine starts with a deep emerald base that instantly feels festive and luxurious. Paint two thin coats and let each coat dry fully for a smooth, even finish.
- Paint a soft gold tip along the free edge of each nail, keeping the line neat and slightly curved. Add three small crown points on the tip with a fine detail brush and metallic gold polish.
- Place one tiny gold dot at the centre of each crown point and a small gold bead where the tip meets the emerald base. Keep the accents small so the design stays refined rather than crowded.
- Seal the whole design with a glossy top coat, wrapping the free edge to protect the gold detail. Let the top coat dry completely before touching anything.
These crown tips bring a polished, party ready finish that pairs well with gold jewellery, velvet dresses, and simple black outfits for holiday evenings. Keep the design neat, let the gold details catch the light, and enjoy nails that feel elegant, festive, and confident all season long.
Conclusion
Your festive nails are ready to shine, and green christmas nails make that easy. Pick the look that caught your eye first, try it this week, and let the colour and sparkle do the talking at your next celebration. Save this guide on Pinterest so your favourite ideas are easy to find again, share it with a friend who loves holiday nails, and enjoy every compliment. With a little care and a glossy top coat, your manicure will stay bright from the first toast to the last dance, and you will feel confident, cheerful, and party ready all season long.